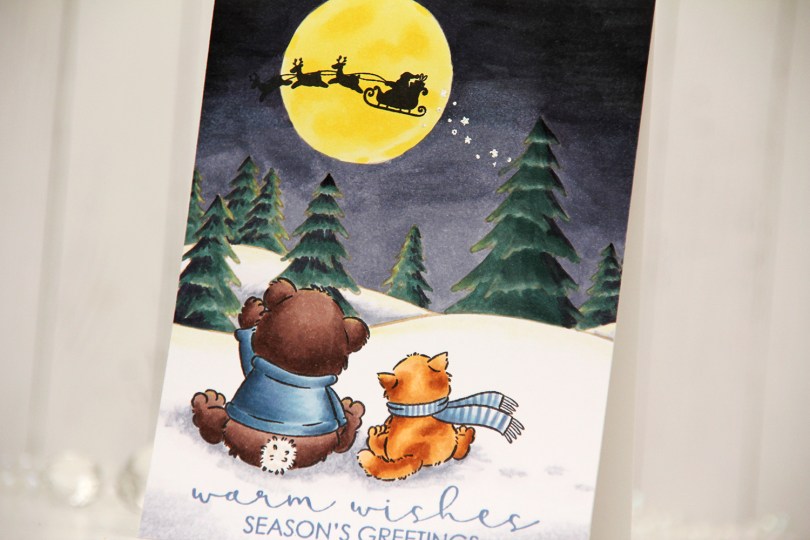
Hi, crafty friends! It’s that time of year: the holiday release from Purple Onion Designs is finally live!! This year, there are two collections: one from Pei and one from Holly Mabutas. Today I’m sharing a card with an image from Pei’s collection, but rest assured – I will have one with Holly’s over the weekend.
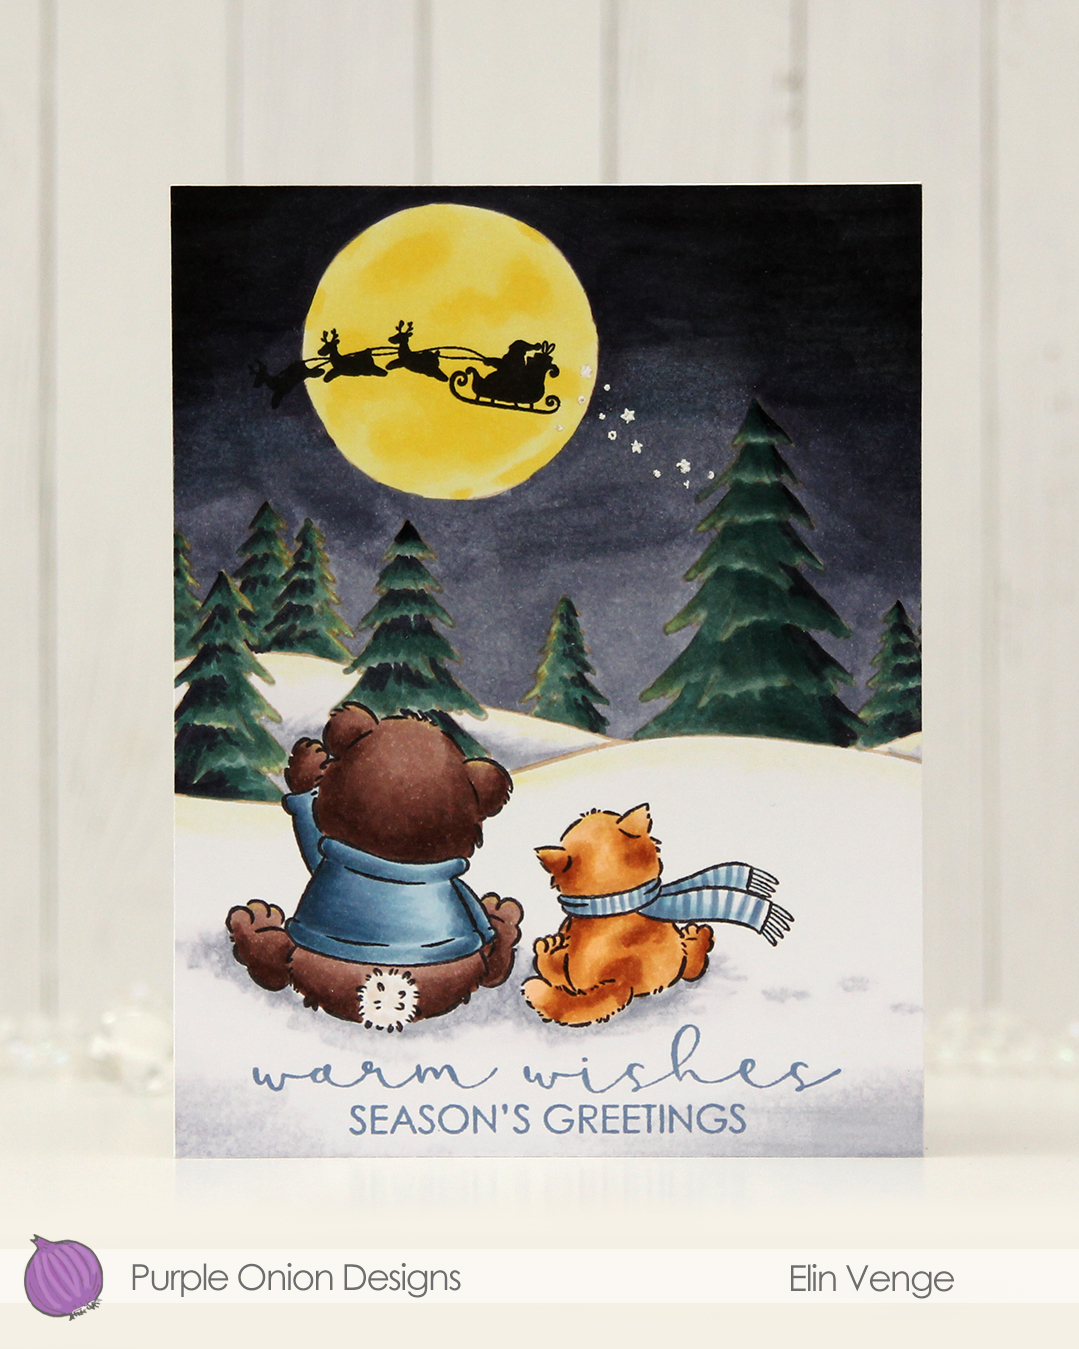 The It’s the season! collection consists of 11 images and a sentiment set with five sentiments. I’ll use the sentiments on cards in the upcoming weeks, but the sentiment on this particular card is from the Seasons Sayings sentiment set that came out last year. The image, however, is Magical Christmas, and it’s from this new release. I love the bear and cat waving at Santa’s sleigh in front of the moon. I used the Winter Trees background stamp from the Tofu & Friends Holiday collection from 2023 to fill out the scene a little. It makes it look like they’re deep in the woods in the middle of nowhere. I stamped the background and the moon with Classic Kraft ink from Papertrey Ink, while using Memento Tuxedo Black for the foreground. Once my coloring was complete, I re-stamped Santa’s sleigh with Obsidian ink from Altenew and white heat embossed the little trail of stars behind the sleigh.
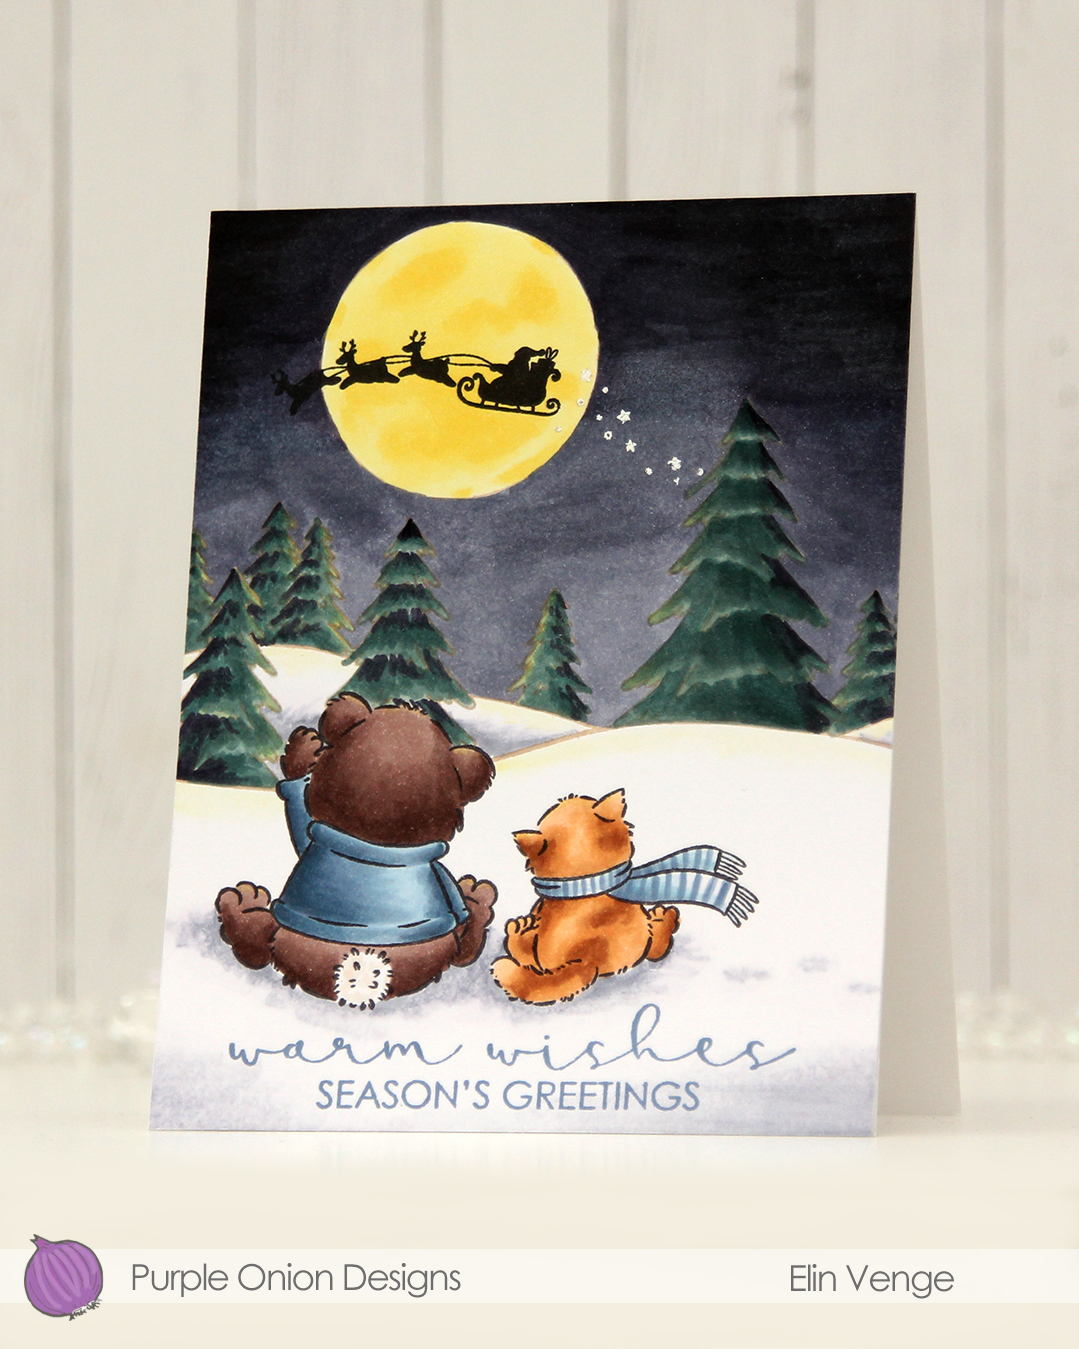 This card came together pretty easily, and even though I had planned on using more bluegreens for the clothing, in the end I did go back to my trusty blues. You can just never go wrong with blue! I even stamped the sentiment in Altenew Winter Lake ink, to get even more blue in there. I like having the color of the sentiment match the rest of the card.
 Simple color palette for this one. I used a lot of dark colors, and I also used BV27, which is a color I’ve made myself, as I find the gap from 29 to 25 a bit tricky to work with for large night skies like this.
For a limited time, the entire It’s the season! collection is available as a bundle with all 11 images and the five sentiments at a discounted 30% off. The offer is available until Wednesday 11 November, 2026 on the Purple Onion Designs website.
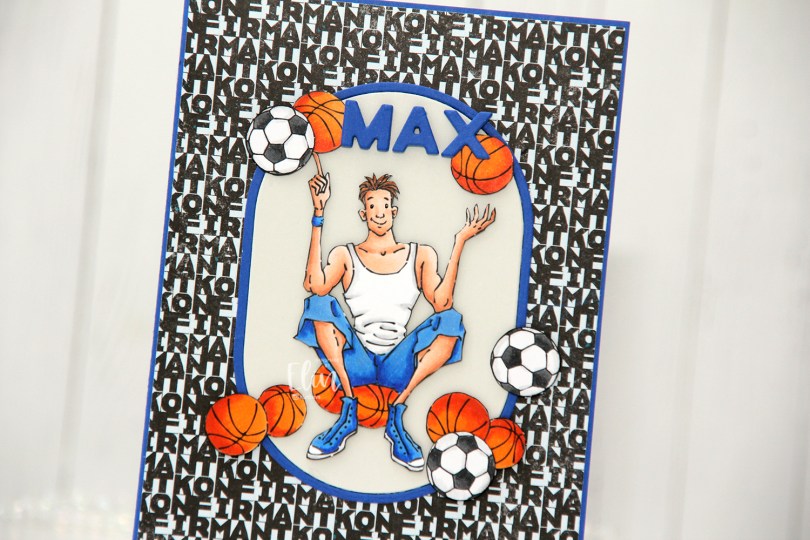
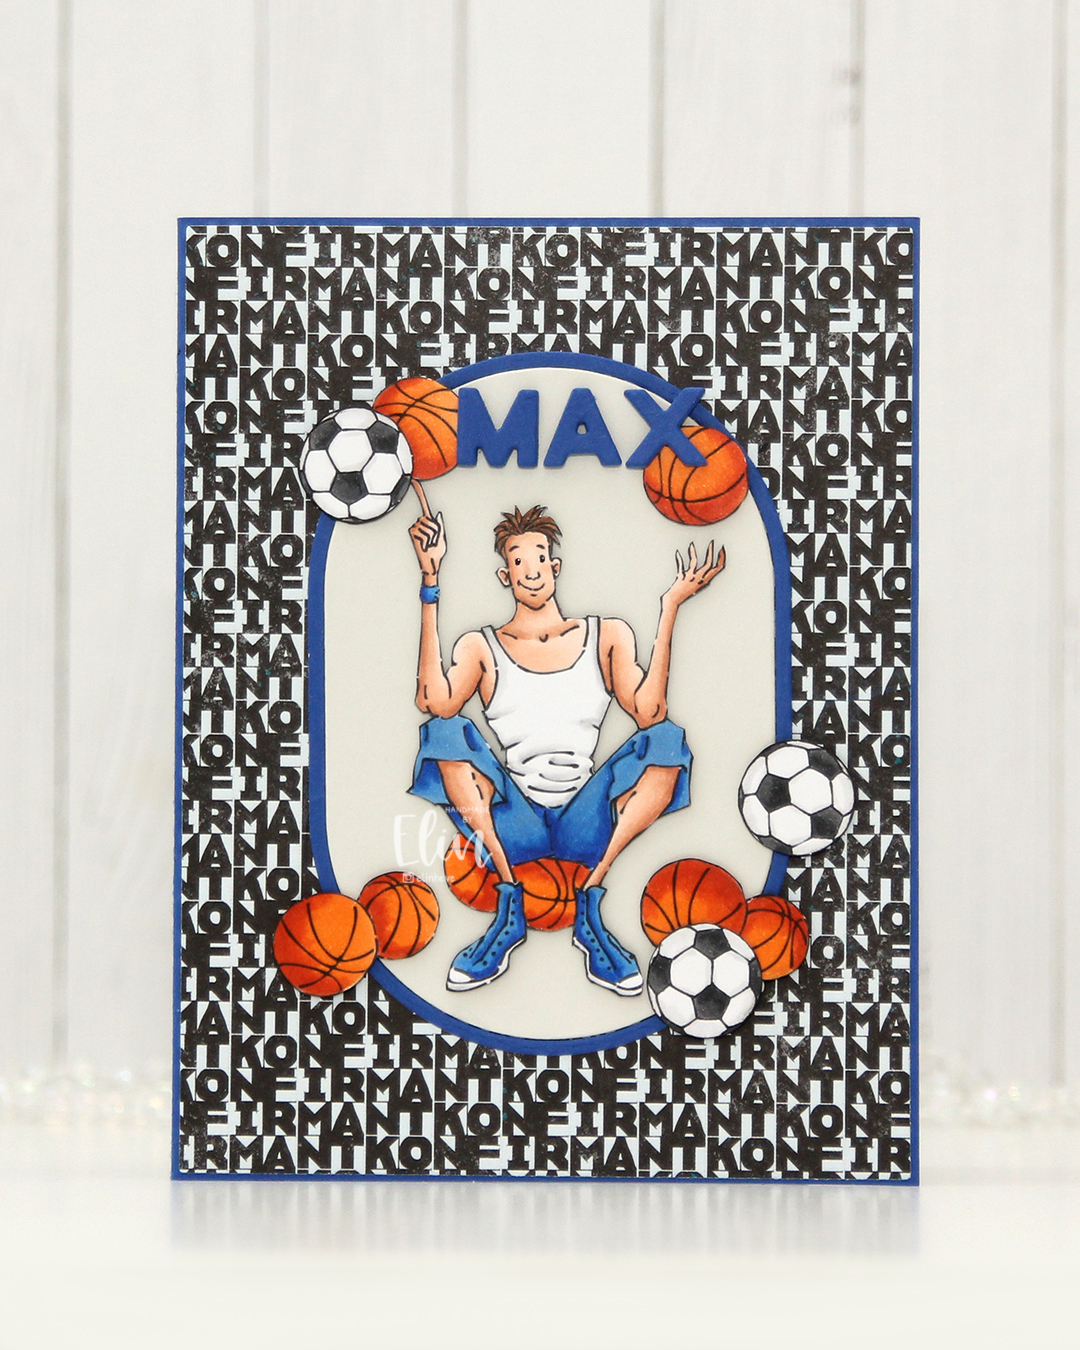 I colored the basketball teen, the extra basketballs and the footballs with Copics and fussy cut them all. I made an A2 card base using Capri cardstock from Concord & 9th and covered most of it with the Lovende patterned paper from the Ungdommelig collection from Papirdesign. Putting the teen directly on the patterned paper wouldn’t work as it was a very busy pattern, but by using the A2 Oval Basics die set from Kristina Werner, I was able to create a grounding element for my focal point. The die cuts out the oval and a frame in one go, so I die cut it once from Capri cardstock, and once from Soft Stone cardstock from Papertrey Ink. I used the Connected Alphabet die set from My Favorite Things to die cut the letters for the kid’s name in Capri cardstock, stacking a few for dimension.
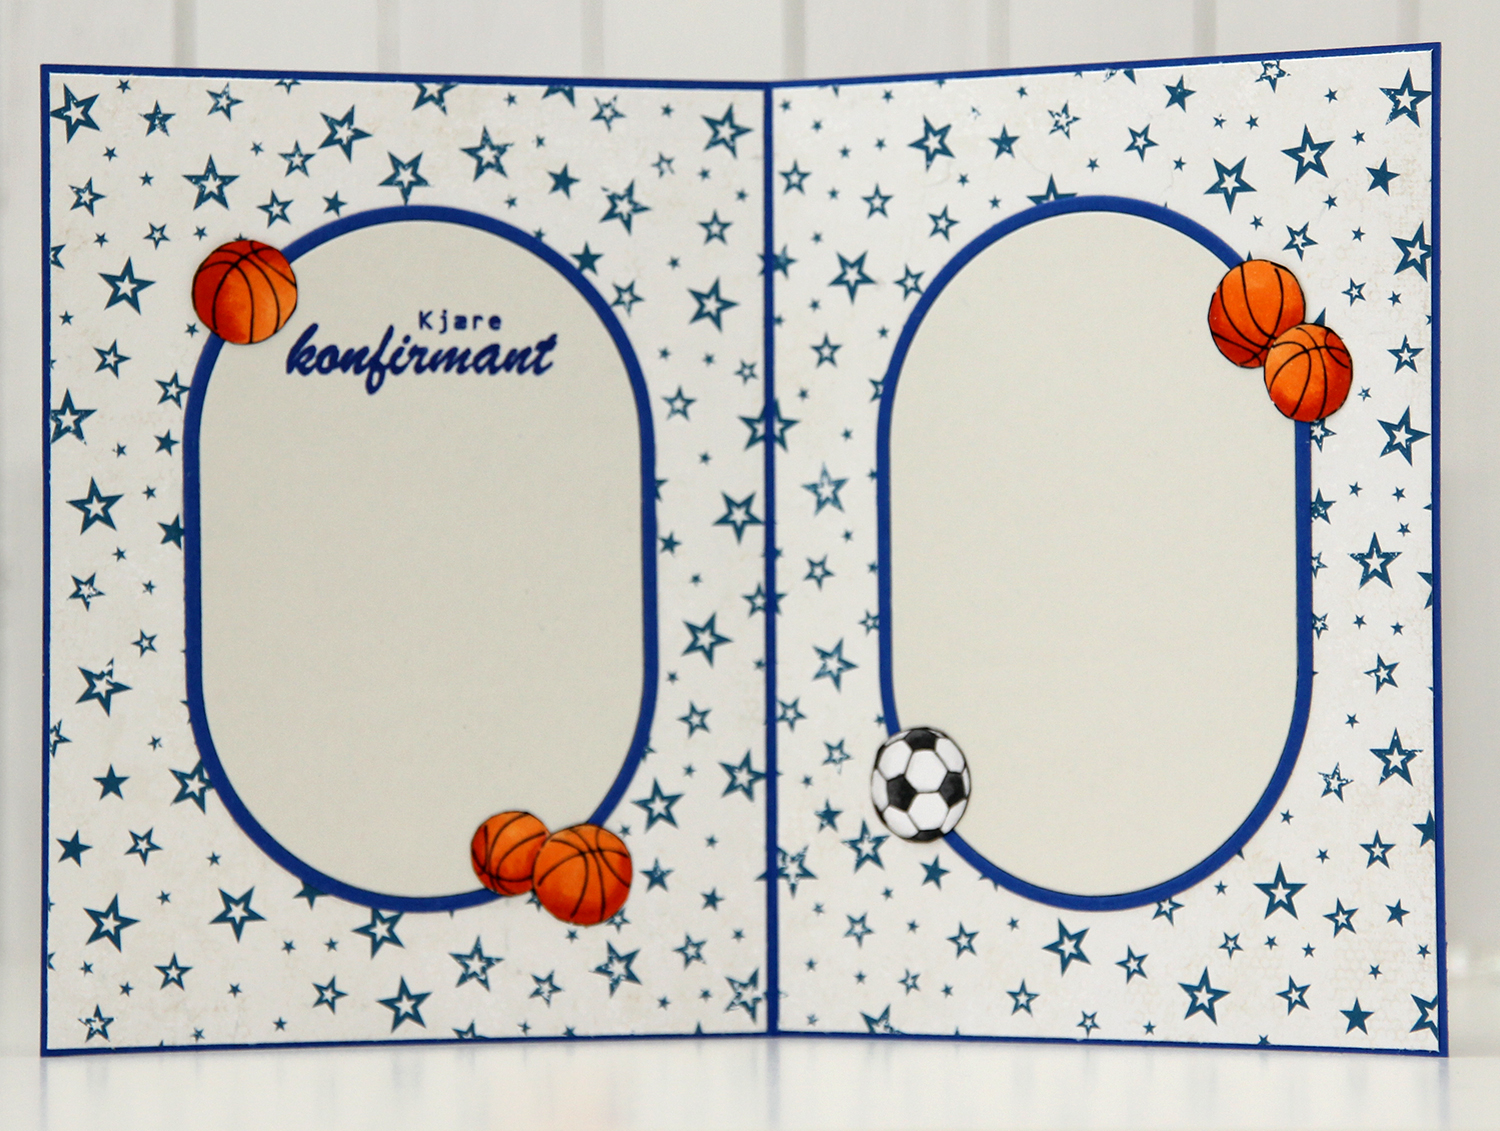 For the insides, I die cut more of the ovals, and actually used the back of that same patterned paper that I used for the front. Double sided patterned paper is awesome. I rarely use patterned paper anymore, so it was fun to bring it back for this card. I stamped a sentiment from the Konf. 02 stamp set from Norsk Stempelblad AS on the panel on the left using Capri ink from Concord & 9th and embellished the insides with a few basketballs and a football. (I know the photo is a bit blurry, but it was the only one I took of the inside and I didn’t realize until I’d given the card to the lady who ordered it).
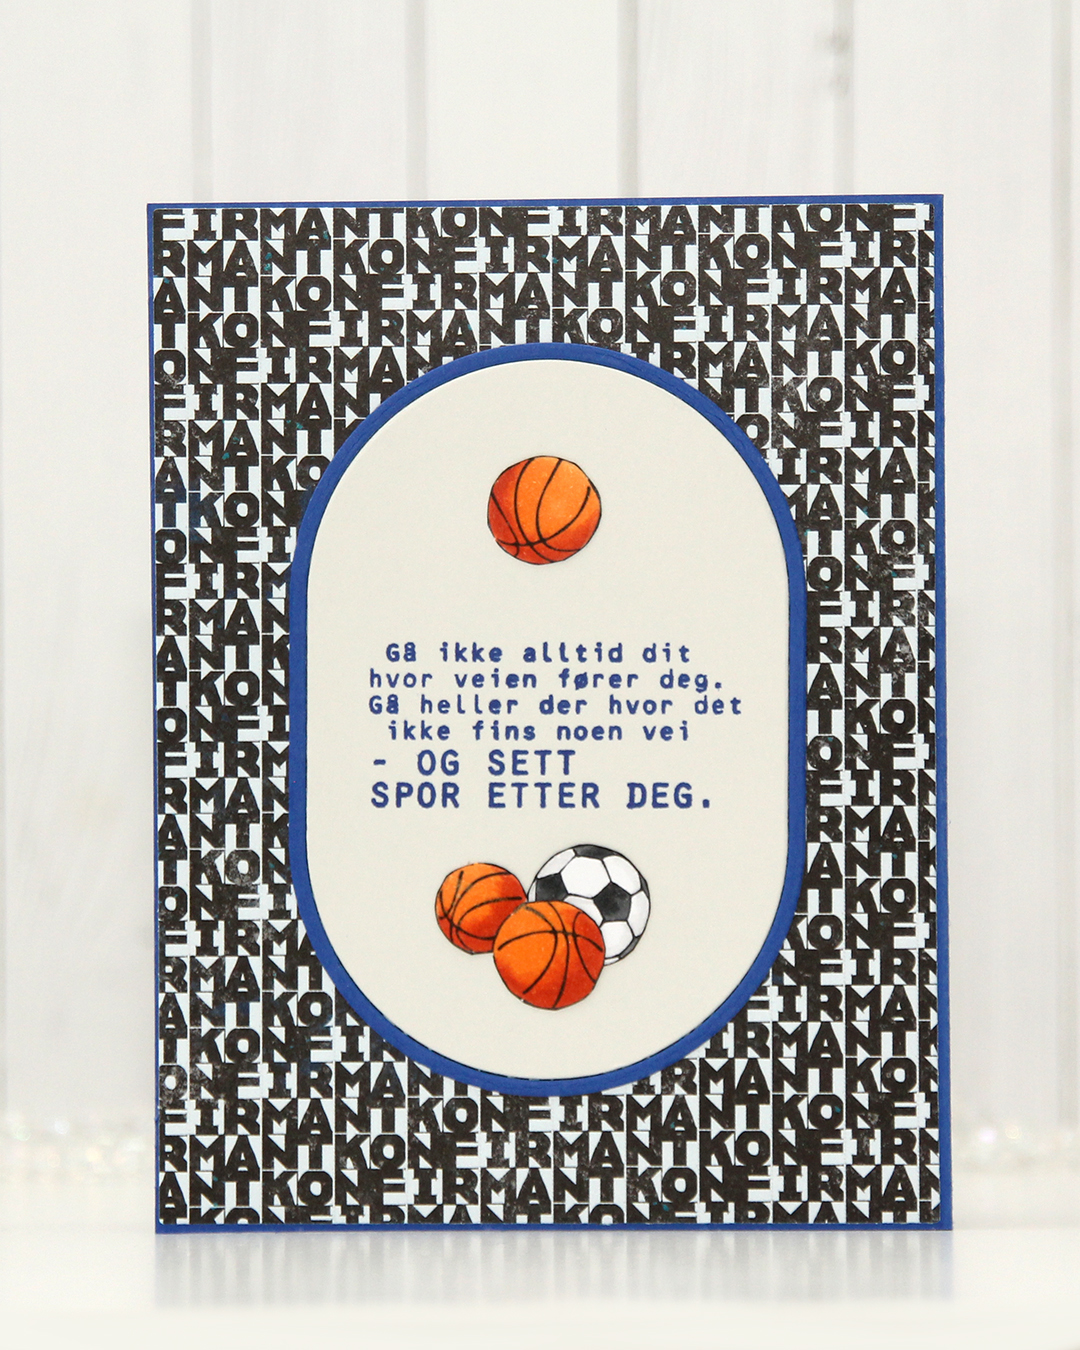 Same setup on the back of the card. Another sentiment stamped in Capri ink, also from the Konf. 02 stamp set.
 With such a simple image, there weren’t a lot of colors used.
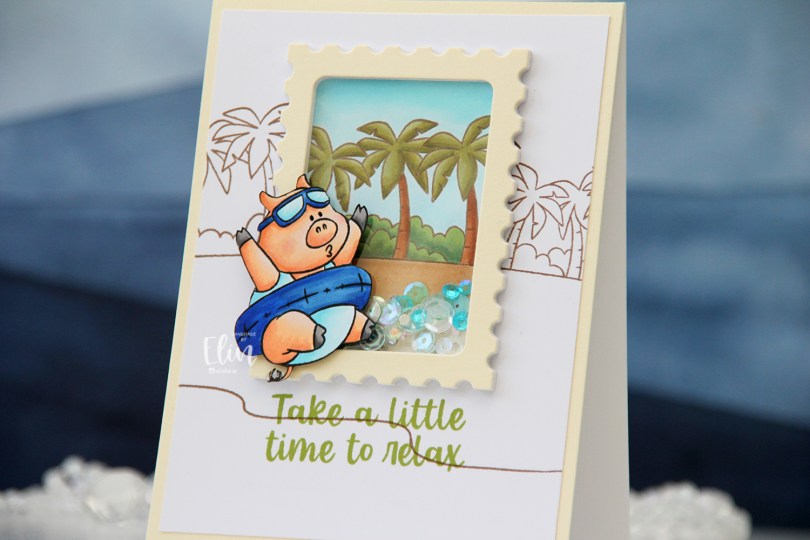
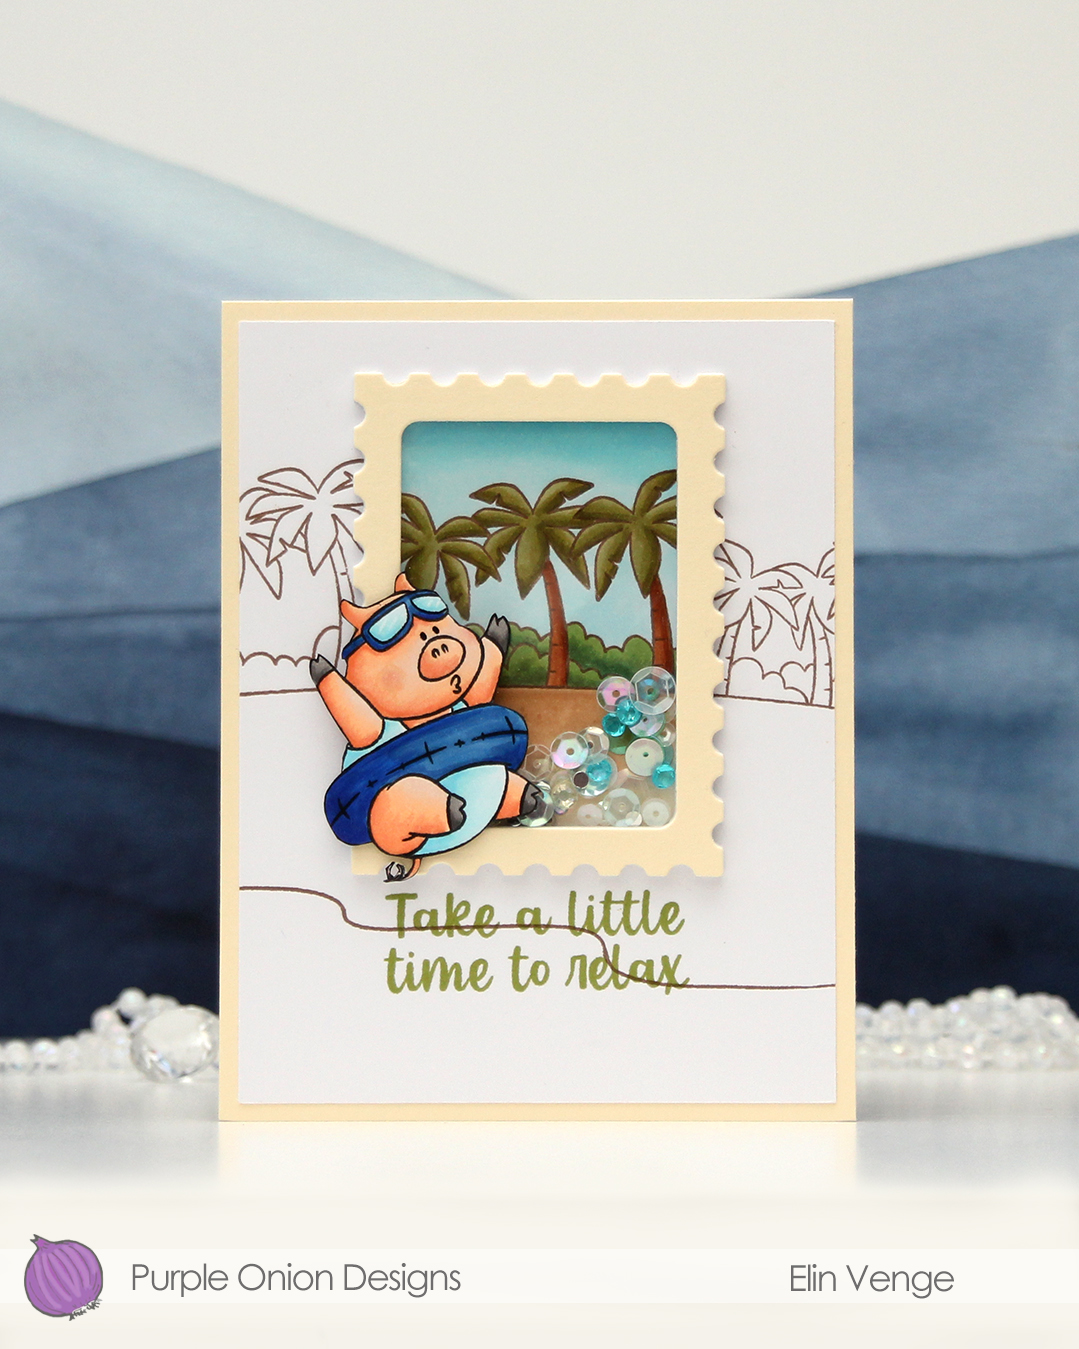 This little guy (gal, maybe?) is part of the Sunshine and Daydreams collection that released this summer from Purple Onion Designs. (S)he is half of the
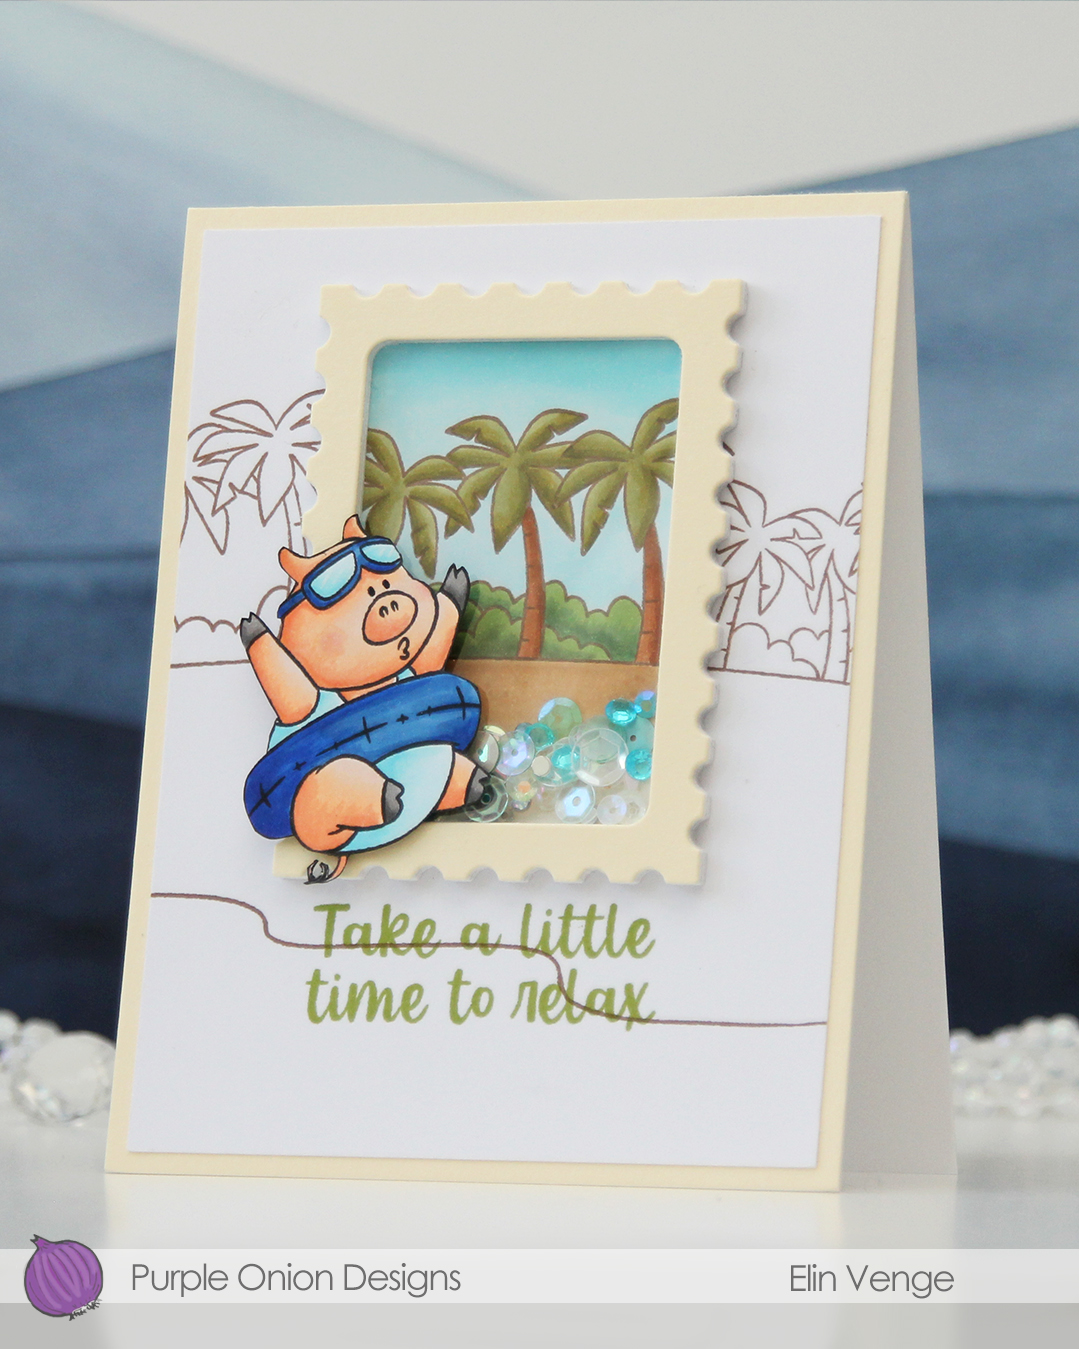 I stamped the
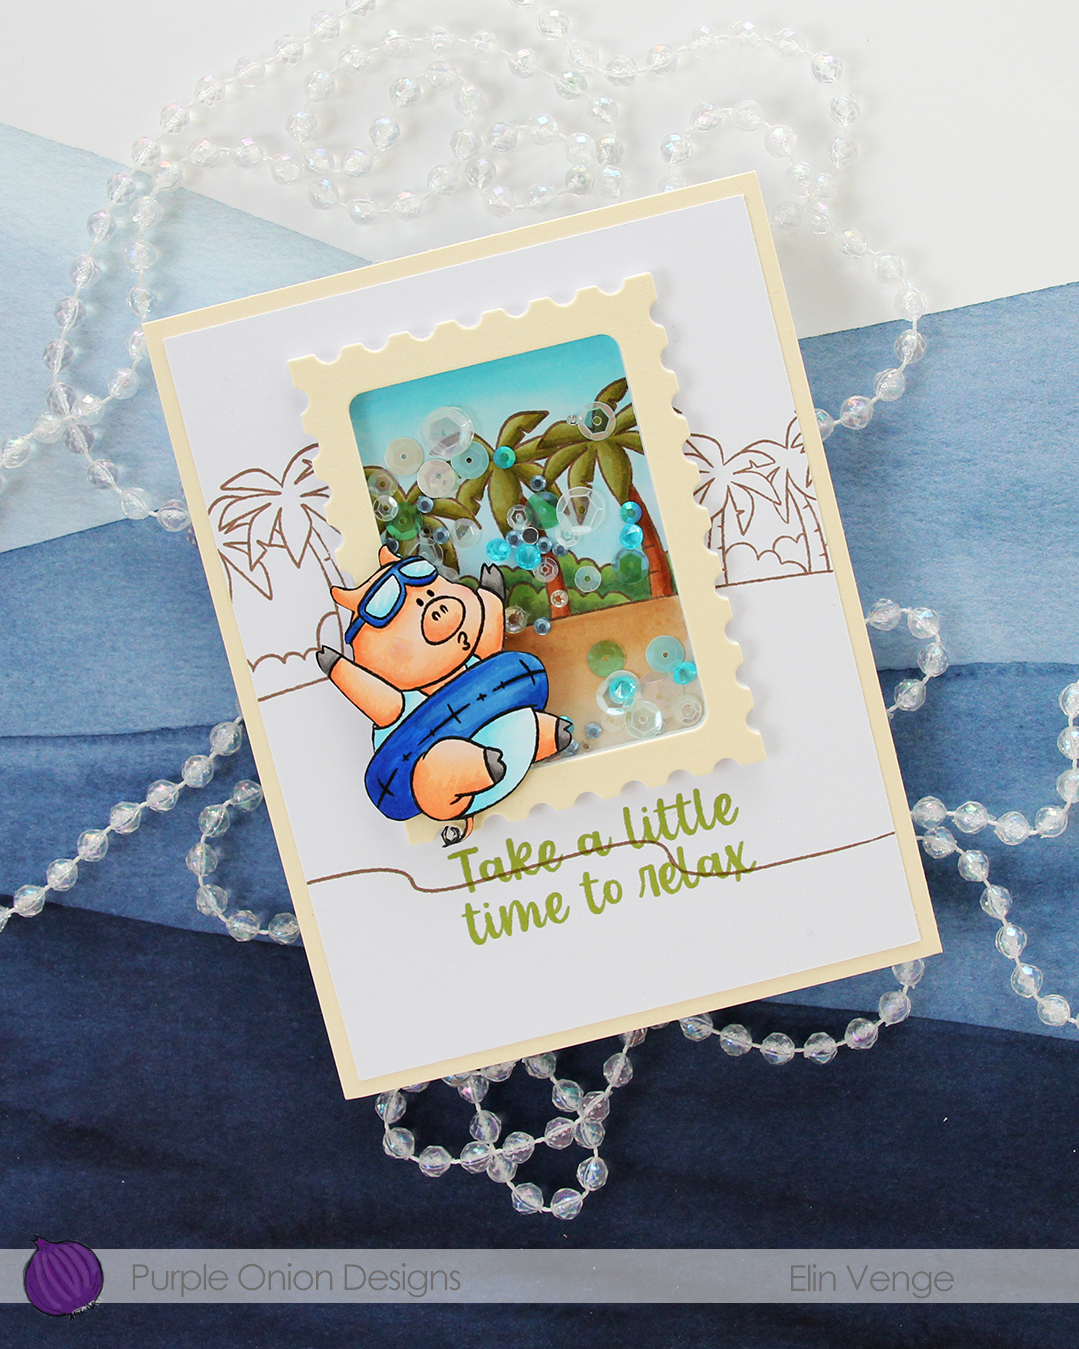
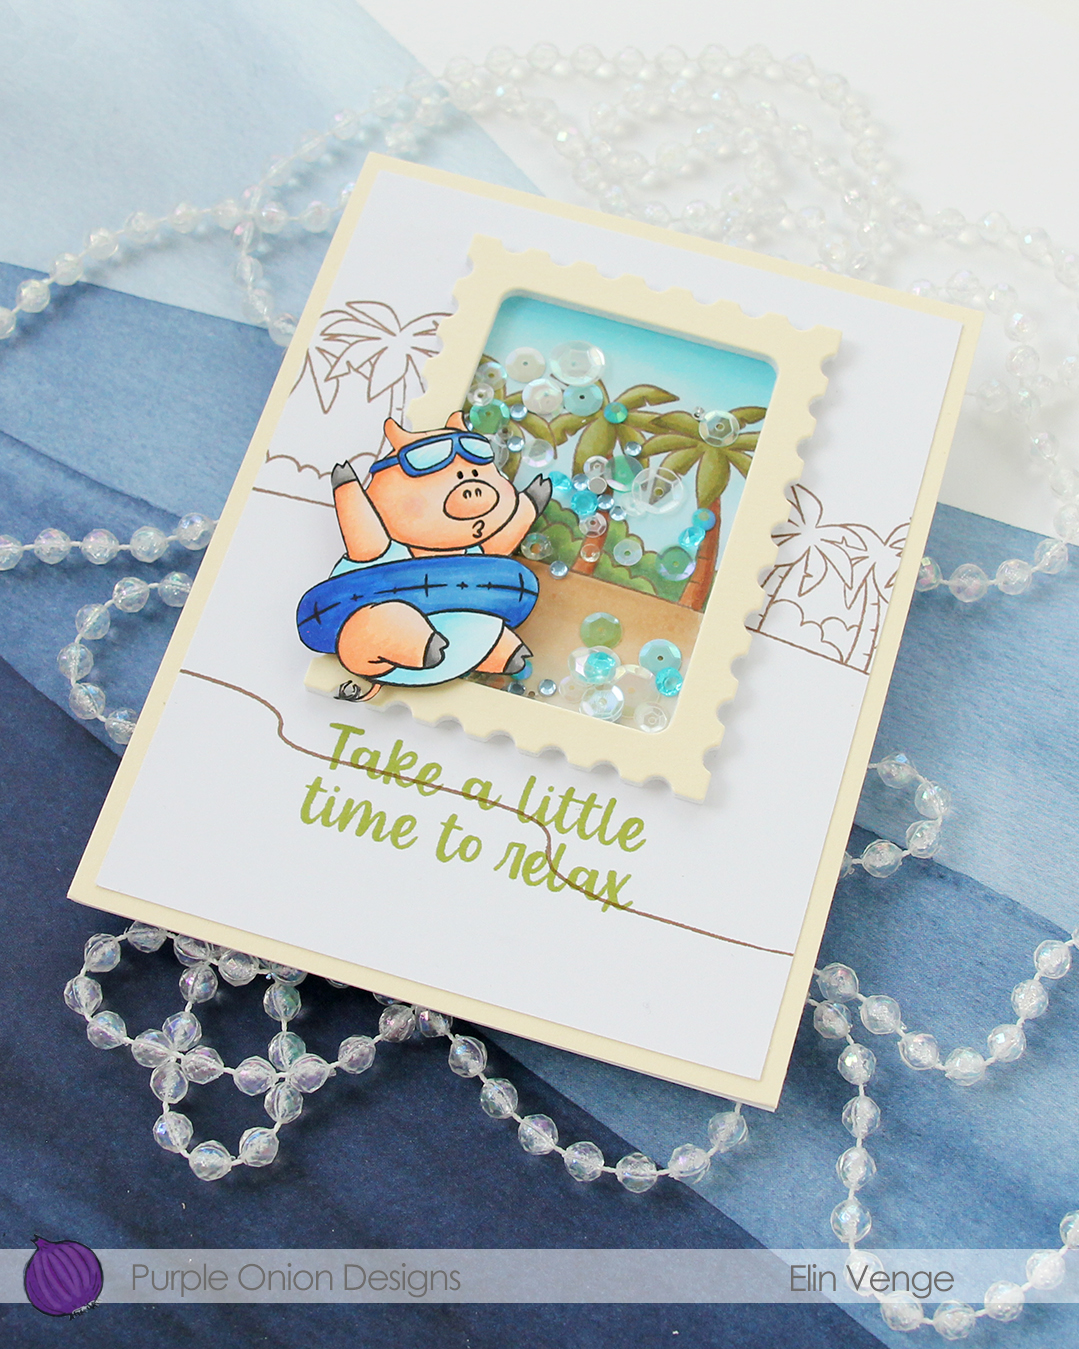 I used Avocado ink from Concord & 9th to stamp my sentiment, which is from the
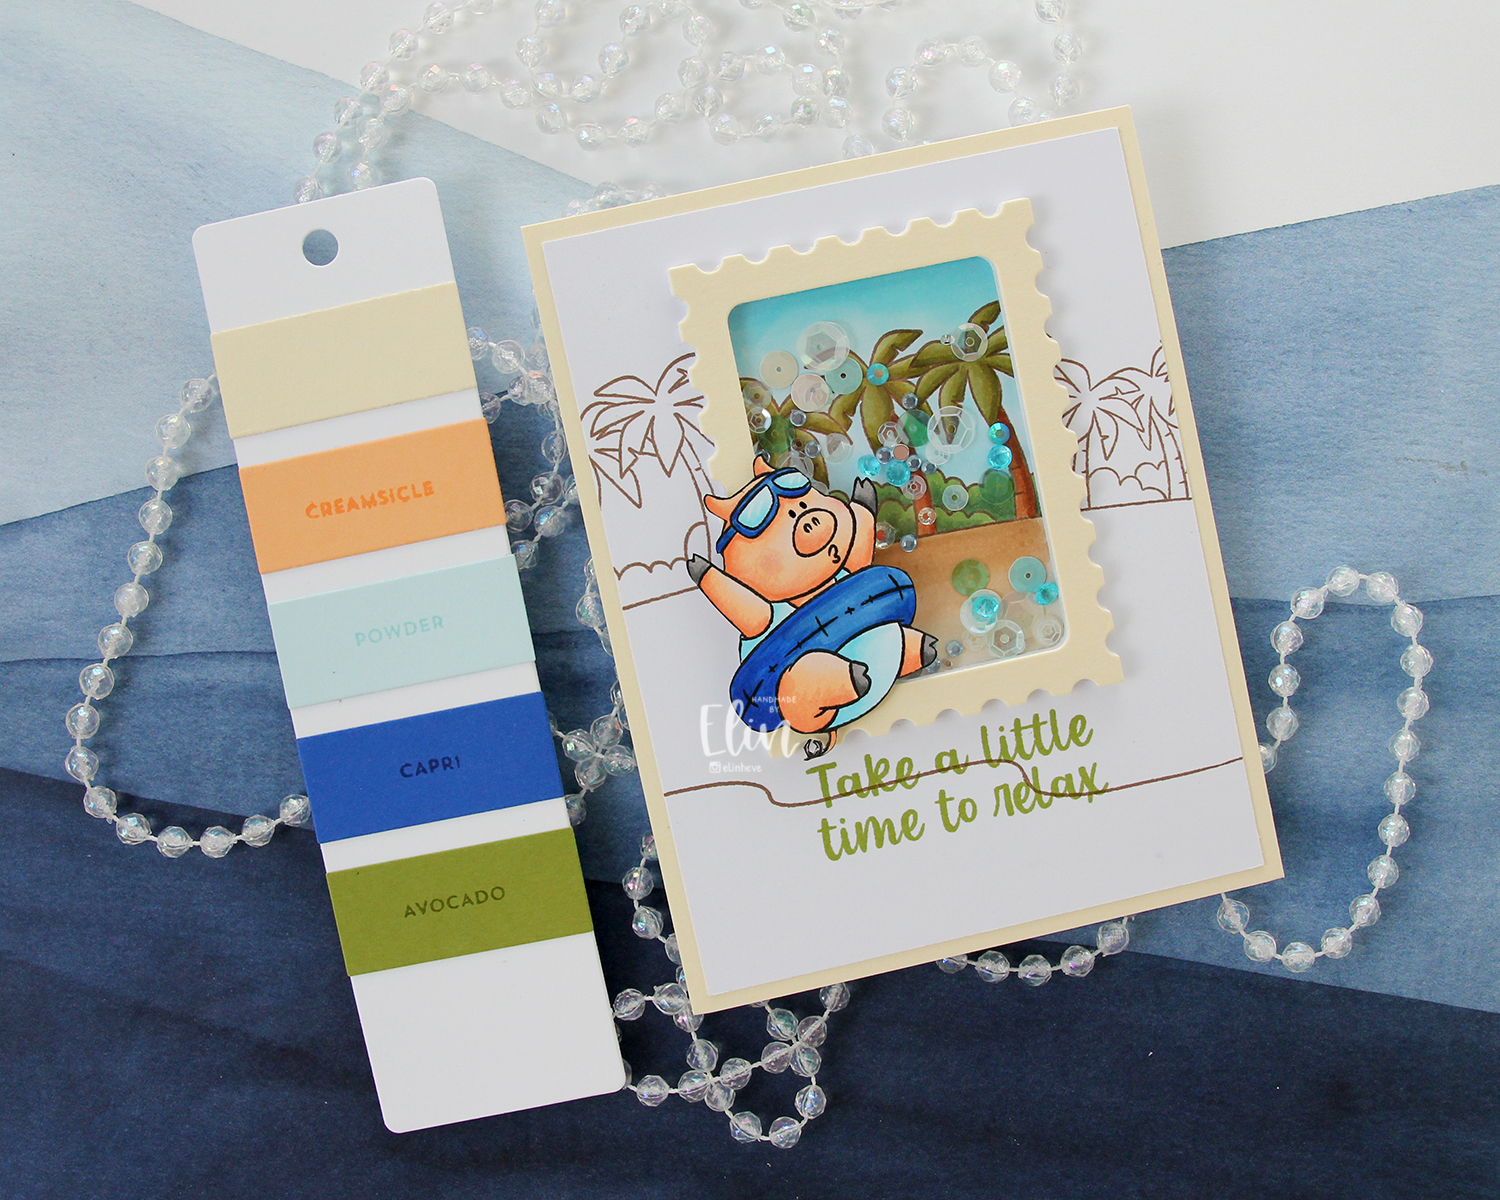 The Farmhouse color combination from Concord & 9th was my inspiration for the colors I used on this card. It’s a combo I probably wouldn’t have thought of on my own, but I quite like the end result. Give me anything blue, and I’m here for it, that Capri color definitely is a show stopper!
 I used quite a few Copics for this one, in spite of the coloring being on a somewhat smaller portion of the card front.

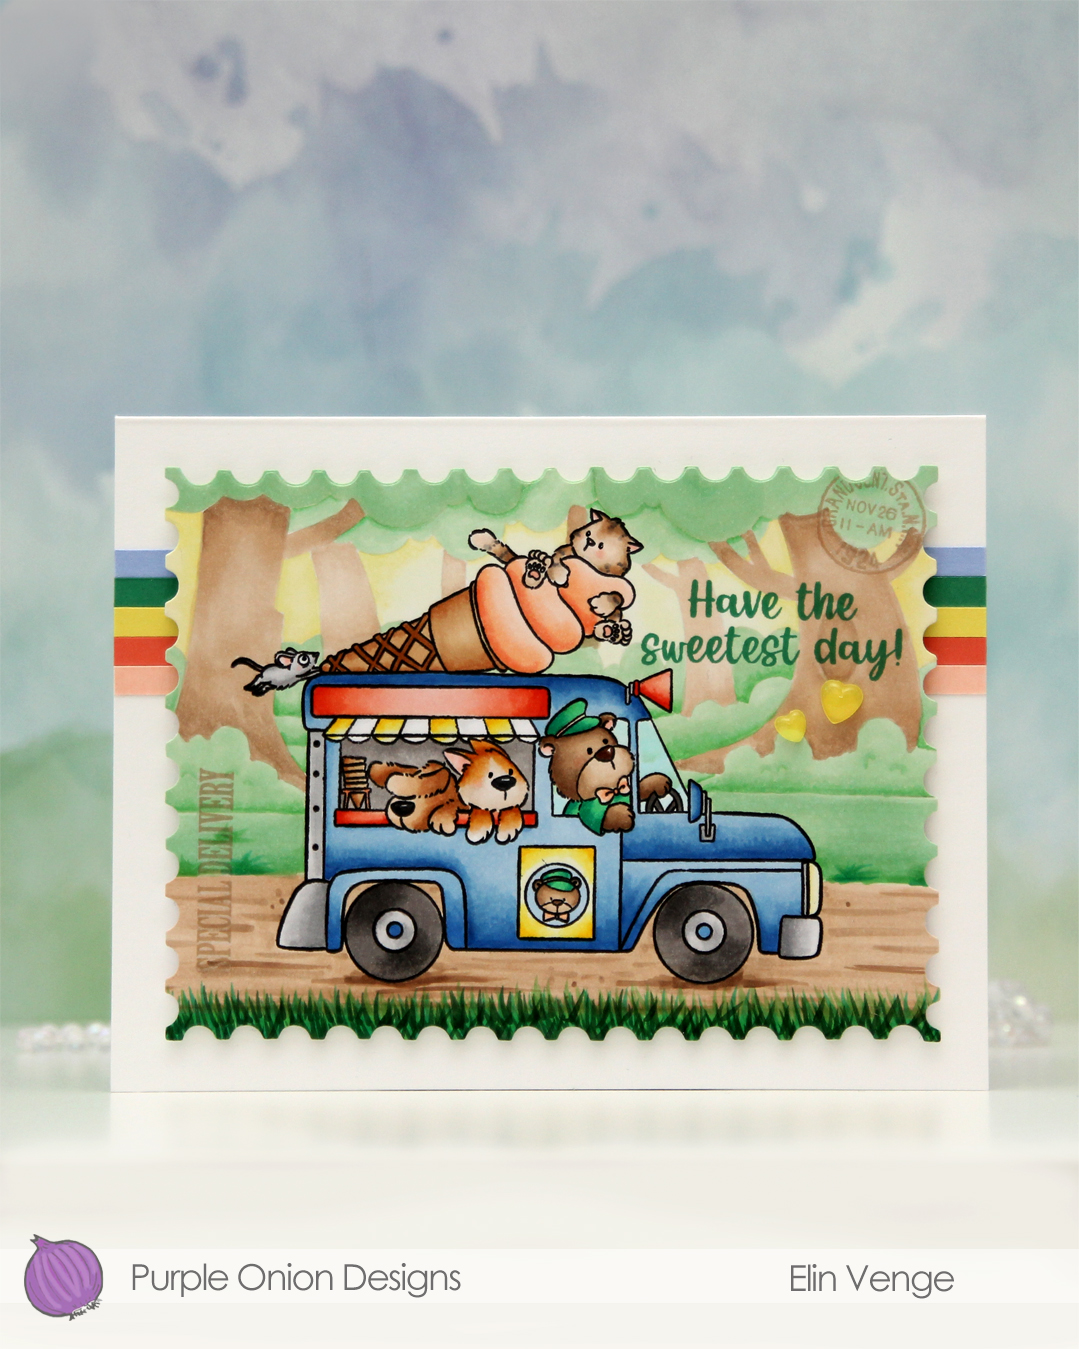 I wanted a storybook look to this, and the ice cream truck is a fairly busy image, so I decided to stamp the background in fadeout ink from Inkon3 for a no line look.
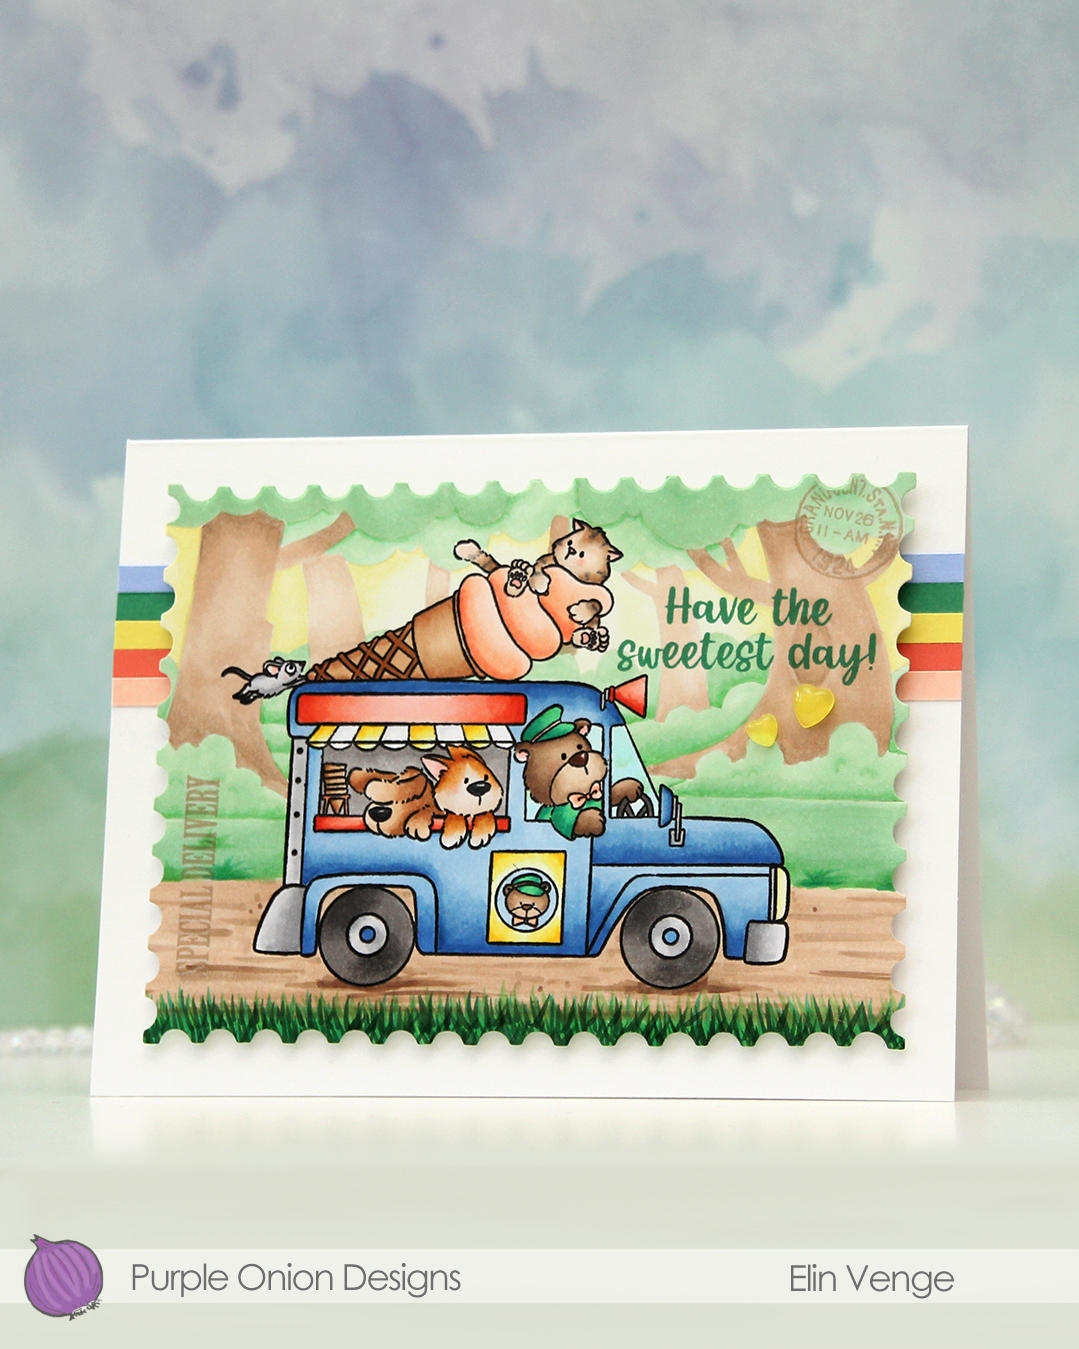 I colored my scene with Copics, and when the coloring was complete, I put the panel back in my Misti and stamped the truck again, this time in Obsidian ink from Altenew. It gives such crisp, dark black lines, but it’s not Copic friendly, so I need to do this step once the coloring is complete. I tend to hold my breath hoping I don’t offset the stamping, as I don’t want to have to start all over again. This time it worked. I stamped SPECIAL DELIVERY and the postmark stamp using Classic Kraft ink from Papertrey Ink. The stamps are from the
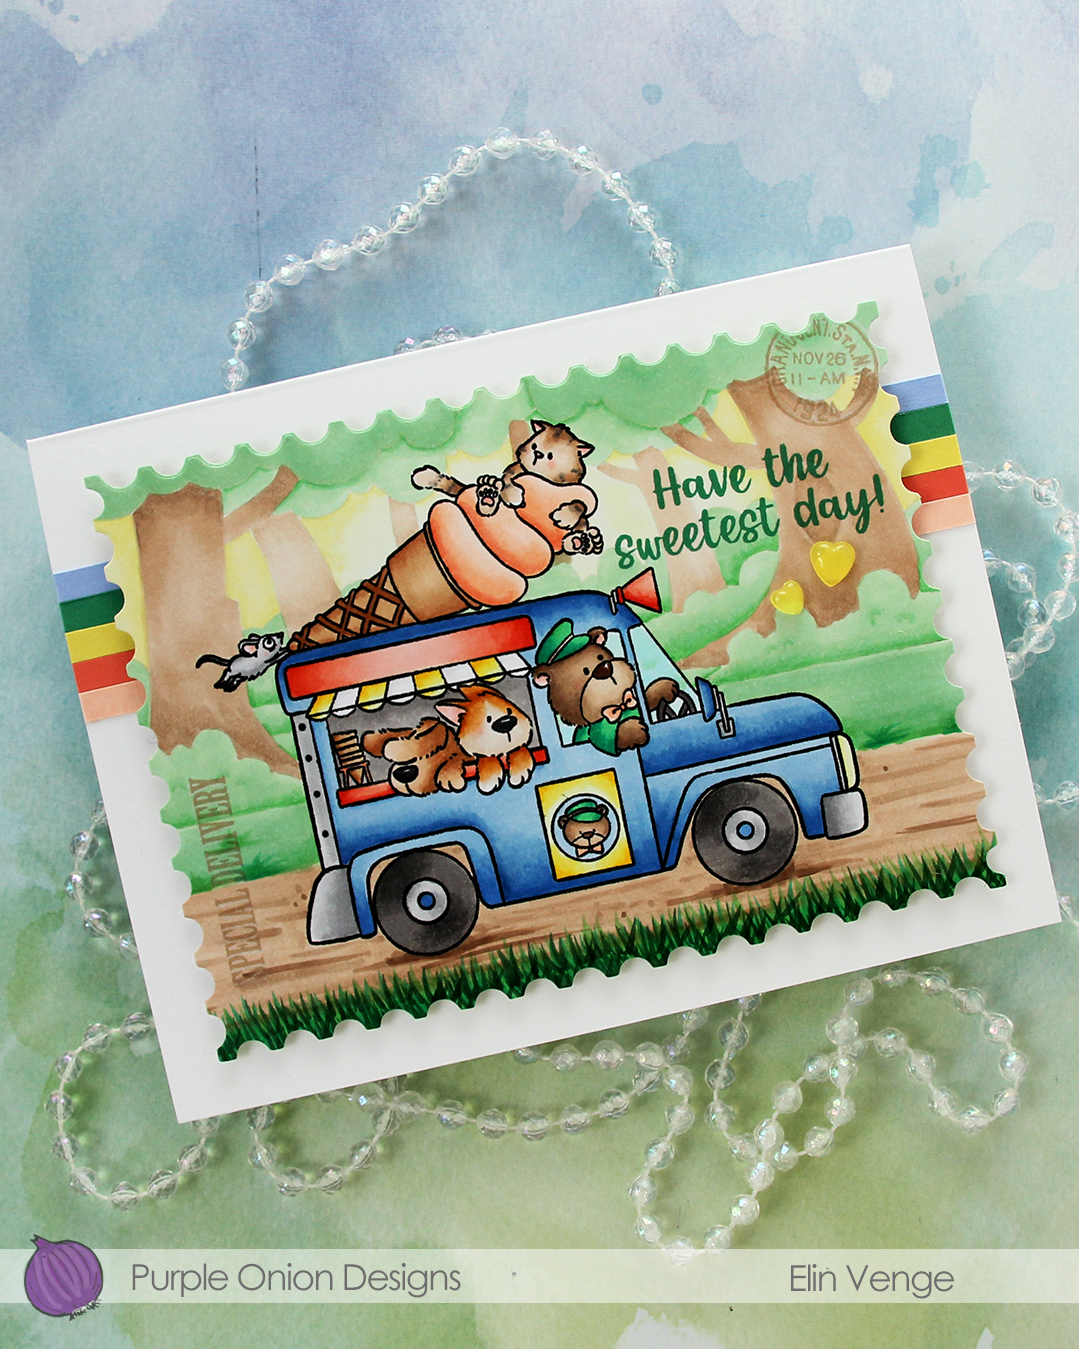
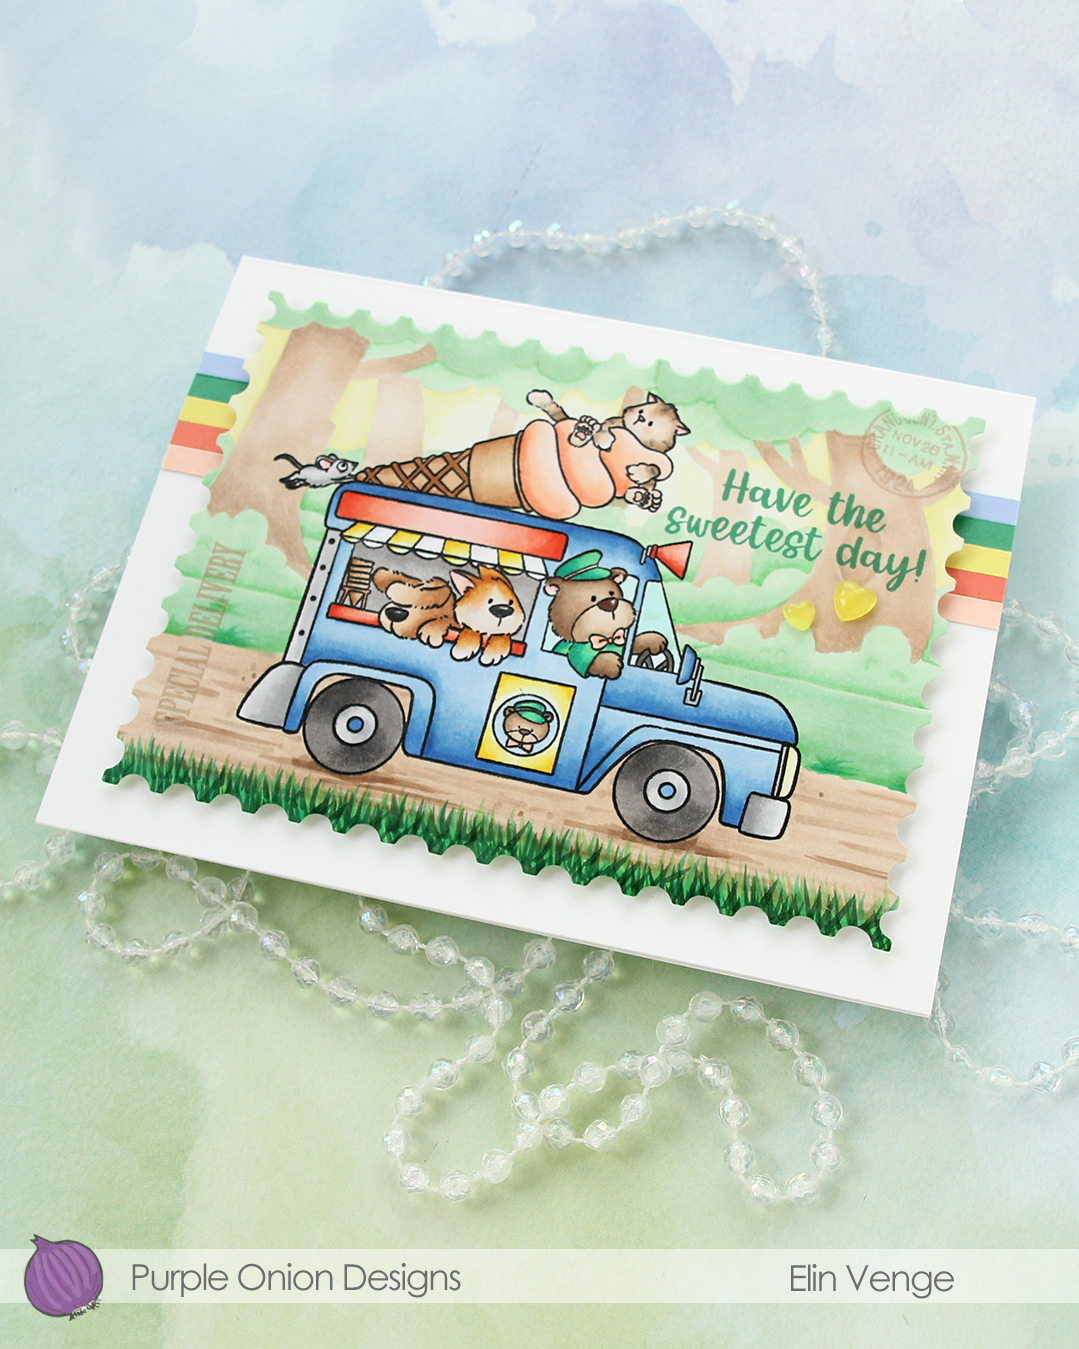 I adhered strips of solid color cardstock towards the top of my 6 1/2 x 5″ card base, before mounting my huge postage stamp scene in the center with foam tape. The colors I used are Nectar, Sorbet, Starfruit, Clover and Bluebell, all from Concord & 9th.
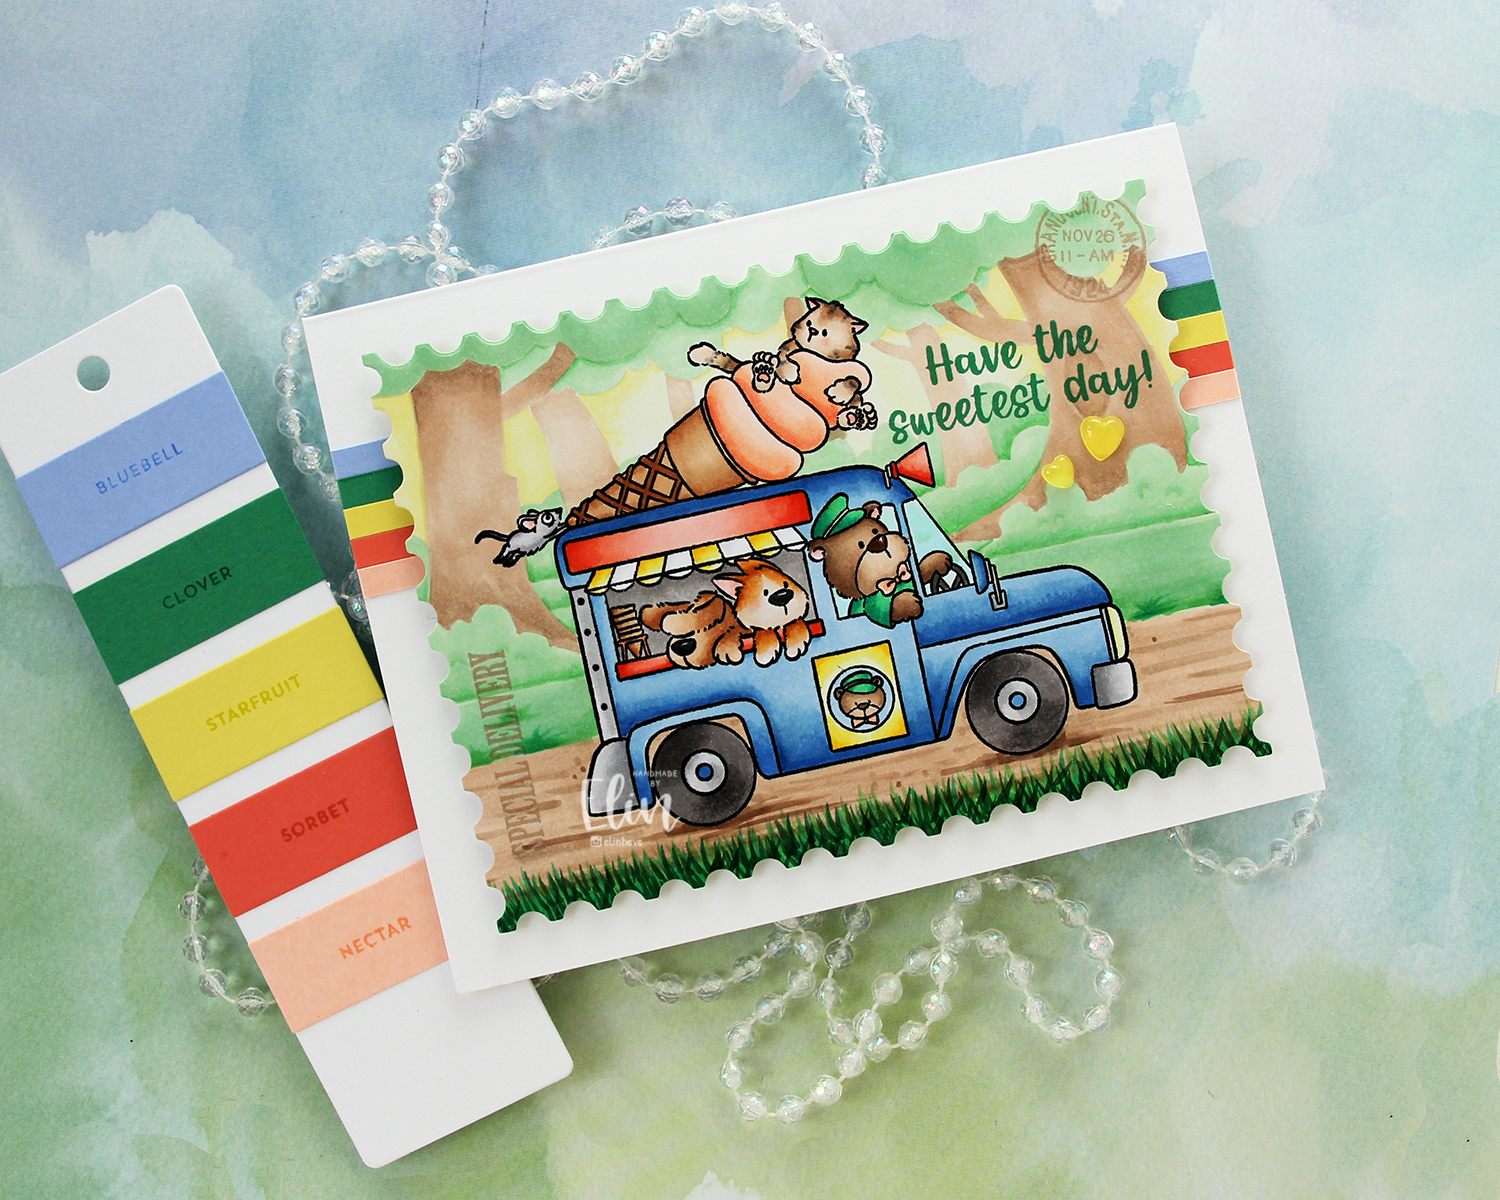 To finish off the card I added a couple of yellow hearts from the Beach Dreams Crystal collection from Little Things from Lucy’s Cards.
 I used a LOT of colors for this one. Very few colors for the background, but a lot for the truck and these cute friends!!
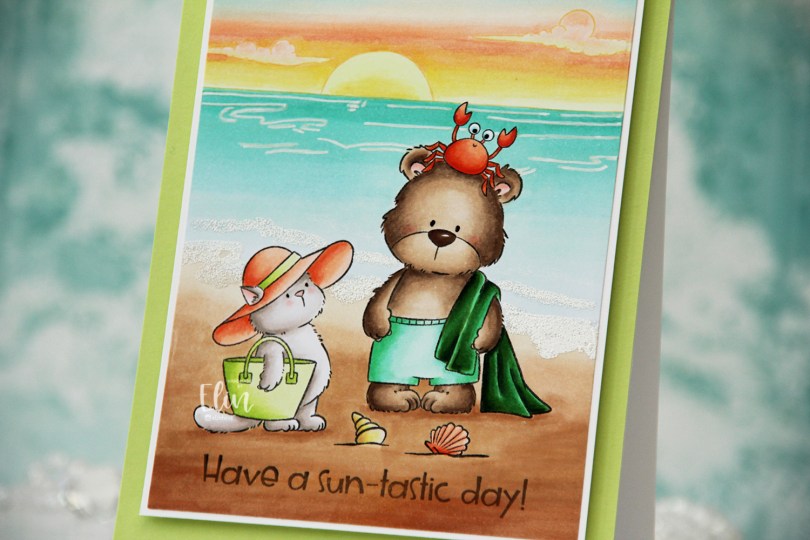
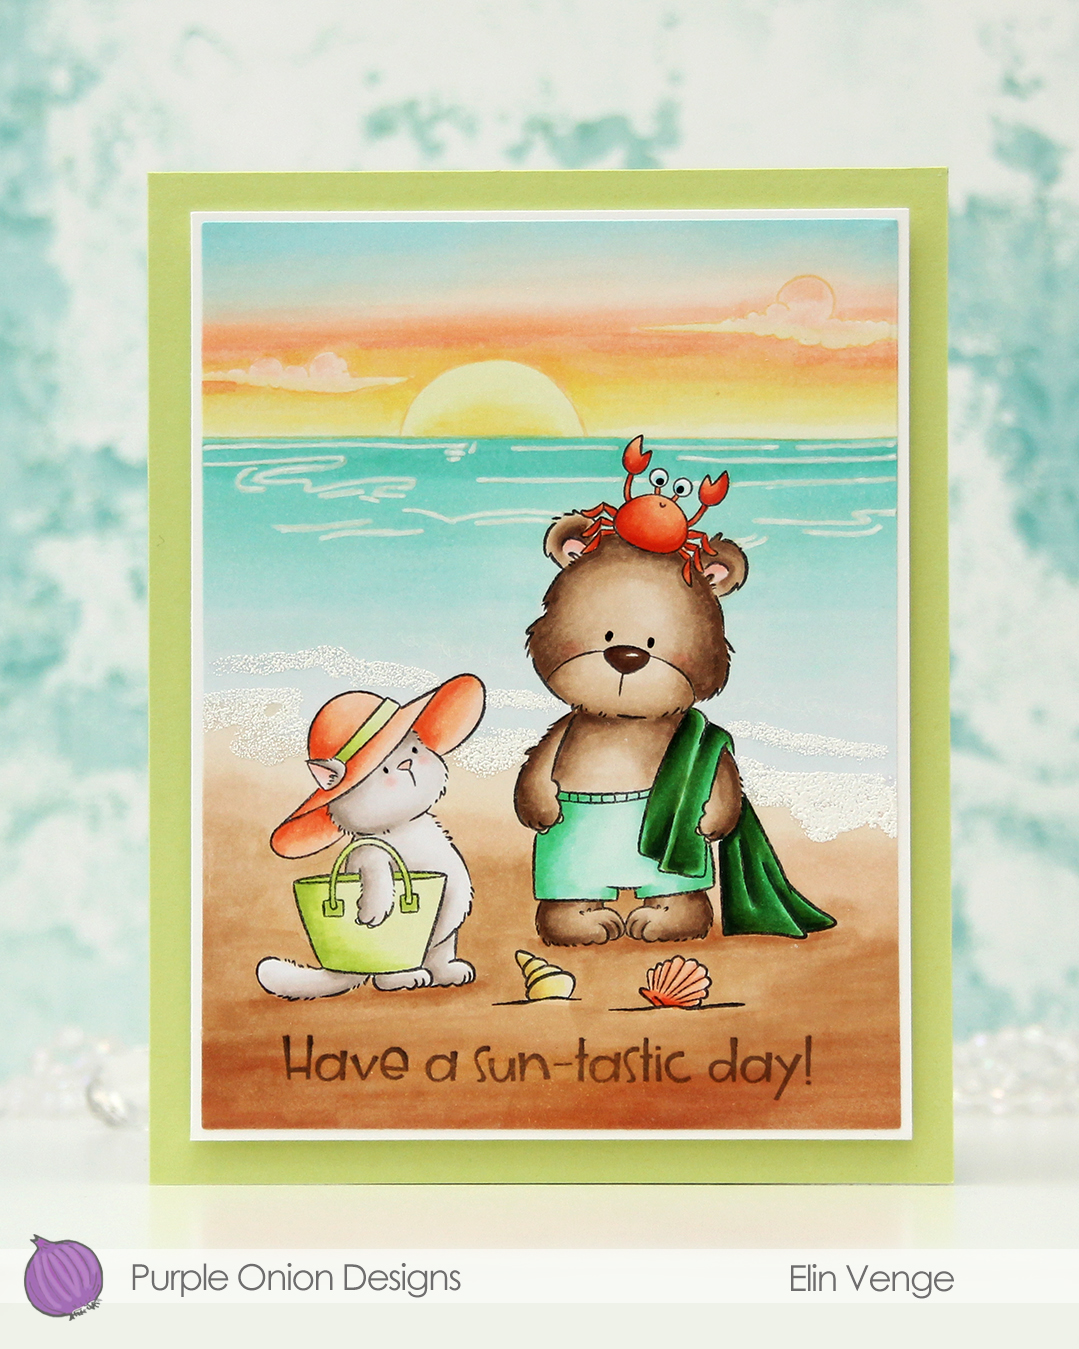 I stamped Tofu and Brownie in Extreme Black ink from My Favorite Things, placed a mask over top and stamped the Sunrise Sunset with Altenew Golden Honeycomb ink. I colored in my scene and decided to try a new twist for the sky. I don’t think I’ve ever used these particular color for a sky before, but I think it worked out well.
 I imagine they’re in a tropical location where the ocean has this very peaceful aqua color that fades into nothing as it reaches the shore. I tried to give the whole panel a dreamy vibe, and there’s not a whole lot of dark markers used. I did include a dark green towel and used more of the YR09 on the crab than I did on Tofu’s hat (believe it or not, it was used on Tofu’s hat, albeit in a very small amount). The greens play well together and work with the ocean, while the more corally color for the hat, seashell and crab play off the peach in the sunset.
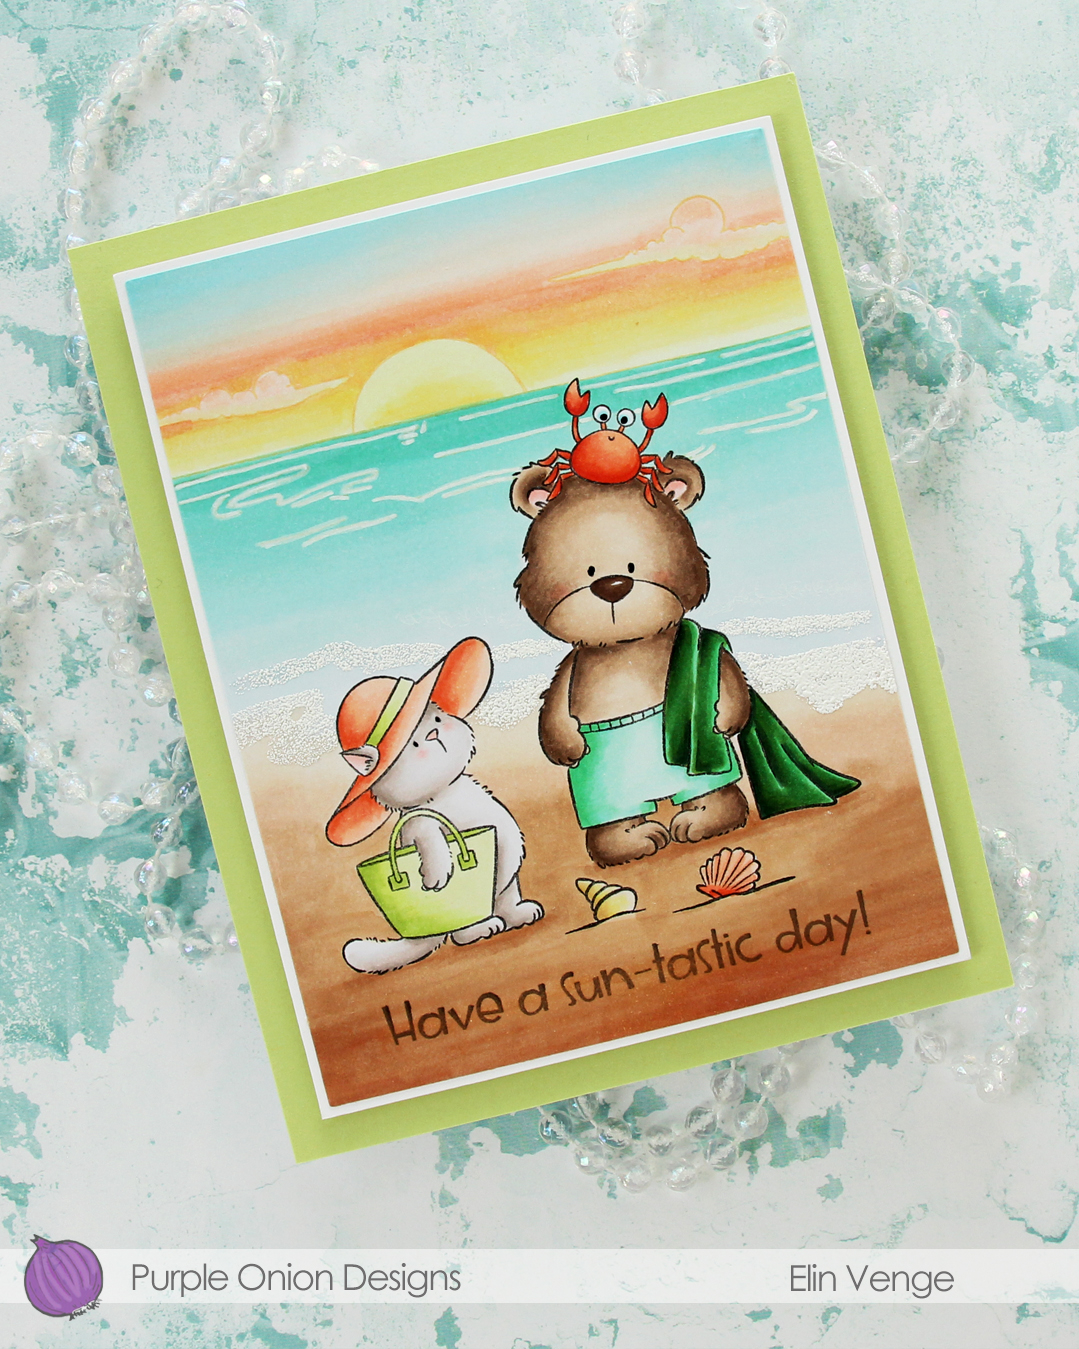 Once my image was colored, I cut my panel down using the larges die in the Additional A2 Layers die set from Waffle Flower. I stamped a
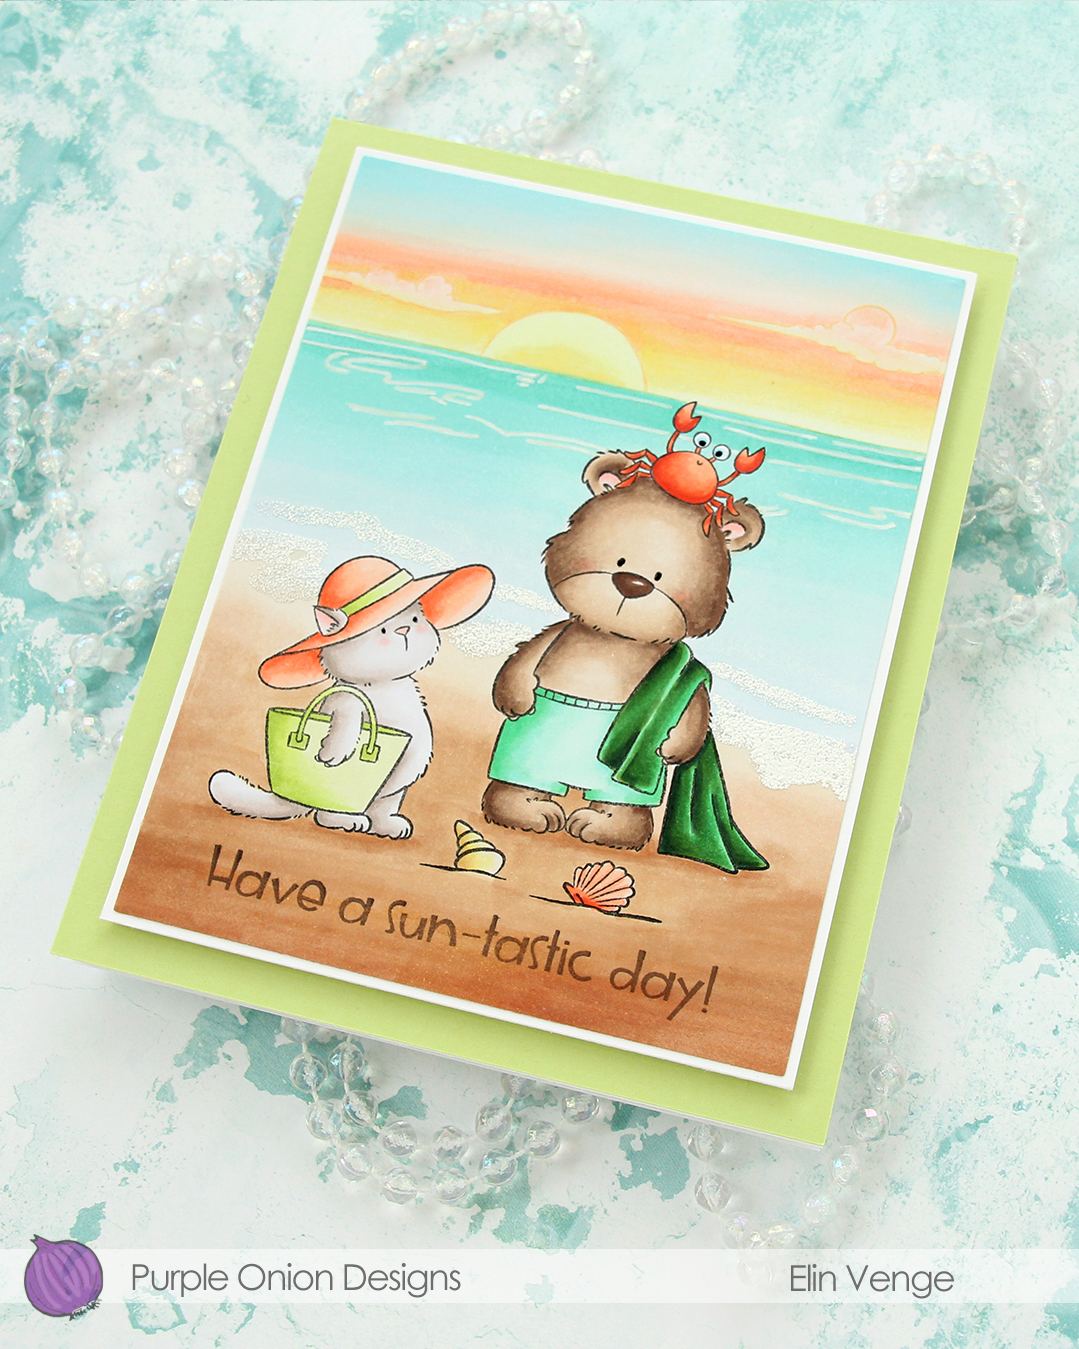 I used an extra fine point white Sharpie to add the ripples in the ocean, and used White puff embossing powder from Wow! to create the seafoam on the beach. I added a bit of black glaze pen to their eyes, and the glaze made the crab’s eyes bigger, which made him even funnier than he was originally. I adhered my colored piece to a panel of white cardstock cut to 4 1/4 x 5 1/2″, then mounted the whole thing onto a 4 3/4 x 6″ white card base covered with a panel of Sprout cardstock from Concord & 9th.
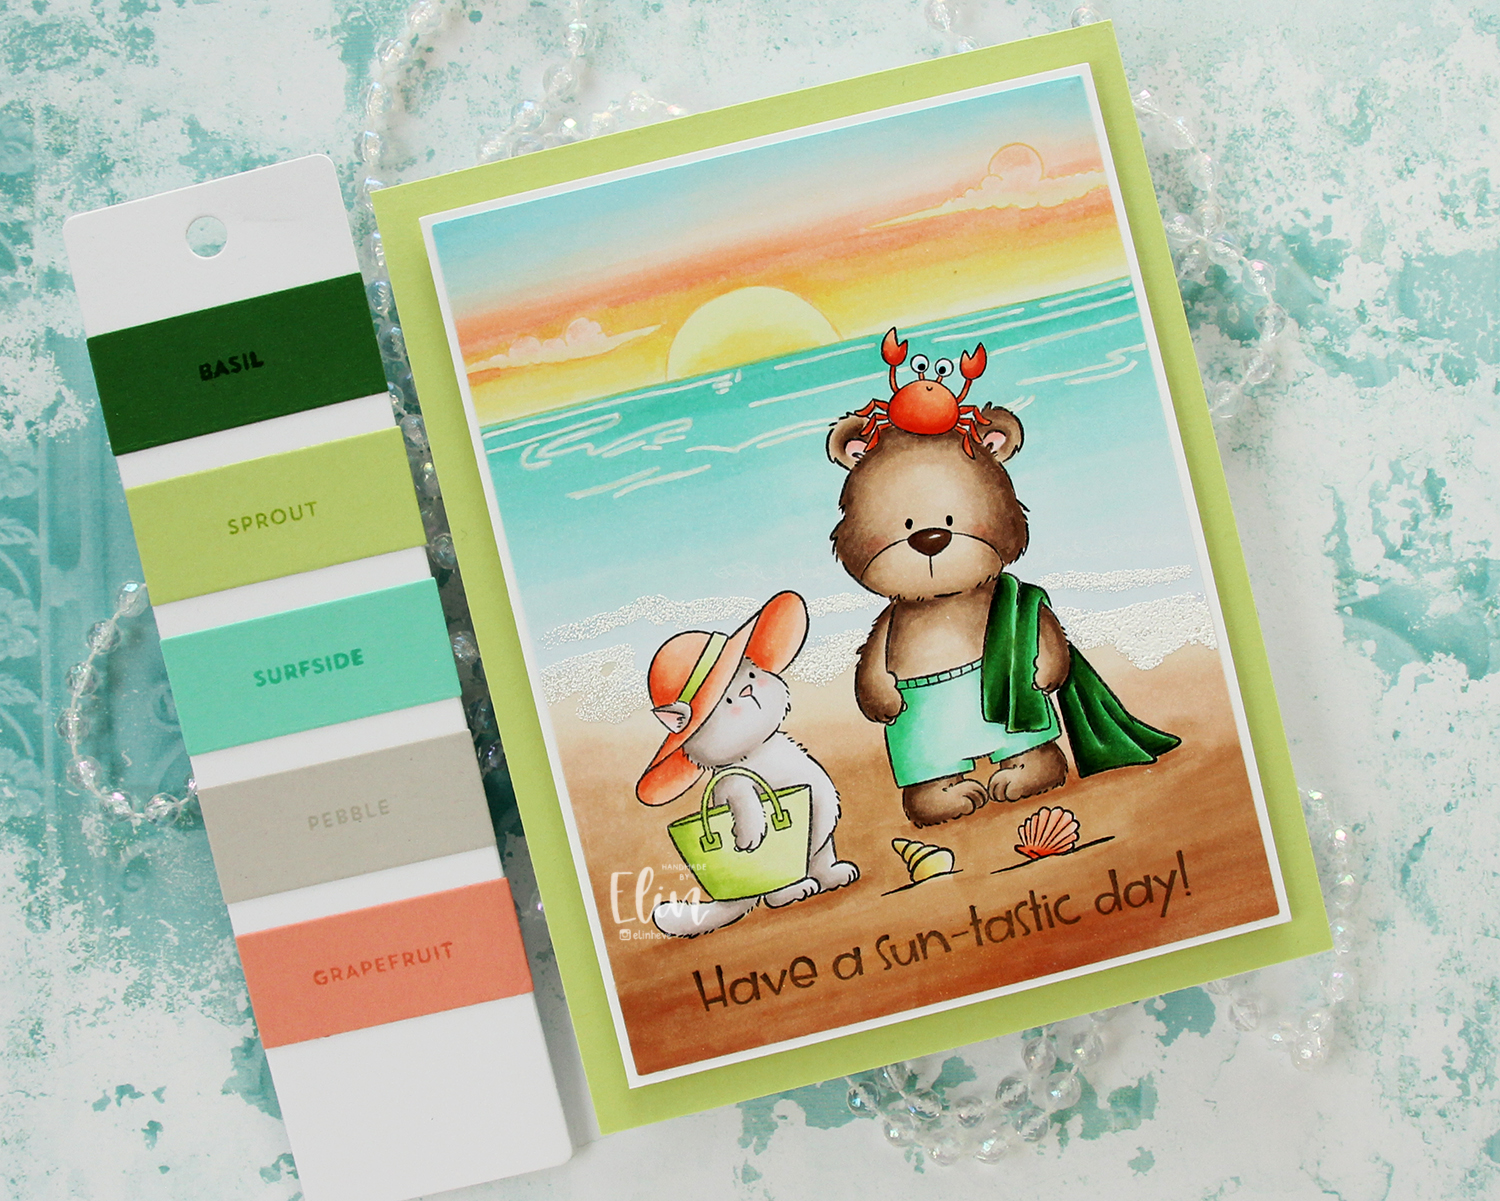
 Speaking of colors, I used a ton of Copic colors for this card. By the time I had colored the sky, I’d already used 11 colors; they add up fast!
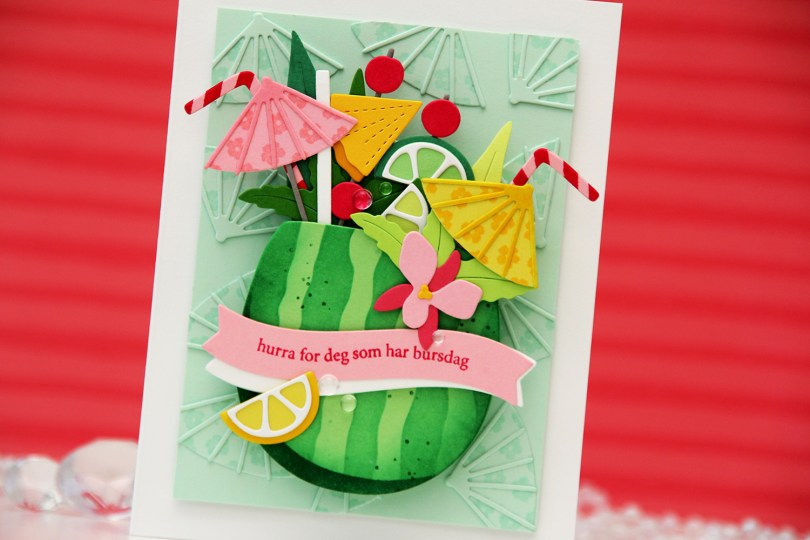
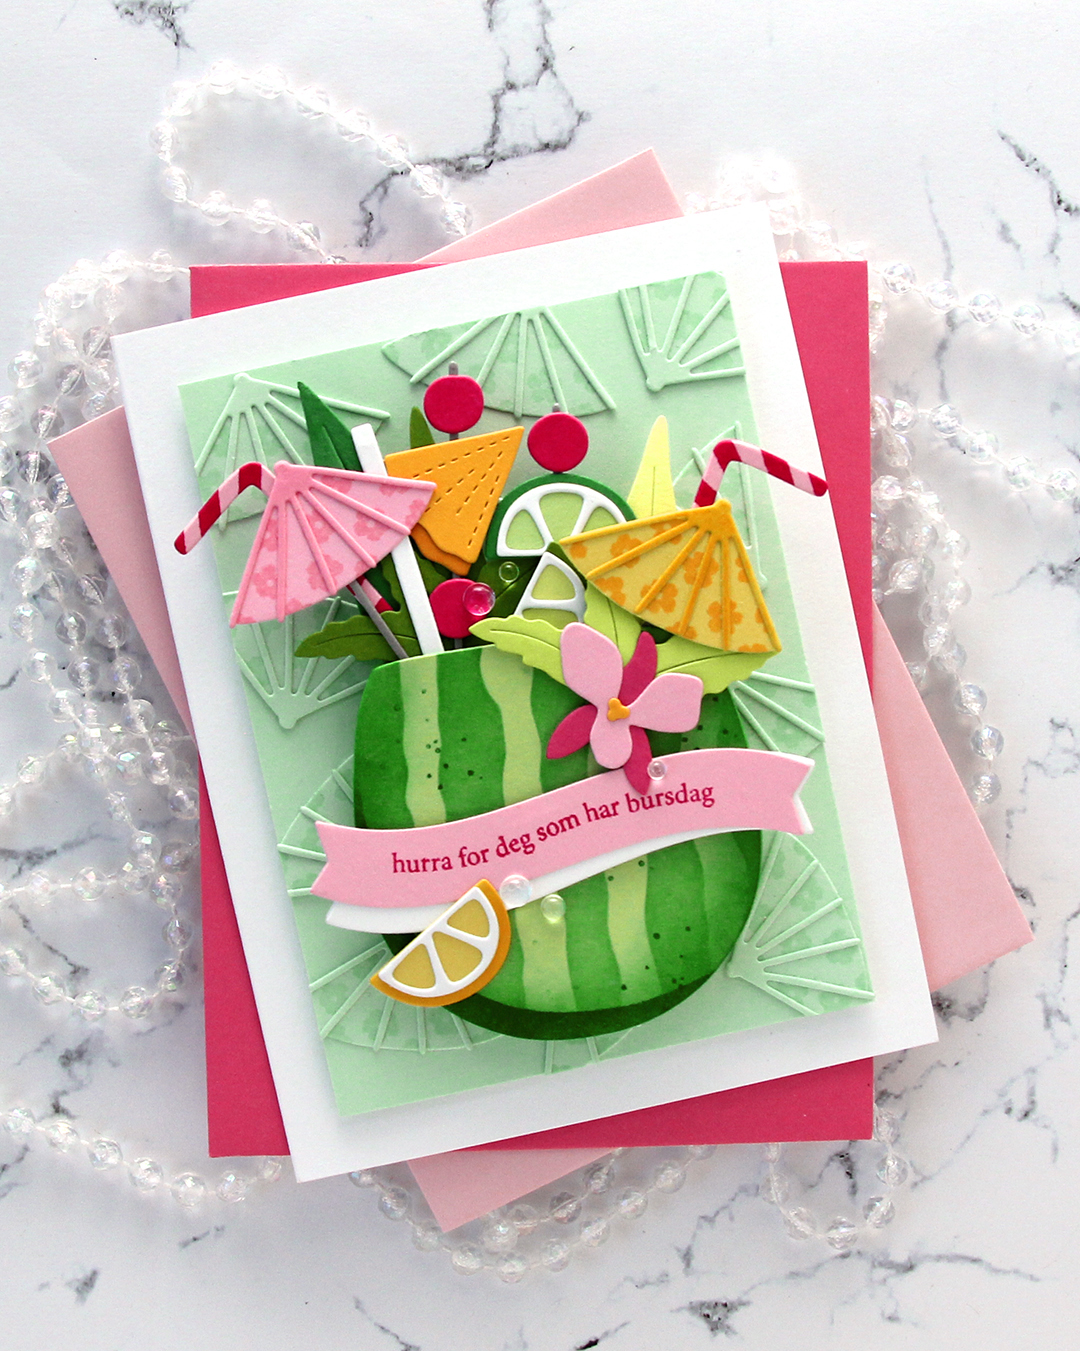
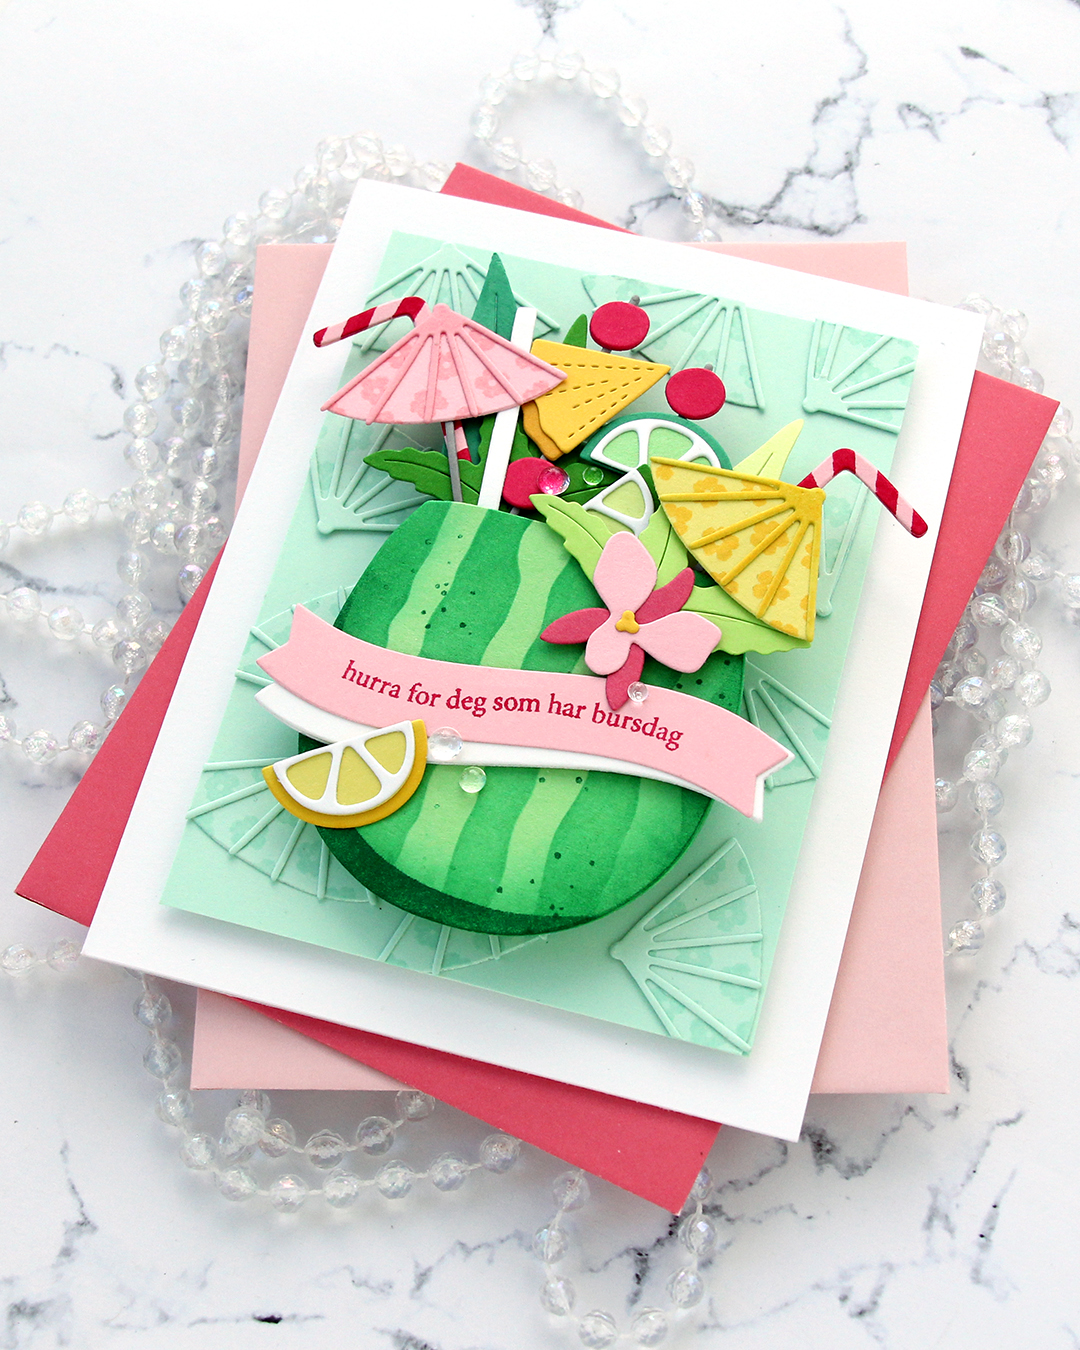
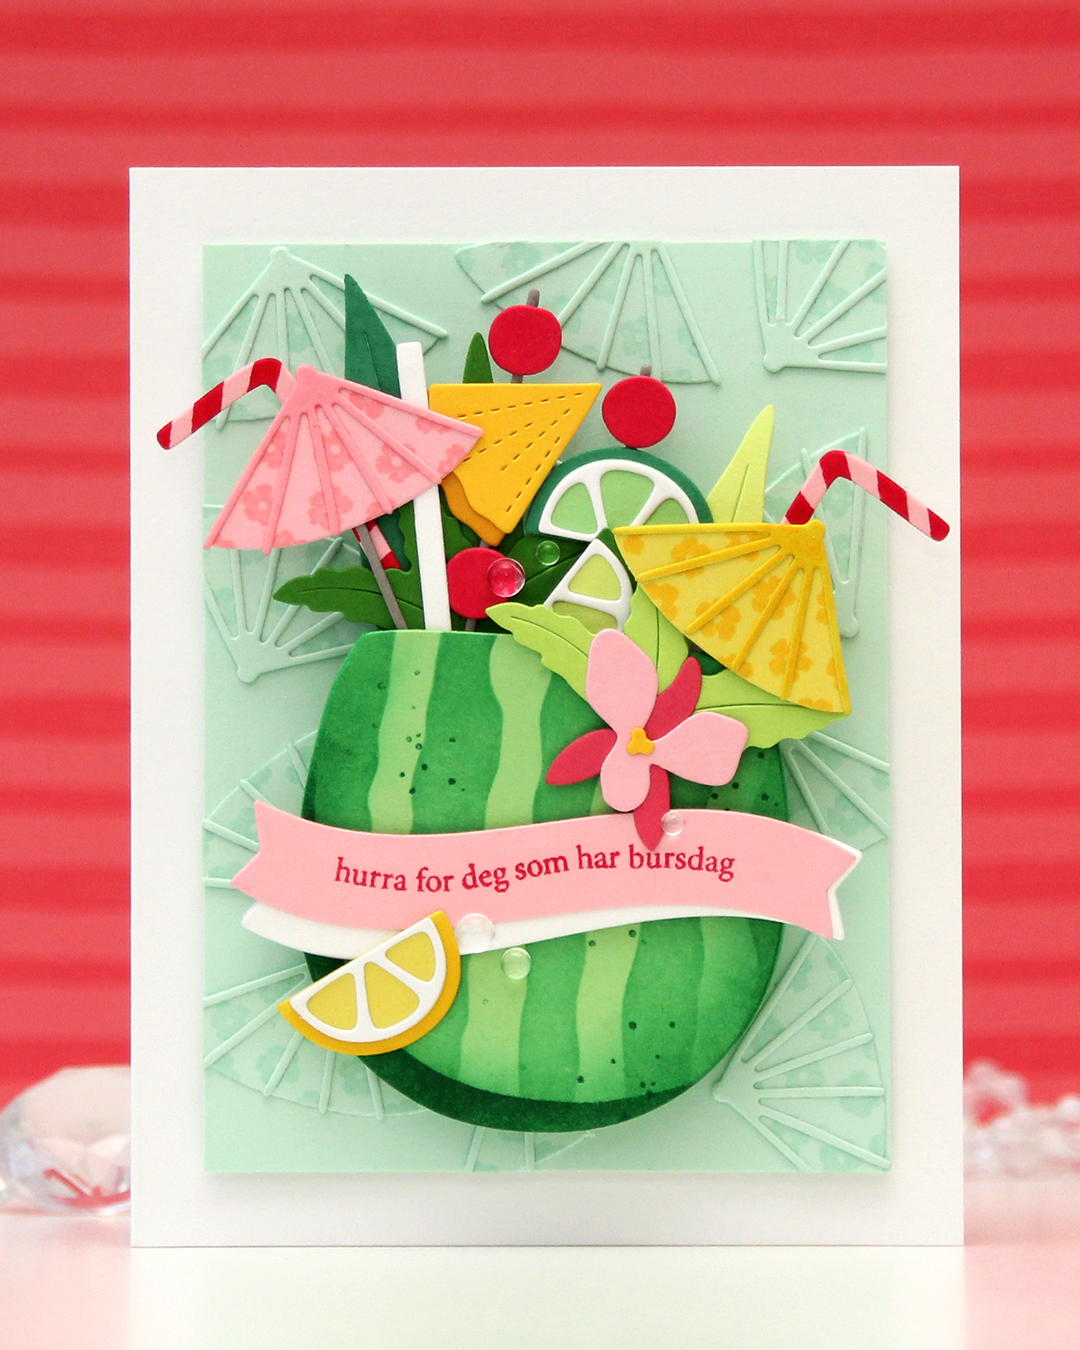 I needed a birthday card for my niece’s 16th birthday. She’s a lover of tropical fruits, and this was the perfect set to use for her birthday card. I die cut the watermelon from Vintage Jadeite cardstock from Papertrey Ink and used the stencil set to in blend the stripes on the watermelon rind using Clover ink from Concord & 9th. I stamped the spots in the coordinating stamp set using the same color. I die cut a few extra watermelons from Vintage Jadeite. I knew I was going to pop up my watermelon on an action wobble (I actually ended up using two wobbles), so it needed to be sturdy.
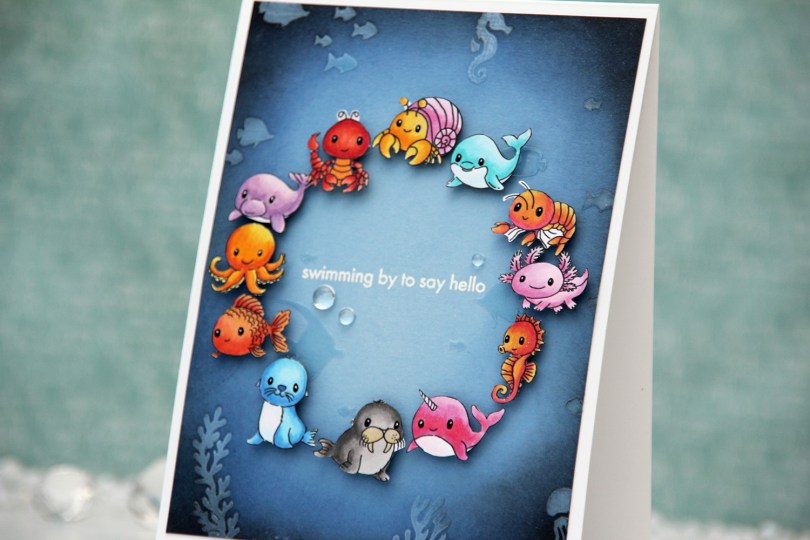
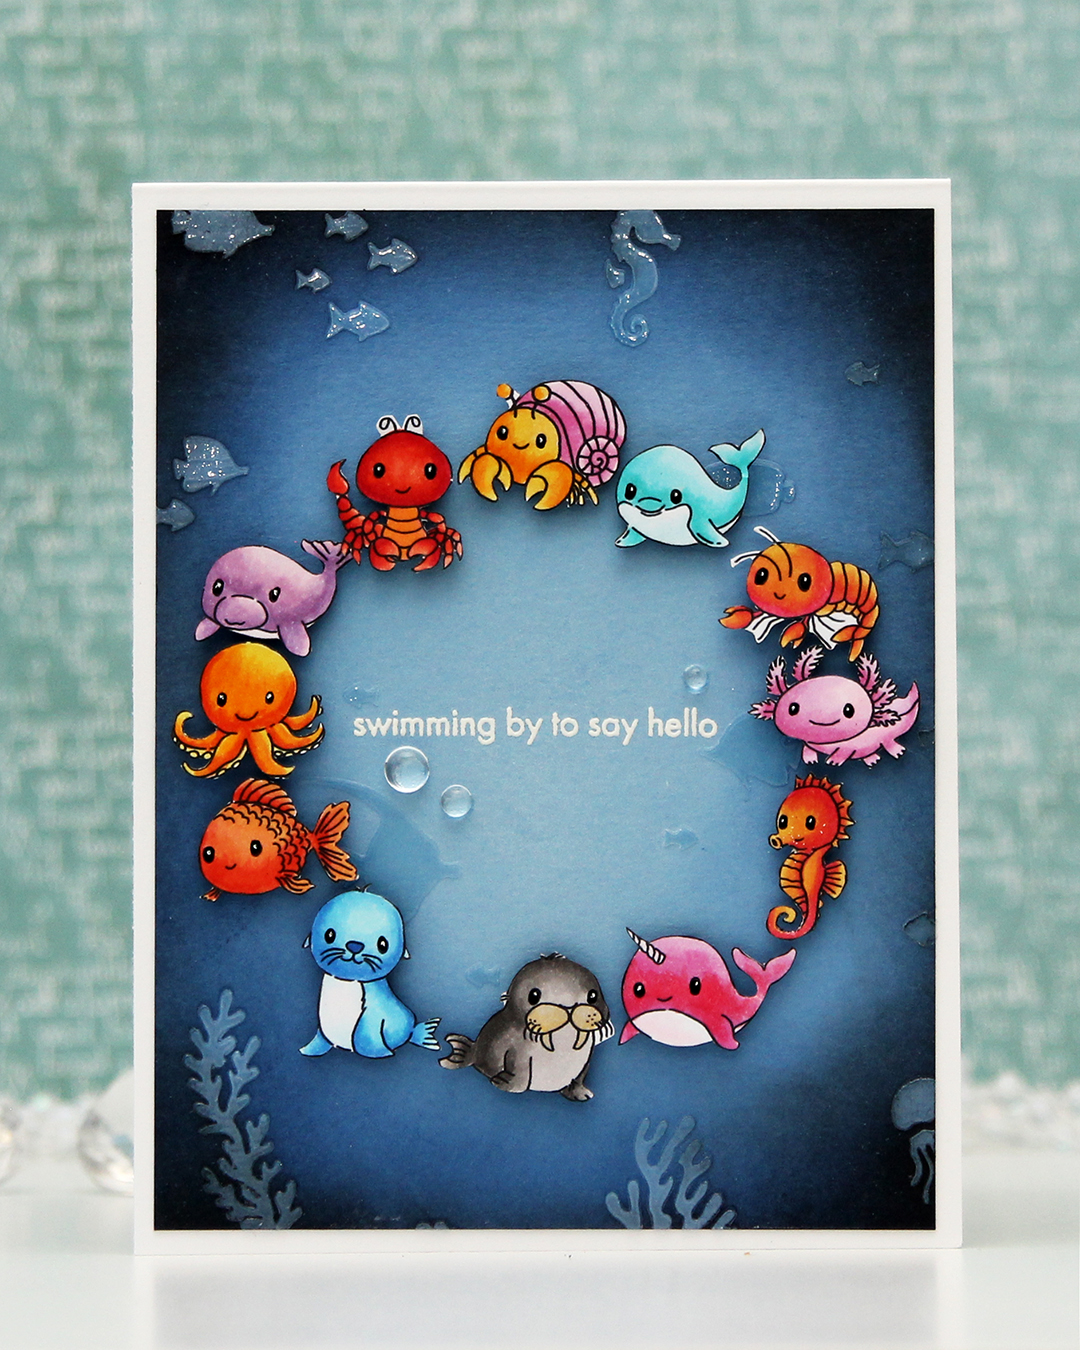 For this one, I started with a panel of Lazy Day cardstock from My Favorite Things. I used one of the stencils in the Undersea Jamboree stencil set from Altenew to emboss a texture onto my panel. It was very subtle, so I put the stencil back in place and added Crystal 3D gel from Altenew over the top. This gives a fun texture, shine and a very tactile feel to the panel. Once the gel was dry, I cropped down the panel slightly, before inking up the edges with Midnight and Black ink from Concord and 9th to darken my undersea panel. The gel resists the ink I put on, making it easy to buff off the excess.
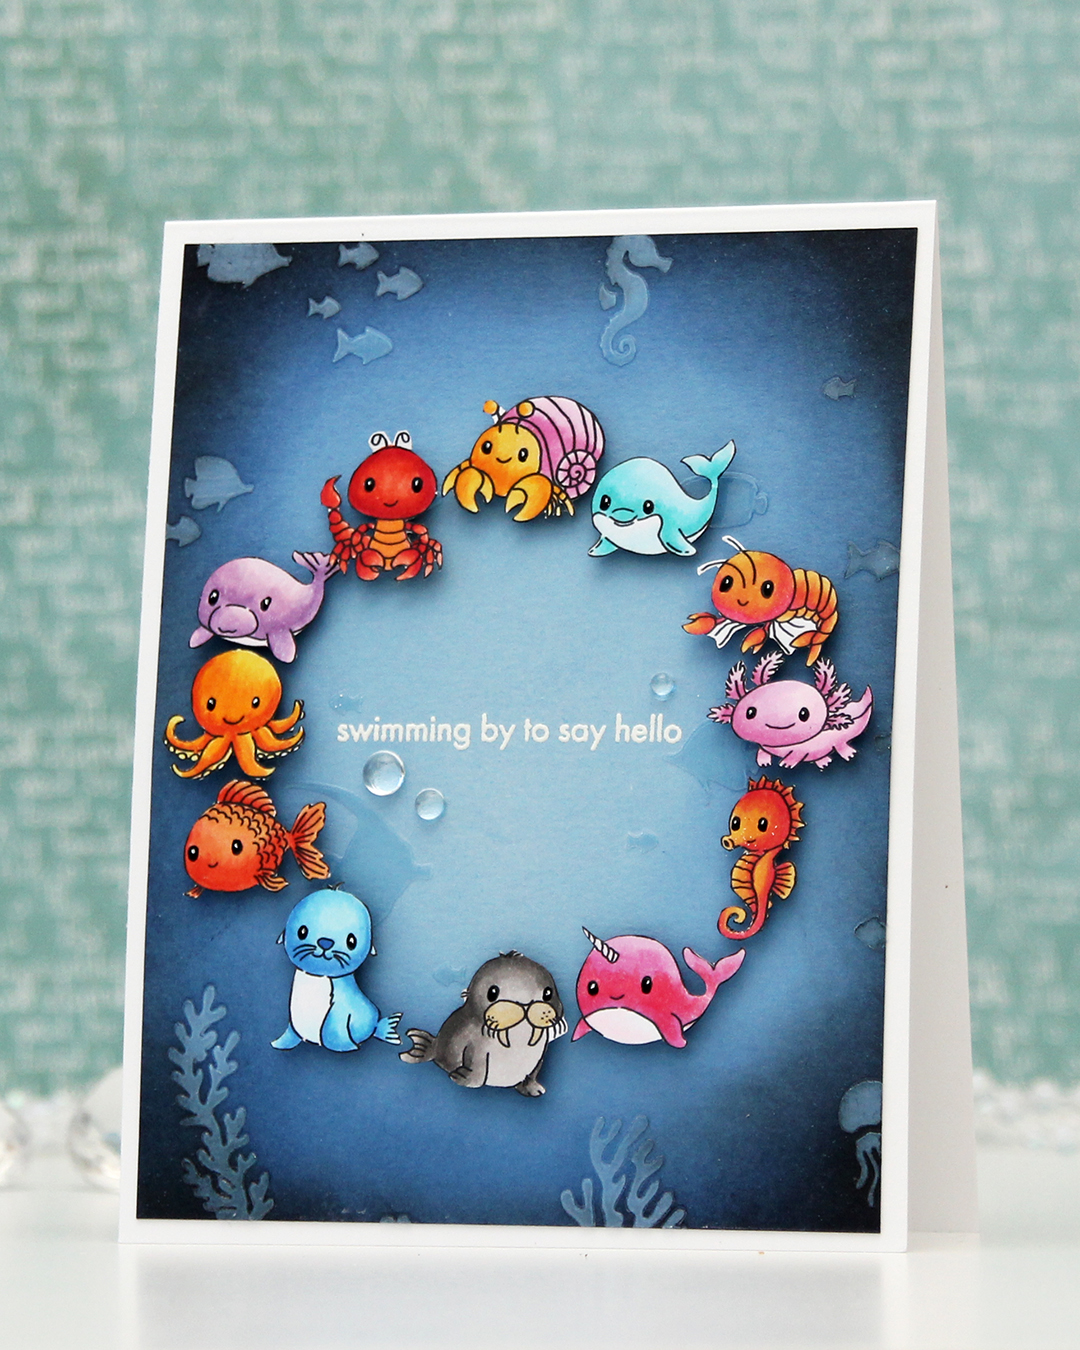 I adhered my panel to a top fold white card base I created from Stamper’s Select White cardstock from Papertrey Ink. I arranged my animals in a circle and mounted each on foam tape. I realized after I took the photos that I’ve left a bit of white on a few of the animals, particularly on the shrimp and the lobster, but I colored and fussy cut the images a month before I put the card together and didn’t remember that I’d left the white bits to deal with later. Once they were mounted with foam tape, it was too late to do anything about it, though. Live and learn, I guess.
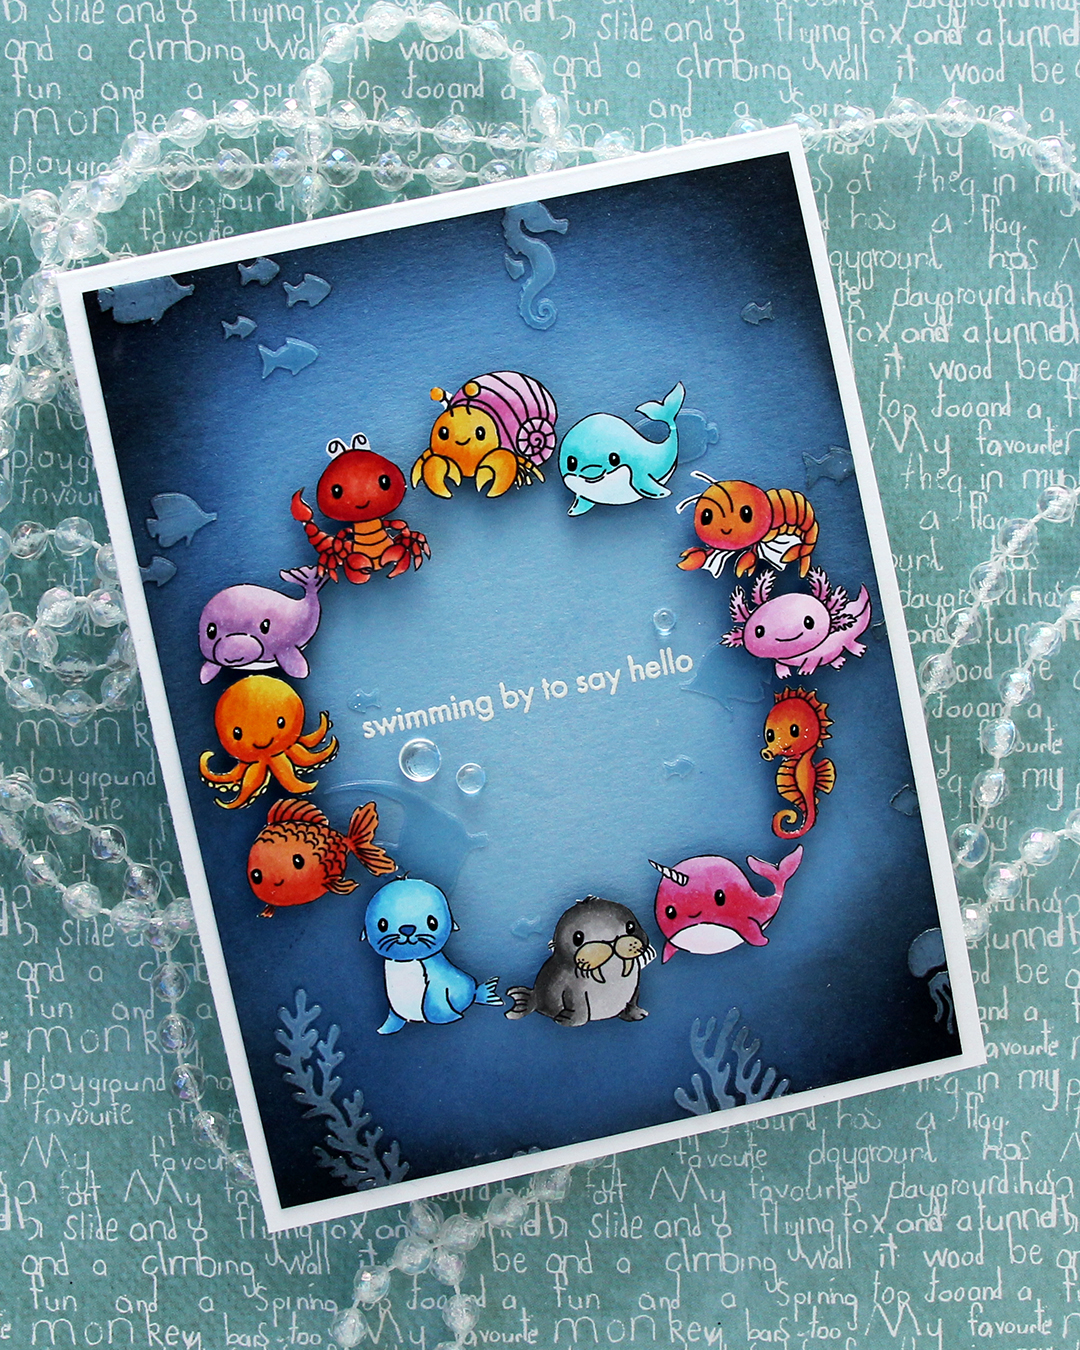 I was originally planning on adding a black strip with a white heat embossed sentiment in the center, but I thought it would look just as good, if not better with the heat embossed sentiment directly on the background. I could use the black strip if the white didn’t work out, right? I only had one chance at this, as the critters were already glued down. I put the panel in my Misti, used lots of antistatic powder and stamped the sentiment from the Coral Reef Wonders stamp set from Altenew using VersaMark ink, before sprinkling on super detailed white embossing powder from Ranger and heat set from the back. I always do my heat embossing from the back, it gives a much smoother result than heat embossing from the front. It turned out perfect, and I didn’t have to resort to plan B with the black sentiment strip.
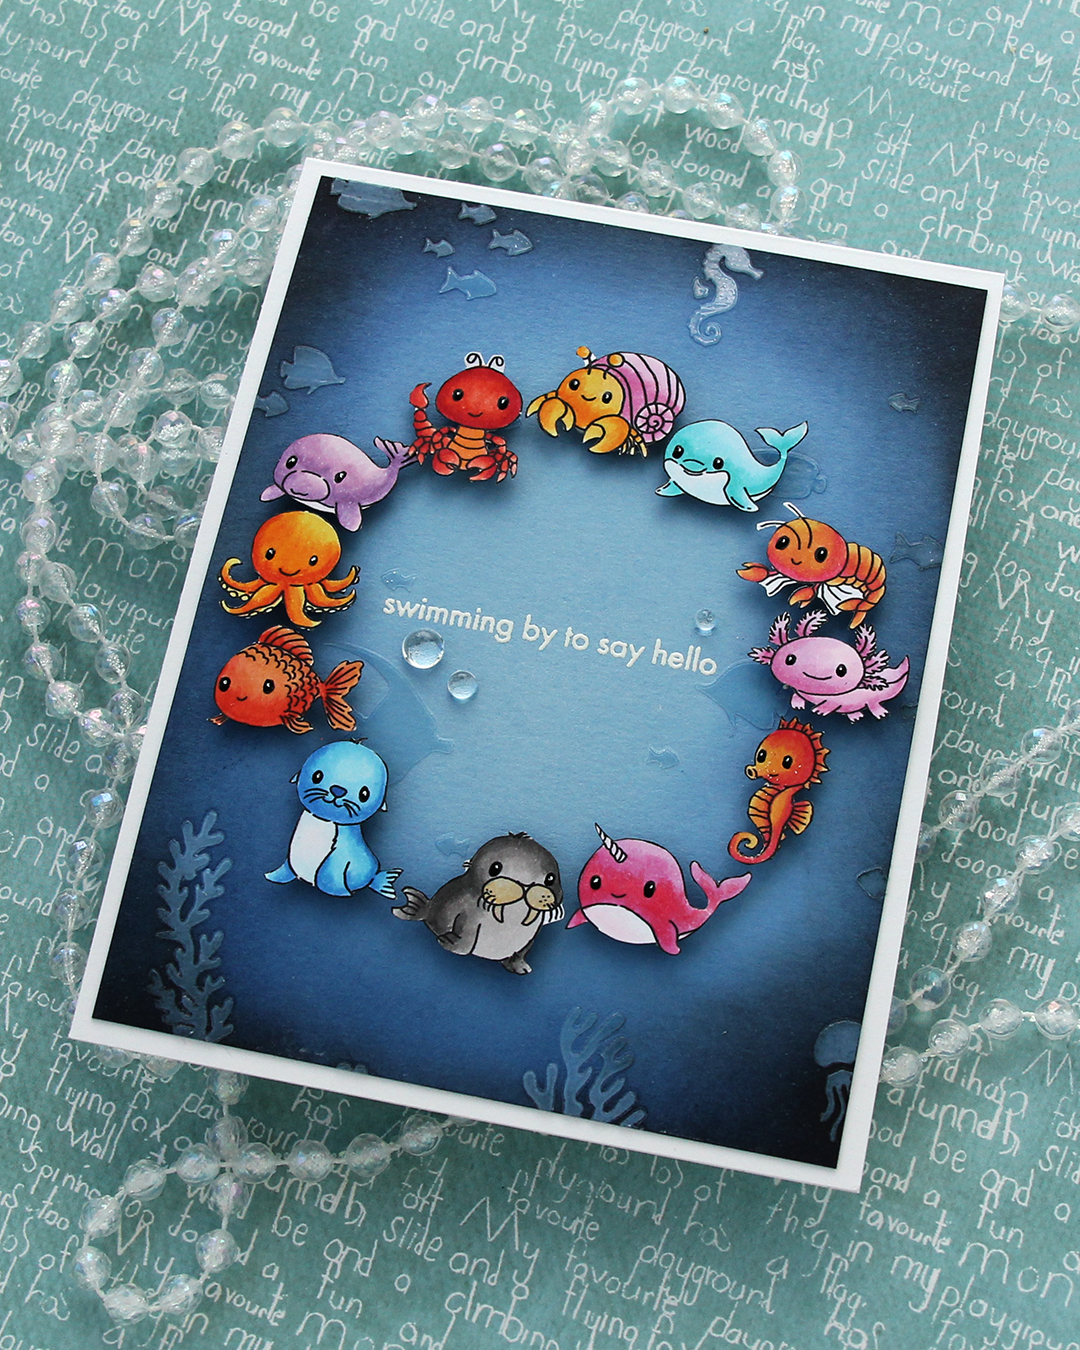 I added a few dew drops from Concord & 9th near the sentiment. They work well as bubbles and they add more shine. I also added black glaze and a white dot with a 05 Gelly Roll to their eyes once the black glaze pen was dry.
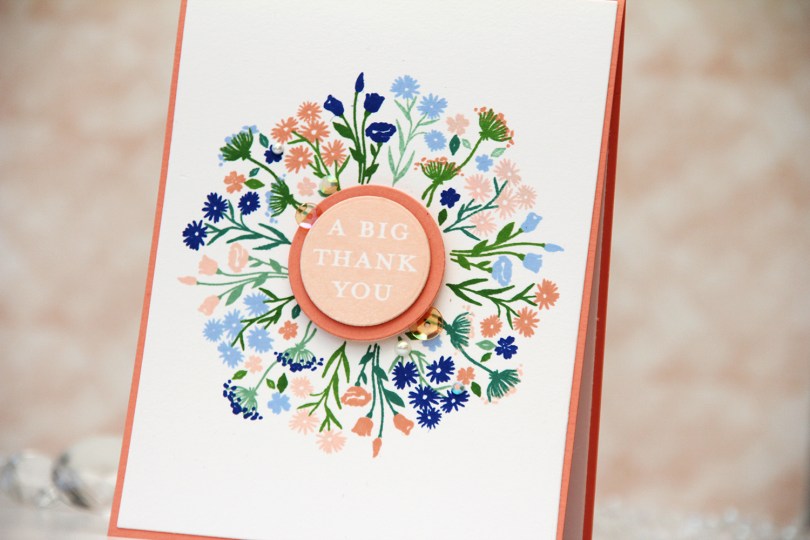
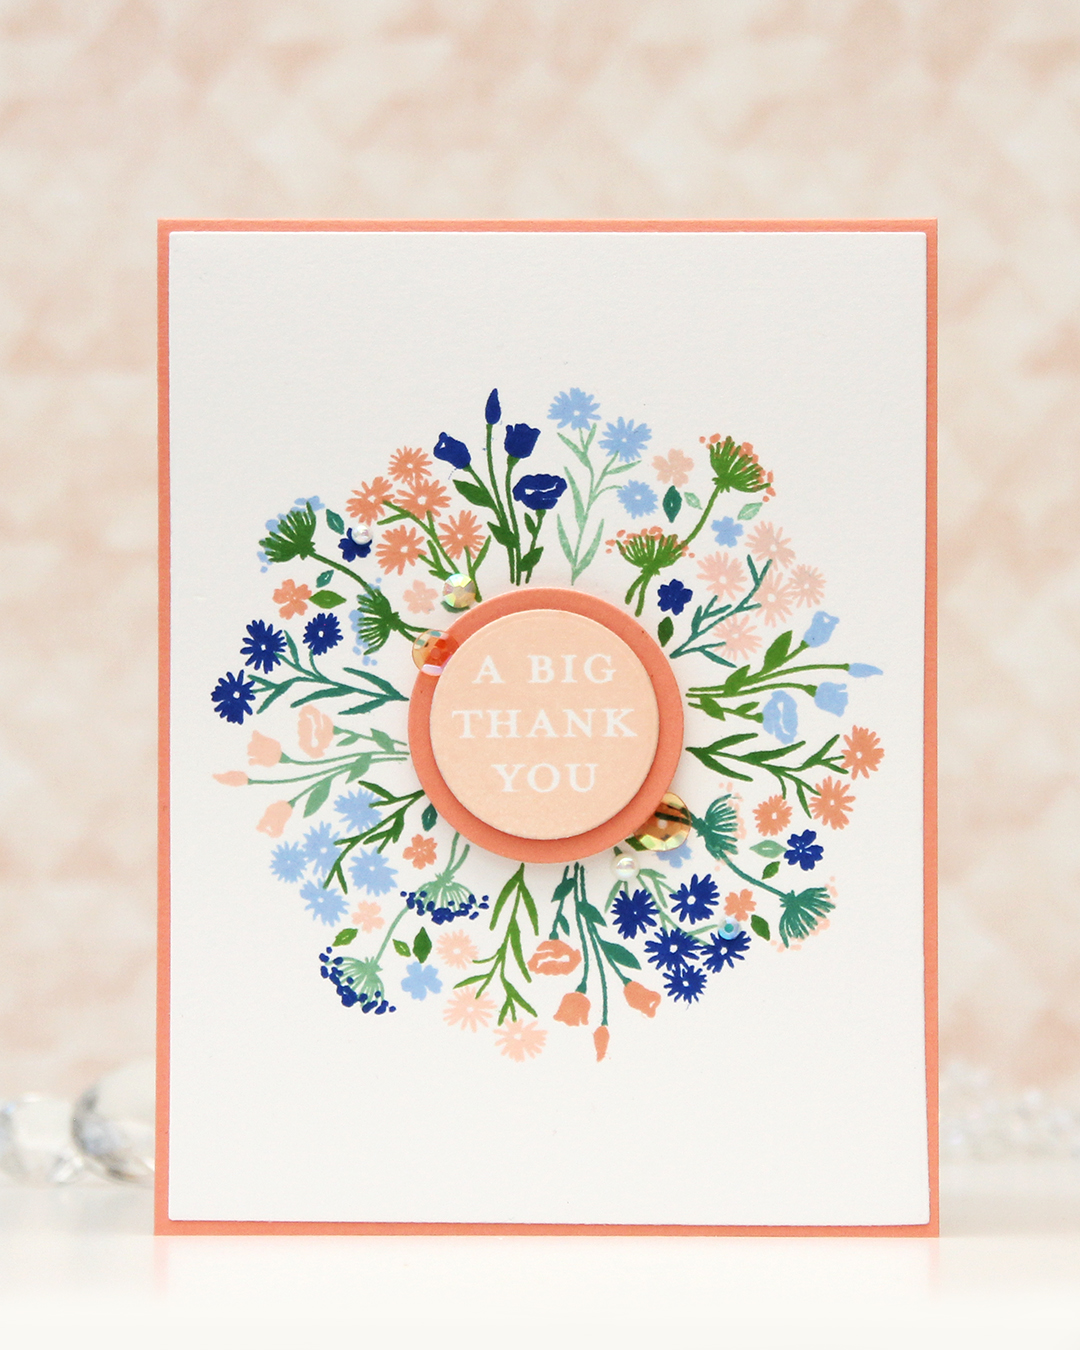 I’ve been made aware that this beautiful peach is my signature color. I kind of thought it would be blue, it’s my favorite color, after all, but I don’t make as many blue cards as I used to. Anyway, peach works with just about everything. It’s great with blue, it works really well with green and it’s also dynamite with pinks and yellows. It’s just a really good color. For this card I teamed it up with blue. More specifically, Capri and Bluebell from Concord & 9th, which were both in the new color release this spring. Capri is the most amazing color!!
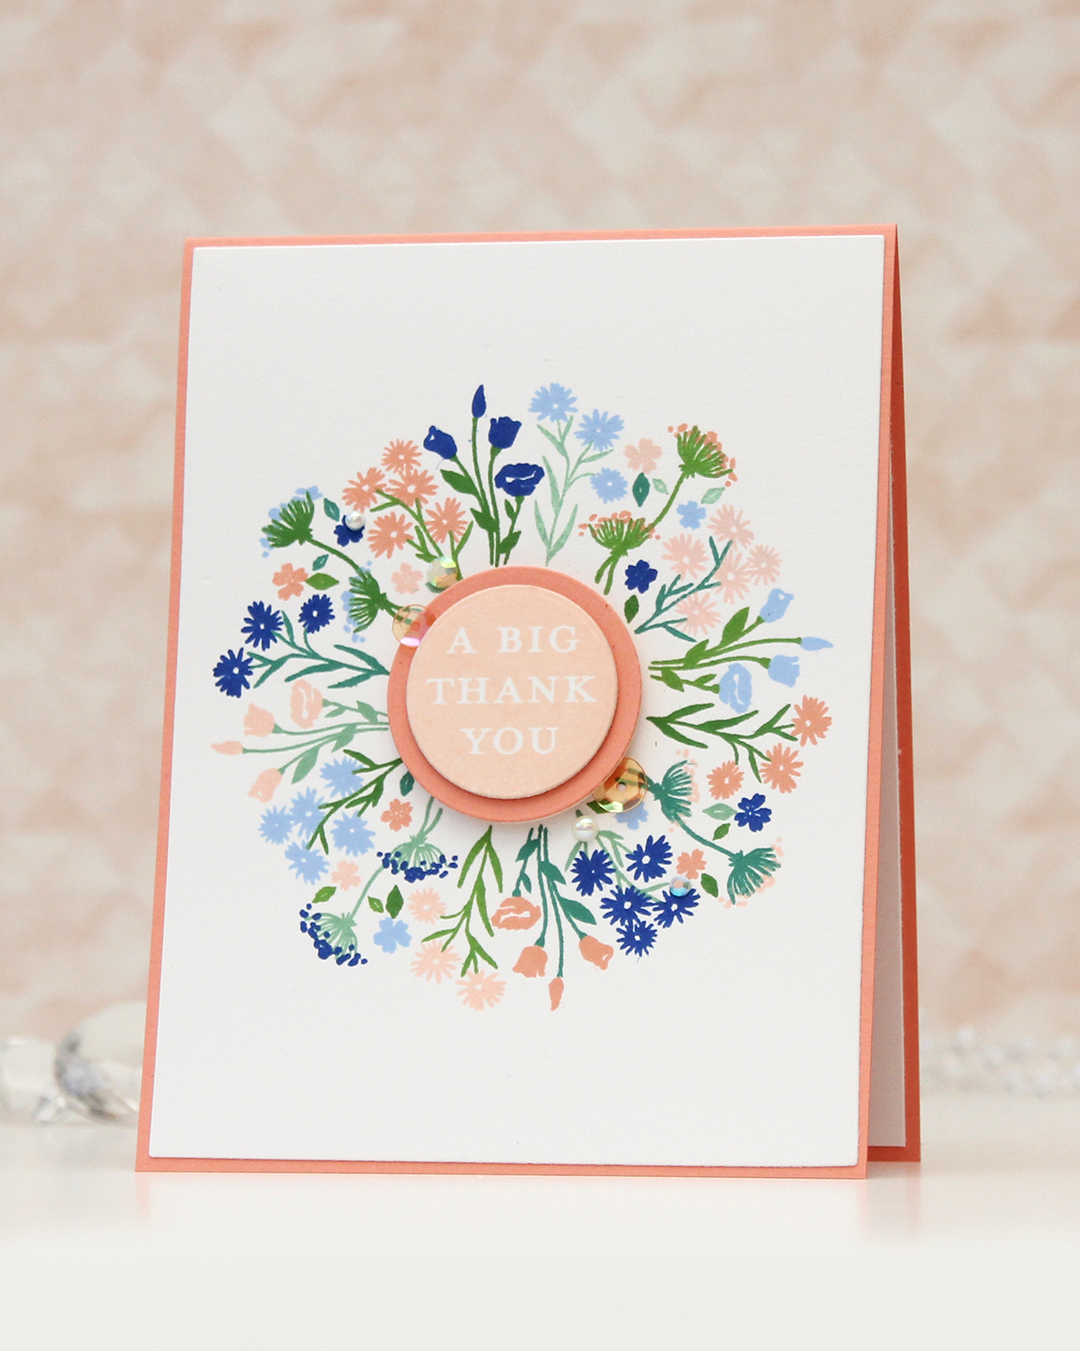
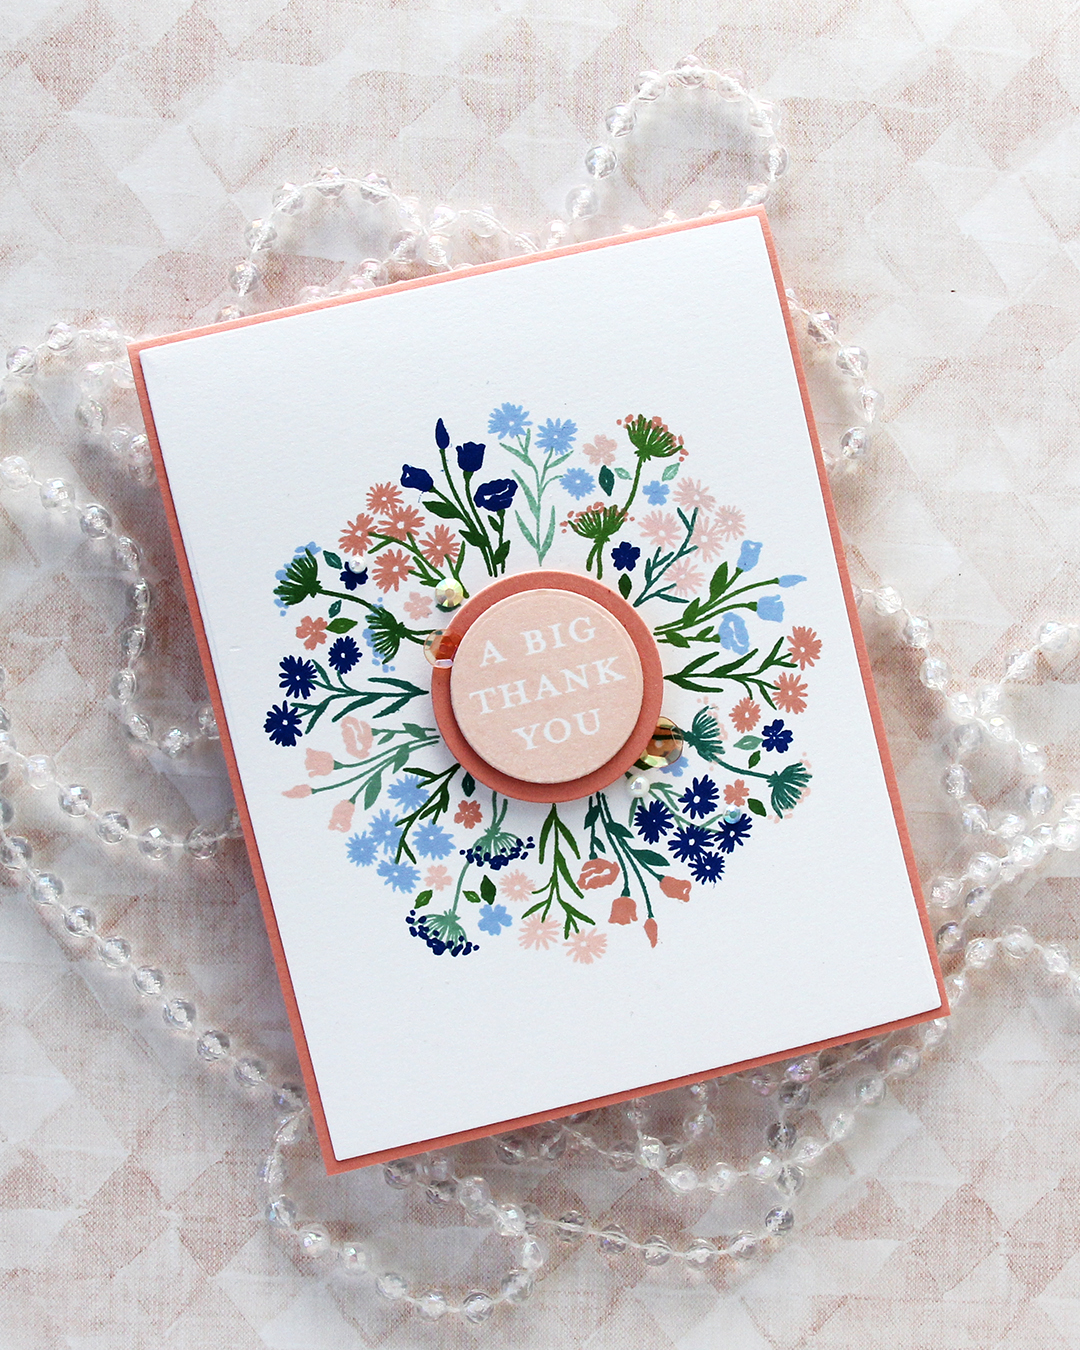 I cut my panel down using the largest die in the Additional A2 Layers die set from Waffle Flower and adhered it to an A2 card base I created from Grapefruit cardstock from Concord & 9th. I stamped one of the sentiments in the Bouquet turnabout stamp set using Nectar ink, die cut it with a circle die, then mounted it on a die cut circle from Grapefruit cardstock, which I then mounted in the center of the card.
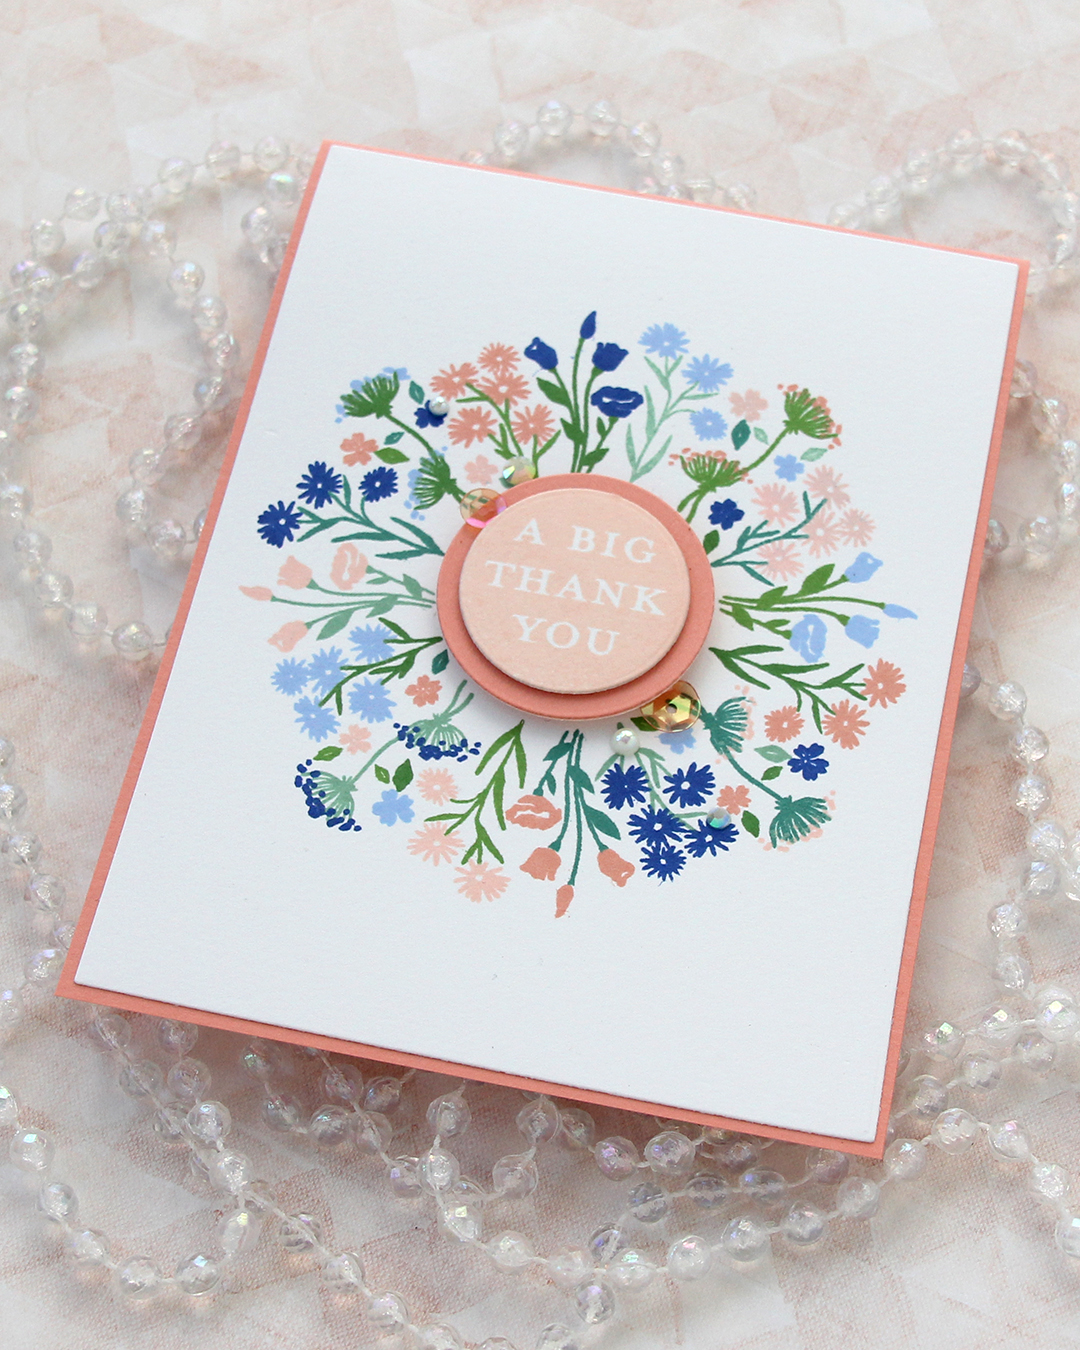 I finished off the card with a few pearls, gems and sequins from the Melon mix from Little Things from Lucy’s Cards.
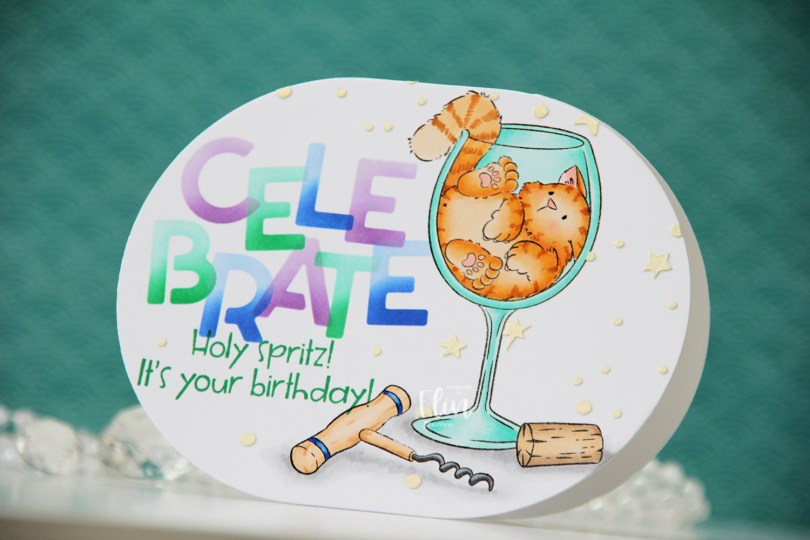
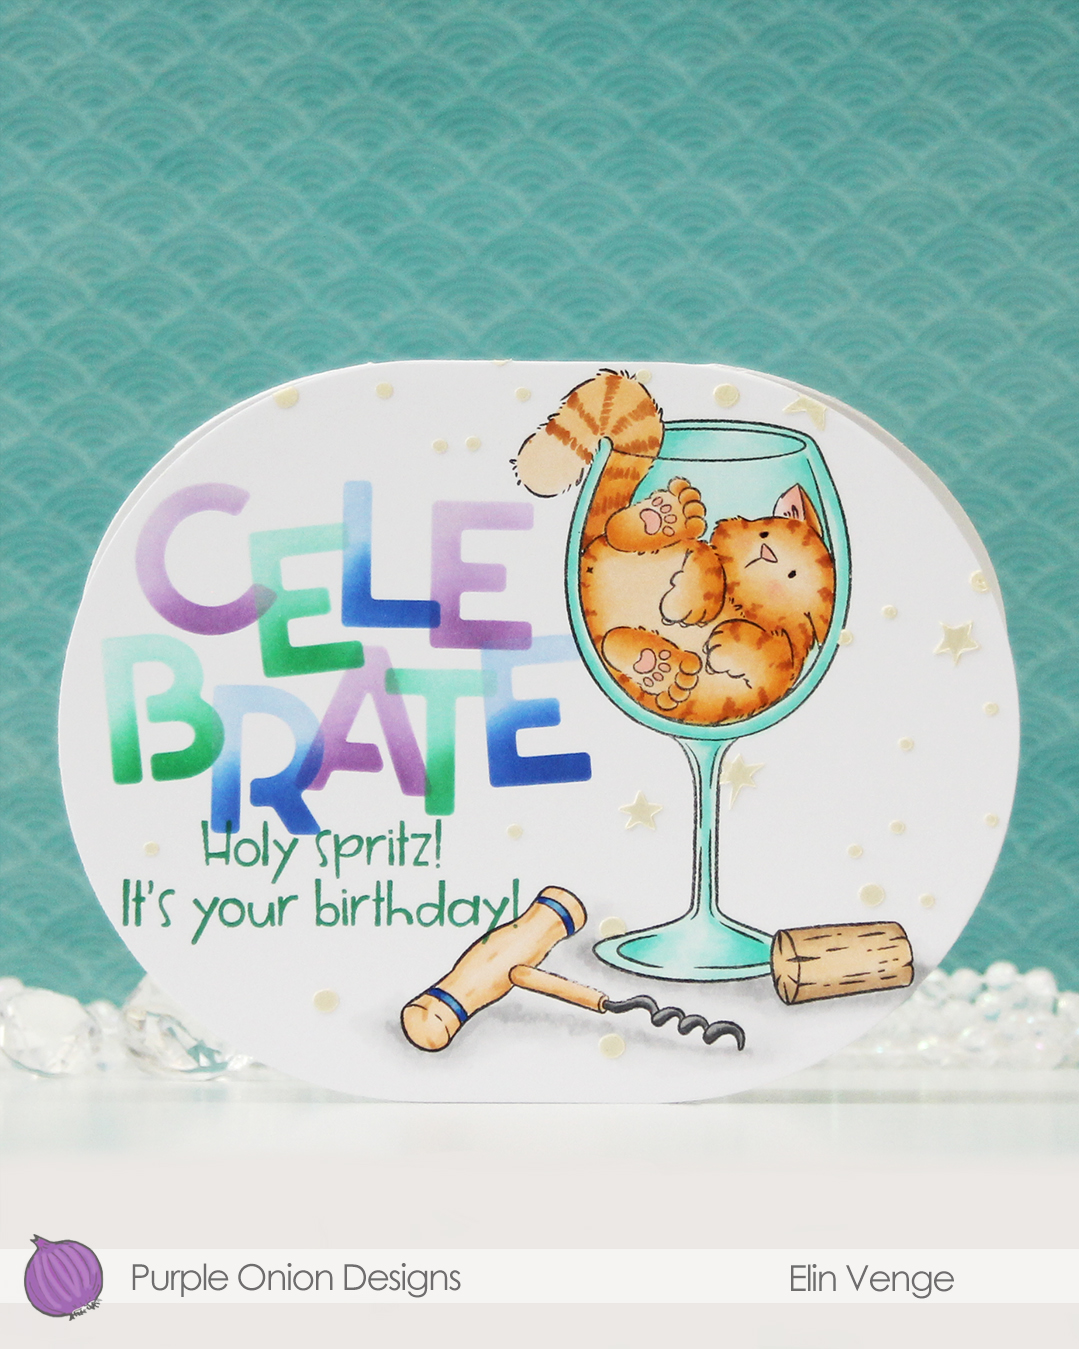 Isn’t this image fun? I love that Tofu somehow fits in this wine glass. There was an image in last year’s summer collection with a similar vibe. That one had a corgi hanging on to a margarita glass. So fun!
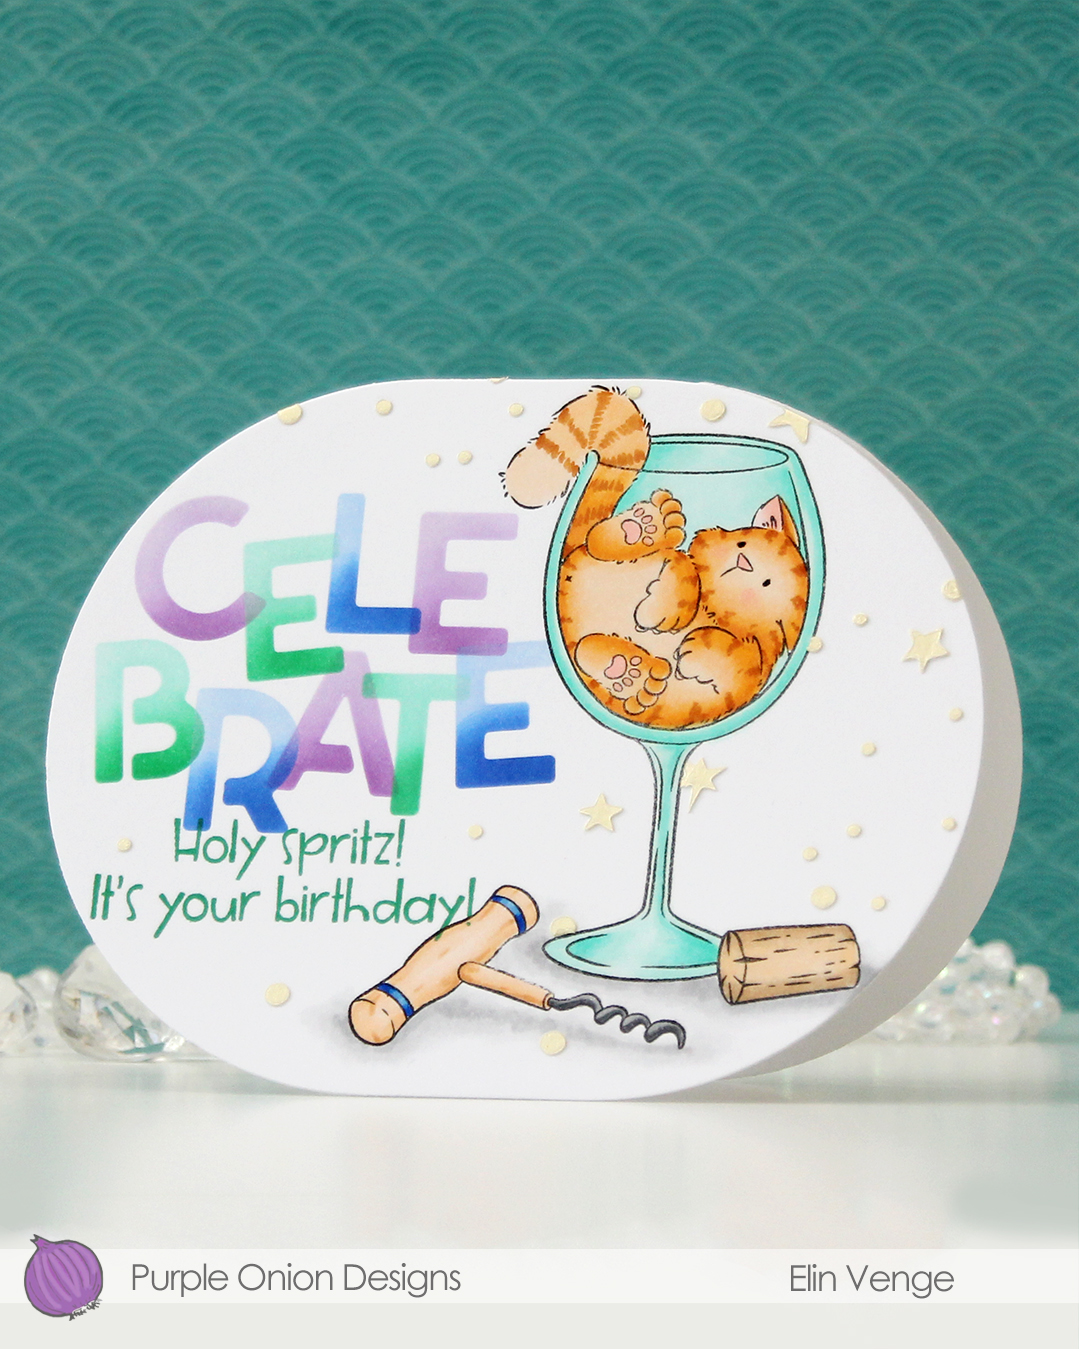 For this card, I simply colored my image with Copics, placed a mask on top of my mage and did some ink blending with C9 inks and the Celebrate stencil set from Kristina Werner. I used purple voluntarily, can you believe it? The purple is Fig faded into Aster, the green is Clover faded into Surfside, and the blue is Capri blended into Bluebell. I can’t take credit for the color palette, though, it was one Jennifer McGuire shared in the C9 Winter Retreat back in January, when they revealed the new colors to the retreat attendees. I’ll take my color inspiration wherever I can get it, and this was a fun one to try. Capri has stolen my heart!
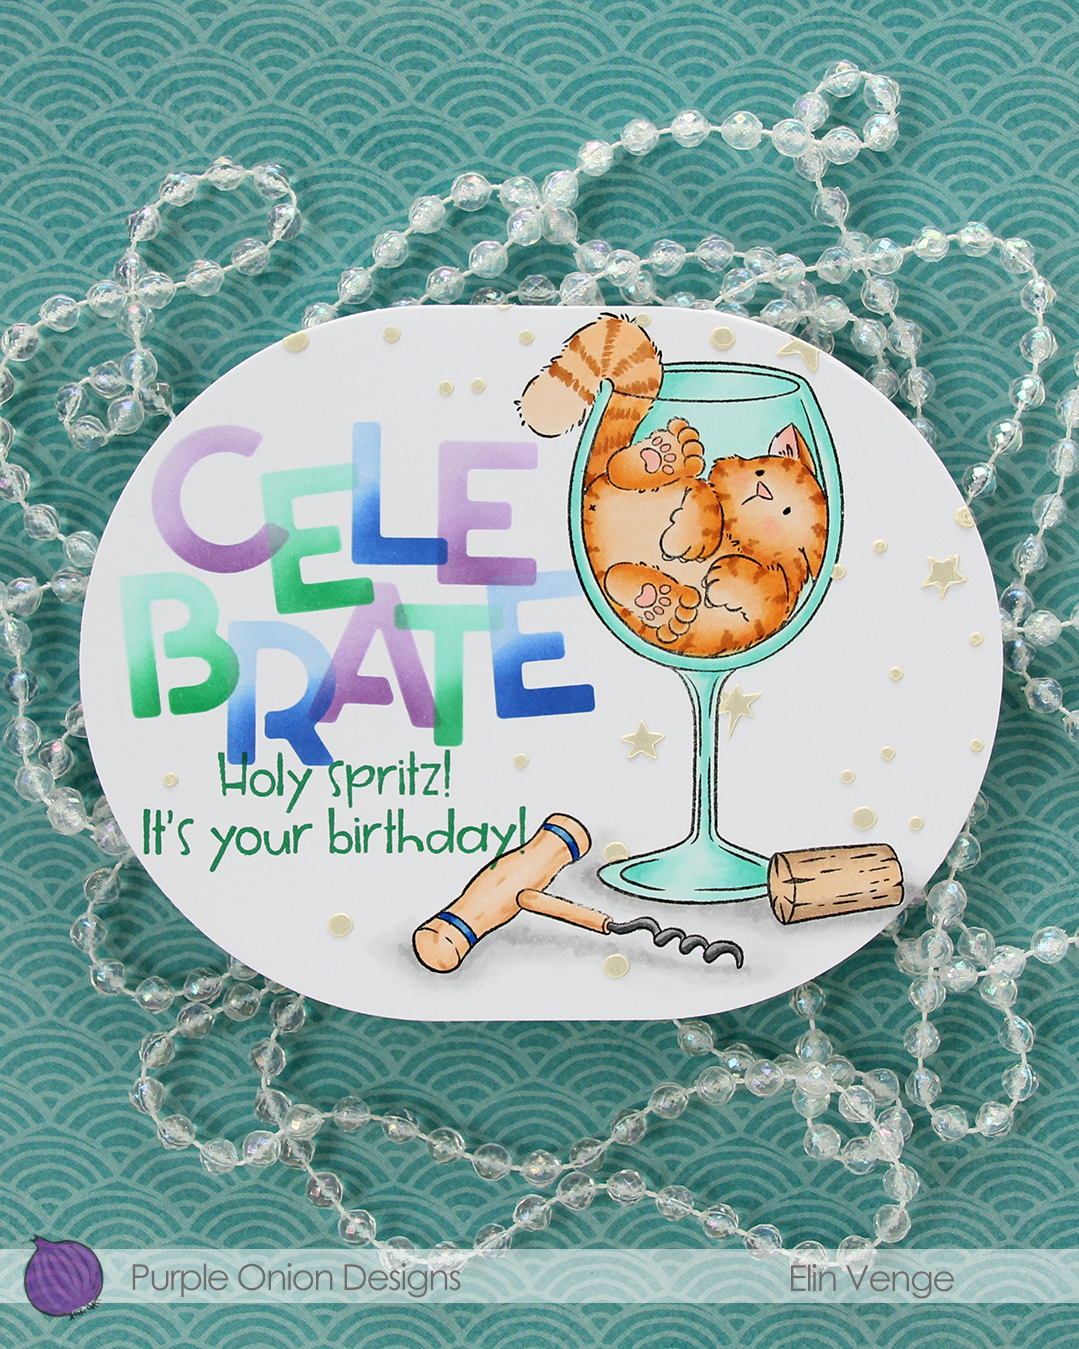 Back to the card. I removed the mask on the corkscrew before stamping the
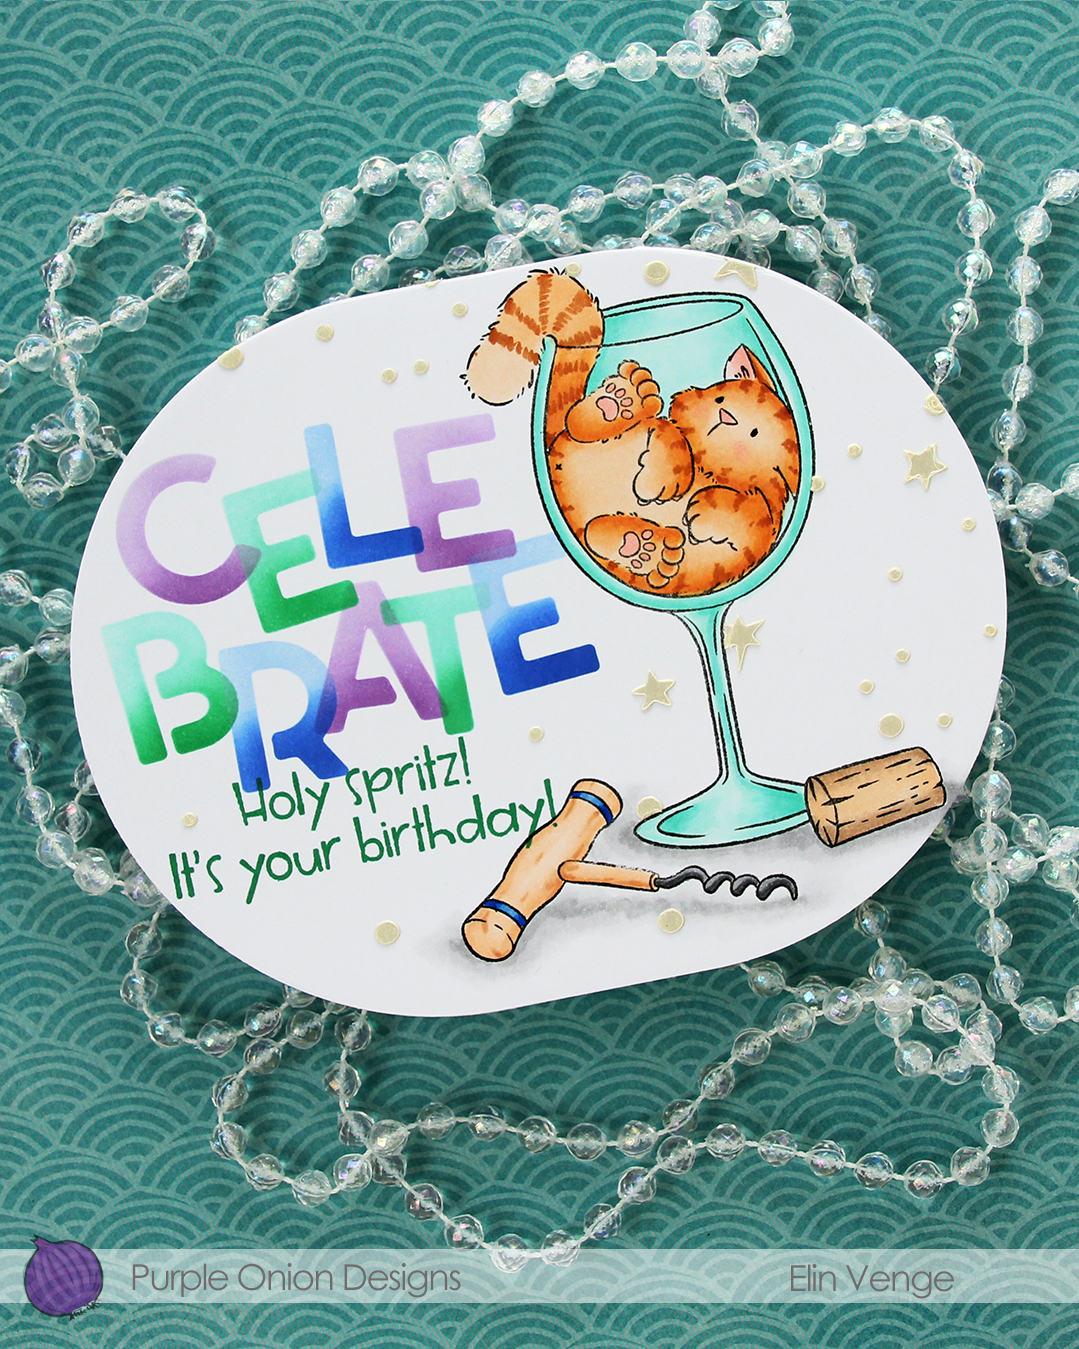 I wanted a little bit more interest in the background and decided to use paste, but before I put the paste on, I die cut my panel using the largest die in the A2 Oval Basics die set from Kristina Werner.
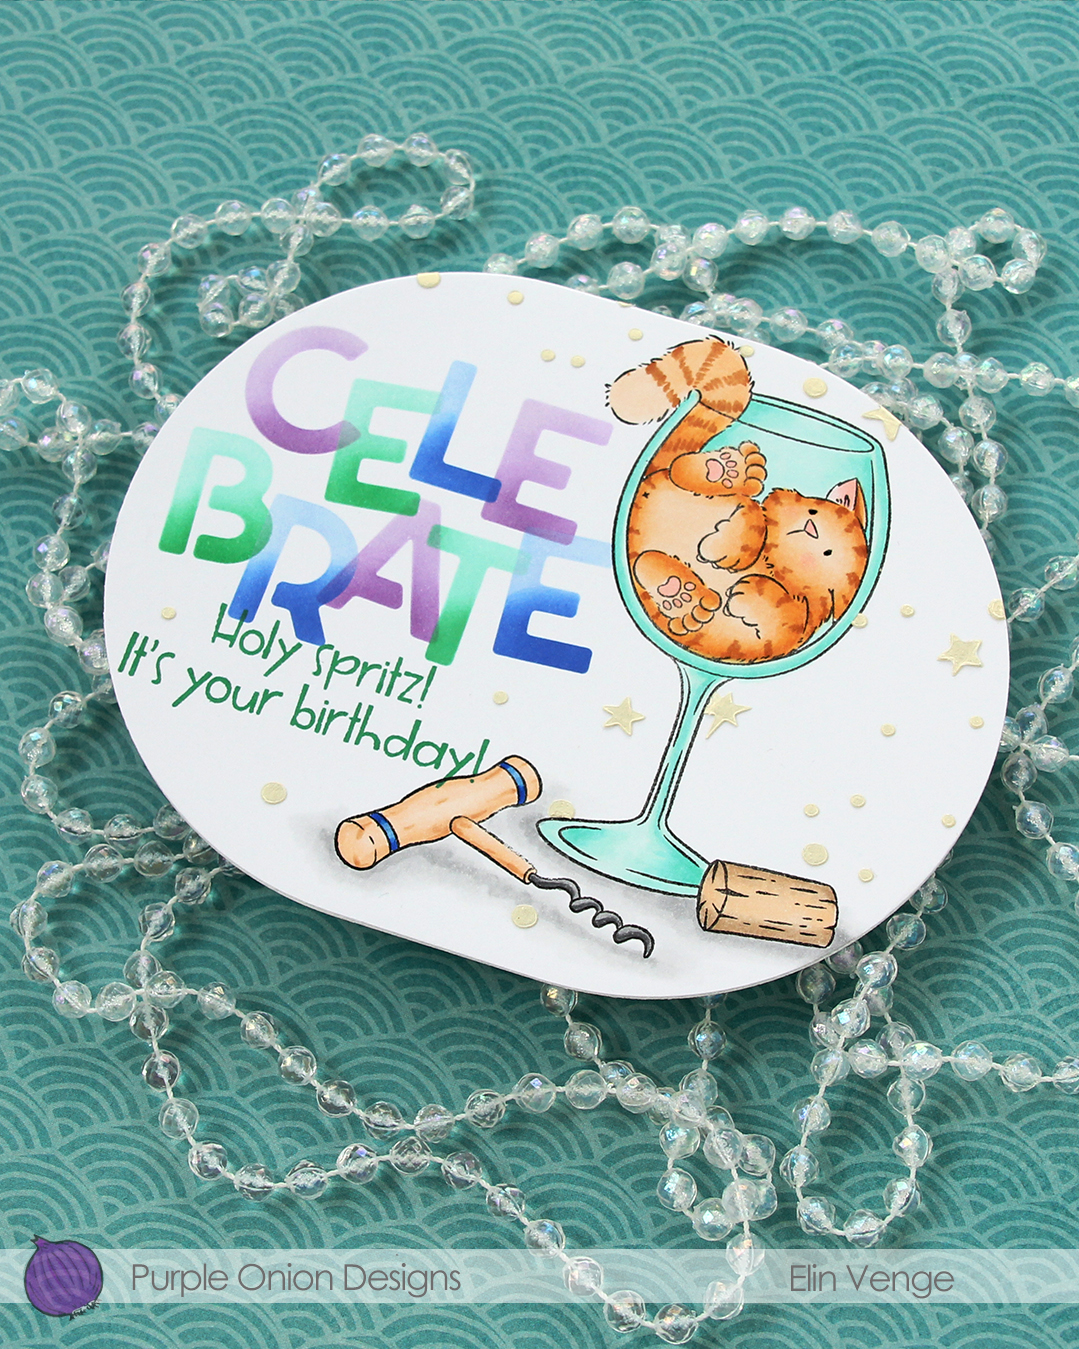 Once my panel was the finished size of the card, I placed the corkscrew mask back on, then used another stencil in the Celebrate stencil set from Kristina using Golden Hour Solar Paste from Simon Hurley. I made sure to cover the sentiment before adding the paste, so it wouldn’t end up where I didn’t want it. The paste adds texture and a little bit of shine in addition to breaking up all the white space in the background.
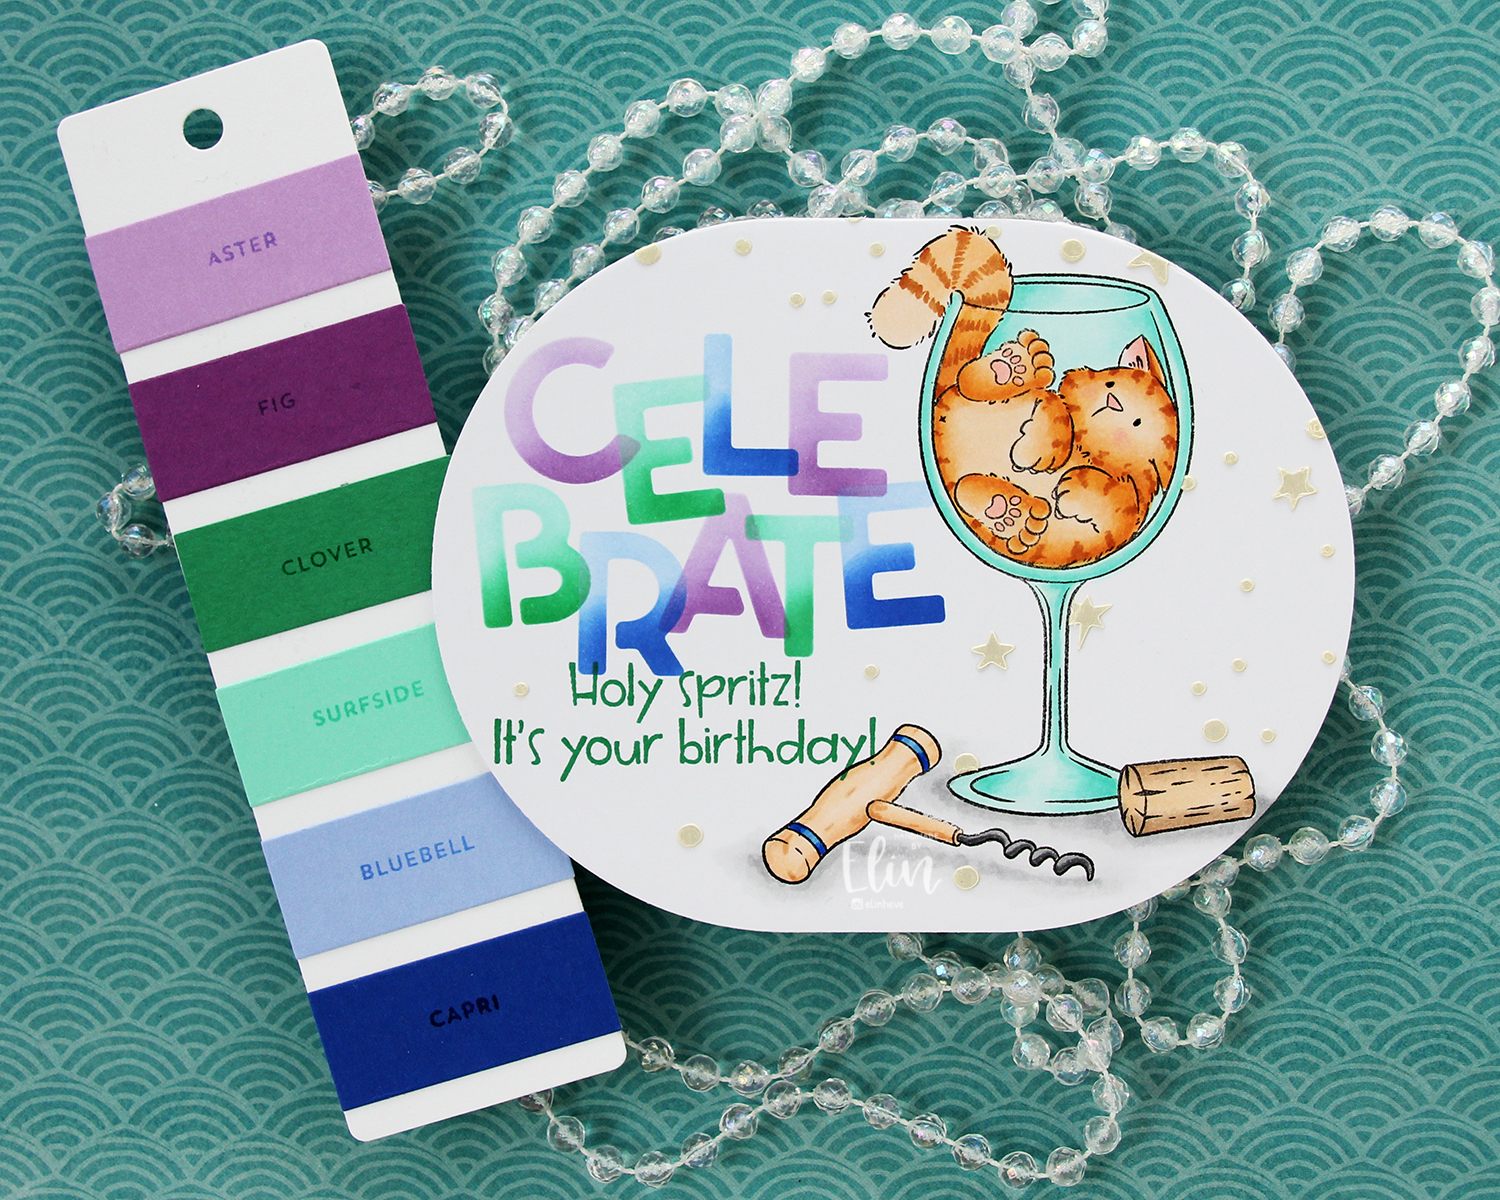
 Last, but not least: the Copics I used. Fairly neutral palette for this one.
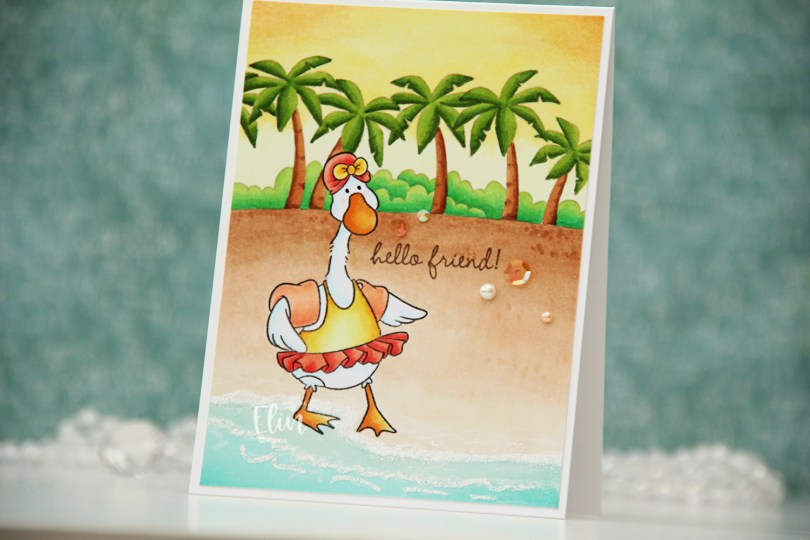
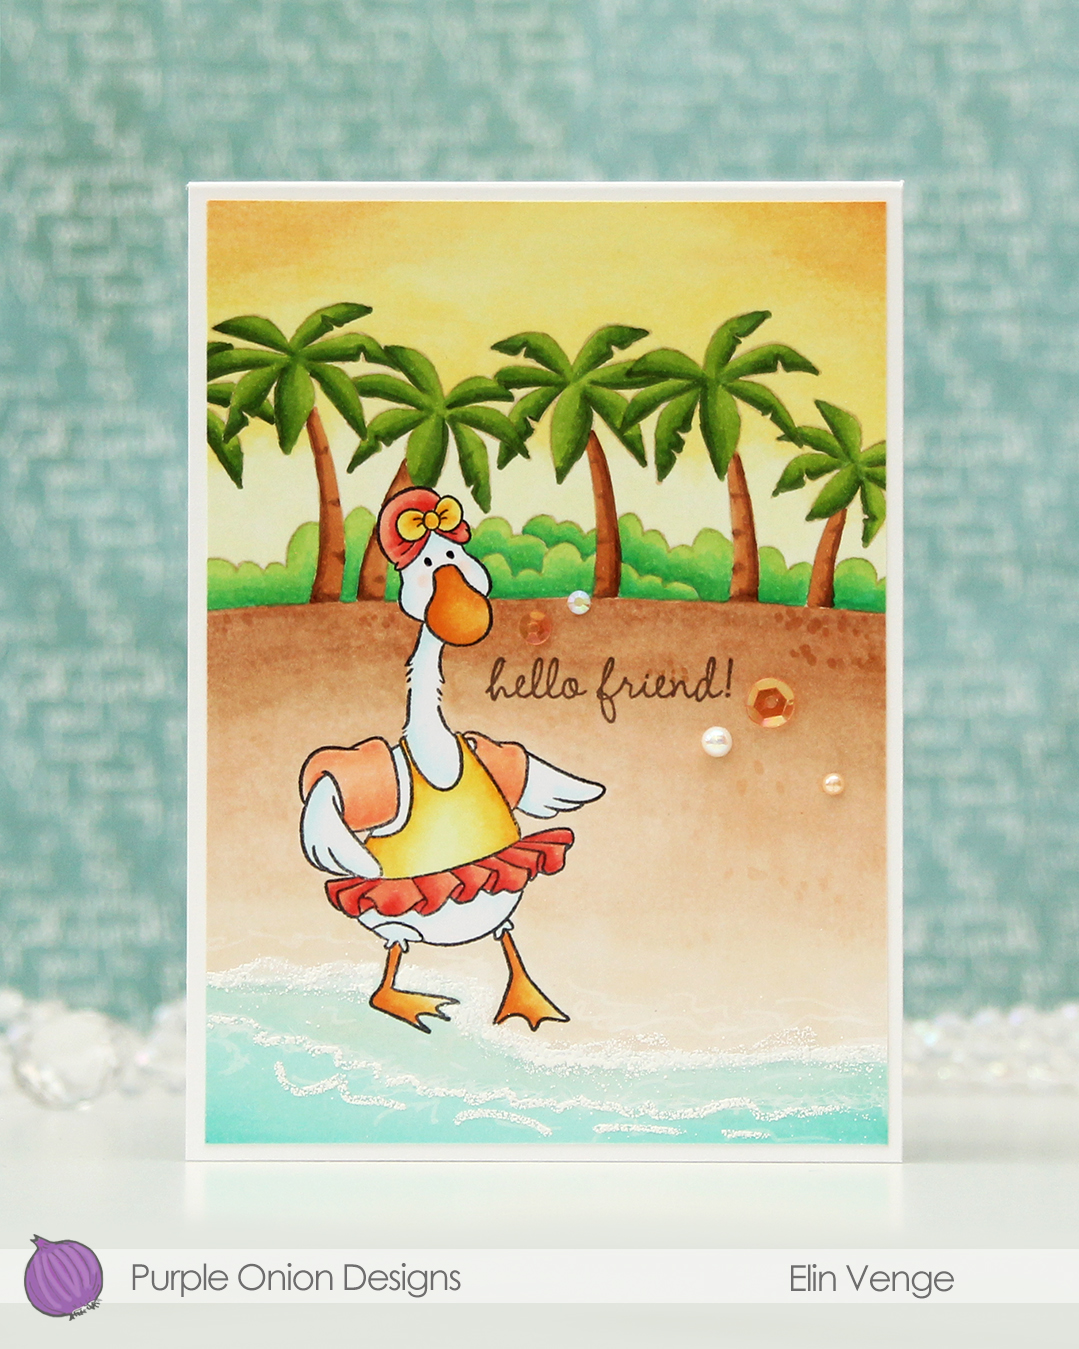
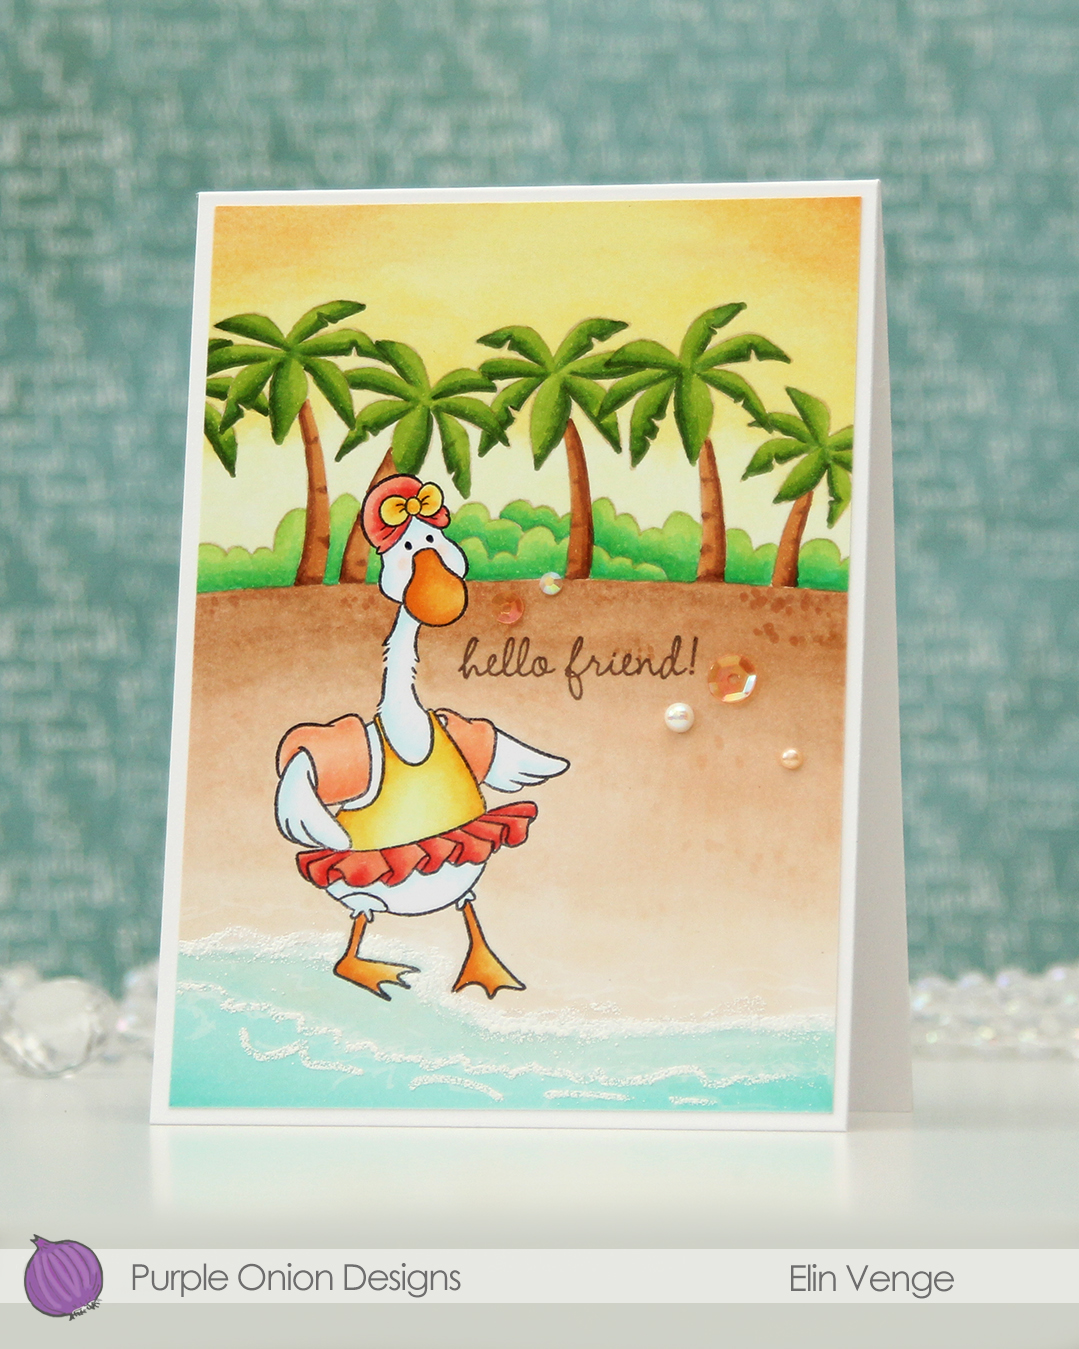
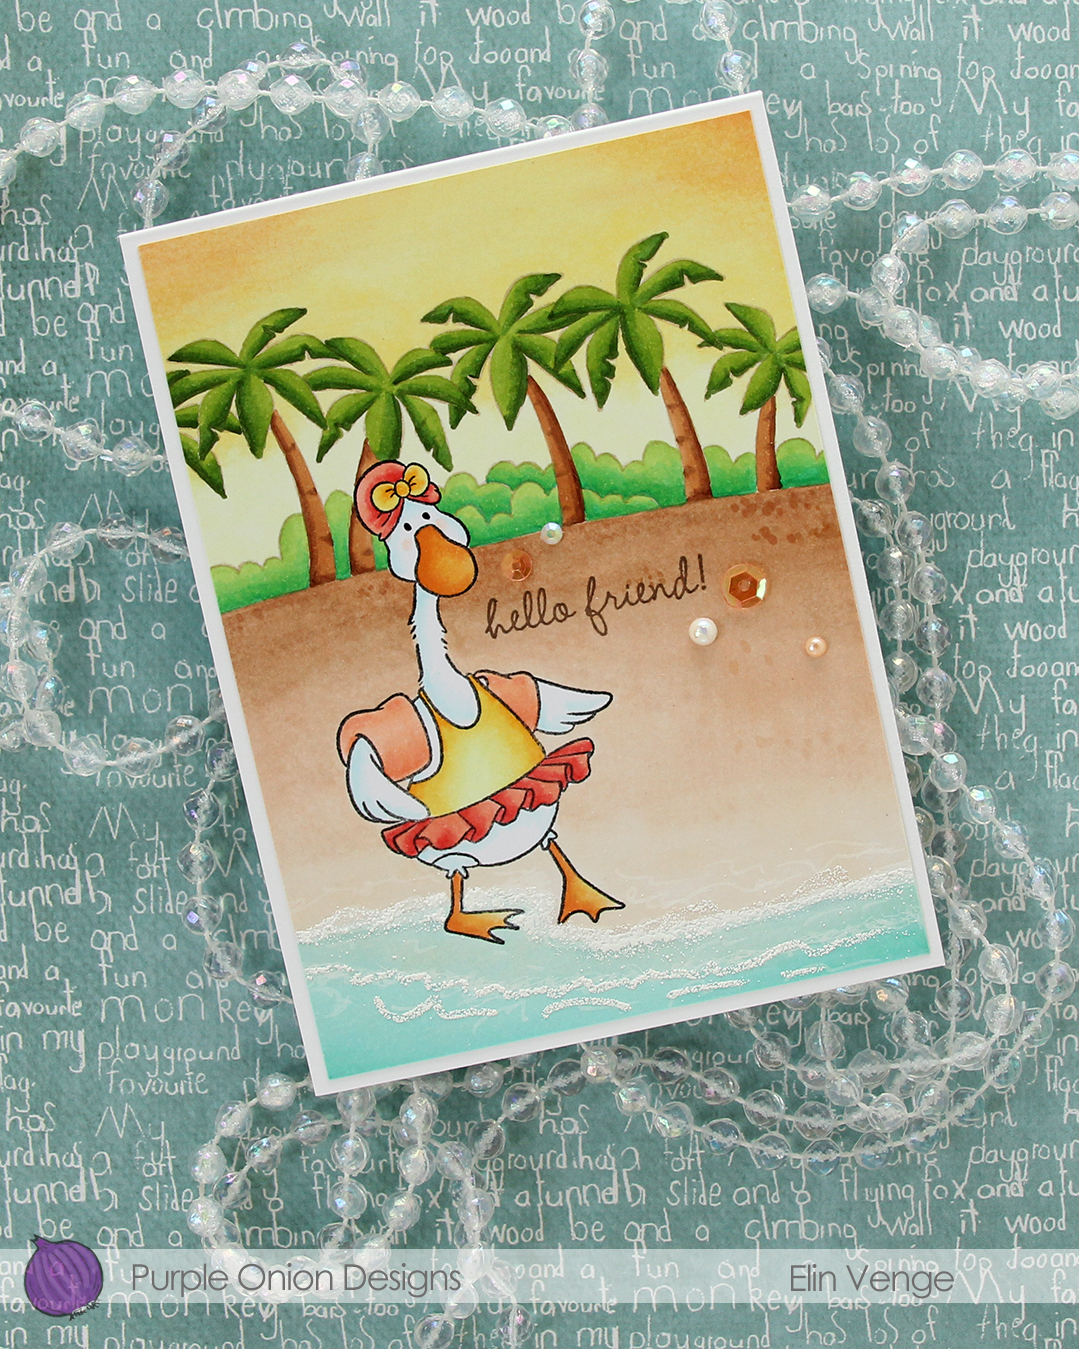 I added White puff embossing powder from Wow! for a seafoam look near the bottom of my panel and stamped a sentiment from the much older
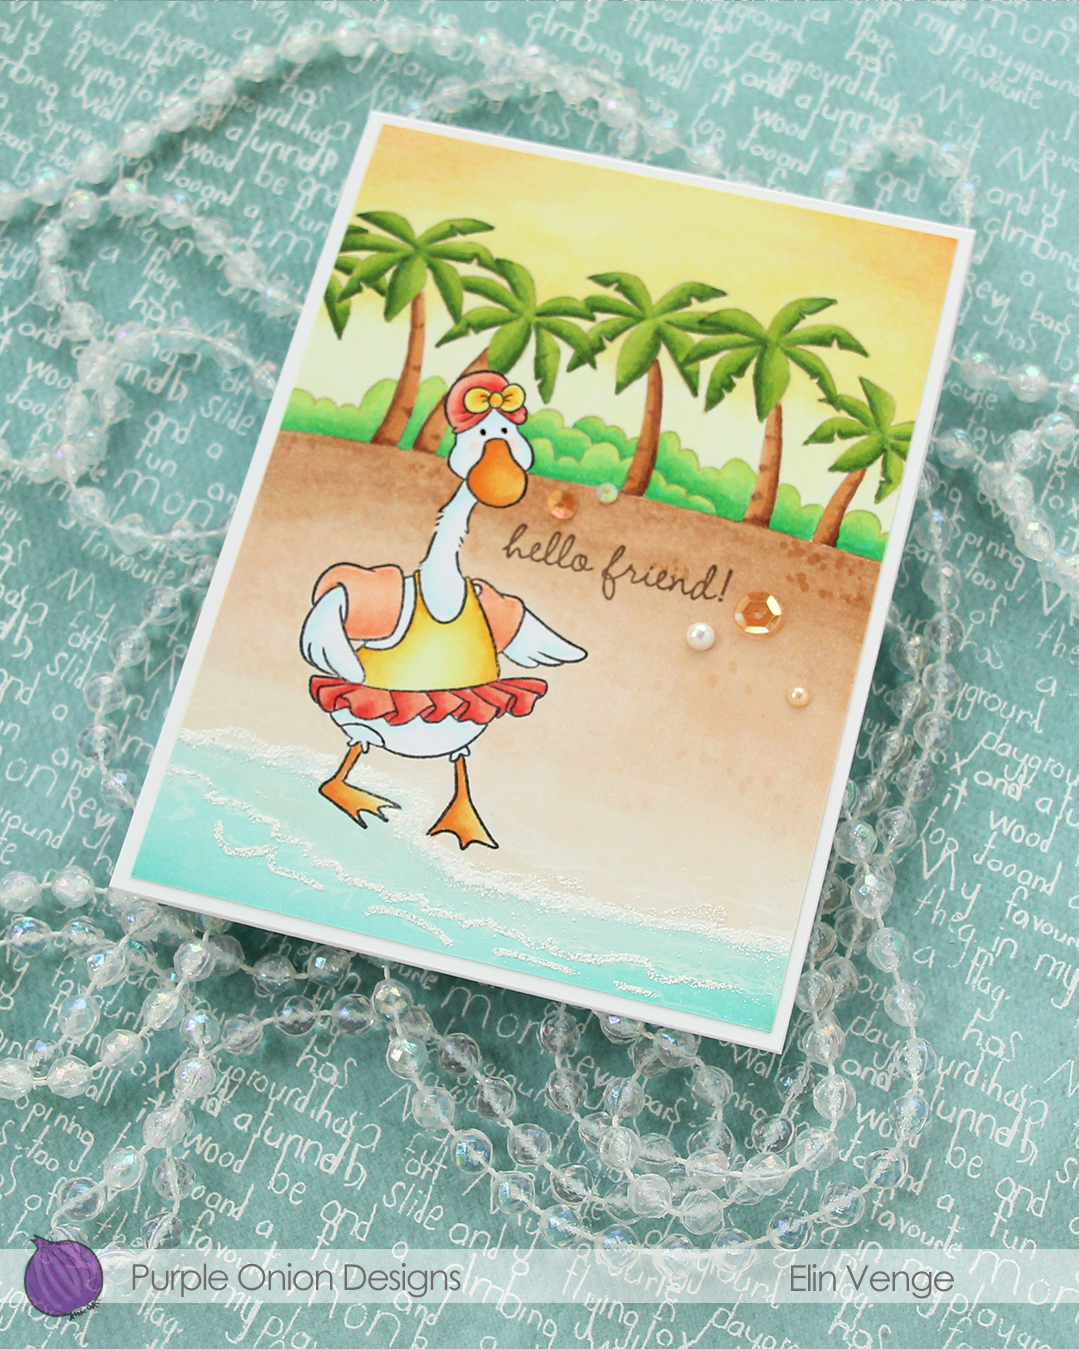 To finish off the card, I added a few sequins, gems and pearls from the Melon embellishment mix from Little Things from Lucy’s Cards.
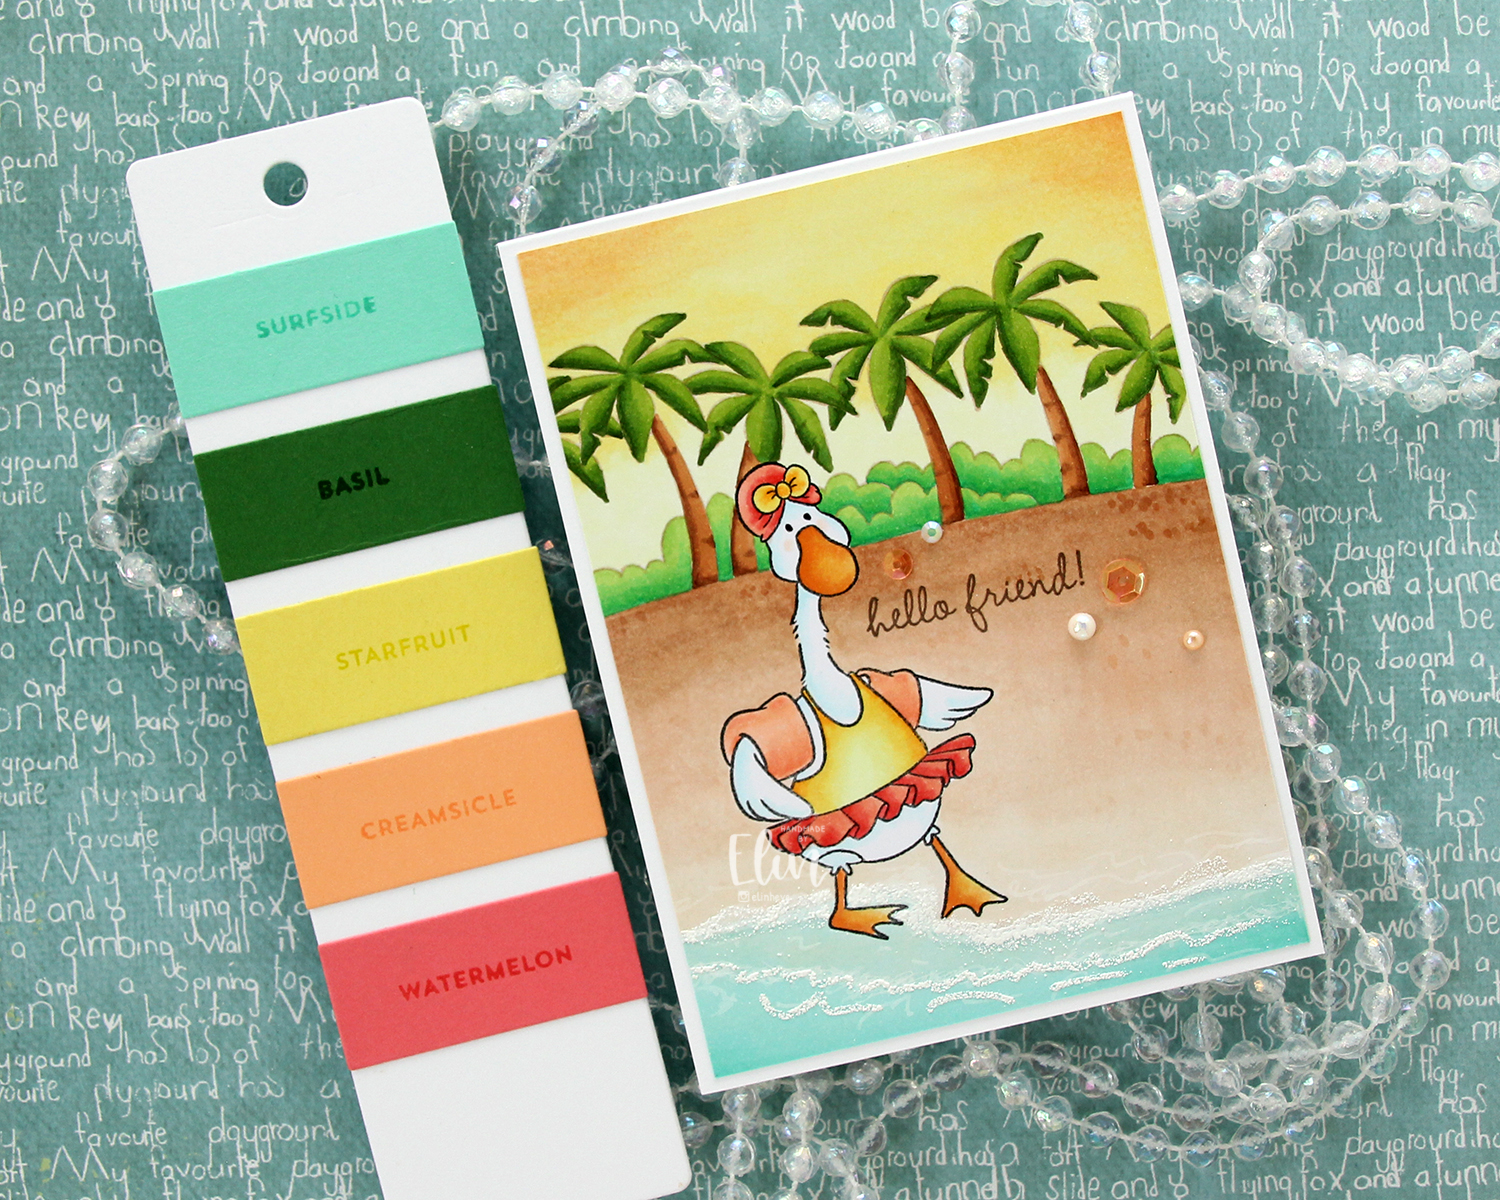 This Tropic color combination from Concord & 9th was my inspiration for this card.


