

实验环境 centos7 serverx2
IP:192.168.0.206 192.168.0.207
iscsi-server端的配置
- 准备磁盘设备
- 安装程序包
- 创建target
- 创建lun
- 授权
首先添加两块硬盘
sdb sdc
然后安装软件包
yum -y install epel-release
yum -y install scsi-target-utils
systemctl start tgtd
管理工具
target:管理target
logicalunit:管理lun
account:管理用户账号
管理操作
–lld <deiver>指明驱动 一般为iscsi
–mode target:管理target
logicalunit:管理lun
account:管理用户账号
–op
show: 查看
new:新建
delete:删除
update:更新
bind:绑定
unbind:解绑
–tid 指明target号
常用选项
–lld,-L<指明驱动>
–mode,-m
–op,-o
–tid,-t
–lun,-l
–backing-store,-b
–initiator-address,-i
–targetname, -T


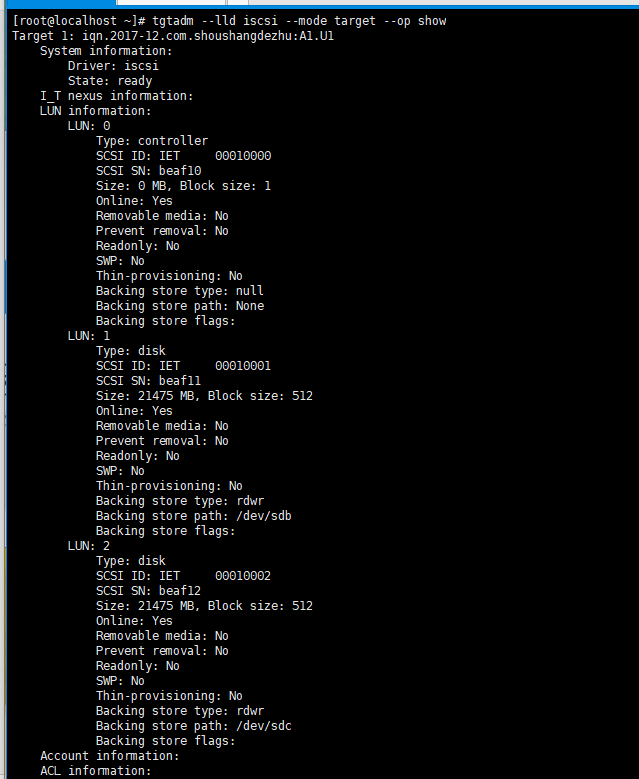
[root@localhost ~]# tgtadm –lld iscsi –mode target –op show 查看target
[root@localhost ~]# tgtadm –lld iscsi –mode target –op new –tid 1 –targetname iqn.2017-12.com.shoushangdezhu:A1.U1 #创建target
[root@localhost ~]# tgtadm –lld iscsi –mode logicalunit –op new –tid 1 –lun 2 –backing-store /dev/sdc #在创建的target上添加lun
[root@localhost ~]# tgtadm –lld iscsi –mode logicalunit –op delete –tid 1 –lun 2 #删除lun
删除的时候只要指明tid 和 lun号就ok了
[root@localhost ~]# tgtadm –lld iscsi –mode target –op bind –tid 1 –initiator-address 192.168.0.0/24 #使用bind 绑定ip访问target
此处–initiator-address可用-i 代替

iscsi-initiator端的配置
- 安装程序包,配置initiator的名字,并启动服务
- 使用Iscsisadm实现target的发现、注册等
- 发现模式:discover
iscsiadm -m discover -d # -t st-p IP:PORT
-t type :sendtargets可简写为st
- 节点模式:node
iscsiadm -m node [ -d debug_level ] -T targetname -p ip:port -l | -u | -R | -s -o operation
[root@localhost ~]# yum -y install iscsi-initiator-utils
[root@localhost ~]# systemctl start iscsi
[root@localhost ~]# systemctl start iscsid
[root@localhost ~]# iscsi-iname -p iqn.2017-06.com.shoushangdezhu
[root@localhost ~]# vi /etc/iscsi/initiatorname.iscsi #将生成的名字写入文件
或者[root@localhost ~]# echo “InitiatorName=$(iscsi-iname -p iqn.2017.com.shoushangdezhu)” > /etc/iscsi/initiatorname.iscsi
[root@localhost ~]# for i in iscsi iscsid; do systemctl restart $i;done
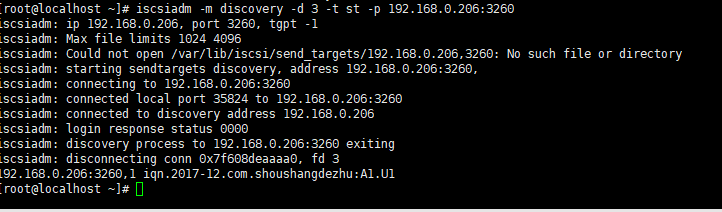
[root@localhost ~]# iscsiadm -m discovery -d 3 -t st -p 192.168.0.206:3260
[root@localhost ~]# iscsiadm -m node -d 1 -T iqn.2017-12.com.shoushangdezhu:A1.U1 -p 192.168.0.206:3260 -l #登录【-l】 临时登出【-u】 若要永久删除则使用【-o delete】

现在查看一下磁盘状况
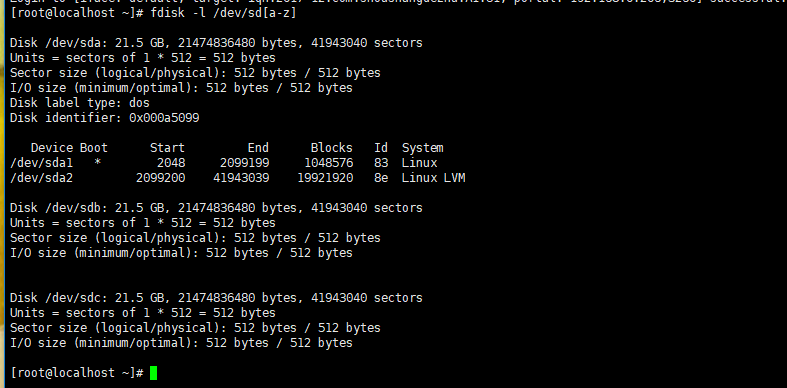
发现本地已经多了两块磁盘,然后就能分区格式化然后挂载了
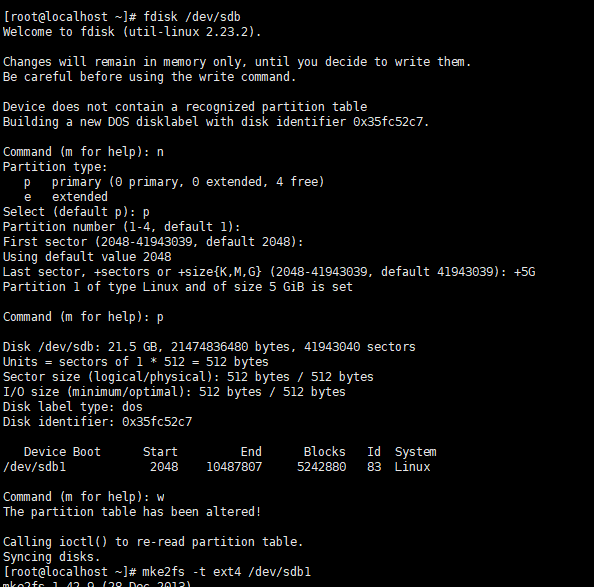
创建分区格式化
回到iscsi-server端发现分区中也存在sdb1
注意:不要让主机之间同时使用一块硬盘分区,同一个target中可能有很多块硬盘,将target的硬盘分配给不同的主机进行使用
基于account认证
tgtadm –lld iscsi –mode account –op new –user pig –password pig
tgtadm –lld iscsi –mode account -o bind –tid 1 –user pig
在initiator端
vim /etc/iscsi/iscsid.conf
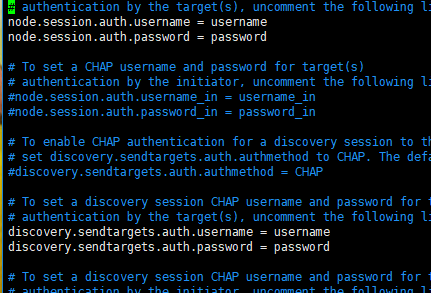
修改username和password
然后
iscsiadm -m discovery -d 3 -t st -p 192.168.0.206:3260
iscsiadm -m node -d 1 -T iqn.2017-12.com.shoushangdezhu:A1.U1 -p 192.168.0.206:3260 -l
本文来自投稿,不代表Linux运维部落立场,如若转载,请注明出处:http://www.178linux.com/90187

