


ArkTS Stage 实战:资源管理、页面跳转与运行排错
上一篇文章讲清楚了 Stage 工程的启动链路:module.json5 声明 Ability,EntryAbility.ets 创建窗口,WindowStage 加载 Index.ets。但真正写应用时,只会显示一个首页远远不够。你还会遇到这些问题:文字和颜色应该放在哪里?第二个页面怎么创建?首页如何跳到详情页?页面参数如何传递?
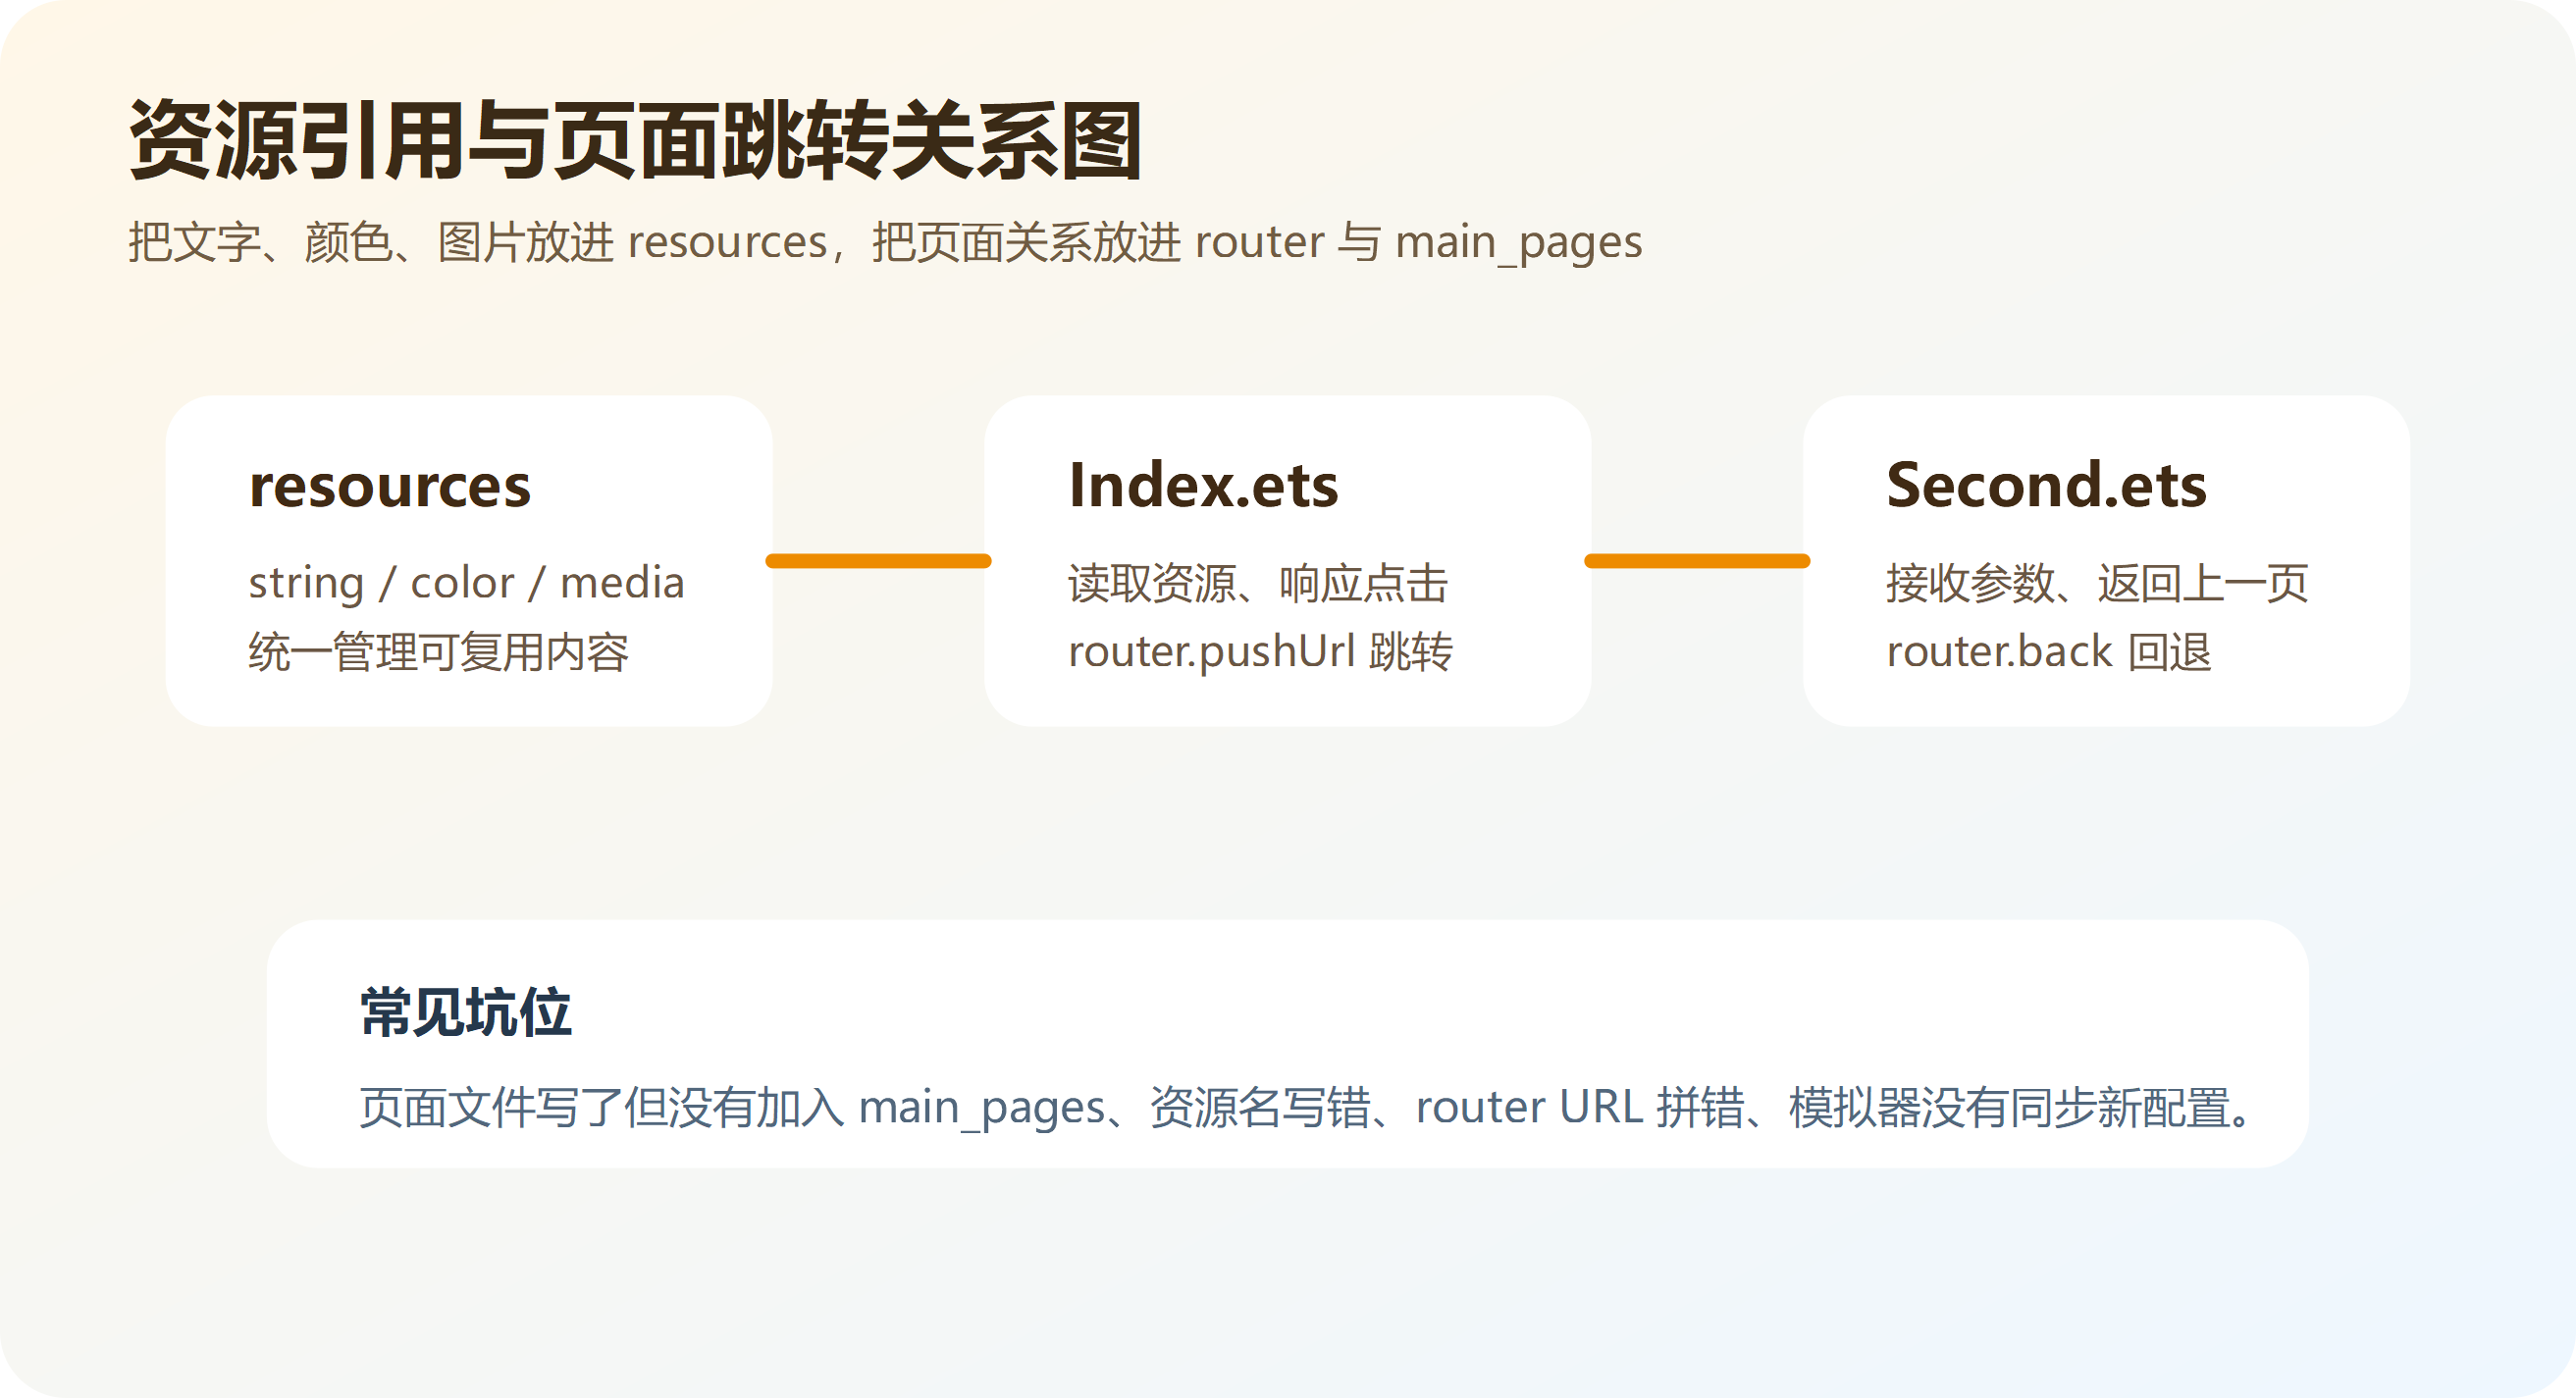
这篇文章继续沿着官方 ArkTS Stage 快速入门的思路,把资源管理、页面路由和运行排错串起来讲。
1. 为什么不要把文字和颜色全部写死
初学者经常这样写:
Text('欢迎使用 HarmonyOS')
  .fontSize(24)
  .fontColor('#182431')
能运行,但不适合长期维护。原因很简单:
- 同一段文字可能在多个页面重复出现。
- 后续多语言适配会很麻烦。
- 主题色修改时需要到处搜索。
更好的方式是把可复用内容放进 resources。
2. 资源目录怎么理解
常见资源目录如下:
entry/src/main/resources
├── base
│   ├── element
│   │   ├── string.json
│   │   └── color.json
│   ├── media
│   │   └── app_icon.png
│   └── profile
│       └── main_pages.json
└── rawfile
| 目录 | 适合放什么 |
|---|---|
element/string.json | 应用名称、页面标题、按钮文案 |
element/color.json | 主题色、背景色、文字色 |
media | 图标、图片 |
profile/main_pages.json | 页面路由声明 |
rawfile | 原始文件,例如本地 JSON |
3. 配置字符串资源
在 entry/src/main/resources/base/element/string.json 中配置文字:
{
  "string": [
    {
      "name": "app_name",
      "value": "Stage 实战"
    },
    {
      "name": "home_title",
      "value": "首页"
    },
    {
      "name": "detail_title",
      "value": "详情页"
    },
    {
      "name": "open_detail",
      "value": "打开详情页"
    }
  ]
}
页面中这样使用:
Text($r('app.string.home_title'))
  .fontSize(28)
  .fontWeight(FontWeight.Bold)
代码解释:
name是资源名。value是实际显示内容。- 页面通过
$r('app.string.xxx')引用。
4. 配置颜色资源
在 entry/src/main/resources/base/element/color.json 中配置颜色:
{
  "color": [
    {
      "name": "page_background",
      "value": "#F5F8FA"
    },
    {
      "name": "card_background",
      "value": "#FFFFFF"
    },
    {
      "name": "brand_primary",
      "value": "#0A7F64"
    },
    {
      "name": "text_primary",
      "value": "#182431"
    }
  ]
}
页面中引用:
Column() {
  Text('资源化颜色示例')
    .fontColor($r('app.color.text_primary'))
}
.backgroundColor($r('app.color.page_background'))
资源化之后,页面代码会更干净,也方便后续统一调整风格。
5. 创建第二个页面
在 entry/src/main/ets/pages 下新增 Detail.ets。
import router from '@ohos.router';

@Entry
@Component
struct Detail {
  @State message: string = '暂无参数';

  aboutToAppear(): void {
    const params = router.getParams() as Record<string, string>;
    this.message = params?.message ?? '没有收到首页参数';
  }

  build() {
    Column({ space: 20 }) {
      Text($r('app.string.detail_title'))
        .fontSize(28)
        .fontWeight(FontWeight.Bold)

      Text(this.message)
        .fontSize(18)
        .fontColor('#5A6B7B')

      Button('返回首页')
        .width('80%')
        .height(48)
        .onClick(() => {
          router.back();
        })
    }
    .width('100%')
    .height('100%')
    .justifyContent(FlexAlign.Center)
    .padding(24)
  }
}
代码解释:
router.getParams()用于读取跳转参数。aboutToAppear()在页面显示前执行,适合初始化页面数据。router.back()返回上一页。- 参数读取要做兜底,避免显示
undefined。
6. 把页面加入 main_pages.json
页面文件写好后,还要加入页面配置。
{
  "src": [
    "pages/Index",
    "pages/Detail"
  ]
}
注意三点:
- 路径不写
.ets。 - 大小写要和文件名一致。
- 新页面要加入
src数组。
很多“页面不存在”的问题,就是忘了改这个文件。
7. 首页跳转到详情页
修改 Index.ets:
import router from '@ohos.router';

@Entry
@Component
struct Index {
  build() {
    Column({ space: 20 }) {
      Text($r('app.string.home_title'))
        .fontSize(30)
        .fontWeight(FontWeight.Bold)

      Text('下面的按钮会打开详情页,并传递一段参数。')
        .fontSize(16)
        .fontColor('#667788')

      Button($r('app.string.open_detail'))
        .width('80%')
        .height(50)
        .onClick(() => {
          router.pushUrl({
            url: 'pages/Detail',
            params: {
              message: '这段文字来自首页 Index.ets'
            }
          });
        })
    }
    .width('100%')
    .height('100%')
    .justifyContent(FlexAlign.Center)
    .padding(24)
    .backgroundColor($r('app.color.page_background'))
  }
}
代码解释:
router.pushUrl用于打开新页面。url要和main_pages.json保持一致。params用于携带页面参数。- 详情页通过
router.getParams()读取参数。
8. 做一个学习卡片案例
首页定义学习项:
interface CourseItem {
  title: string;
  desc: string;
}

const courses: CourseItem[] = [
  { title: 'Stage 模型', desc: '理解 UIAbility 和 WindowStage' },
  { title: '资源管理', desc: '学会 string、color、media 的使用' },
  { title: '页面跳转', desc: '掌握 router.pushUrl 和 router.back' }
];
首页列表:
import router from '@ohos.router';

@Entry
@Component
struct Index {
  private courses: CourseItem[] = courses;

  build() {
    Column({ space: 16 }) {
      Text('Stage 学习路线')
        .fontSize(30)
        .fontWeight(FontWeight.Bold)

      ForEach(this.courses, (item: CourseItem) => {
        Row() {
          Column({ space: 6 }) {
            Text(item.title)
              .fontSize(20)
              .fontWeight(FontWeight.Medium)
            Text(item.desc)
              .fontSize(14)
              .fontColor('#667788')
          }
          .alignItems(HorizontalAlign.Start)

          Blank()

          Text('进入')
            .fontColor($r('app.color.brand_primary'))
        }
        .width('100%')
        .padding(16)
        .borderRadius(16)
        .backgroundColor($r('app.color.card_background'))
        .onClick(() => {
          router.pushUrl({
            url: 'pages/Detail',
            params: {
              title: item.title,
              desc: item.desc
            }
          });
        })
      }, (item: CourseItem) => item.title)
    }
    .width('100%')
    .height('100%')
    .padding(20)
    .backgroundColor($r('app.color.page_background'))
  }
}
详情页读取参数:
import router from '@ohos.router';

@Entry
@Component
struct Detail {
  @State title: string = '';
  @State desc: string = '';

  aboutToAppear(): void {
    const params = router.getParams() as Record<string, string>;
    this.title = params?.title ?? '未选择主题';
    this.desc = params?.desc ?? '暂无说明';
  }

  build() {
    Column({ space: 20 }) {
      Text(this.title)
        .fontSize(30)
        .fontWeight(FontWeight.Bold)

      Text(this.desc)
        .fontSize(18)
        .fontColor('#667788')

      Button('返回')
        .width('80%')
        .height(48)
        .onClick(() => {
          router.back();
        })
    }
    .width('100%')
    .height('100%')
    .justifyContent(FlexAlign.Center)
    .padding(24)
  }
}
这个案例把资源、列表、路由和参数传递都串起来了,比单独写一个按钮更接近真实开发。
9. 运行前检查清单
运行前建议逐项检查:
EntryAbility.ets是否加载pages/Index。Index.ets是否存在@Entry和@Component。Detail.ets是否放在entry/src/main/ets/pages下。main_pages.json是否包含pages/Detail。router.pushUrl的url是否写成pages/Detail。- 字符串资源是否存在于
string.json。 - 颜色资源是否存在于
color.json。 - 修改配置后是否重新 Build 并安装。
10. 常见报错处理
10.1 跳转时报页面找不到
检查配置:
{
  "src": [
    "pages/Index",
    "pages/Detail"
  ]
}
检查跳转:
router.pushUrl({
  url: 'pages/Detail'
});
两边必须一致。
10.2 页面参数为空
传参字段和取参字段要一致。
params: {
  title: item.title
}
const params = router.getParams() as Record<string, string>;
this.title = params?.title ?? '未选择主题';
10.3 资源引用报错
检查资源类型和名称:
Text($r('app.string.home_title'))
.backgroundColor($r('app.color.page_background'))
string 和 color 不能写反,资源名也要和 JSON 中一致。
11. 工程习惯建议
建议从入门阶段就保持这些习惯:
- 页面文件统一放在
pages目录。 - 新增页面后立即更新
main_pages.json。 - 可复用文字放进
string.json。 - 可复用颜色放进
color.json。 - 页面跳转路径统一写成
pages/页面名。 - 跳转参数统一做空值兜底。
EntryAbility.ets只处理入口和窗口,不堆业务逻辑。- 复杂页面用
@Builder拆分。
12. 总结
Stage 工程从能跑默认页面,到能组织自己的业务页面,关键是三件事:
资源管理:把文字、颜色、图片统一放到 resources
页面路由:用 main_pages.json 声明页面,用 router 完成跳转
运行排错:沿着 EntryAbility -> Index -> Detail 的链路检查
掌握这条线之后,再学习 Ability 生命周期、Want 参数、ExtensionAbility、多模块工程,会更容易理解。


 394
394

 被折叠的 条评论
为什么被折叠?
被折叠的 条评论
为什么被折叠?
 到【灌水乐园】发言


