


论文介绍
论文地址:https://arxiv.org/abs/1711.06396
代码运行
代码地址:有多个版本
1.Implementation of VoxelNet: End-to-End Learning for Point Cloud Based 3D Object Detection in tensorflow 2.0.0.
based on a previous version from Qiangui
地址:
https://github.com/steph1793/Voxelnet.git
2.unofficial inplementation of VoxelNet: End-to-End Learning for Point Cloud Based 3D Object Detection in TensorFlow
地址:
GitHub - qianguih/voxelnet: This is an unofficial inplementation of VoxelNet in TensorFlow.
3.VoxelNet-tensorflow
地址:
GitHub - tsinghua-rll/VoxelNet-tensorflow: A 3D object detection system for autonomous driving.
我选择的版本:2
GitHub - qianguih/voxelnet: This is an unofficial inplementation of VoxelNet in TensorFlow.
在autodl上租用服务器配置环境:
我的环境是Ubuntu20.04+Python3.7
创建conda环境:
conda create -n voxelnet python=3.7
conda activate voxelnet
安装TensorFlow及其他依赖:
pip3 install tensorflow==1.14.0 -i https://pypi.tuna.tsinghua.edu.cn/simple
pip3 install easydict -i https://pypi.tuna.tsinghua.edu.cn/simple
pip3 install scikit-build -i https://pypi.tuna.tsinghua.edu.cn/simple
pip3 install opencv-python==3.4.3.18 -i https://pypi.tuna.tsinghua.edu.cn/simple
pip3 install llvmlite==0.32.1 -i https://pypi.tuna.tsinghua.edu.cn/simple
python3 -m pip install --upgrade --force pip
pip3 install matplotlib -i https://pypi.tuna.tsinghua.edu.cn/simple
pip3 install matplotlib -i https://pypi.tuna.tsinghua.edu.cn/simple
pip3 install shapely -i https://pypi.tuna.tsinghua.edu.cn/simple
pip3 install numba -i https://pypi.tuna.tsinghua.edu.cn/simple
pip3 install Cython -i https://pypi.tuna.tsinghua.edu.cn/simple
编译Cython模块
python3 setup.py build_ext --inplace报错:
无法打开包括文件: “numpy/arrayobject.h”: No such file or directory
解决:
编译evaluation代码
cd kitti_eval
g++ -o evaluate_object_3d_offline evaluate_object_3d_offline.cpp遇到报错:
evaluate_object_3d_offline.cpp:12:10: fatal error: boost/numeric/ublas/matrix.hpp: No such file or directory
解决:
sudo apt-get update
sudo apt-get install libboost-all-dev
给evaluation脚本赋予执行权限
chmod +x launch_test.sh数据准备
数据文件夹组织
├── data
│   └── KITTI
│       ├── training
│       │   ├── calib
│       │   |── image_2
│       │   |── label_2
│       │   └── velodyne
│       ├── validation
│       │   ├── calib
│       │   |── image_2
│       │   |── label_2
│       │   └── velodyne
│       └── data_object_calib
│           ├── testing
│           │   └── calib
│           └── training
│               └── calib
数据下载参考博客:代码复现:voxelnet_tensorflow版本(3D-detection)_github代码复现过程-CSDN博客
修改数据路径
修改config.py中以下两行:
__C.DATA_DIR = './data/KITTI'
__C.CALIB_DIR = './data/KITTI/data_object_calib/training/calib'
修改程序
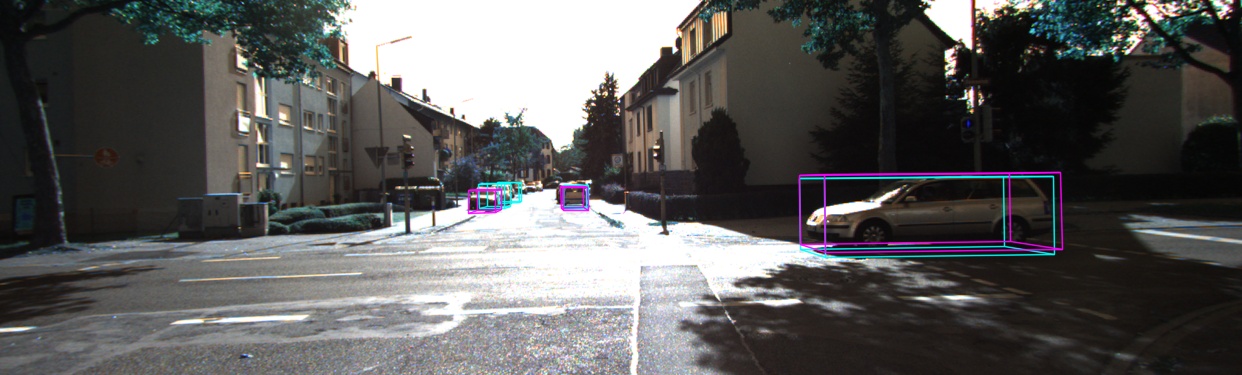
test.py,使用官方提供的一个车辆模型进行测试,并把可视化打开
if __name__ == '__main__':
    parser = argparse.ArgumentParser(description='testing')

    parser.add_argument('-n', '--tag', type=str, nargs='?', default='pre_trained_car',
                        help='set log tag')
    parser.add_argument('--output-path', type=str, nargs='?',
                        default='./predictions', help='results output dir')
    parser.add_argument('-b', '--single-batch-size', type=int, nargs='?', default=2,
                        help='set batch size for each gpu')
    parser.add_argument('-v', '--vis', type=bool, nargs='?', default=True,
                        help='set the flag to True if dumping visualizations')
运行程序
python3 test.py
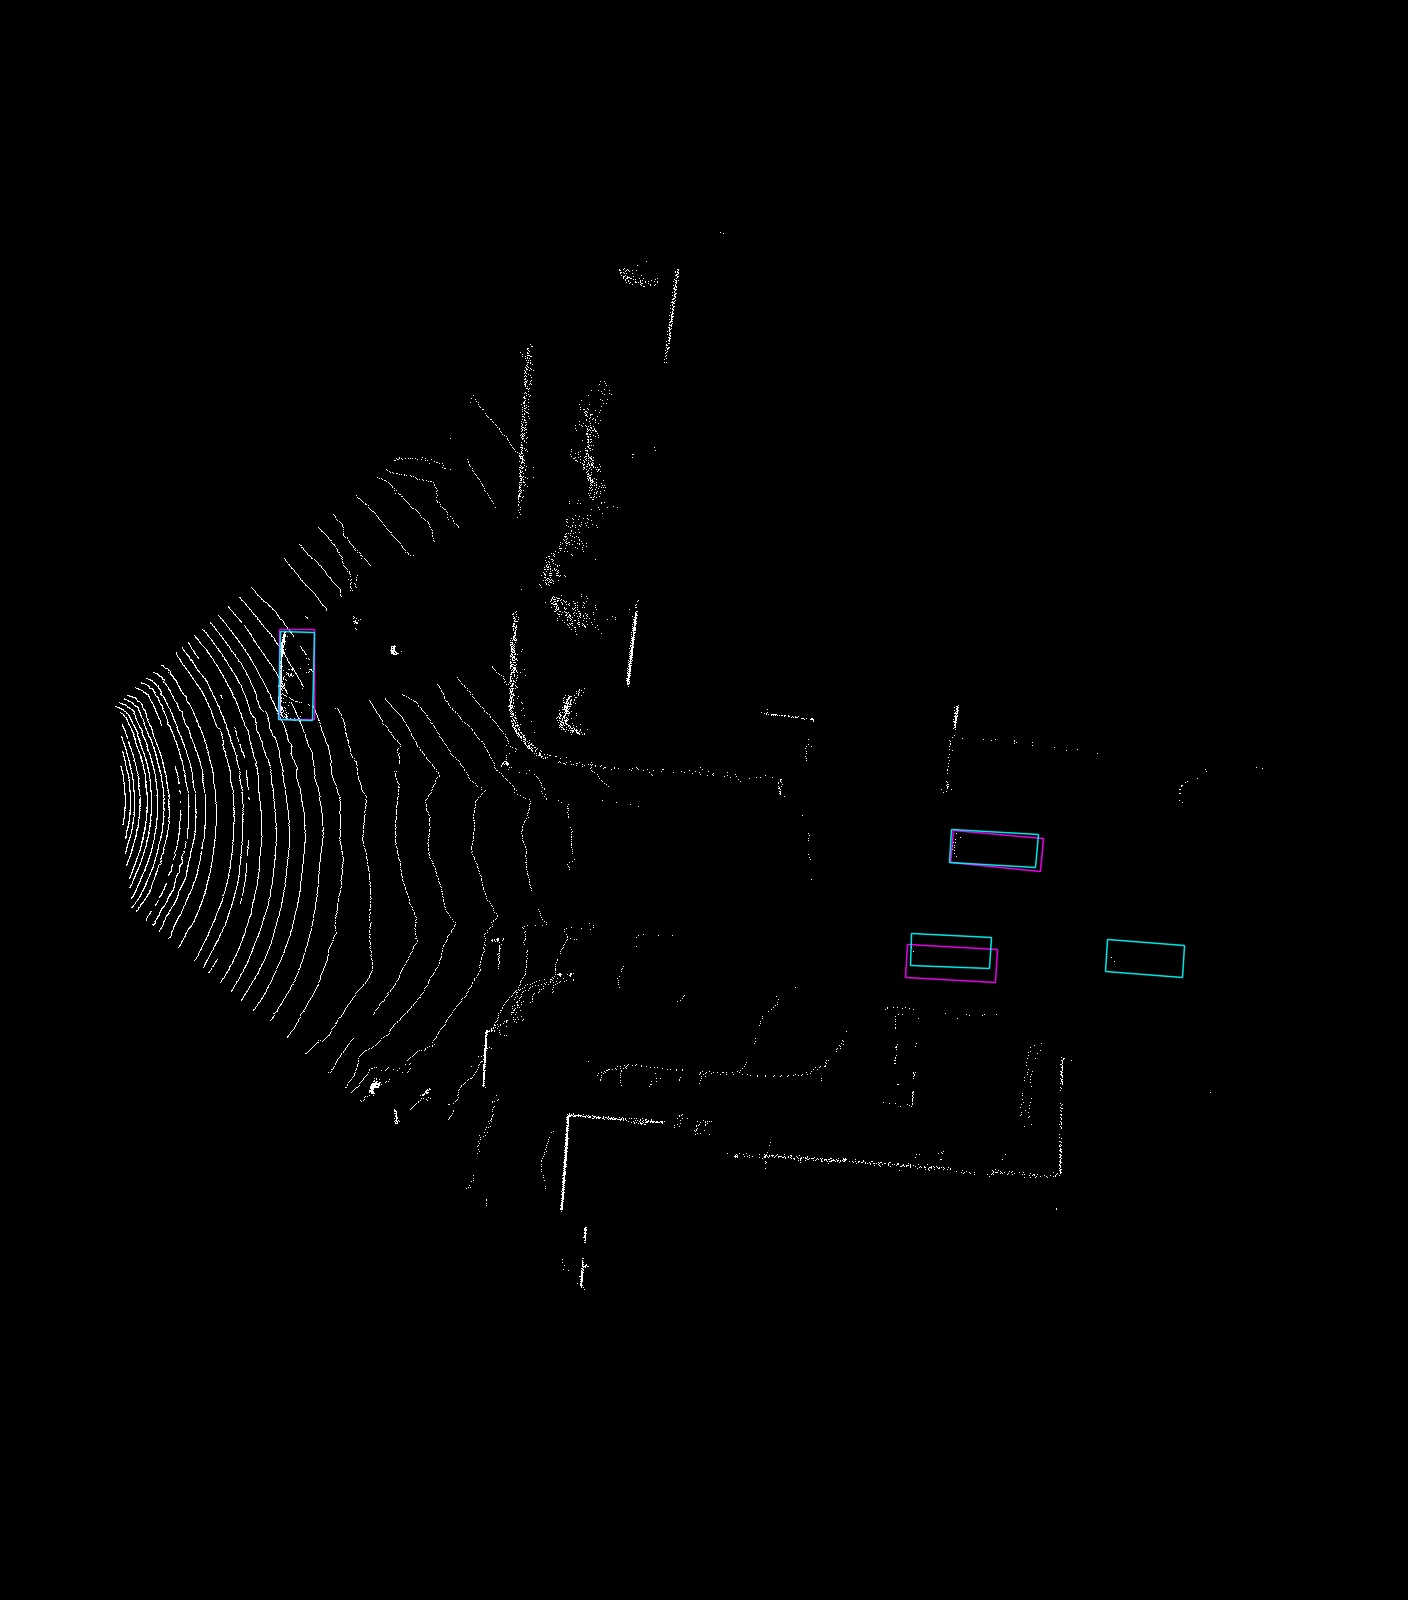
结果会保存在./predictions/vis下
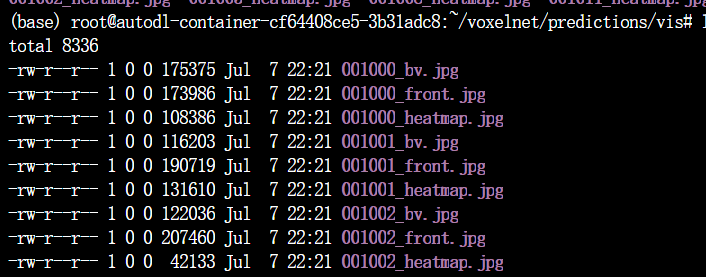
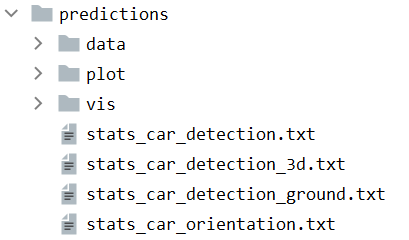
评估效果
./kitti_eval/evaluate_object_3d_offline data/KITTI/validation/label_2 ./predictions在predictions文件夹下保存评估结果


 6540
6540

 被折叠的 条评论
为什么被折叠?
被折叠的 条评论
为什么被折叠?
 到【灌水乐园】发言


