


1、将本地jar包添加到maven:
点击IDEA右侧的Maven Project按钮,点击 Execute Maven Goal 按钮
maven goal的格式如下 -D前面一定要有空格: =号后面不能有空格
install:install-file -Dfile=D:\软件\apache-maven-3.6.1\repository\EntLinkUtils.jar
-DgroupId=com.EntLinkUtils
-DartifactId=EntLinkUtils
-Dversion=1.0
-Dpackaging=jar
install:install-file -Dfile=D:\软件\apache-maven-3.6.1\repository\jave-1.0.2.jar
-DgroupId=com.jave
-DartifactId=jave
-Dversion=1.0.2
-Dpackaging=jar
2、添加本地Jar包
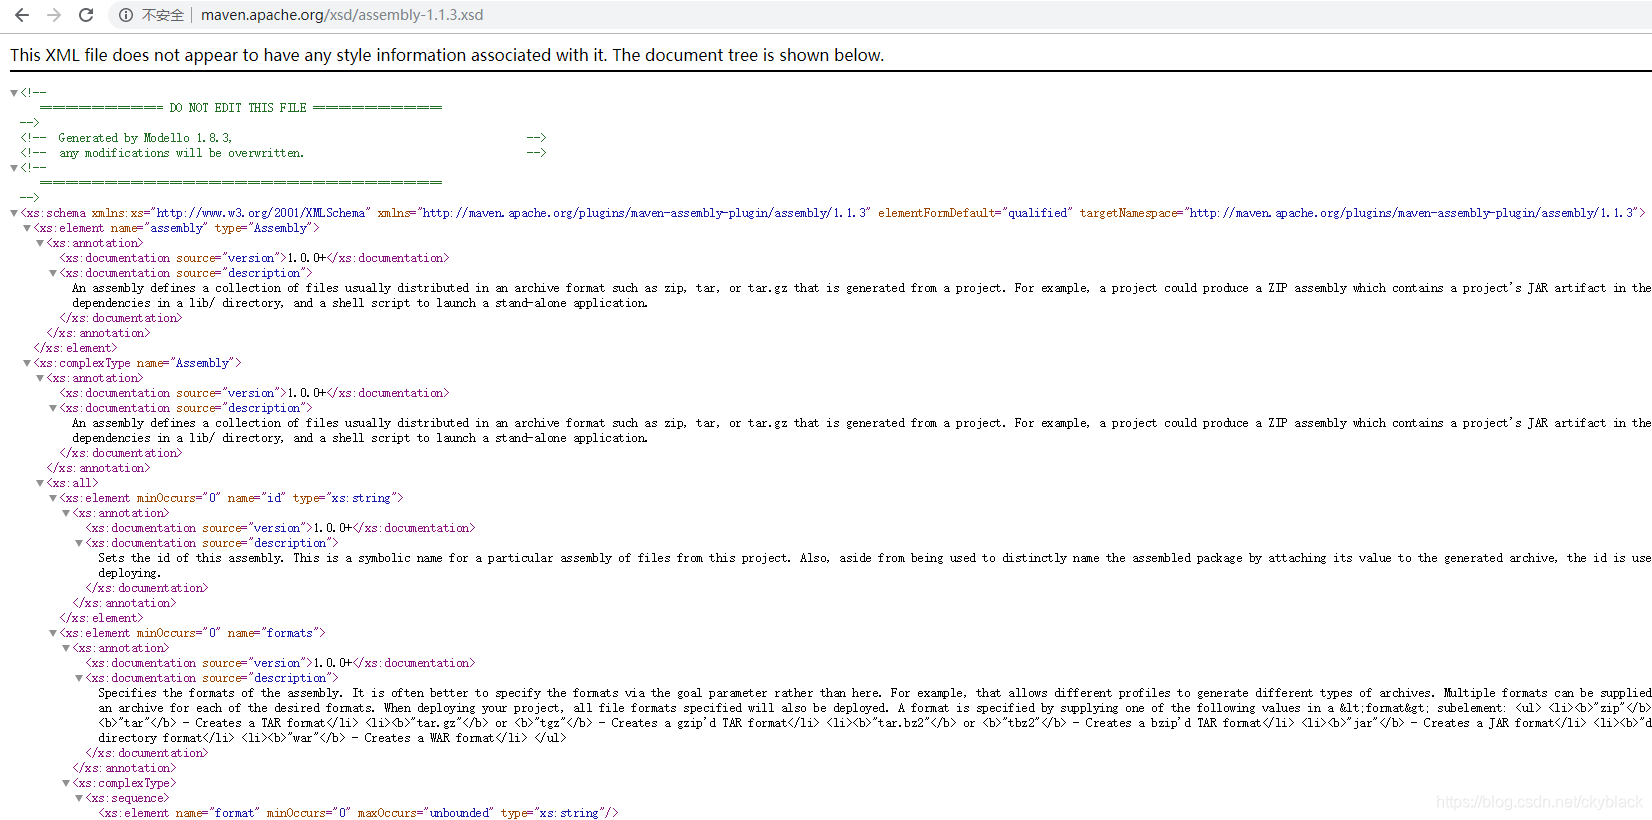
第一步:将xsd文件路径到浏览器打开,复制内容粘贴到新建文件,更改文件名和后缀,
 [外链图片转存失败(img-xF3IahBI-1565143400616)(data:image/gif;base64,R0lGODlhAQABAPABAP///wAAACH5BAEKAAAALAAAAAABAAEAAAICRAEAOw==)]
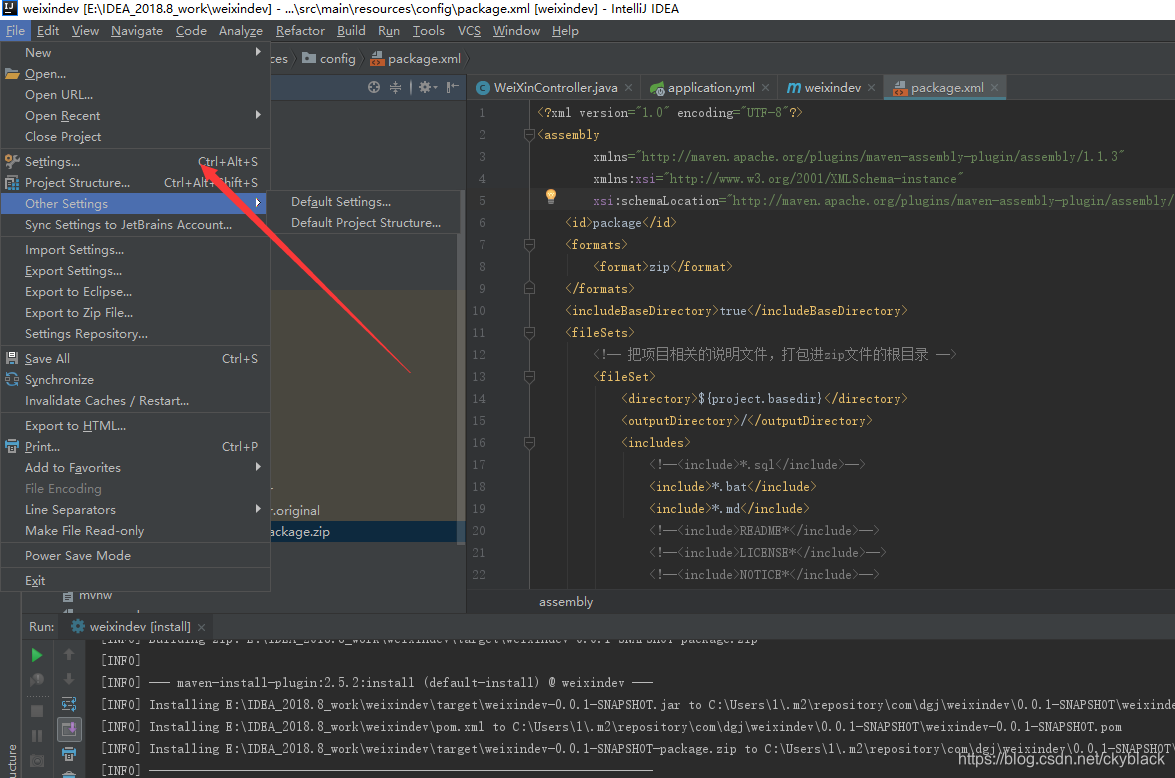
第二步:打开IDea软件,点击Setting:
 [外链图片转存失败(img-NWgoS82Z-1565143400617)(data:image/gif;base64,R0lGODlhAQABAPABAP///wAAACH5BAEKAAAALAAAAAABAAEAAAICRAEAOw==)]
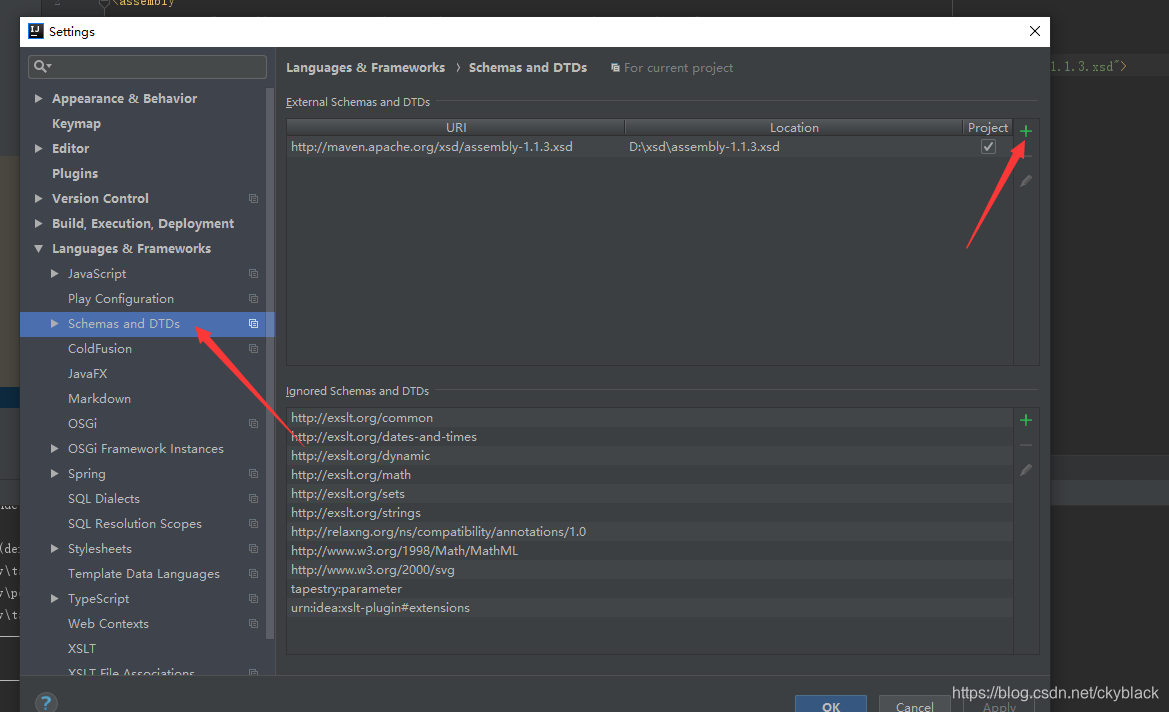
第三步:点击绿色加号:
 [外链图片转存失败(img-2Pr8ewv0-1565143400618)(data:image/gif;base64,R0lGODlhAQABAPABAP///wAAACH5BAEKAAAALAAAAAABAAEAAAICRAEAOw==)]
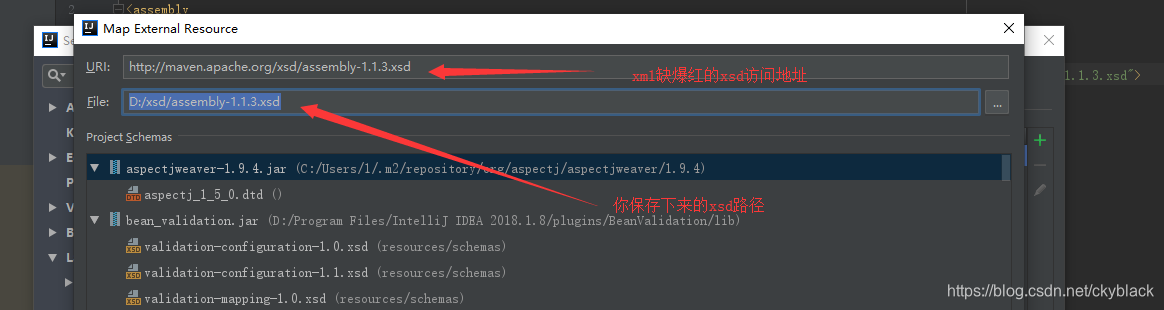
第四步:添加xsd文件:
 [外链图片转存失败(img-k5kVzMla-1565143400618)(data:image/gif;base64,R0lGODlhAQABAPABAP///wAAACH5BAEKAAAALAAAAAABAAEAAAICRAEAOw==)]
最后点击apply,确定按钮。
添加xsd文件完成。
3、添加本地Jar包
通过Libraries添加:(强烈推荐)
1.打开 File -> Project Structure
2.单击 Libraries -> “+” -> “Java” -> 选择我们导入的项目主目录,点击OK
导入结果:
[外链图片转存失败(img-gNF6SRRx-1565143400619)(C:\Users\1\AppData\Roaming\Typora\typora-user-images\1565143277532.png)]
完成导入
果:
[外链图片转存中…(img-gNF6SRRx-1565143400619)]
完成导入
4、将jar打包到项目外 并读取项目外的配置
问题2:如何打包项目,并把配置文件等放在jar包外部?
第一步:添加maven 配置:pom.xml文件下面build里面添加:
        <plugin>
            <groupId>org.springframework.boot</groupId>
            <artifactId>spring-boot-maven-plugin</artifactId>
        </plugin>
        <plugin>
            <groupId>org.apache.maven.plugins</groupId>
            <artifactId>maven-jar-plugin</artifactId>
            <configuration>
                <archive>
                    <manifest>
                        <addClasspath>true</addClasspath>
                        <classpathPrefix></classpathPrefix>
                        <mainClass>com.server.ServerApplication</mainClass>
                    </manifest>
                </archive>
            </configuration>
        </plugin>
        <plugin>
            <groupId>org.apache.maven.plugins</groupId>
            <artifactId>maven-assembly-plugin</artifactId>
            <!-- The configuration of the plugin -->
            <configuration>
                <descriptors>
                         <!-- 指定你package.xml的位置 -->
                    <descriptor>src/main/resources/config/package.xml</descriptor>
                </descriptors>
            </configuration>
            <executions>
                <execution>
                    <id>make-assembly</id>
                    <phase>package</phase>
                    <goals>
                        <goal>single</goal>
                    </goals>
                </execution>
            </executions>
        </plugin>
maven-jar-plugin:负责将应用程序打包成可执行的jar文件
maven-assembly-plugin:负责将整个项目按照自定义的目录结构打成最终的压缩包,方便实际部署
打包的时候一定要指定启动类:
org.springframework.boot spring-boot-maven-plugin com.dgj.weixin.WeixindevApplication 不然在运行的时候会出现找不到启动加载类的错误!第二步:在src\main\resources下面创建config文件夹,并在下面新建一个assembly.xml文件(这个名字可以自己改只要和pom.xml的指定一致就行)
assembly.xml内容:
<?xml version="1.0" encoding="UTF-8"?>
package
zip
true
${project.basedir}
/
.bat
.md
            <!--<include>README*</include>-->
            <!--<include>LICENSE*</include>-->
            <!--<include>NOTICE*</include>-->
            <!--<include>build.info</include>-->
        </includes>
    </fileSet>
    <!-- 我这里用的是yml的配置,如果用properties配置 直接恢复并注释yml的配置即可 -->
    <fileSet>
        <directory>${project.basedir}/src/main/resources</directory>
        <outputDirectory>/</outputDirectory>
        <includes>
            <include>config/*.xml</include>
           <!-- <include>config/*.properties</include>-->
            <include>config/*.yml</include>
          <!--  <include>*.properties</include>-->
            <include>*.yml</include>
        </includes>
    </fileSet>

    <!-- 把项目自己编译出来的jar文件,打包进zip文件的根目录 -->
    <fileSet>
        <directory>${project.build.directory}</directory>
        <outputDirectory>/</outputDirectory>
        <includes>
            <include>*.jar</include>
        </includes>
    </fileSet>
</fileSets>
先clean清理一下,然后install。
在target下面找到打包好的jar,复制粘贴到你的服务器上或者本地执行;
执行命令的时候输入下面的命令:
java -jar -Dspring.config.location=application.yml weixindev-0.0.1-SNAPSHOT.jar
-Dspring.config.location是用来读取你外置application.yml的配置信息;
如果出现乱码加上-Dfile.encoding=utf-8 -jar在执行:
java -Dfile.encoding=utf-8 -jar entlinkbridge-0.0.1-SNAPSHOT.jar -Dspring.config.location=application.yml
然后项目启动。


 3813
3813

 被折叠的 条评论
为什么被折叠?
被折叠的 条评论
为什么被折叠?
 到【灌水乐园】发言


