


前言
必须按顺序执行以下操作完成蓝鲸智云社区版基础包的安装,以下步骤若有报错/失败,需要根据提示修复错误后,在重新执行相同的命令(支持断点续装)。
1.安装 PaaS 平台及其依赖服务 ./bk_install paas
该步骤完成后,可以打开 PaaS 平台。
[root@JSH-01 ~]# cd /data/install
[root@JSH-01 install]# ./bk_install paas
……
enter a absolute path [/data/bkce]:       #选择安装目录,直接默认即可  /data/bkce/
……
------------------------- agreements ---------------------------------
    Dear users, welcome to use the Tencent BlueKing Software. Please
access http://bk.tencent.com/info/#laws to read the Tencent BlueKing
Software License and Service Agreement carefully. You have no right to
install or use the Software and related services unless you have read
and accepted all the terms of this Agreement. By downloading, install-
ing, using or logging in the Software, you shall be deemed to have
read and agreed to be bound by the Agreement above. If you have under-
stood the above content, please enter "yes" to continue installation,
otherwise, please enter "no" to abort. Thank you for your understan-
ding and support of the Tencent BlueKing Software.
----------------------------------------------------------------------
yes/no ?                                 #提示是否同意腾讯协议,输入yes同意即可

……
如果以上步骤没有报错, 你现在可以通过 http://paas.bk.com:80 访问 paas 平台,
登陆用户名(login user): admin
登陆密码(login password): el3ZQgIN7r

[root@JSH-01 install]# echo $?           #验证执行过程知否报错
0
需要修改本机的hosts文件,将NGINX所在机器的IP设置为 paas.bk.com 的解析IP地址。
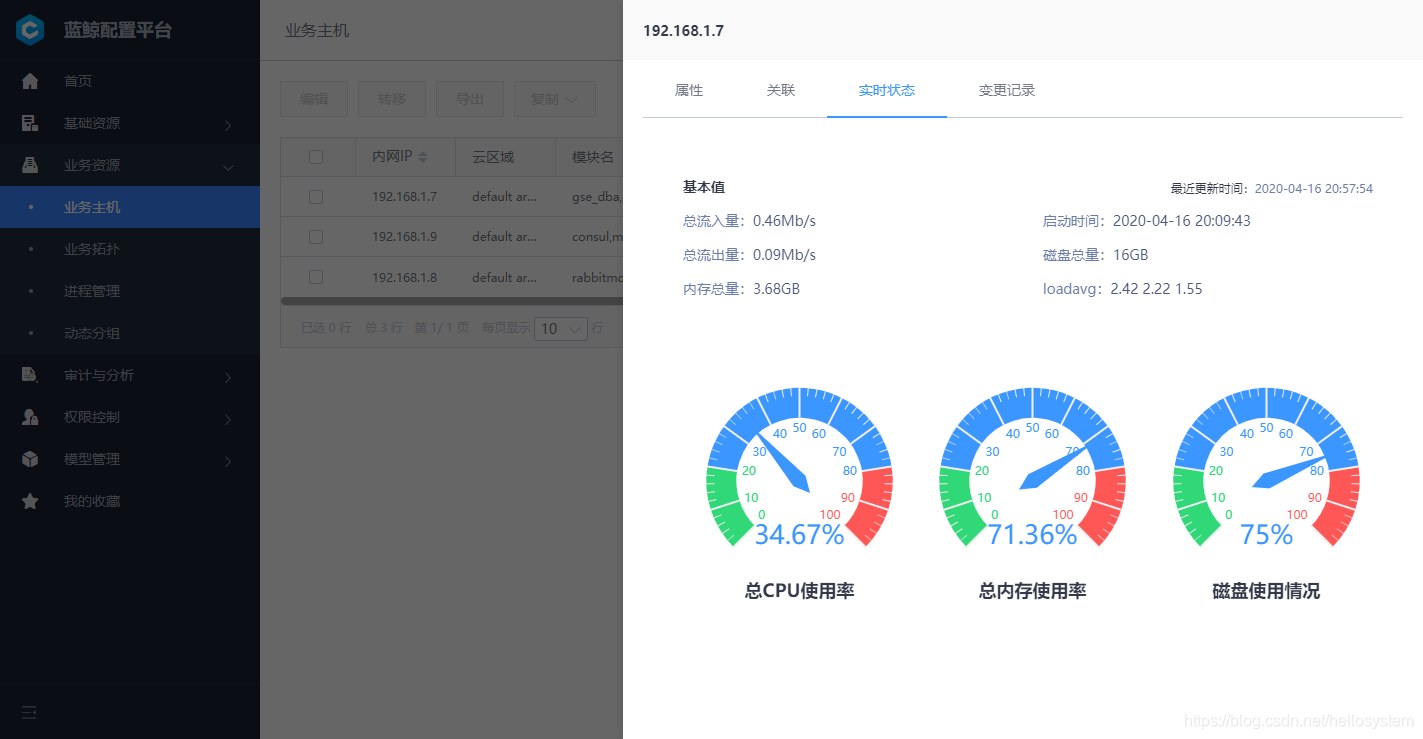
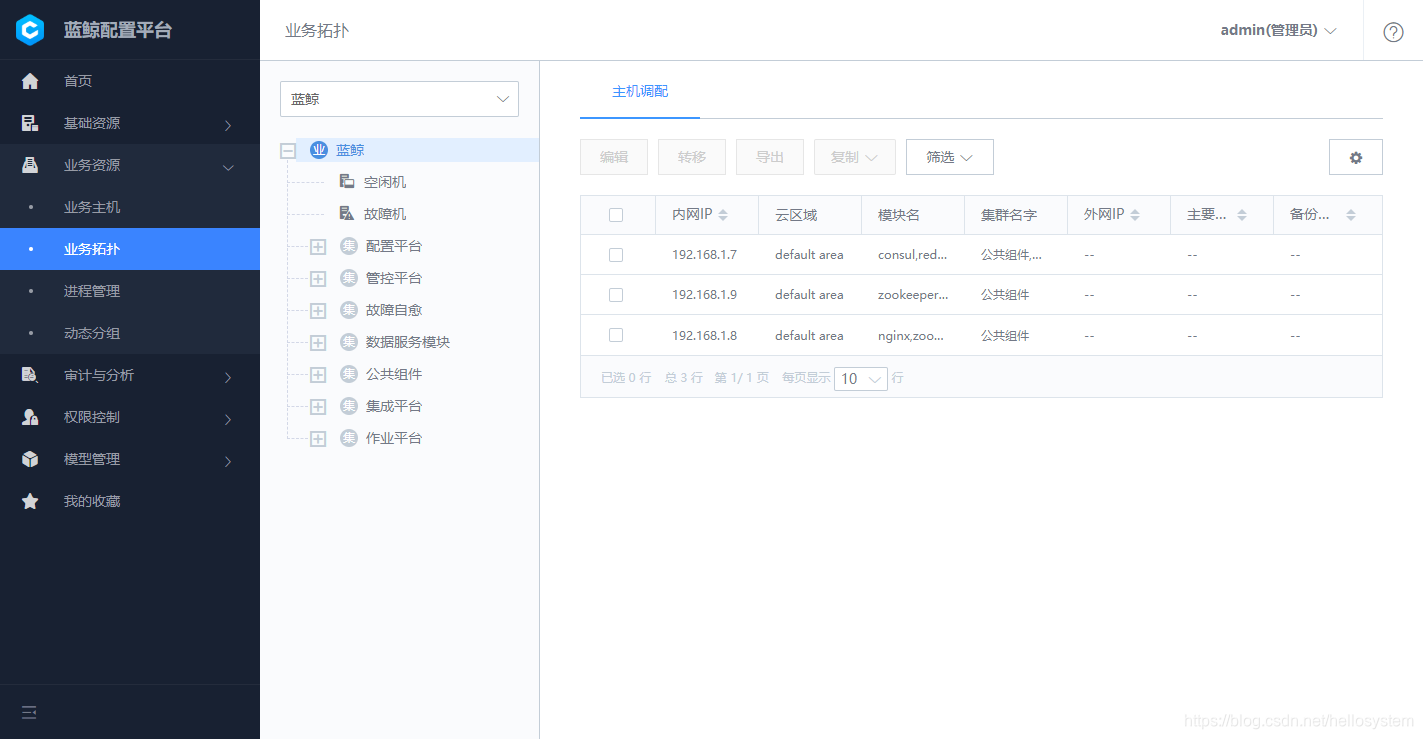
2、安装配置平台及其依赖服务 ./bk_install cmdb
该步骤完成后,可以打开配置平台,看到蓝鲸业务及示例业务。
[root@JSH-01 install]# ./bk_install cmdb

……

[192.168.1.7]20200416-195900 98   starting zk(ALL) on host: 192.168.1.8
ZooKeeper JMX enabled by default
Using config: /data/bkce/etc/zoo.cfg
Starting zookeeper ... STARTED
[192.168.1.7]20200416-195906 98   starting zk(ALL) on host: 192.168.1.9
ZooKeeper JMX enabled by default
Using config: /data/bkce/etc/zoo.cfg
Starting zookeeper ... STARTED
[192.168.1.7]20200416-195909 98   starting zk(ALL) on host: 192.168.1.7
ZooKeeper JMX enabled by default
Using config: /data/bkce/etc/zoo.cfg
Starting zookeeper ... STARTED
[192.168.1.7]20200416-195948 102   zk.service.consul无法解析
报错1:[192.168.1.7]20200416-195948 102 zk.service.consul无法解析
解决1:确认 /etc/resolv.conf 里第一行是nameserver 127.0.0.1,如果没有需要添加
[root@JSH-01 install]# dig zk.service.consul

; <<>> DiG 9.11.4-P2-RedHat-9.11.4-9.P2.el7 <<>> zk.service.consul
;; global options: +cmd
;; Got answer:
;; ->>HEADER<<- opcode: QUERY, status: NXDOMAIN, id: 29234
;; flags: qr rd ra; QUERY: 1, ANSWER: 0, AUTHORITY: 1, ADDITIONAL: 1

;; OPT PSEUDOSECTION:
; EDNS: version: 0, flags:; udp: 4096
;; QUESTION SECTION:
;zk.service.consul.		IN	A

;; AUTHORITY SECTION:
.			1979	IN	SOA	a.root-servers.net. nstld.verisign-grs.com. 2020041600 1800 900 604800 86400

;; Query time: 36 msec
;; SERVER: 192.168.1.1#53(192.168.1.1)
;; WHEN: 四 4月 16 20:22:25 CST 2020
;; MSG SIZE  rcvd: 121

[root@JSH-01 install]# vi /etc/resolv.conf
nameserver 127.0.0.1          #首行必须为
nameserver 192.168.1.1
nameserver 119.29.29.29

[root@JSH-01 install]# ./bk_install cmdb    #再次执行
……
[192.168.1.7]20200416-203905|134	start gse_dataop ...Done
[192.168.1.8] nginx: RUNNING
[192.168.1.7] redis: RUNNING
[192.168.1.8] zk: RUNNING
[192.168.1.9] zk: RUNNING
[192.168.1.7] zk: RUNNING
[192.168.1.9] mongod: RUNNING
[192.168.1.7] gse_alarm: RUNNING
[192.168.1.7] gse_ops: RUNNING
[192.168.1.7] gse_opts: RUNNING
[192.168.1.7] gse_api: RUNNING
[192.168.1.7] gse_btsvr: RUNNING
[192.168.1.7] gse_data: RUNNING
[192.168.1.7] gse_dba: RUNNING
[192.168.1.7] gse_task: RUNNING
[192.168.1.7] gse_syncdata: RUNNING
[192.168.1.7] gse_procmgr: RUNNING
[192.168.1.7] gse_dataop: RUNNING
[192.168.1.7] cmdb-nginx: RUNNING
[192.168.1.7] server      cmdb_adminserver                 RUNNING   pid 624, uptime 0:01:26
[192.168.1.7] server      cmdb_apiserver                   RUNNING   pid 621, uptime 0:01:26
[192.168.1.7] server      cmdb_auditcontoller              RUNNING   pid 620, uptime 0:01:26
[192.168.1.7] server      cmdb_datacollection              RUNNING   pid 623, uptime 0:01:26
[192.168.1.7] server      cmdb_eventserver                 RUNNING   pid 622, uptime 0:01:26
[192.168.1.7] server      cmdb_hostcontroller              RUNNING   pid 2928, uptime 0:01:10
[192.168.1.7] server      cmdb_hostserver                  RUNNING   pid 615, uptime 0:01:26
[192.168.1.7] server      cmdb_objectcontroller            RUNNING   pid 617, uptime 0:01:26
[192.168.1.7] server      cmdb_proccontroller              RUNNING   pid 628, uptime 0:01:26
[192.168.1.7] server      cmdb_procserver                  RUNNING   pid 2936, uptime 0:01:10
[192.168.1.7] server      cmdb_toposerver                  RUNNING   pid 616, uptime 0:01:26
[192.168.1.7] server      cmdb_webserver                   RUNNING   pid 618, uptime 0:01:26

如果以上步骤没有报错, 你现在可以通过 http://cmdb.bk.com:80 访问配置平台,
需要修改本机的hosts文件,将NGINX所在机器的IP设置为 cmdb.bk.com 的解析IP地址。

思路1:
该错误意味着内部域名无法解析的问题。内部域名,指的是蓝鲸集群模块之间使用 consul 模块注册的以".service.consul"结尾的域名。它由每台机器上运行的 consul 进程监听的 53 端口提供解析服务。
当无法解析时,第一步,在报错的机器上使用 dig 看看 consul 能否解析:
$ dig xxx.service.consul @127.0.0.1
@127.0.0.1 表示使用 127.0.0.1:53 这个作为 dns 服务器,也就是使用 consul 提供的 dns 服务
正常情况下,可以看到类似下图的记录。如果命令换成dig 域名 没出现正确的记录,说明 /etc/resolv.conf里没有配置上 127.0.0.1 的 namserver,确认 /etc/resolv.conf 里第一行是nameserver 127.0.0.1
;; ANSWER SECTION:
zk.service.consul.    0    IN    A    10.x.x.x
zk.service.consul.    0    IN    A    10.x.x.x
zk.service.consul.    0    IN    A    10.x.x.x

;; Query time: 1 msec
;; SERVER: 127.0.0.1#53(127.0.0.1)
如果出现以下信息, 说明 consul 没有正常启动。那么 使用 supervisor 启动 consul 进程
; <<>> DiG 9.9.4-RedHat-9.9.4-29.el7_2.2 <<>> zk.service.consul @127.0.0.1
;; global options: +cmd
;; connection timed out; no servers could be reached
如果出现以下信息 "IN A" 后面没有 ip 地址,说明 consul 启动了,但是无法解析域名
;; QUESTION SECTION:
;zk.service.consul.        IN    A

;; AUTHORITY SECTION:
consul.            0    IN    SOA    ns.consul. postmaster.consul. 1530849644 3600 600 86400 0
此时按照以下步骤:
- 运行
consul monitor看看日志,主要确认 consul 集群状态是否正常。观察是否有"no cluster leader"的输出。 - 针对具体的域名,譬如 zk.service.consul,那么登陆到 zk 所在机器,查看
/data/bkce/etc/consul.d/zk.json文件 运行里面的 check 脚本,看返回的输出。
对于出现"no cluster leader"的输出时,说明 consul 之间没有成功组成集群,选举出 leader:
- 检查 consul server 节点是否都 running
- 在任意一台 consul 上输入
consul join <另外一个 consul 节点> - 查看节点状态:
consul operator raft list-peers
3、安装作业平台及其依赖组件,并在安装蓝鲸的服务器上装好 gse_agent 供验证
./bk_install app_mgr
该步骤完成后,可以打开作业平台,并执行作业。同时在配置平台中可以看到蓝鲸的模块下加入了主机。
需要修改本机的hosts文件,将NGINX所在机器的IP设置为 job.bk.com 的解析IP地址。
4、部署正式环境及测试环境 ./bk_install app_mgr
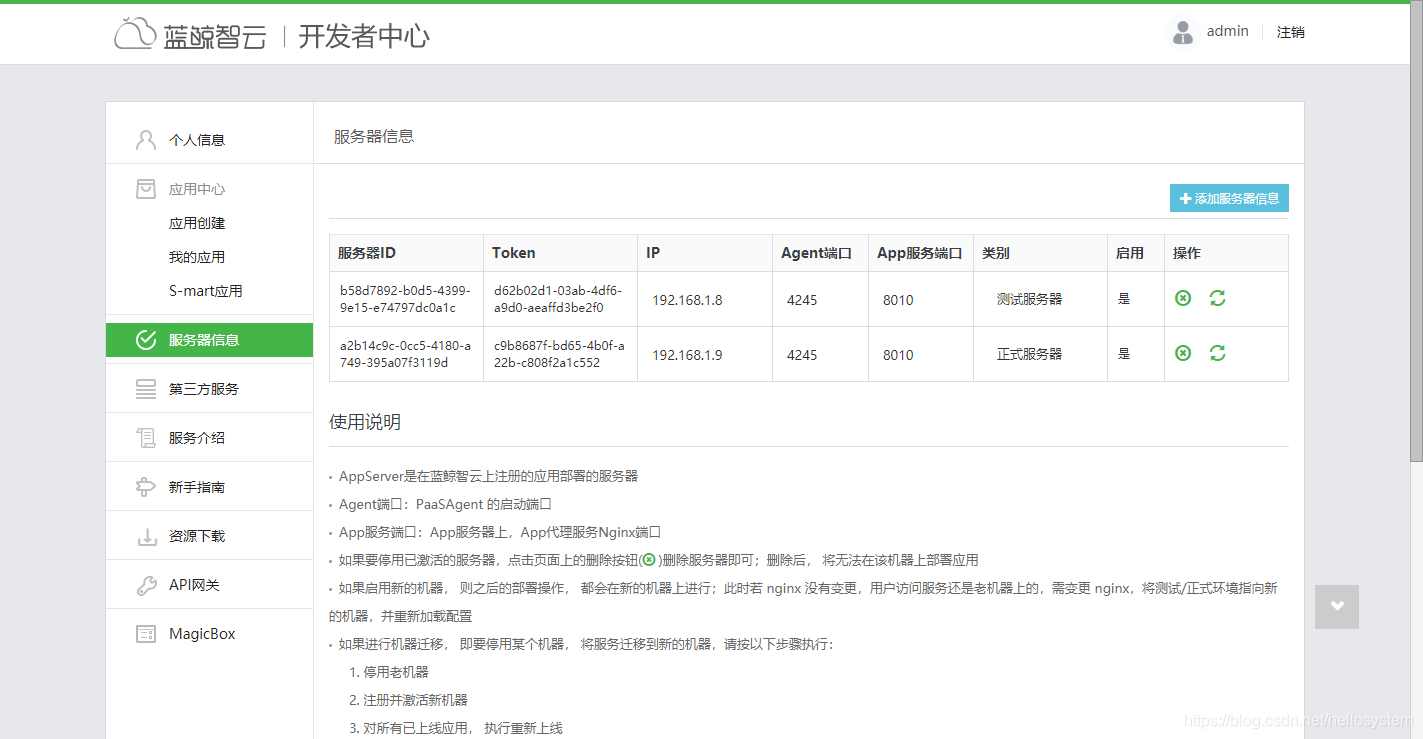
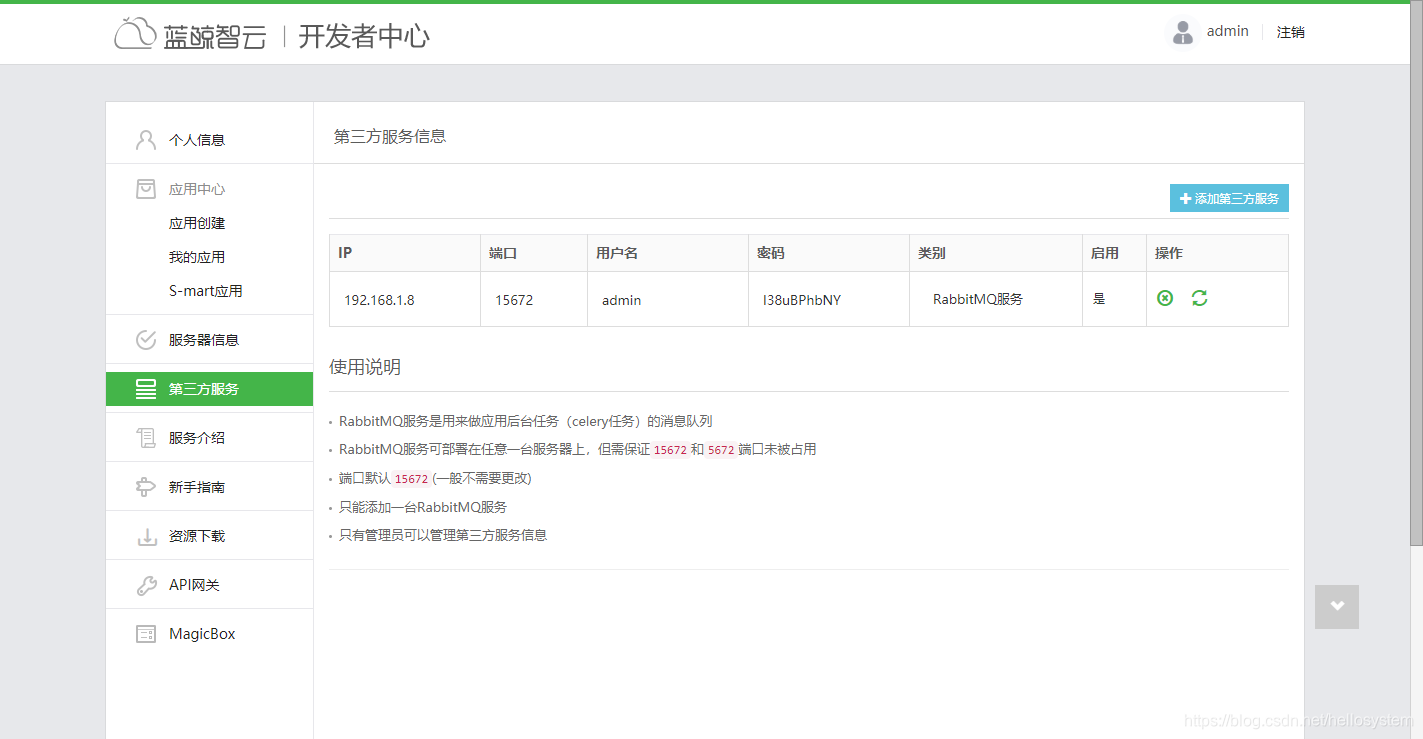
该步骤完成后,可以在开发者中心的服务器信息和第三方服务信息中看到已经成功激活的服务器,同时也可以进行 SaaS 应用(除蓝鲸监控和日志检索)的上传部署。
[192.168.1.7]20200416-210915 182   exec initdata_appo on 192.168.1.9
[192.168.1.9]20200416-210916 262   update config file: paas_agent_config.yaml
[192.168.1.9]20200416-210916 268   register appo succeded.
[192.168.1.7]20200416-210916 502   create database bksuite_common
[192.168.1.7]20200416-210916 504   add version info to db
[192.168.1.7]20200416-210917 98   starting appo(ALL) on host: 192.168.1.9
[192.168.1.9]20200416-210921 77   activate appo(192.168.1.9) succeded
[192.168.1.9] paas_agent()    paas_agent                       RUNNING   pid 92512, uptime 0:00:08
[192.168.1.9] nginx: RUNNING
[192.168.1.8] paas_agent()    paas_agent                       RUNNING   pid 2454, uptime 0:04:49
[192.168.1.8] nginx: RUNNING
[192.168.1.8] rabbitmq: RUNNING

如果以上步骤没有报错, 你现在可以完成正式环境及测试环境的部署,可以:
 1. 通过./bk_install saas-o bk_nodeman 部署节点管理app, 或
 2. 通过开发者中心部署app.
若要安装蓝鲸监控, 日志检索, 需要先通过 ./bk_install bkdata 安装 bkdata

您在 /var/spool/mail/root 中有新邮件
5、安装蓝鲸数据平台基础模块及其依赖服务 ./bk_install bkdata
安装该模块后,可以开始安装使用 SaaS 应用: 蓝鲸监控和日志检索
报错2:如以下代码所示
解决2:缺少Python的模块文件,
执行命令 pip install flask-migrate 后再次执行./bk_install bkdata 即可。
[root@JSH-01 install]# ./bk_install bkdata
……
[192.168.1.7]20200416-212347 172   exec initdata_bkdata on 192.168.1.8
[192.168.1.7]20200416-212348 172   exec initdata_bkdata on 192.168.1.9
[192.168.1.9]20200416-212349 104   start to make migration for bkdata ...
[192.168.1.9]20200416-212349 112   on-migrate ... /data/bkce/bkdata/dataapi/on_migrate
[192.168.1.9]20200416-212351 10   init dataserver zk config
[192.168.1.9]20200416-212352 13   create topic
waiting node ready
waiting node ready
waiting node ready
waiting node ready
waiting node ready
waiting node ready
Traceback (most recent call last):
  File "/opt/py27/lib/python2.7/runpy.py", line 162, in _run_module_as_main
    "__main__", fname, loader, pkg_name)
  File "/opt/py27/lib/python2.7/runpy.py", line 72, in _run_code
    exec code in run_globals
  File "/data/bkce/bkdata/dataapi/databus/script/kafka/__main__.py", line 147, in <module>
    ensure_topic("connect-status." + m, 5, replication_factor=2, configs=topic_configs)
  File "/data/bkce/bkdata/dataapi/databus/script/kafka/__main__.py", line 85, in ensure_topic
    topic, error_code))
Exception: Unknown error code during creation of topic `connect-status.jdbc`: 7
[192.168.1.9]20200416-212408 14   create topic failed.
[192.168.1.9]20200416-212409 153   migrate failed for bkdata(dataapi)
[192.168.1.7]20200416-212409 179   Abort
您在 /var/spool/mail/root 中有新邮件
报错3:如以下代码所示
解决3:缺少文件,执行 yum install -y snappy-devel
=================set reserved dataid=================
blueking APP ID: 2
update reserved dataids DONE
[192.168.1.9]20200416-222548 24   handle new reserved dataid
[192.168.1.9]20200416-222550 27   update config_etl of system_disk
[192.168.1.9]20200416-222551 151   migrate bkdata(dataapi) done
[192.168.1.7]20200416-222551 172   exec initdata_bkdata on 192.168.1.7
[192.168.1.7]20200416-222552 502   create database bksuite_common
[192.168.1.7]20200416-222552 504   add version info to db
[192.168.1.7]20200416-222553 98   starting bkdata(databus) on host: 192.168.1.8
[192.168.1.7]20200416-222604 98   starting bkdata(dataapi) on host: 192.168.1.9
[192.168.1.9]20200416-222623 485   going to init snapshot data. this may take a while.
http://databus.bkdata.service.consul:10052/connectors
init data of snapshot and components
add etl connector of 2_tomcat_cache
add etl connector of 2_tomcat_jsp
add etl connector of 2_tomcat_net
E
======================================================================
ERROR: init_snapshot_config (databus.tests.DatabusHealthTestCase)
----------------------------------------------------------------------
Traceback (most recent call last):
  File "/data/bkce/bkdata/dataapi/databus/tests.py", line 157, in init_snapshot_config
    snapshot.init()
  File "/data/bkce/bkdata/dataapi/databus/init/snapshot.py", line 84, in init
    init_connector()
  File "/data/bkce/bkdata/dataapi/databus/init/snapshot.py", line 89, in init_connector
    init_snapshot_etl_connector(bk_biz_id)
  File "/data/bkce/bkdata/dataapi/databus/init/snapshot.py", line 200, in init_snapshot_etl_connector
    raise Exception(json_data.get('message'))
Exception: \u6dfb\u52a0\u603b\u7ebf\u4efb\u52a1\u5931\u8d25 \u6dfb\u52a0etl\u4efb\u52a1\u5931\u8d25 2_tomcat_net

----------------------------------------------------------------------
Ran 1 test in 121.150s

FAILED (errors=1)
您在 /var/spool/mail/root 中有新邮件

[root@JSH-01 install]# pip install pyecharts-snapshot
Collecting pyecharts-snapshot
  Downloading https://mirrors.cloud.tencent.com/pypi/packages/85/e8/f0a14cc92d89d43e52efb48bca5053c24b53e06e93b43579071476ed0cc6/pyecharts_snapshot-0.2.0-py2.py3-none-any.whl
Collecting pyppeteer>=0.0.25 (from pyecharts-snapshot)
  Downloading https://mirrors.cloud.tencent.com/pypi/packages/b0/16/a5e8d617994cac605f972523bb25f12e3ff9c30baee29b4a9c50467229d9/pyppeteer-0.0.25.tar.gz (1.2MB)
    100% |████████████████████████████████| 1.2MB 7.8MB/s
pyppeteer requires Python '>=3.5' but the running Python is 2.7.9
You are using pip version 9.0.1, however version 20.0.2 is available.
You should consider upgrading via the 'pip install --upgrade pip' command.
您在 /var/spool/mail/root 中有新邮件
未完,待续……


——标准部署&spm=1001.2101.3001.5002&articleId=105333587&d=1&t=3&u=86af9f5b7df647149e1948d23f21b03b)
 1300
1300

 被折叠的 条评论
为什么被折叠?
被折叠的 条评论
为什么被折叠?
 到【灌水乐园】发言


