python-pptxによる画像挿入について

こんにちは、新規事業開発本部の三神です。
PowerPointに大量の画像を挿入する必要がありました。
手動で行うのは大変です。
自動化しようとpython-pptxというライブラリを使うことにしました。
しかし、挿入時に予期せぬ事態に直面しました。
その時の内容と解決方法を失敗談として残します。
画像が正しく挿入できない
カメラで撮影した写真があります。

この写真をpython-pptxで挿入しようと思います。
from pptx import Presentation
from pptx.util import Inches
from PIL import Image

# PowerPointプレゼンテーションを作成
presentation = Presentation()

# 画像を読み込み
imagePath = "image.jpg"
image = Image.open(imagePath)

# 空白のスライドを追加
slide = presentation.slides.add_slide(presentation.slide_layouts[5])

# 画像を配置
left = Inches(3)
top = Inches(2)
# adjustImagePath = adjustImage(image)
slide.shapes.add_picture(imagePath, left, top)

# PowerPointファイルを保存
presentation.save('sample.pptx')
実行結果がこちらになります。
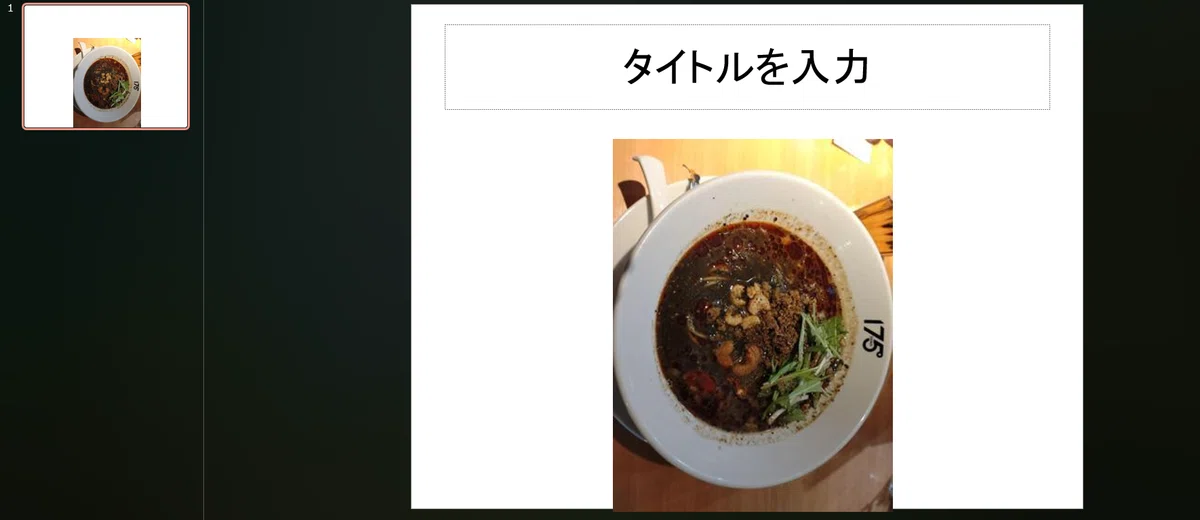
なぜか、横向きになってしまいました。
原因
撮影した画像には、Exif(Exchangeable Image File Format)が付属されています。これは撮影場所や撮影日時、撮影状況等の画像に関する細かい情報を含んでいます。一般的に画像を表示するソフトでは、Exifを読み込んで画像を表示してくれるのですが、python-pptxで画像を挿入する時には読み込んではくれません。今回、正しく挿入できなかった原因は画像の回転に関する情報を読み込んでいなかったことです。
解決策
挿入する前に、画像をExifに沿った編集をすることで解決しました。
以下が修正したコードです。
from io import BytesIO
from pptx import Presentation
from pptx.util import Inches
from PIL import Image, ExifTags

# Exif情報に沿って画像を編集後、バイトデータとして保存する
def adjustImage(image):
    for orientation in ExifTags.TAGS.keys():
        if ExifTags.TAGS[orientation] == 'Orientation':
            break
    exif = image._getexif()
    if exif is not None:
        orientation_value = exif.get(orientation)
        if orientation_value == 3:
            image = image.rotate(180, expand=True)
        elif orientation_value == 6:
            image = image.rotate(270, expand=True)
        elif orientation_value == 8:
            image = image.rotate(90, expand=True)
    imageByte = BytesIO()
    image.save(imageByte, format='JPEG', quality=100)
    imageByte.seek(0)
    return imageByte

# PowerPointプレゼンテーションを作成
presentation = Presentation()

# 画像を読み込み
imagePath = "image.jpg"
image = Image.open(imagePath)

# 空白のスライドを追加
slide = presentation.slides.add_slide(presentation.slide_layouts[5])

# 画像を配置
left = Inches(3)
top = Inches(2)
adjustImagePath = adjustImage(image)
slide.shapes.add_picture(adjustImagePath, left, top)

# PowerPointファイルを保存
presentation.save('sample.pptx')
adjustImage関数では、大きく二つの処理を行います。
for orientation in ExifTags.TAGS.keys():
 if ExifTags.TAGS[orientation] == 'Orientation':
   break
exif = image._getexif()
if exif is not None:
 orientation_value = exif.get(orientation)
  if orientation_value == 3:
   image = image.rotate(180, expand=True)
  elif orientation_value == 6:
   image = image.rotate(270, expand=True)
  elif orientation_value == 8:
   image = image.rotate(90, expand=True)
まずは、画像が回転情報を持っていることを確認し、その値に沿った処理を行います。
imageByte = BytesIO()
image.save(imageByte, format='JPEG', quality=100)
imageByte.seek(0)
return imageByte
python-pptxで画像を挿入するには、パスかバイトデータでしか渡せないようなので、一時的に画像をバイトデータとして保存します。
あとは、バイトデータをpresentation.slides.add_slideに渡して画像を挿入するだけです。
実行結果を確認します。
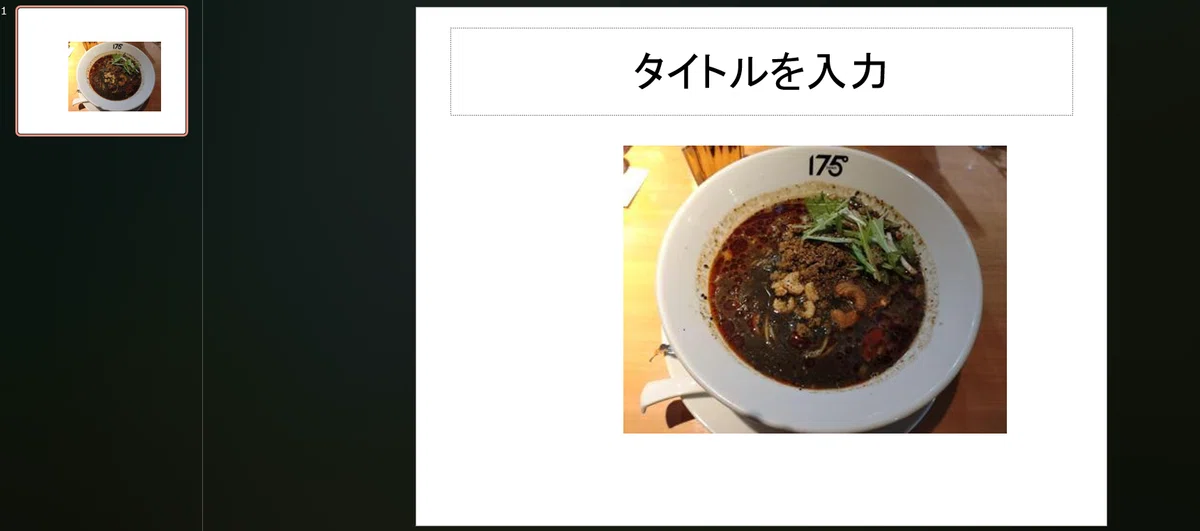
正しく画像を挿入することが確認できました。
最後に
今回は、python-pptxというライブラリを使って画像を挿入しようとした際の失敗談を記載しました。
python-pptxでは、Exifを読み込まないので正しく画像が挿入できないことを学びました。
余談ですが、北海道にお立ち寄りの際は175°DENO担担麺を是非
今回は以上となります。
今後とも「PSP」をよろしくお願い致します。
