
【IT】Capacitor(モバイルアプリ)入門(Svelte & Capacitor)(1)

皆さま
こんにちは
Capacitor(モバイルアプリをウェブの技術で作るためのフレームワーク)を
使って以前作成したお天気アプリをモバイルアプリ化します。
※今回は、シュミレーターの確認までとし、アプリ公開は次の機会とします。
第1回: 環境準備とCapacitorの導入 (←本記事)
第2回:動作確認と修正
<<Capacitorのサイト>>
1. 環境準備
🖥 開発環境
PC:MacBook Air (M1, macOS 14.5)
フレームワーク:Svelte v5
言語:TypeScript
※ 本記事の手順は macOS(Apple Silicon)環境でのみ検証済み です。
a. 前提条件
npm と nodeがインストールされていること確認します。
未導入の場合は、過去記事をご参照ください。
また、お天気サプリの作成についての過去記事に記載されております。
$ npm -v
11.5.2

$ node -v
v22.12.0
b. Svelteのインストール
以下のコマンドでインストールします。
今回は、Svelte単体をTypeScriptを選択します。
axiosもインストールします。
$ npm create vite@latest

> npx
> "create-vite"

│
◇  Project name:
│  svelte-weather-cap
│
◇  Select a framework:
│  Svelte
│
◇  Select a variant:
│  TypeScript
│
◇  Scaffolding project in /Users/user/Capacitor/svelte/svelte-weather-cap...
│
└  Done. Now run:

  cd svelte-weather-cap
  npm install
  npm run dev

$ cd svelte-weather-cap/

$ npm install

$ npm install axios
c. Svelteのクリーンアップとお天気アプリの配置
src/app.cssは空に
src/lib/Counter.svelteは削除します。
src/App.svelteは、一旦、全文削除して空で保存します。
次にお天気アプリを配置します。
$ tree -I "node_modules|ZZ_OLD"
.
├── index.html
├── package-lock.json
├── package.json
├── public
│   └── vite.svg
├── README.md
├── src
│   ├── app.css
│   ├── App.svelte        →お天気アプリからの中身をコピーして貼り付け
│   ├── assets
│   │   ├── background_img.jpg →お天気アプリからコピー
│   │   ├── base.css       →お天気アプリからコピー
│   │   └── svelte.svg
│   ├── lib
│   │   ├── Form.svelte     →お天気アプリからコピー
│   │   ├── Loading.svelte   →お天気アプリからコピー
│   │   ├── Results.svelte   →お天気アプリからコピー
│   │   └── Title.svelte    →お天気アプリからコピー
│   ├── main.ts
│   └── vite-env.d.ts
├── svelte.config.js
├── tsconfig.app.json
├── tsconfig.json
├── tsconfig.node.json
└── vite.config.ts

5 directories, 21 files
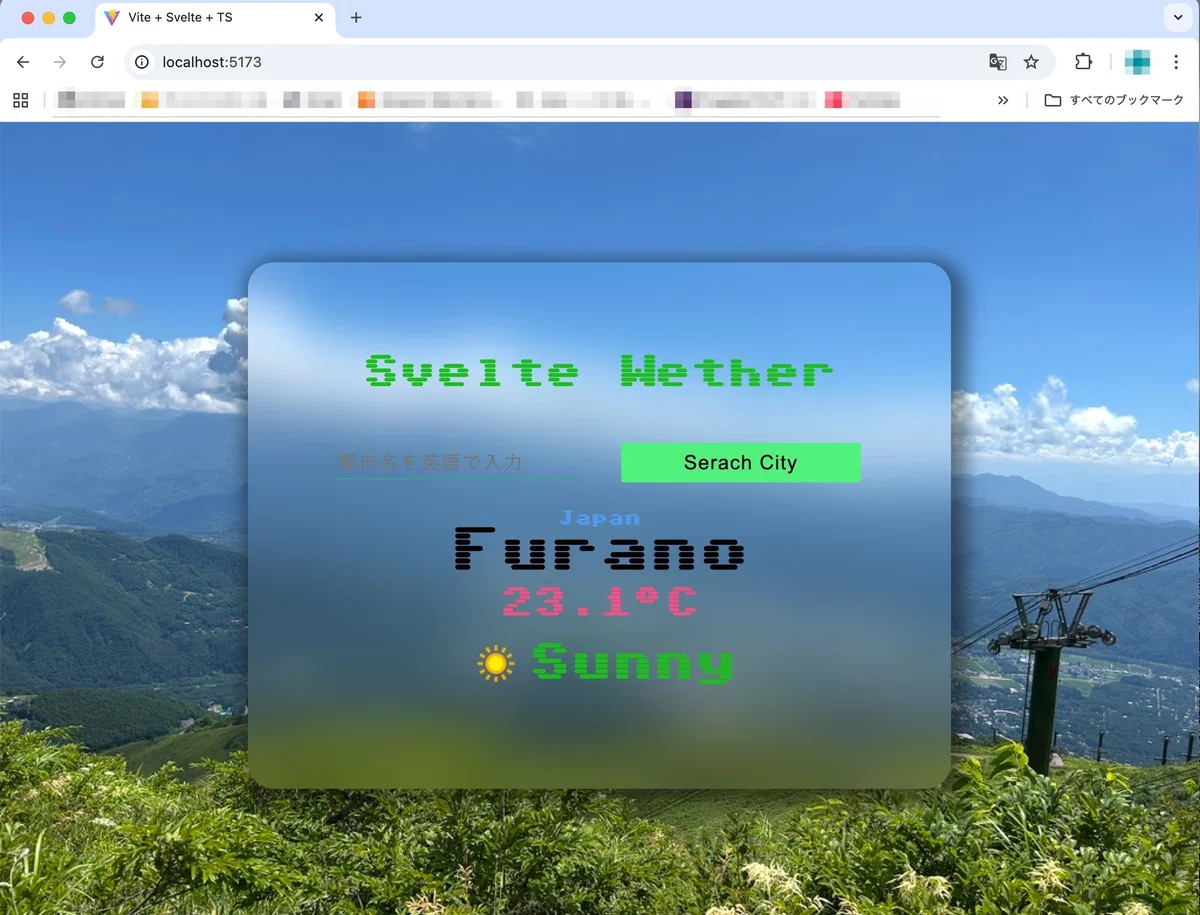
d. お天気アプリの起動確認
任意の都市名を入れて天気が表示されるか確認します。
e. お天気APIの変更
前回まで「OpenWeather」を利用しておりましたが、
無料版でもサブスクリプションの登録が必要となったようで
今回、Weather APIへ変更しております。
変更点:
src/App.svelte
変更前:OpenWeather
  // 天気を取得する関数
  const getWeather = (city) => {
    ・
    ・
    // APIリクエスト
    axios
      .get(`${API_URL}?q=${city}&units=metric&appid=${APIKEY}&lang=ja&units=metric`)
      .then((res) =>
      {
        //APIから取得したデータを代入
        results = {
          country: res.data.sys.country,
          cityName: res.data.name,
          temp_c: res.data.main.temp,
          description: res.data.weather[0].description,
          icon: res.data.weather[0].icon,
        };

   ⬇️⬇️⬇️

変更後:Weather API
  const getWeather = (city: string) => {
    ・
    ・
    // APIリクエスト
    axios
      .get(`${API_URL}?key=${API_KEY}&q=${city}&aqi=no`)
      .then((res) => {
        // APIから取得したデータを代入
        results = {
          country: res.data.location.country,
          cityName: res.data.location.name,
          temperature: res.data.current.temp_c,
          conditionText: res.data.current.condition.text,
          icon: res.data.current.condition.icon,
        };
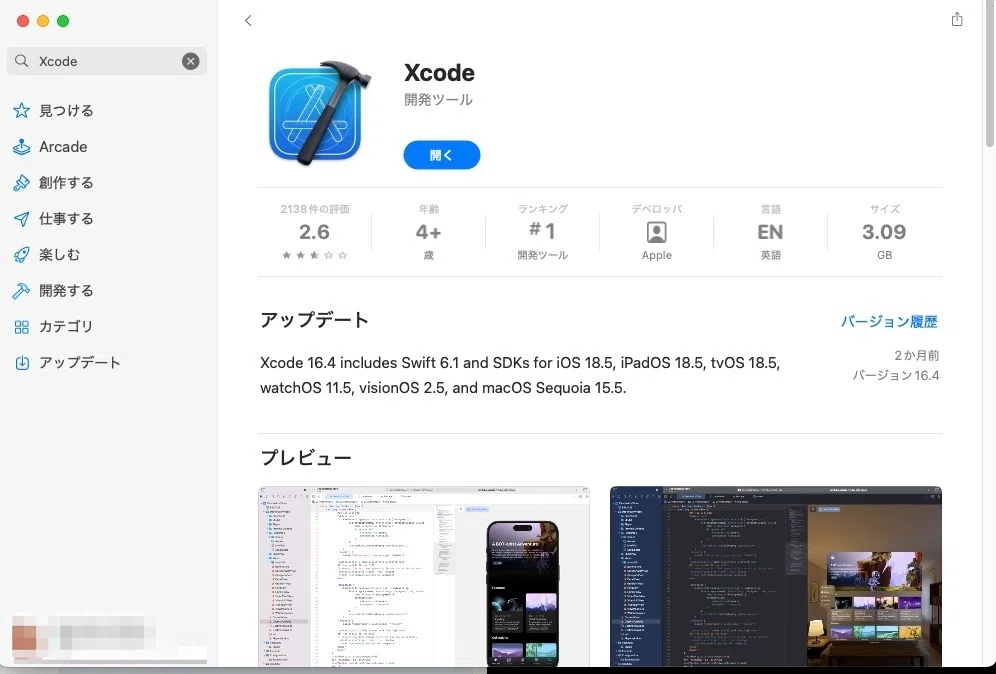
e. Xcodeのインストール
App Storeを開いて検索バーにて「Xcode」と入力し、
「入手」をクリックしてインストールします。
※環境によりお時間がかかりますので余裕があるときに実施ください。
2. Capacitorの導入
a. Capacitorのインストール
1で用意したお天気アプリのプロジェクトで以下のコマンドを実施します。
$  npm install @capacitor/core @capacitor/cli

added 151 packages, and audited 219 packages in 11s

32 packages are looking for funding
  run `npm fund` for details

found 0 vulnerabilities
次にCapacitor の初期化を以下のコマンドで実施します。
「npx cap init [name] [id] --Web-dir=build」
nameとidは任意の値となります。
・[id]
アプリのIDです。形式は、逆ドメインの形式となります。
もし、example.comをもっていてアプリの名前をweatherとしたとき
”com.example.weather”となります。
・ [name]
アプリ名です。今回の例として”MyCap Svelte Weather”となります。
$ npx cap init "MyCap Svelte Weather" "com.example.weather" --web-dir=dist
# ↑ appName(表示名) / appId(Javaパッケージ形式)/ webDir=dist を明示

⠙ Creating capacitor.config.ts in /Users/user/Capacitor/svelte/svelte-weathe
✔ Creating capacitor.config.ts in /Users/user/Capacitor/svelte/svelte-weather-cap in 1.21ms
[success] capacitor.config.ts created!

Next steps:
https://capacitorjs.com/docs/getting-started#where-to-go-next
自動生成されるConfigファイルを確認します。今回はビルド先もdistですので変更は不要です。
プロジェクトDir/capacitor.config.ts
import type { CapacitorConfig } from '@capacitor/cli';

const config: CapacitorConfig = {
  appId: 'com.example.weather',
  appName: 'MyCap Svelte Weather',
  webDir: 'dist'
};

export default config;
b. ビルドとプラットフォーム追加
ローカル環境でビルドを実施します。
$ npm run build

> svelte-weather-cap@0.0.0 build
> vite build

vite v7.1.2 building for production...
✓ 157 modules transformed.
dist/index.html                            0.46 kB │ gzip:  0.30 kB
dist/assets/background_img-xxxxx.jpg     336.64 kB
dist/assets/index-xxxxx.css                1.59 kB │ gzip:  0.79 kB
dist/assets/index-xxxxx.js                61.57 kB │ gzip: 24.68 kB
✓ built in 511ms
次にiOSとAndroidのプラットフォームをインストールします。
$ npm i @capacitor/ios @capacitor/android

added 2 packages, and audited 221 packages in 4s

32 packages are looking for funding
  run `npm fund` for details

found 0 vulnerabilities
プラットフォームがpackage.jsonに追加されていることを確認します。
    ・
    ・
  },
  "dependencies": {
    "@capacitor/android": "^7.4.2",
    "@capacitor/cli": "^7.4.2",
    "@capacitor/core": "^7.4.2",
    "@capacitor/ios": "^7.4.2",
    "axios": "^1.11.0"
  }
}
次に
以下のコマンドを実行してネイティブアプリケーション用の Android と iOS プロジェクトを作成します。
<<Android>>
$ npx cap add android
✔ Adding native android project in android in 20.48ms
✔ add in 20.69ms
✔ Copying web assets from dist to android/app/src/main/assets/public in 5.61ms
✔ Creating capacitor.config.json in android/app/src/main/assets in 232.50μs
✔ copy android in 9.21ms
✔ Updating Android plugins in 639.21μs
✔ update android in 10.61ms
✔ Syncing Gradle in 324.67μs
[success] android platform added!
Follow the Developer Workflow guide to get building:
https://capacitorjs.com/docs/basics/workflow

<<iOS>>
$ npx cap add ios
✔ Adding native Xcode project in ios in 11.80ms
✔ add in 12.14ms
✔ Copying web assets from dist to ios/App/App/public in 4.27ms
✔ Creating capacitor.config.json in ios/App/App in 259.71μs
✔ copy ios in 16.00ms
✔ Updating iOS plugins in 1.79ms
✔ Updating iOS native dependencies with pod install in 12.04s
✔ update ios in 12.15s
[success] ios platform added!
Follow the Developer Workflow guide to get building:
https://capacitorjs.com/docs/basics/workflow
次に ネイティブプロジェクトを作成したら、以下のコマンドを実行して、Webアプリケーションをネイティブプロジェクトに同期させます。
※npx cap sync は、 Capacitor Config (capacitor.config.ts)ファイルの webDir の値に作成したWebバンドルをコピーし、ネイティブプロジェクトの依存関係をインストールします。
$ npx cap sync
✔ Copying web assets from dist to android/app/src/main/assets/public in 4.72ms
✔ Creating capacitor.config.json in android/app/src/main/assets in 593.38μs
✔ copy android in 11.61ms
✔ Updating Android plugins in 663.50μs
✔ update android in 17.24ms
✔ Copying web assets from dist to ios/App/App/public in 7.63ms
✔ Creating capacitor.config.json in ios/App/App in 268.58μs
✔ copy ios in 21.56ms
✔ Updating iOS plugins in 1.69ms
✔ Updating iOS native dependencies with pod install in 2.53s
✔ update ios in 2.59s
✔ copy web in 1.33ms
✔ update web in 1.44ms
[info] Sync finished in 2.916s
🔗 連載リンク
ただいま執筆中、今しばらくおまちください。
では、また!
