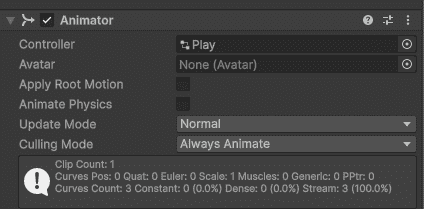
Animations bring characters to life – walking, running, jumping, attacking. In Unity, the Animator component and Animation Controller work together to control which animation plays and when. This article covers how to set them up.
- Animation Controller: A file that stores animations and rules for switching between them.
- Animator Component: Attached to character. It runs the Animation Controller.
Creating an Animation Controller
- Right-click in Project -> Create -> Animator Controller -> Name it.
- Double-click to open the Animator window.
Adding Animations
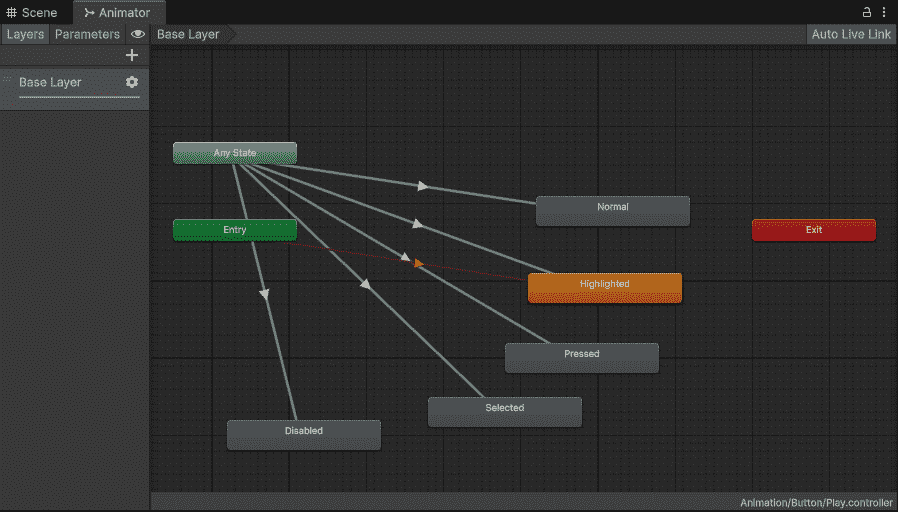
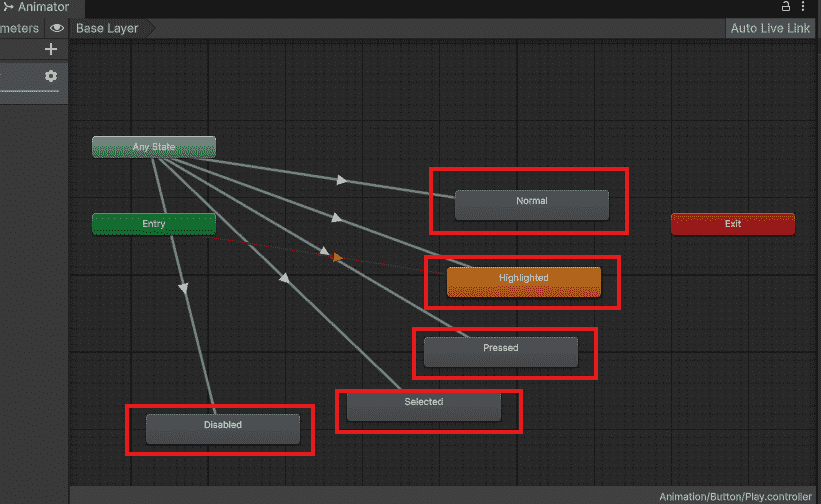
- Drag animation clips from Project into Animator window. They appear as orange boxes (states).
- The Entry arrow points to which animation plays first.
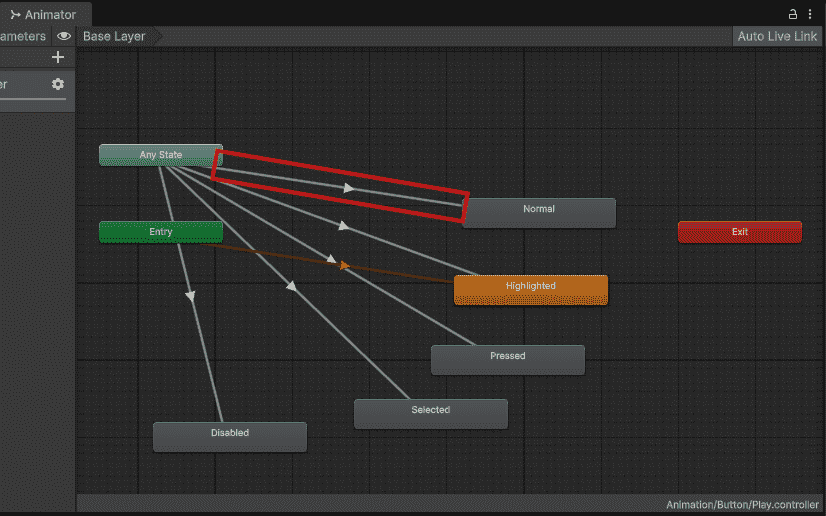
Creating Transitions
- Right-click a state -> Make Transition -> Click another state
- This creates an arrow that controls when to switch.
Adding Conditions
Conditions tell Unity when to switch animations.
- Create parameter -> Parameters tab -> "+" -> Float -> Name it "Speed"
- Click transition arrow -> Add condition -> Speed -> Greater - 0.1
Now animation switches when Speed > 0.1
Controlling from Script
public class PlayerAnimation : MonoBehaviour
{
    private Animator animator;
    void Start()
    {
        animator = GetComponent<Animator>();
    }
    void Update()
    {
        float speed = Input.GetAxis("Horizontal");
        animator.SetFloat("Speed", Mathf.Abs(speed));
    }
}
Important Settings
Click transition arrow -> Inspector:
- Has Exit Time: False (for movement – switch instantly)
- Transition Duration: 0.1 (smooth blend)
