EC2 (Elastic Compute Cloud) is an on-demand computing service offered by Amazon Web Services (AWS). It provides scalable virtual machines in the cloud, which allows users to run applications just as they would on a physical server - but the flexibility and control that comes with virtualization.
Launching EC2 Instance
To begin working with EC2, we first need to launch an instance - a virtual server that runs in the AWS Cloud.
Step 1: Log into your AWS account, go to the Services menu, and search for EC2.

Step 2: Click on Launch Instance: to initiate the configuration process.

Step 3: Now we will fill in the configurations for creating an EC2 Instance. Give a name to your Instance or remain its default. Then select the Windows AMI (Amazon machine Image). We are selecting Microsoft Windows server 2022 base.

Step 4: Choose the appropriate instance type based on your needs and budget (e.g., t2.micro for testing).

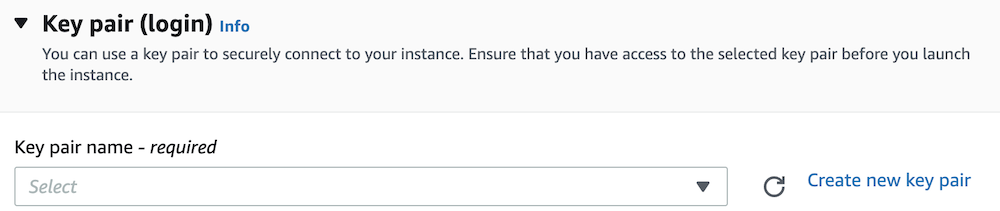
Step 5: Either select an existing key pair or create a new one by clicking Create new key pair.
Step 6: Make sure to allow RDP (port 3389) traffic in the security group settings so that you can access the instance remotely.

Step 7: Set your storage up to your need. Now we are ready to launch our instance by clicking on Launch Instance on the right side.

Connecting to the Instance via RDP
With your EC2 instance now launched, the next step is to connect to it. This section builds on the previous one, as the instance must be running before it can be accessed remotely.
Preparing for RDP Access:
To connect to a Windows server instance, you need:
- The RDP File (Provided by AWS)
- The decrypted password (which you retrieve using your key pair)
Step 1: Install an RDP Client: If you're on Windows, the Remote Desktop Client is pre-installed. For macOS or Linux, you may need to download a compatible RDP Client.
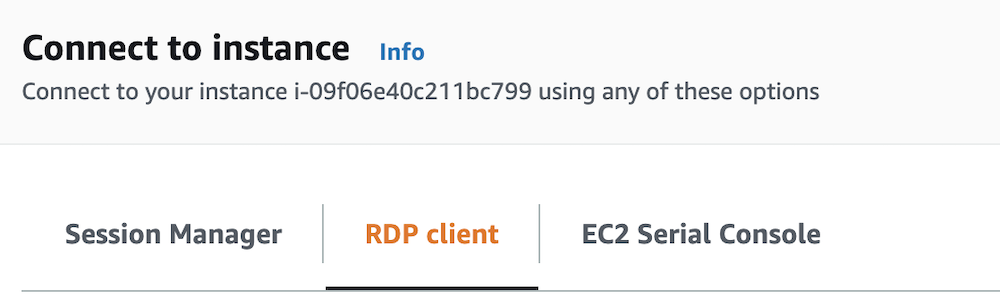
Step 2: Locate your Instance: Go back to the EC2 dashboard, find your instance under the Instances list, and click Connect.
Step 3: Choose RDP Client Option: In the connection options, select RDP Client and then click on Download remote desktop file.

Step 4: Retrieve the Password: We also need a password to connect for that, click on Get Password and browse your key pair and click on Decrypt Password. After this, your password will be shown on the screen, copy it and save it somewhere.

Step 5: Connect Using the RDP File
- Double-click the downloaded .rdp file.
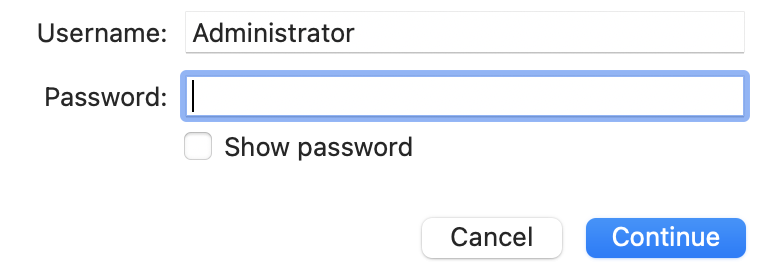
- When prompted, paste the password.
- If a username is required, use Administrator.
Step 6: You are connected to your Windows server: After a brief loading period, you’ll be connected to your Windows-based EC2 instance and ready to use it just like any standard remote desktop environment.
