AWS Elastic Beanstalk is a fully managed service that simplifies hosting web applications by automatically provisioning and managing the underlying infrastructure. Developers provide their code, and Elastic Beanstalk handles the rest.
- Virtual machines, load balancers, operating systems, language runtimes, and web servers are all provisioned automatically.
- Supports Java, .NET, PHP, Node.js, Python, Ruby, and Go.
- Runs on Apache, Nginx, Passenger, and IIS depending on the platform.
- Elastic Beanstalk itself has no additional charge — you pay only for the underlying AWS resources it provisions.
- A single application can have multiple environments such as dev, staging, and prod running simultaneously.
Core Elastic Beanstalk Concepts
- Application: A logical container for your entire project. Think of it as a folder that holds multiple versions and environments.
- Environment: The actual running instance of your application — the collection of AWS resources (EC2, Load Balancer, Auto Scaling Group, etc.) that Elastic Beanstalk creates and manages on your behalf.
- Application Version: A specific packaged snapshot of your code, typically a
.zipor.warfile. - Platform: The full technology stack your application runs on, combining the operating system, language runtime, web server, and application server (e.g., Python on Amazon Linux 2 with Gunicorn, or Go on Amazon Linux 2).
Launching a Sample Application
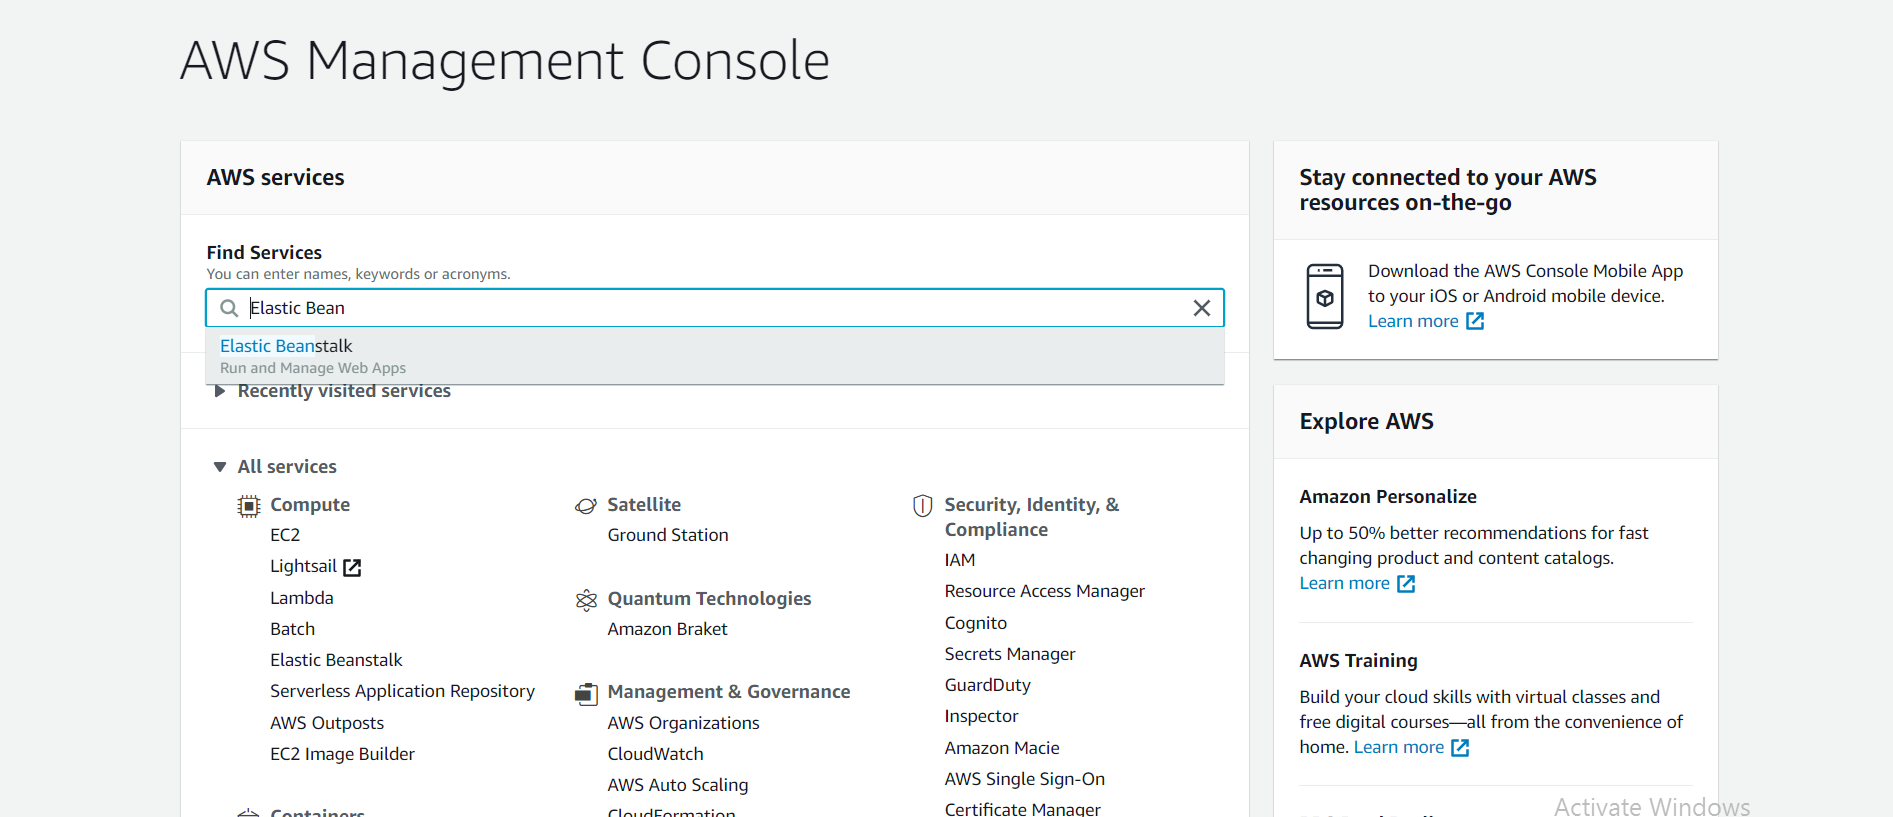
Step 1: Log in to your AWS account, search for Elastic Beanstalk in the main search bar, and select it to open the service dashboard.
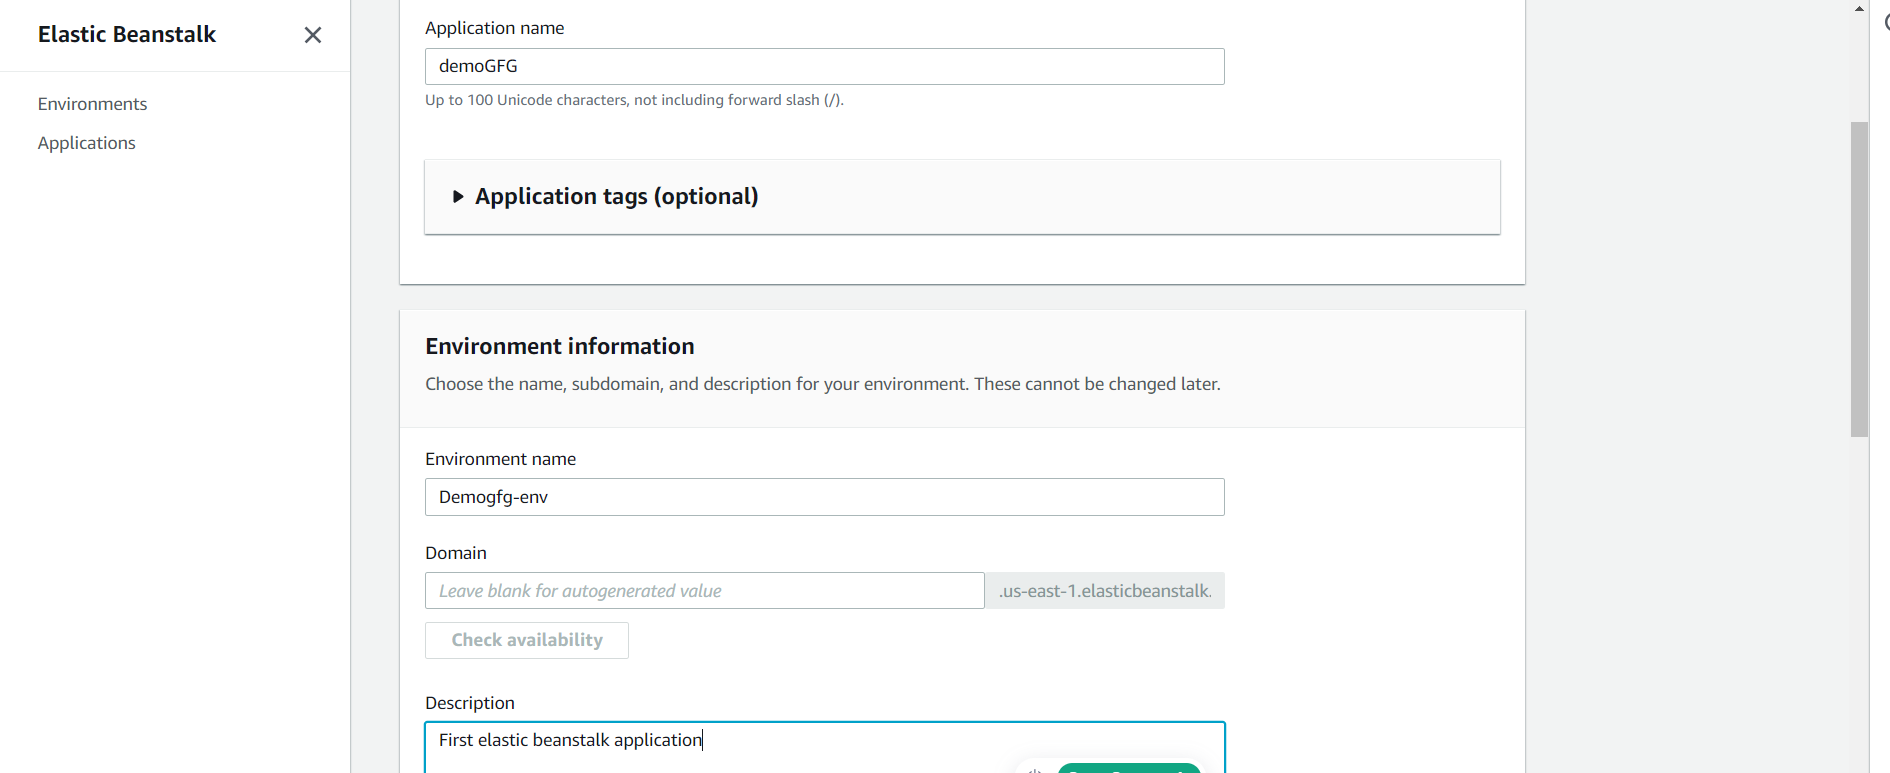
Step 2: Create a New Application
- Click Create application from the dashboard.
- In the configuration wizard, select Web server environment as the environment tier.
- Under Application information, enter a name such as
my-first-gfg-app.

Step 3: Configure the Environment
- Leave the Environment name as auto-generated, or customize it.
- Leave the Domain field blank for an auto-generated subdomain, or enter a preferred value.
- Under Platform, select your technology stack from the dropdown (e.g., Python). Elastic Beanstalk will pre-install the appropriate runtime and web server.
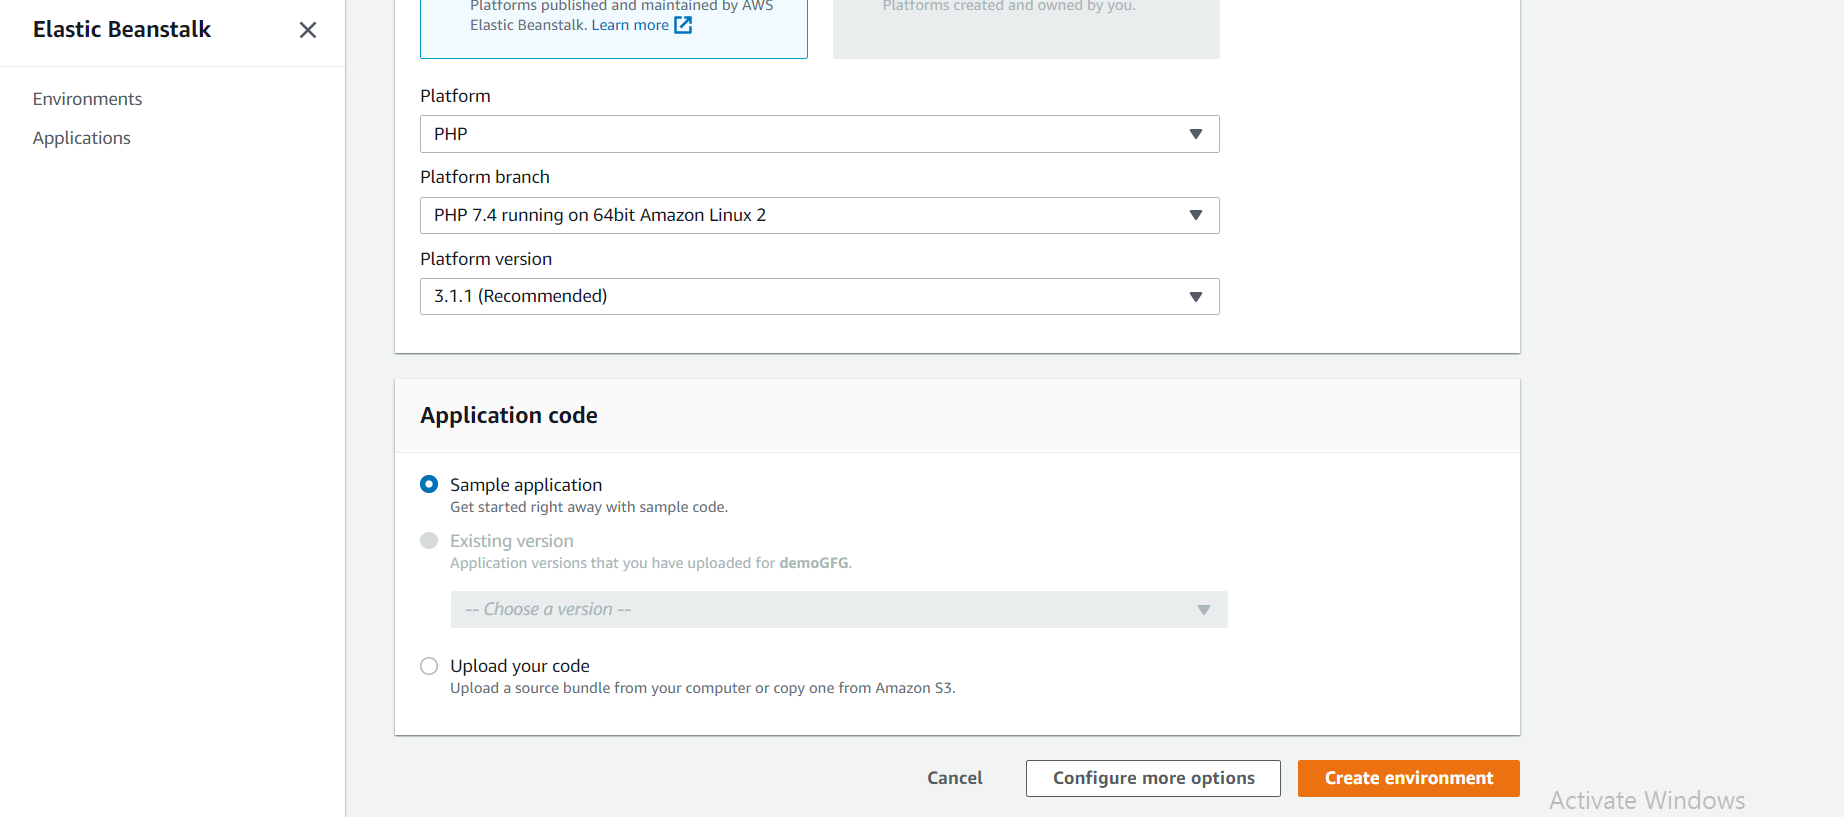
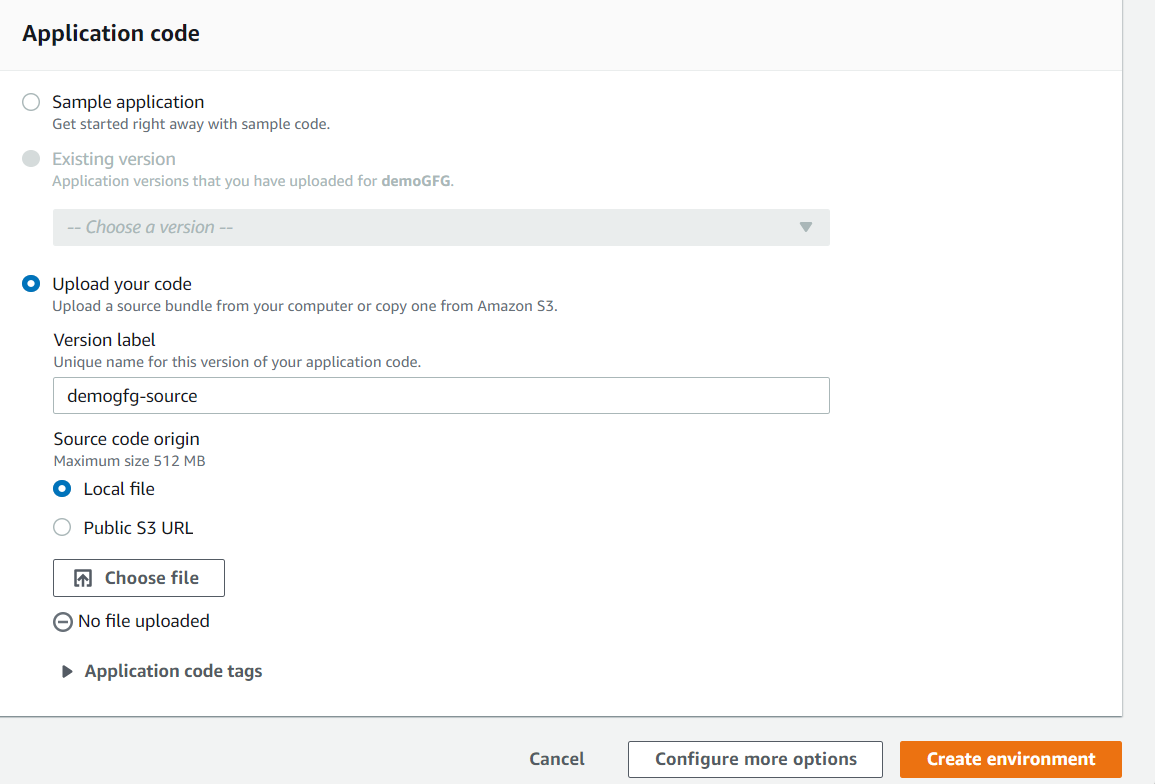
Step 4: Select Sample application to deploy a pre-built application provided by AWS. This is the recommended option for first-time setup, as it is guaranteed to work and confirms that your environment is configured correctly.
Step 5: Review and Launch
- Click Next to skip optional advanced configuration pages.
- On the final review page, acknowledge the service role creation required for Elastic Beanstalk to manage resources on your behalf.
- Click Submit.
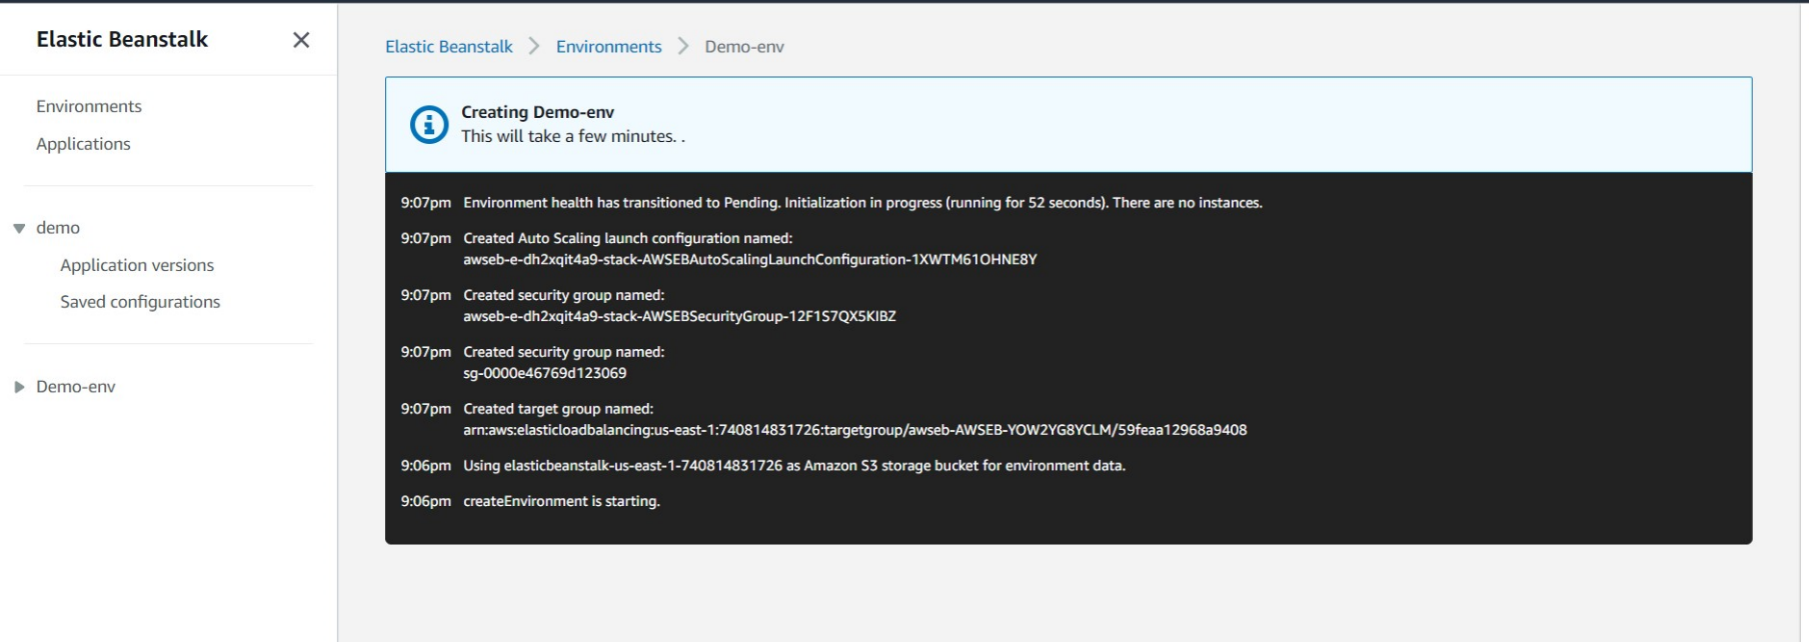
Step 6: You will be taken to the environment launch dashboard. Elastic Beanstalk provisions a complete infrastructure stack in the background. The event log will display each resource as it is created:
- S3 Bucket: Stores your application versions.
- Security Group: Acts as a firewall controlling instance traffic.
- EC2 Instance: The virtual server running your application.
- Auto Scaling Group: Manages instance count based on load.
- Elastic Load Balancer: Distributes incoming traffic across instances.
- CloudWatch Alarms: Monitors health and performance metrics.
Note: This process typically takes 5–10 minutes to complete.
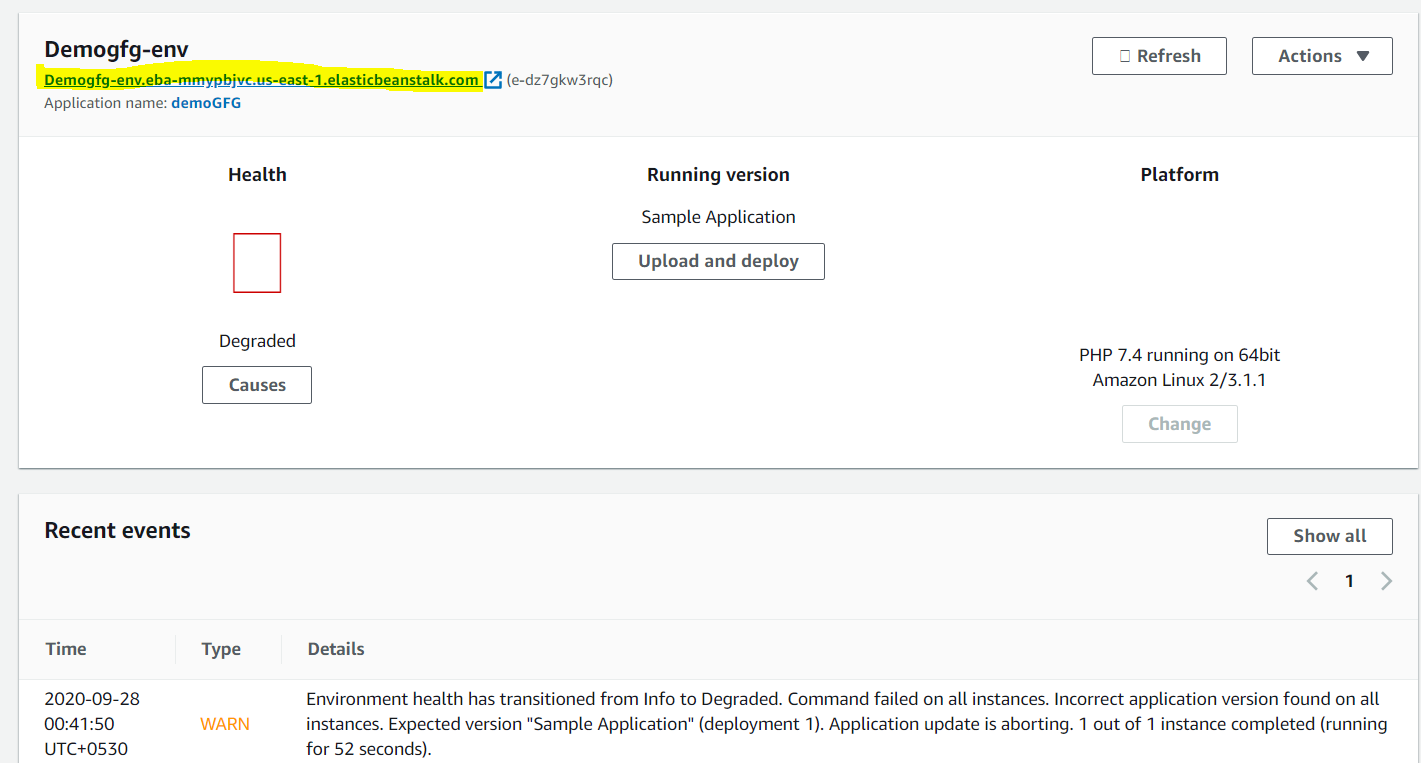
Step 7: Access Your Live Application
- Once launch completes, the health status turns green with an "Ok" status.
- Click the Domain URL displayed at the top of the dashboard (e.g.,
my-first-gfg-app-env.eba-xyz.us-east-1.elasticbeanstalk.com). - Your live sample application will open in a new browser tab.
Cleaning Up
Elastic Beanstalk is free, but the AWS resources it provisions (such as EC2 instances) incur charges. Always terminate your environment after practice.
- Navigate to your environment's dashboard.
- Click the Actions dropdown in the top-right corner.
- Select Terminate environment.
- Confirm by typing the environment name and clicking Terminate.
Note: Terminating the environment deletes all associated AWS resources that were provisioned during creation.
