AWS Elastic Beanstalk is a managed service for deploying and scaling web applications built on Java, Python, Go, Ruby, Node.js, Docker, and more. By default, Elastic Beanstalk automatically creates a security group for each environment, but you can attach your own custom security group using an .ebextensions configuration file.
- Elastic Beanstalk creates and manages one security group per environment automatically.
- Additional security groups can be attached to environment EC2 instances via .ebextensions.
- If your instances run inside a VPC, you must specify security group IDs, not names and the custom security group must belong to the same VPC as the Elastic Beanstalk environment.
Steps to Add a Custom Security Group to an Elastic Beanstalk Environment
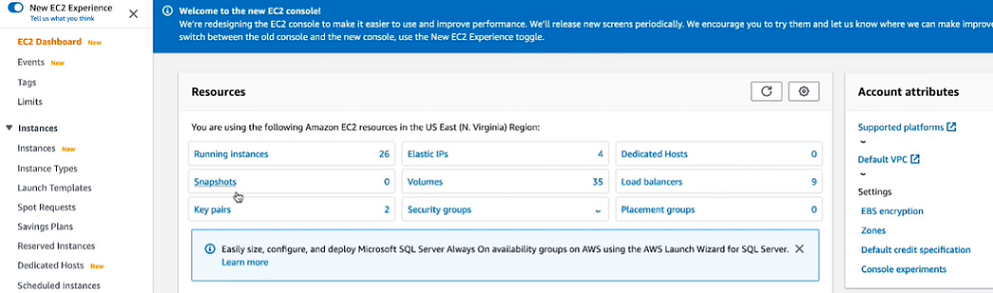
Step 1. Navigate to the EC2 Console
Log in to the AWS Management Console and navigate to the Amazon EC2 console.
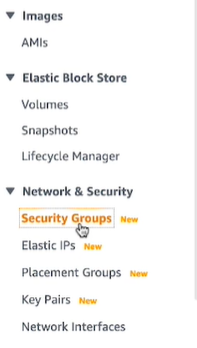
Step 2. Open Security Groups
From the left-hand navigation pane, select Security Groups.
Step 3. Identify or Create the Security Group
Note the ID of the pre-existing security group you want to attach to your Elastic Beanstalk environment. If no suitable security group exists, create one now.
Note: If your instances are launched inside a VPC, record the security group ID (e.g., "sg-0abc123def456"), not the name. The custom security group must belong to the same VPC as your Elastic Beanstalk environment.

Step 4. Open the Application Source Bundle and Create the .ebextensions Directory
On your local system, navigate to the root of your application source bundle and create an .ebextensions directory if one does not already exist.
cd Desktop/eb-application/
mkdir -p .ebextensions
cd .ebextensions/
Step 5. Create the Security Group Configuration File
Inside the .ebextensions directory, create a file named securitygroup.config.
vi securitygroup.configAdd the following option settings to the file, replacing YOUR_SECURITY_GROUP_ID with the ID noted in Step 3, then save.
option_settings:
  aws:autoscaling:launchconfiguration:
    SecurityGroups: YOUR_SECURITY_GROUP_ID
Note: Multiple security group IDs can be specified as a comma-separated list (e.g., sg-0abc123, sg-0def456).
Step 6. Package and Deploy the Updated Source Bundle
Navigate back to the root of your application directory, compress the source bundle, and deploy it using the EB CLI.
cd ..
eb deploy
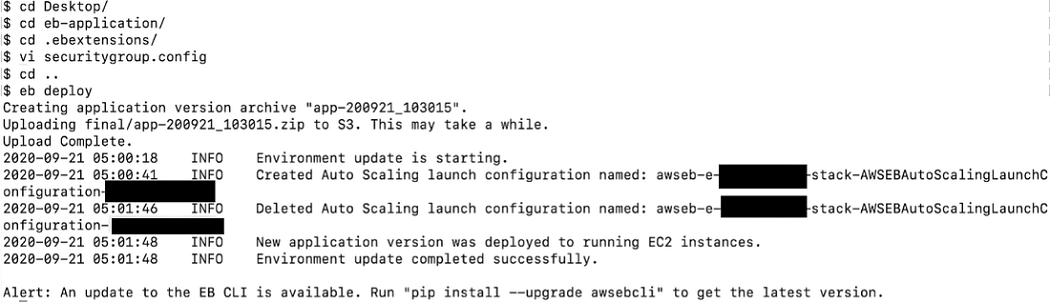
Once deployment completes, the custom security group is attached to all EC2 instances in the environment. Your Elastic Beanstalk environment will now use both the default security group and your custom security group simultaneously.
