Amazon Elastic Block Store (EBS) provides persistent block-level storage volumes for use with Amazon EC2 instances. Think of an EBS volume as a virtual hard drive that you can attach to your virtual server. EBS Volume Types are:
| Volume Type | Description & Use Case |
|---|---|
| General Purpose SSD (gp3, gp2) | The best balance of price and performance for most workloads. Ideal for boot volumes, web servers, and development/test environments. |
| Provisioned IOPS SSD (io2 Block Express, io1) | High-performance SSDs designed for I/O-intensive, critical workloads like large relational or NoSQL databases. |
| Throughput Optimized HDD (st1) | Low-cost Hard Disk Drive (HDD) designed for frequently accessed, high-throughput workloads like big data processing, data warehousing, and log processing. |
| Cold HDD (sc1) | The lowest-cost HDD storage for less frequently accessed data where the primary requirement is low storage cost. |
Steps to Attach an EBS Volume to an EC2 Instance
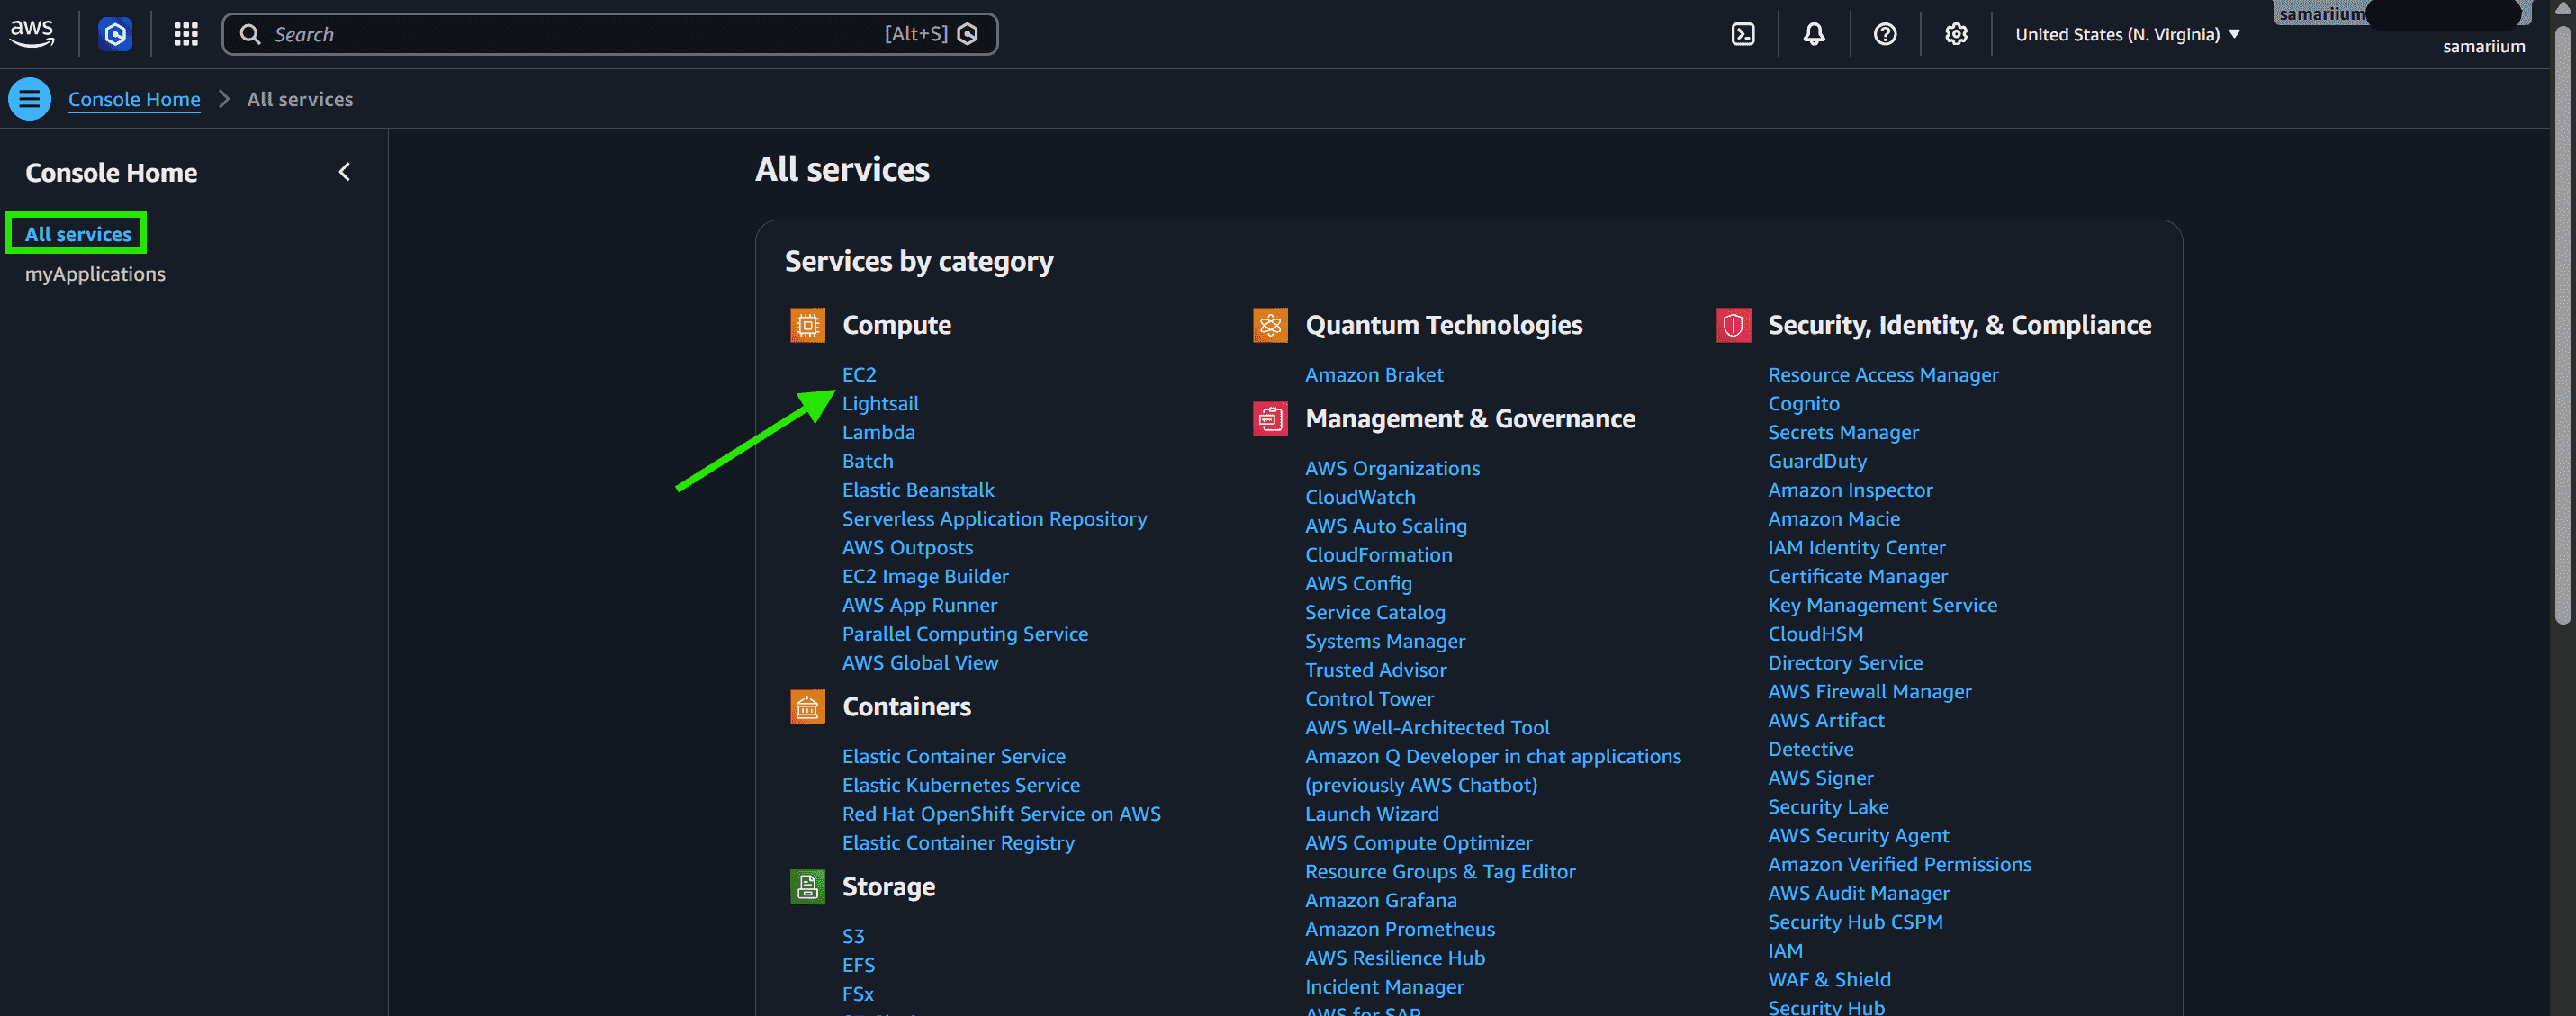
Step 1: Open the EC2 Dashboard
- Go to All Services and select EC2.
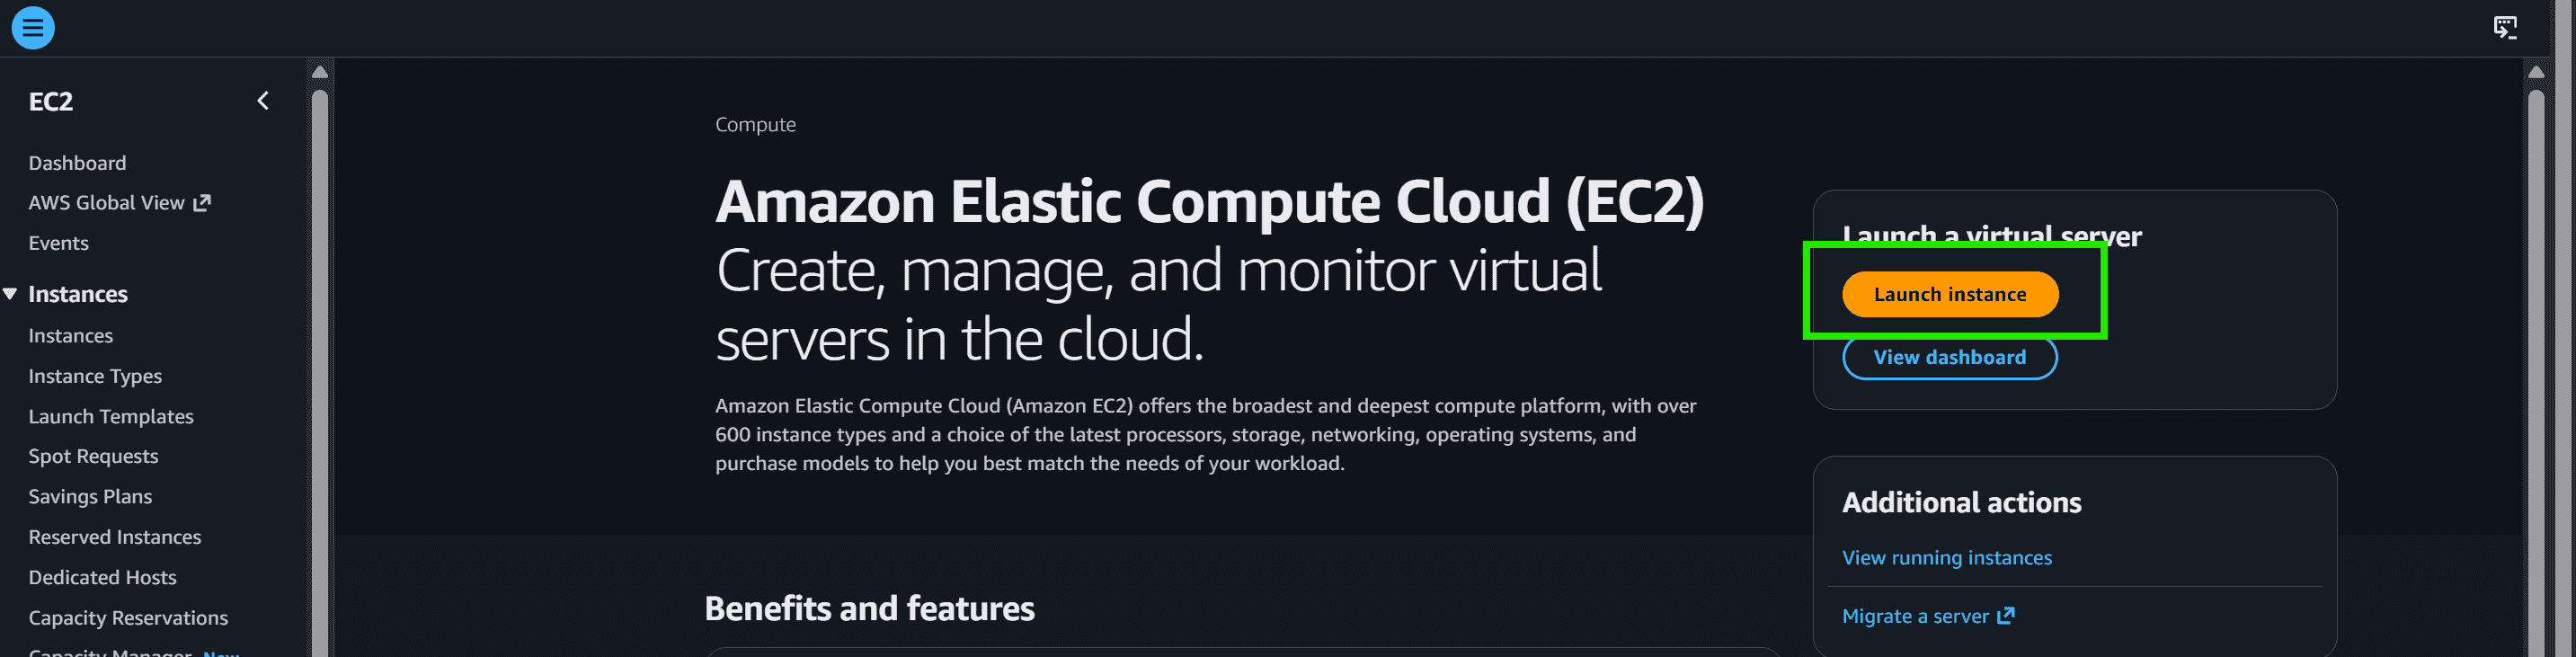
Step 2: Launch a New Instance
- Click on the Launch Instance button.
Step 3: Configure Instance
- Provide a name for the EC2 instance: "EBS-Volume".
- Select the AMI for your EC2 instance : Amazon Linux"
- Choose the required EC2 instance type : "t2.micro"
- Choose an existing key pair or create a new one.
- Choose an existing Security Group or create a new one.
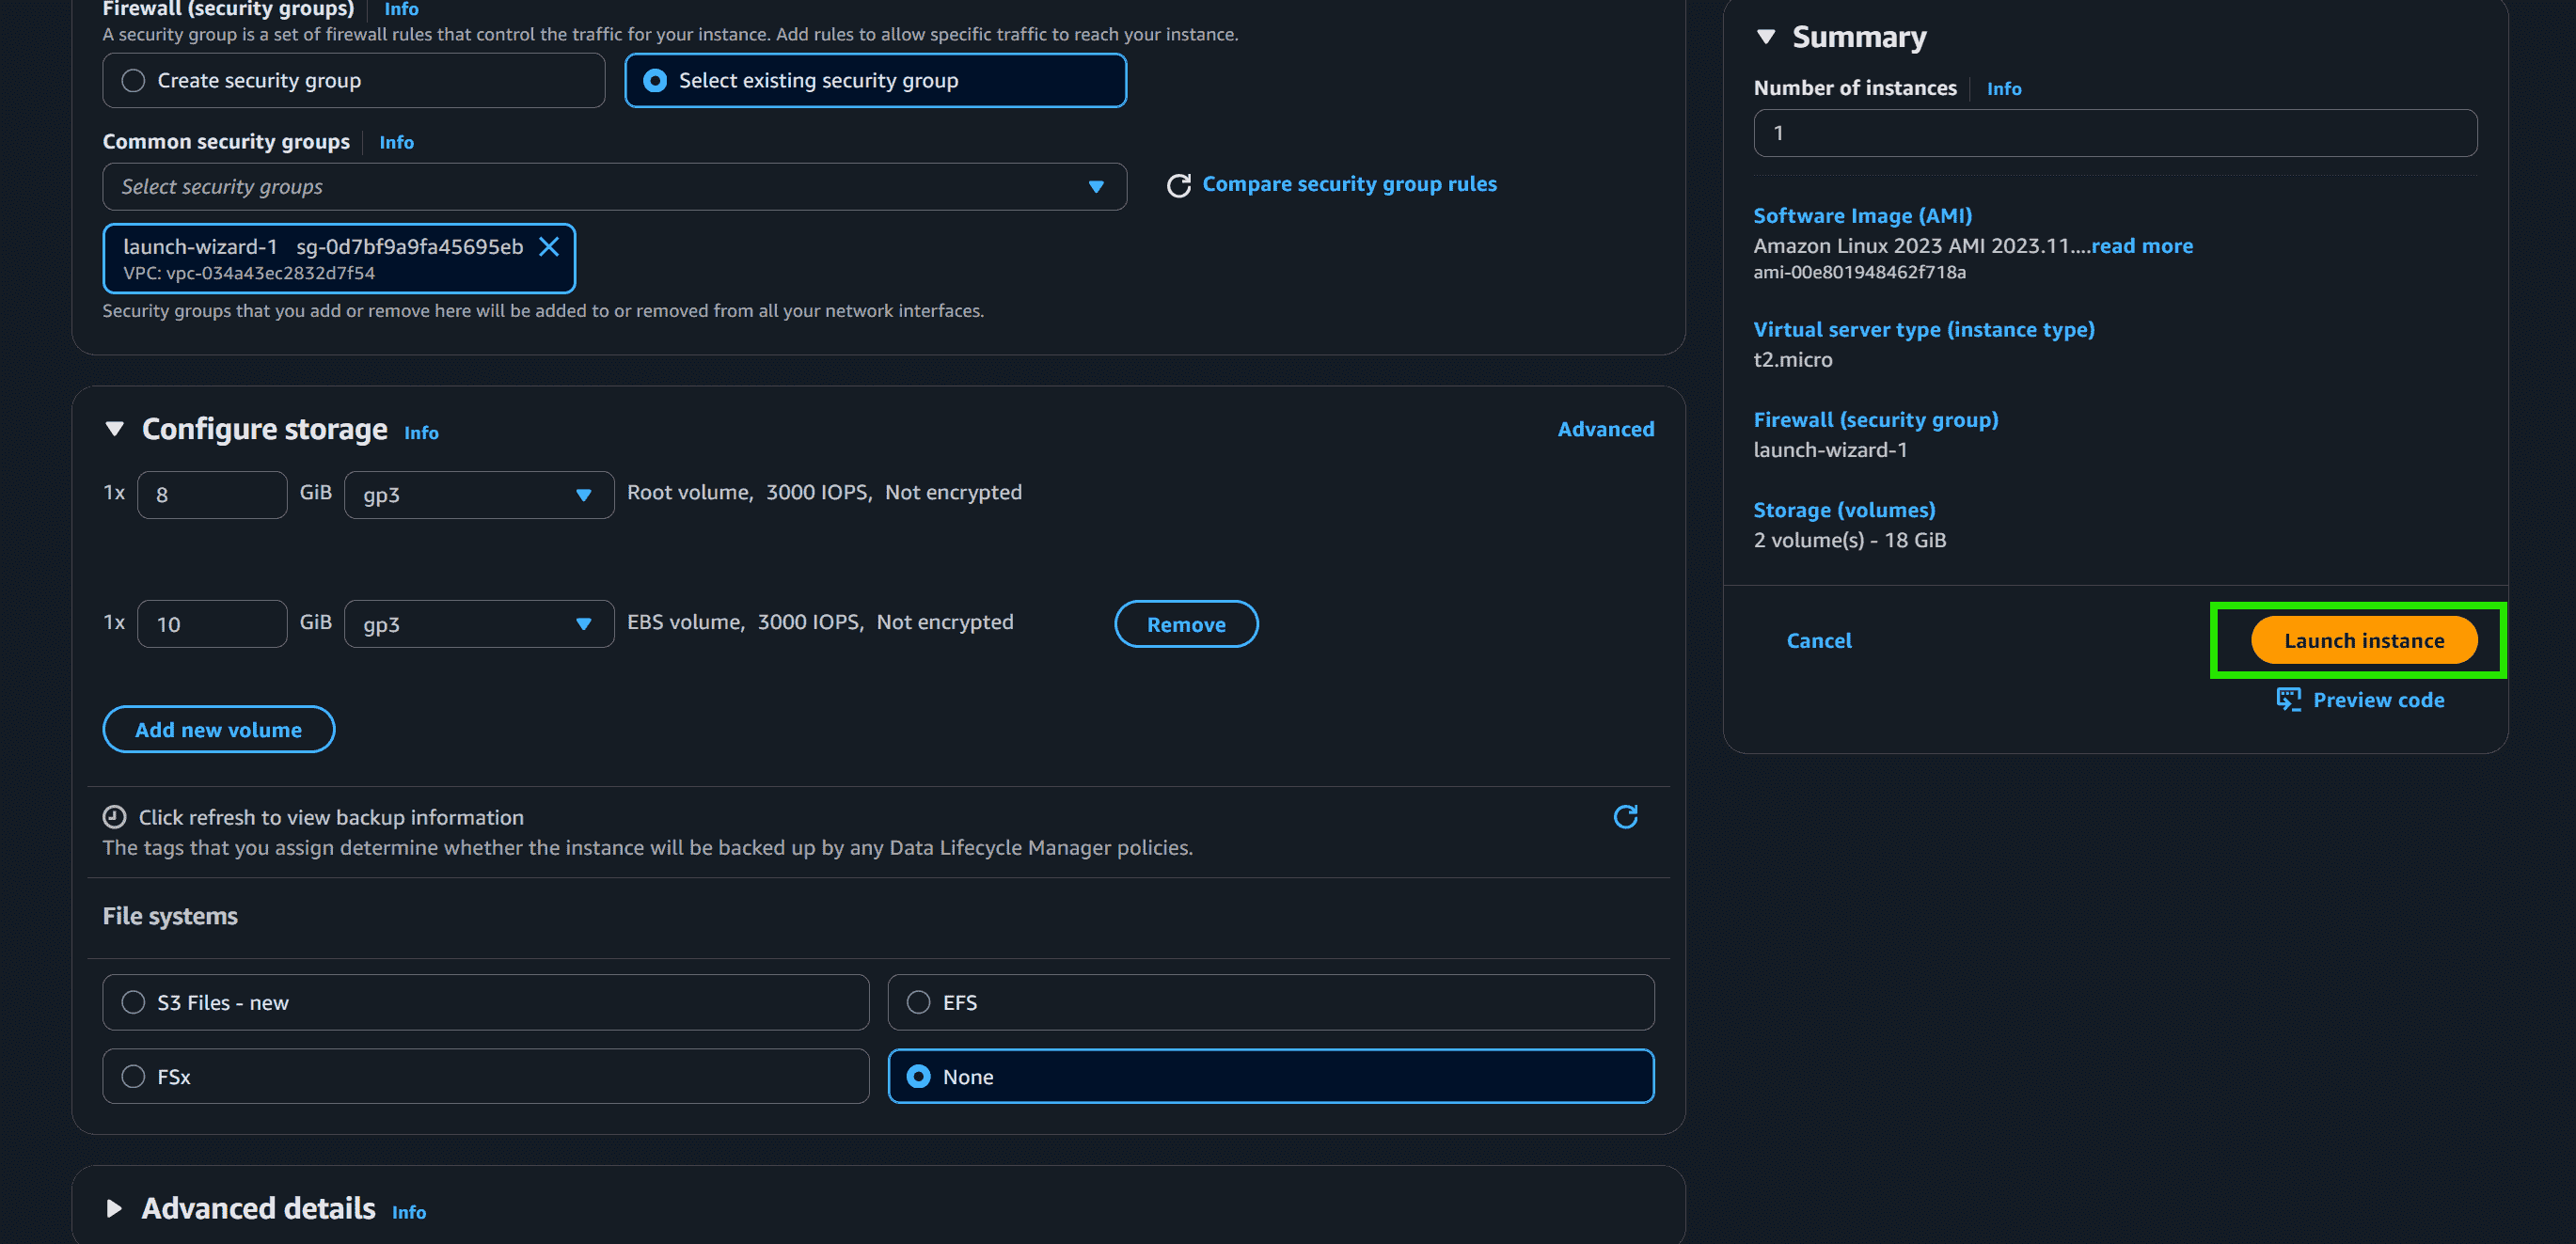
Step 4: Configure New EBS Volume
- Click on Add New Volume to attach an additional EBS volume.
- Set the EBS volume size to 10 GiB and select gp3 as the volume type for general-purpose usage.
- Click Launch instance
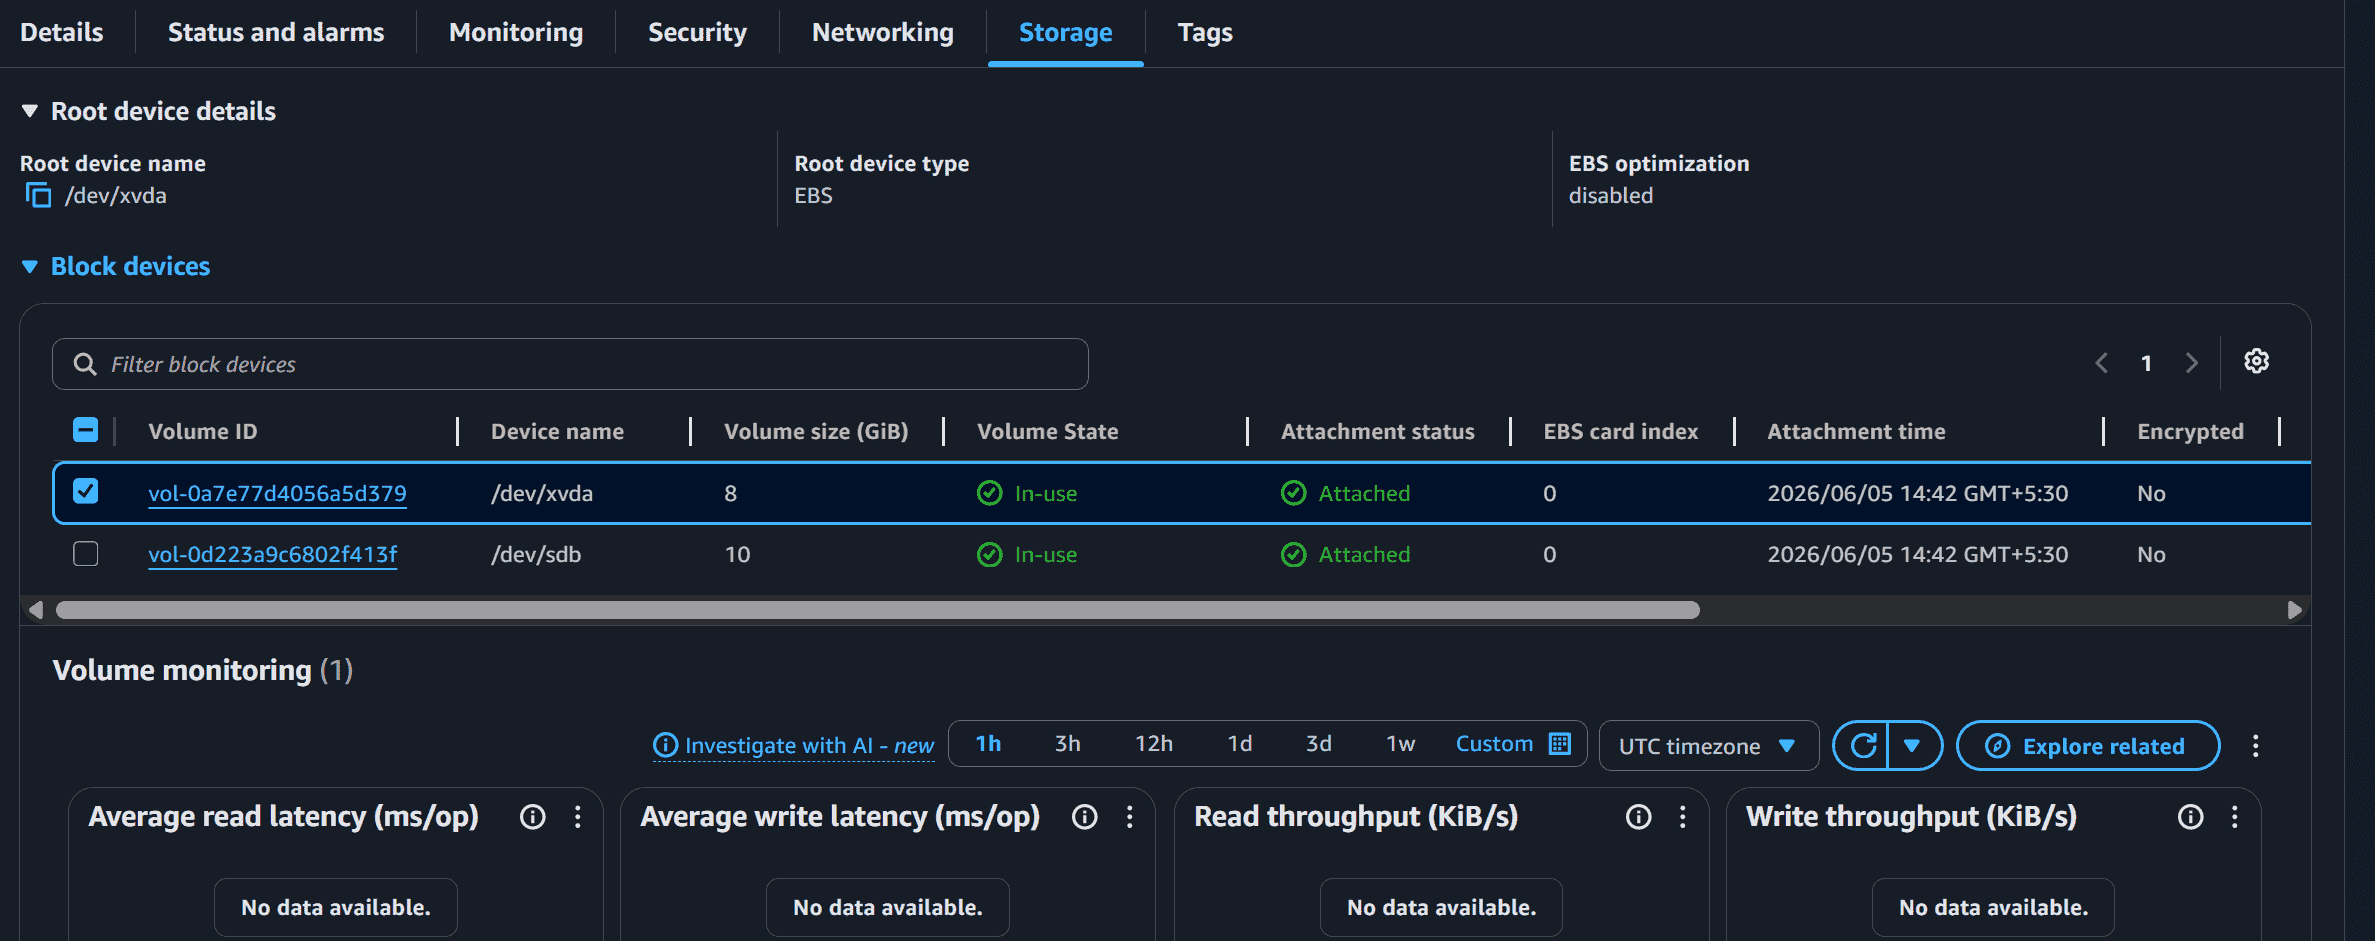
Step 5: Verification
After launching the instance, you can see:
- Root Volume: 8 GB
- Additional EBS Volume: 10 GB
This confirms that the extra EBS volume has been successfully attached to the EC2 instance.