An IAM Role is an AWS Identity and Access Management (IAM) identity with specific permission policies that a trusted entity can assume. Unlike an IAM User, a Role does not have its own long-term credentials like a password or access keys. When a trusted entity assumes a Role, AWS provides it with temporary security credentials for that session, eliminating the need for static, long-lived keys.
- When assumed, AWS issues short-lived credentials via the Security Token Service (STS) instead of long-term access keys.
- AWS services, other AWS accounts, web identity providers, or SAML-based identity providers can assume a Role.
- Every Role is defined by a Permissions Policy (what it can do) and a Trust Policy (who can assume it).
- Roles should always be scoped to the minimum permissions required for the task at hand.
IAM User vs IAM Role
| Feature | IAM User | IAM Role |
|---|---|---|
Credentials | Has long-term credentials (passwords, access keys) | Has temporary credentials issued by AWS STS |
Authentication | Directly authenticates to AWS | Assumed by trusted entities |
Usage | Used by individual users and applications | Used by AWS services, applications, or federated users |
Best For | Human users, administrators, legacy applications | EC2, Lambda, ECS, EKS, cross-account access |
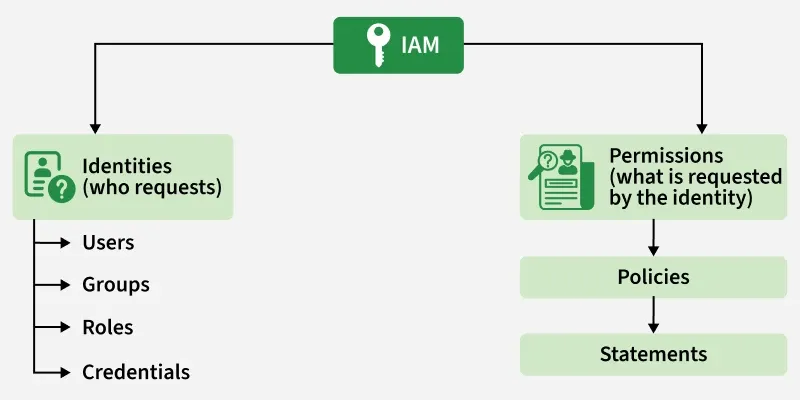
Core Components of an IAM Role
Every IAM Role is defined by two critical policies:
- Permissions Policy (The "What"): Standard JSON policies that define what actions the Role is allowed to perform (e.g., "s3:GetObject", "ec2:DescribeInstances"). This dictates the Role's capabilities.
- Trust Policy (The "Who"): Defines which entity (Principal) is allowed to assume the Role. The Principal can be an AWS service (like EC2), another AWS account, a web identity provider, or a SAML-based identity provider.
Principle of Least Privilege
Before creating any permissions, it is essential to understand the Principle of Least Privilege. This security concept dictates that you grant only the absolute minimum permissions necessary for an entity to perform its required task.
- Example: If an application only needs to read objects from an S3 bucket, its Role should only have "s3:GetObject". It should not have "s3:DeleteObject" or broad administrative permissions like "s3:*".
- Why It Matters: Least privilege limits the "blast radius." If a Role is ever compromised, the potential damage an attacker can cause is restricted to only the permissions that Role possessed.
Methods for Using IAM Roles
The following are the main methods for using IAM Roles:
- AWS Management Console: Create and assign Roles through the IAM web console.
- Assume-Role CLI: Use the "aws sts assume-role command" to programmatically assume a Role from the AWS CLI.
- Assume-Role-With-Web-Identity: Assume a Role using a web identity token (e.g., from Amazon Cognito or a public IdP).
- AssumeRoleWithSAML: Construct a console URL using SAML-based federation to assume a Role.
Use Cases
- EC2 instances accessing S3 buckets.
- Lambda functions accessing DynamoDB.
- ECS/EKS containers accessing AWS services.
- Cross-account access between AWS accounts.
- CI/CD pipelines deploying AWS resources.
Steps to Create an IAM Role for an EC2 Instance
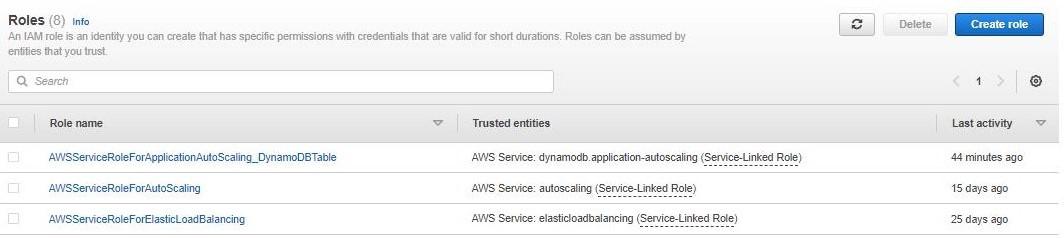
Step 1. Open the IAM Dashboard
Navigate to the IAM Dashboard, select Roles from the left-hand menu, and click Create role.
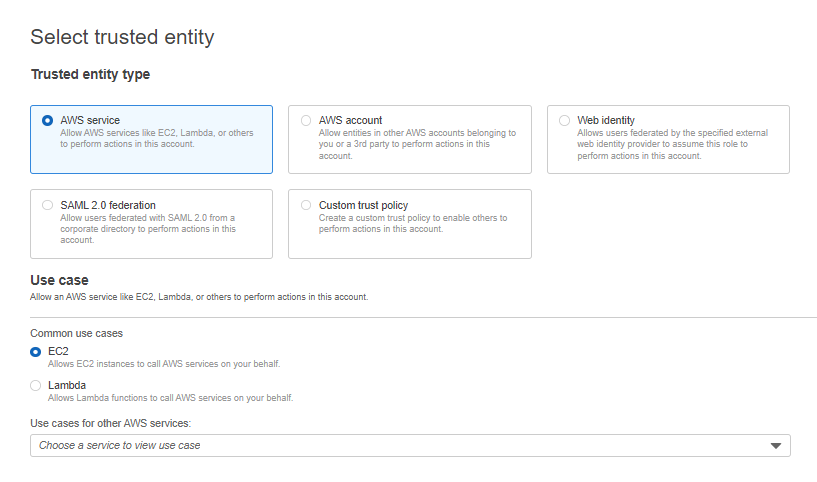
Step 2. Select Trusted Entity
Under Trusted entity type, select AWS service. Under Use case, select EC2 and click Next.
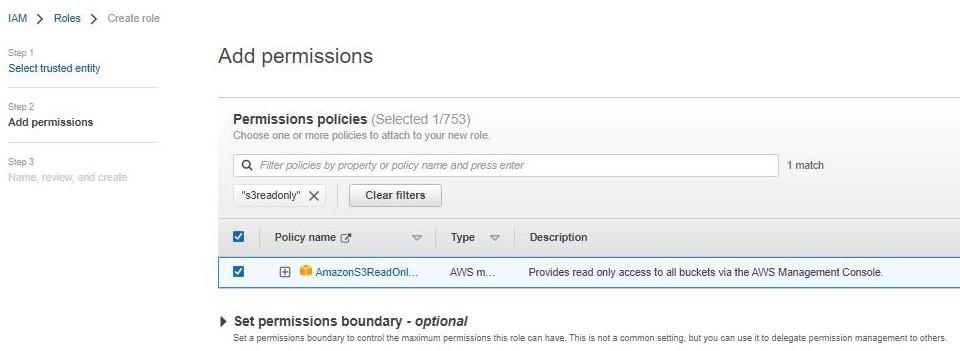
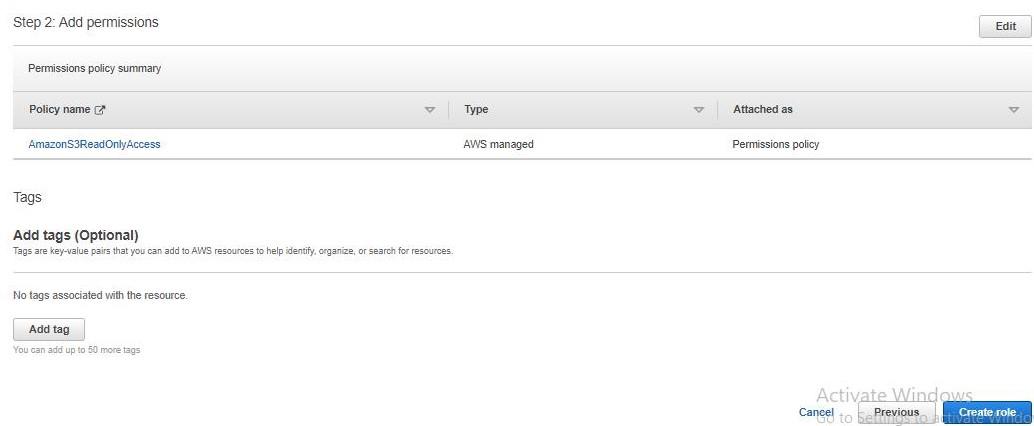
Step 3. Attach Permission Policies
Under Permission policies, search for S3 policies, select AmazonS3ReadOnlyAccess, and click Next.
Step 4. Name and Review the Role
Provide a name for the Role (e.g., myS3Role), review all settings, and click Create role.
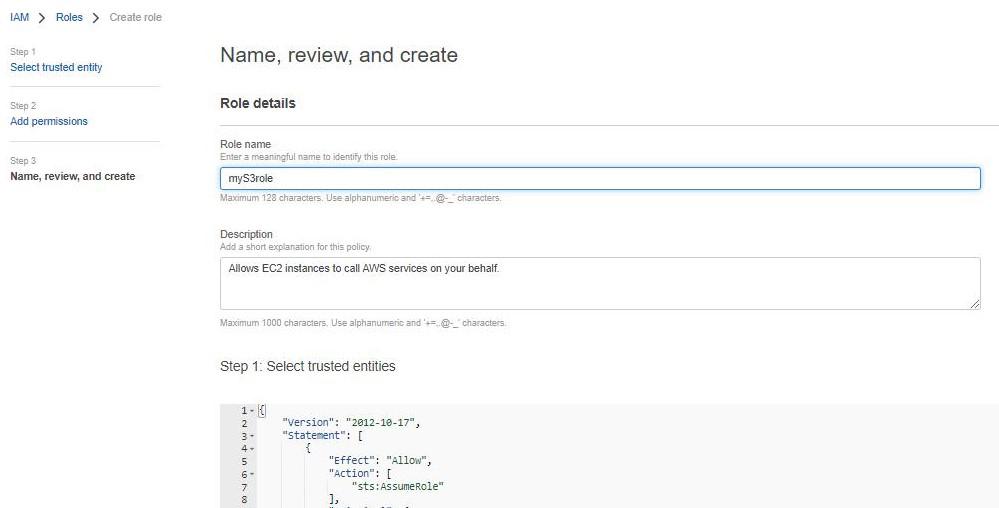
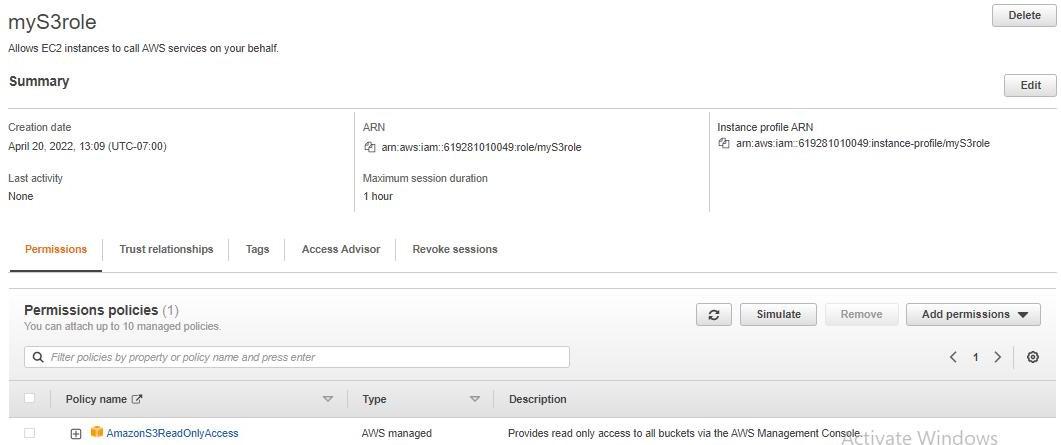
Step 5. Verify the Role
Click on the newly created Role to confirm its details. You should see the Role name, attached policies, and Trust Policy on the Role summary screen.
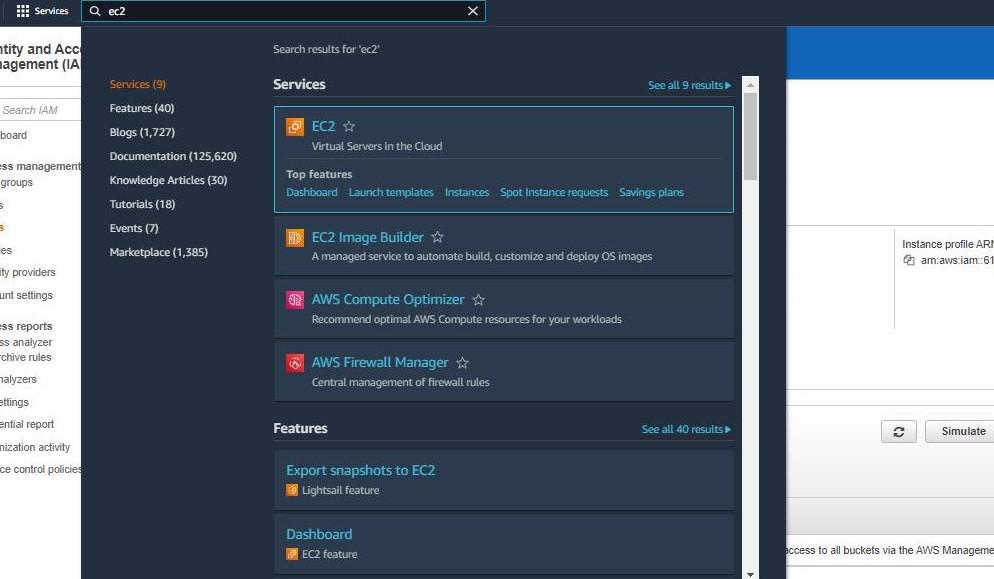
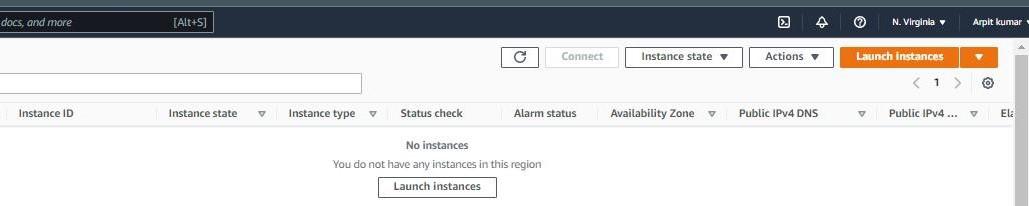
Step 6. Create an EC2 Instance
Navigate to the EC2 Dashboard and begin creating a new instance.
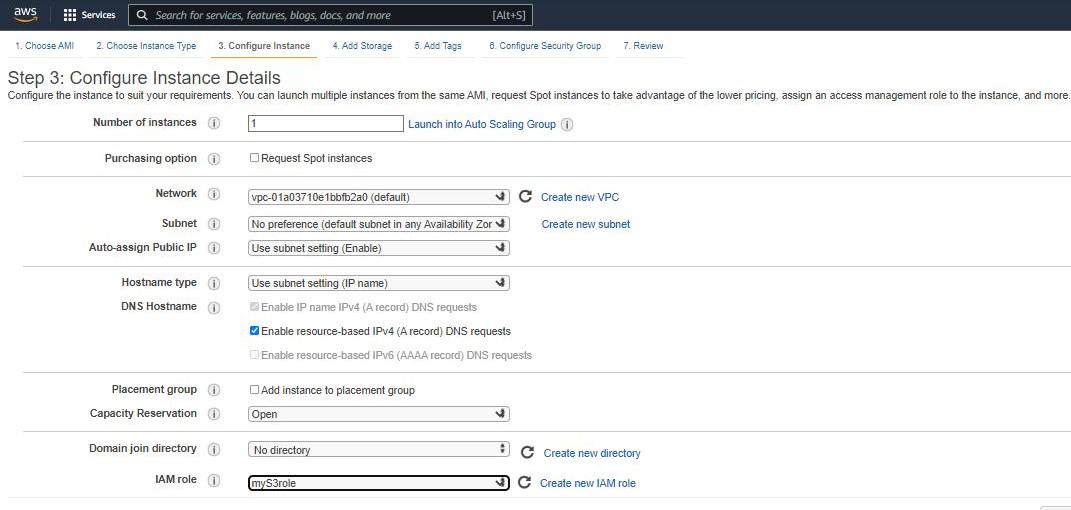
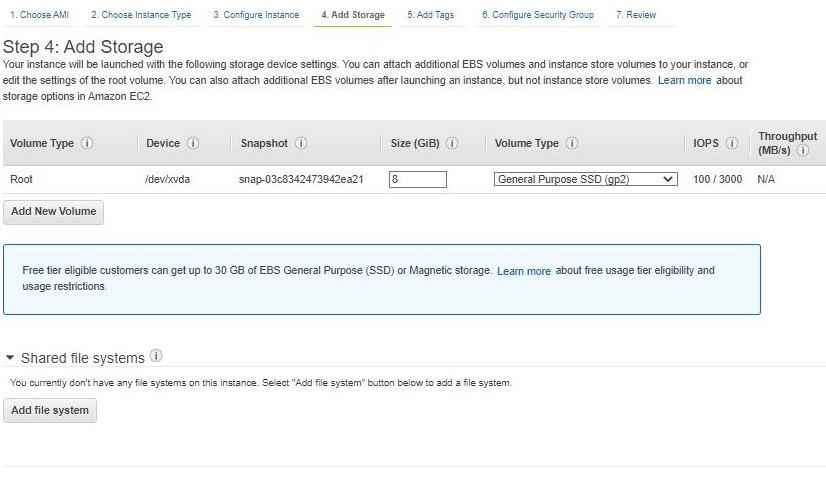
Step 7. Attach the IAM Role to the EC2 Instance
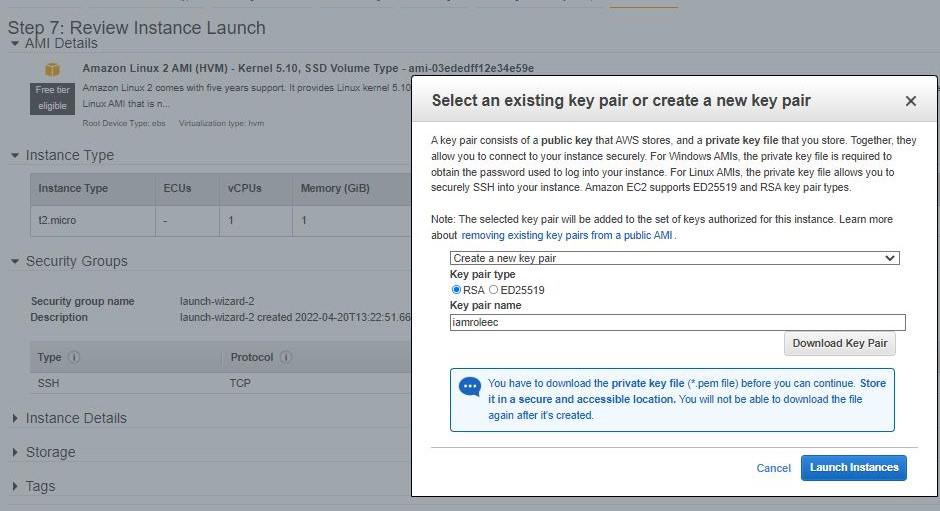
During instance configuration, locate the IAM role tab and select the Role created in Step 4. For storage, add 8 GiB with volume type General Purpose SSD (gp2). Download the RSA key pair and launch the instance.
Note: The IAM Role must be attached during instance configuration or later via the EC2 console under Actions > Security > Modify IAM Role.
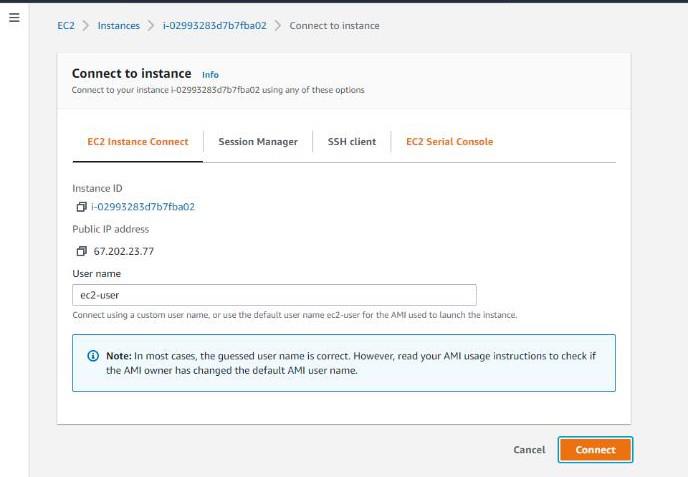
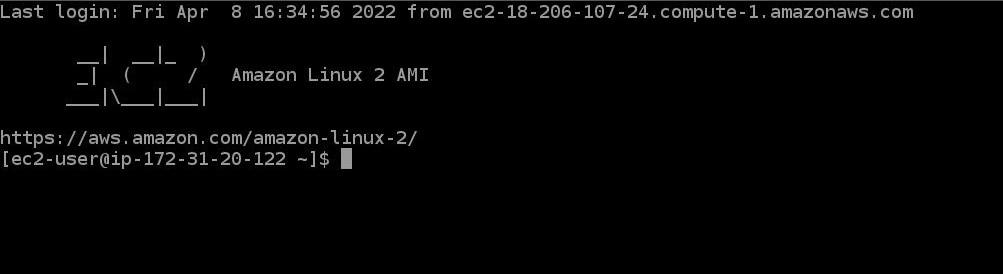
Step 8. Connect to the EC2 Instance
Use SSH (Secure Shell) to connect to your running instance. SSH is a cryptographic network protocol that secures network communication over an unsecured network, providing a much stronger authentication mechanism than passwords alone.
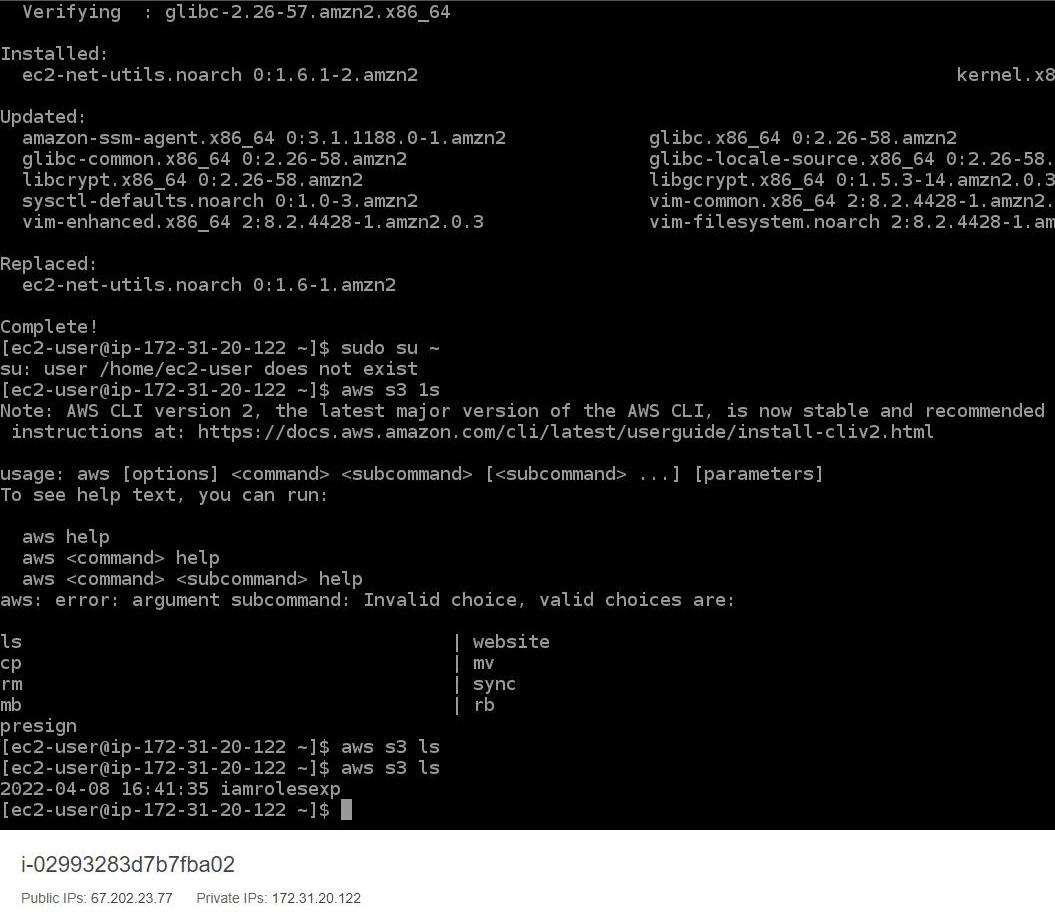
Step 9. Verify S3 Access
Run the following command inside the EC2 instance to verify that the Role's S3 read permissions are working correctly:
aws s3 lsThis will list all S3 buckets accessible to the Role. Because the Role is scoped to "AmazonS3ReadOnlyAccess", write and delete operations will be denied.
Step 10. Clean Up Resources
To avoid incurring charges, terminate the EC2 instance and delete any S3 buckets created during this walkthrough.
Managing and Rotating IAM Roles
- Naming and Tagging: Use a clear and consistent naming convention for all Roles. Apply tags to categorize Roles by project, environment, or owner for easier management and cost tracking.
- Regularly Review Permissions: Periodically audit permissions attached to each Role. Use AWS IAM Access Analyzer to identify overly permissive or unused permissions and tighten them according to the Principle of Least Privilege.
- Automatic Credential Rotation: A key benefit of Roles is that credential rotation is handled automatically. When an entity assumes a Role, the AWS Security Token Service (STS) issues temporary credentials valid for a limited time, dramatically reducing the risk from stolen or leaked keys.
- Use Custom Policies: While AWS-managed policies are convenient, production workloads should use customer-managed policies scoped to only the specific permissions the application requires.
Troubleshooting Common Errors
1. EntityAlreadyExists
This error occurs when you try to create a Role with a name that already exists in your account. To resolve it:
1. Check for the existing entity using the AWS CLI:
aws iam list-users
aws iam list-groups
aws iam list-roles
2. Choose a unique name for the new Role, or delete the old Role if it is no longer needed.
3. If a deletion is in progress, wait for it to complete before retrying.
4. Review AWS Service Limits if the error persists.
2. Access Denied
If an EC2 instance with a Role receives an Access Denied error, the cause is almost always one of the following:
- Missing Permission: The Permissions Policy does not include the specific action the application is trying to perform.
- Misconfigured Trust Policy: The Trust Policy does not list the service or entity that is attempting to assume the Role.
