Amazon Simple Storage Service (S3) is an object storage service provided by AWS that offers high availability, scalability, and security for storing and managing data. It is widely used because of its reliability and easy integration with other AWS services.
Amazon S3 can also be used to host static websites by uploading files such as HTML, CSS, JavaScript, and images, allowing the bucket to work like a web hosting service.
Steps
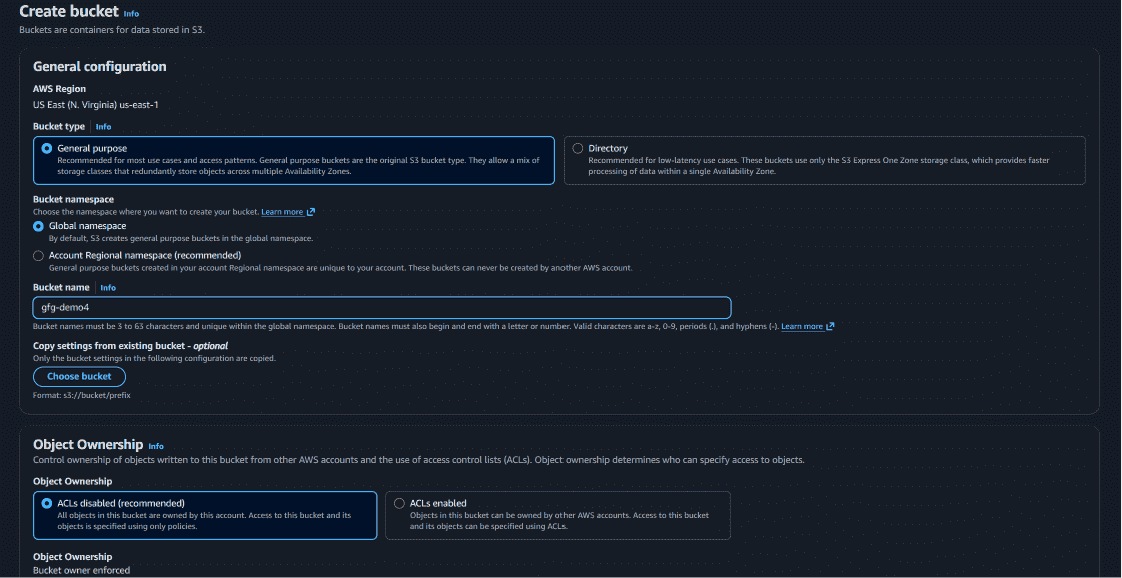
Step 1: Create an S3 Bucket
- Open the AWS Management Console.
- Navigate to the Amazon S3 service.
- Click on Create Bucket.
- Enter a unique bucket name.
- Select your preferred AWS Region.
- Configure Object Ownership settings as required.
Step 2: Configure Public Access Settings
- Uncheck Block all public access if you want the website to be publicly accessible.
- Keep Bucket Versioning disabled.
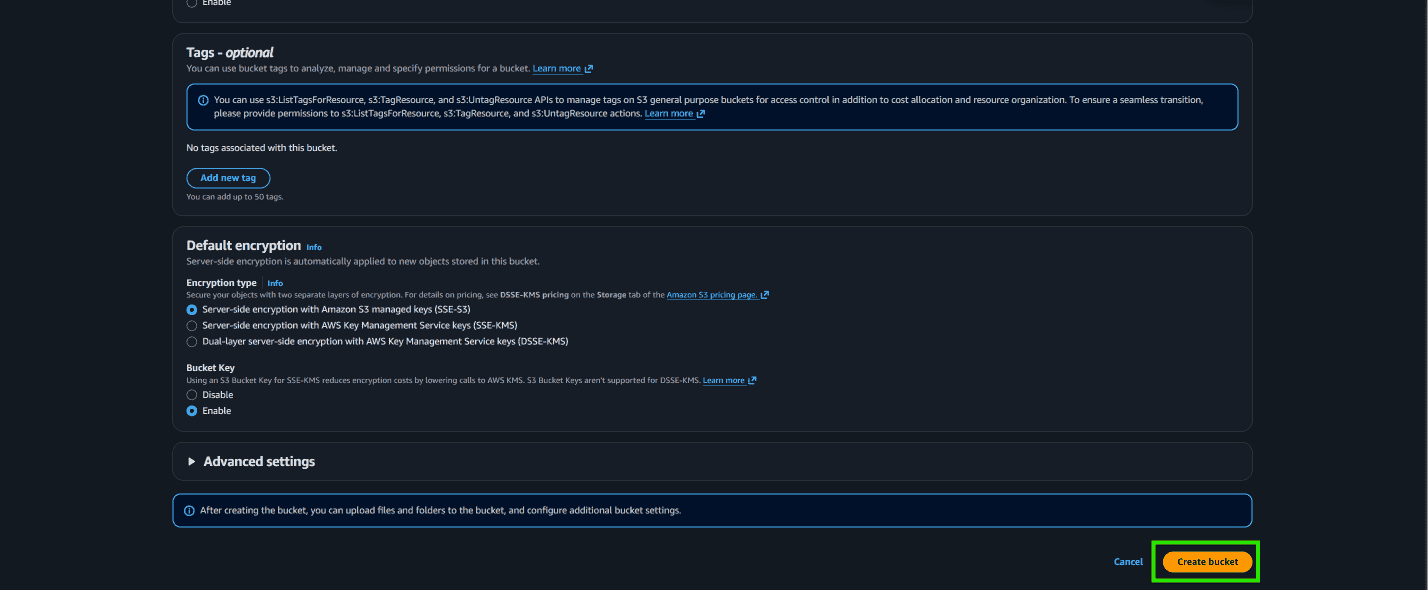
- Leave Tags optional.
- Keep default encryption disabled if not required.
- Click on Create Bucket.
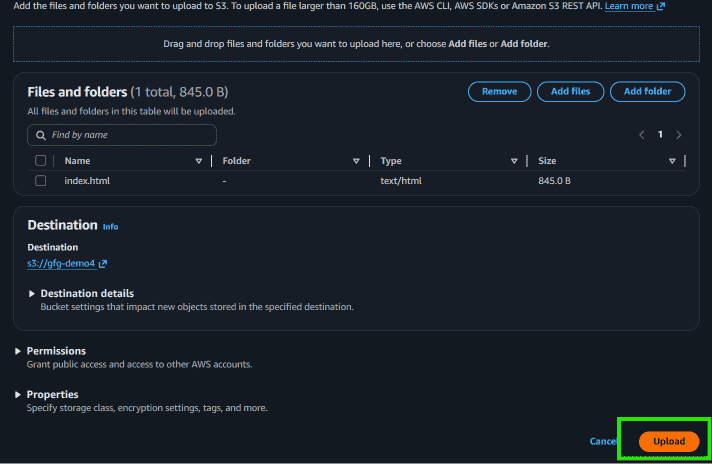
Step 3: Upload Website Files
- Open the created bucket.
- Click on Upload.
- Select Add files or Add folder.
- Upload your website files such as HTML, CSS, JavaScript, and images.
- Click on Close after the upload is completed.
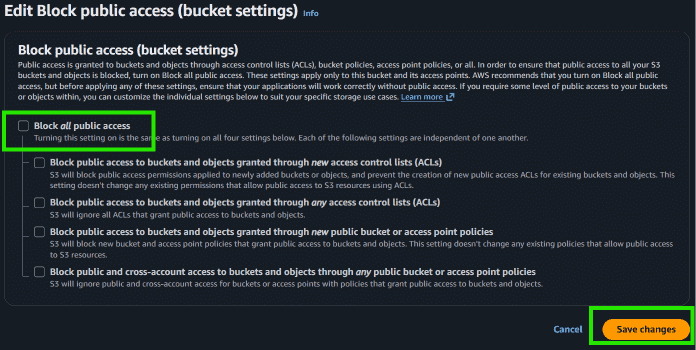
Step 4: Configure Bucket Permissions
Block Public Access
- Go to the Permissions tab.
- Click on Edit under Block Public Access.
- Uncheck Block all public access.
- Save changes and type confirm.
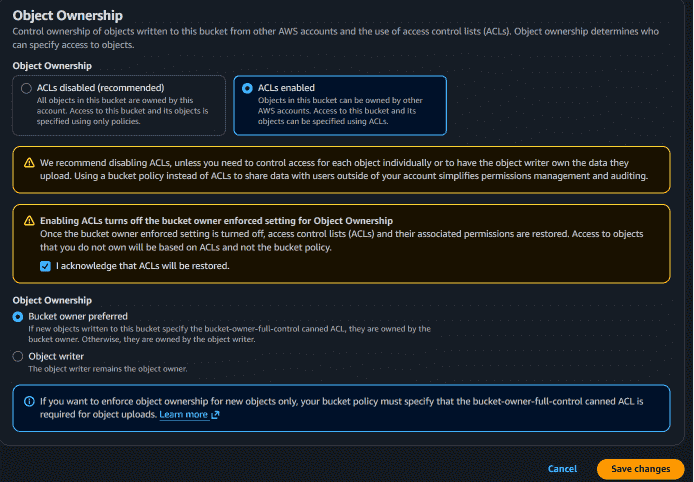
Object Ownership
- Click on Edit under Object Ownership.
- Select ACLs Enabled.
- Check the acknowledgment option.
- Click on Save Changes.
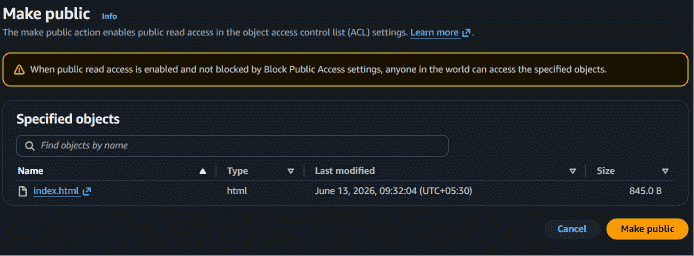
Step 5: Make Website Files Public
- Open the Objects section of the bucket.
- Select all uploaded files.
- Click on Actions.
- Choose Make Public Using ACL.
- Click on Make Public and then close the window.
Step 6: Copy the Object URL
- Open your main HTML file (for example,
index.html). - Copy the Object URL displayed on the page.
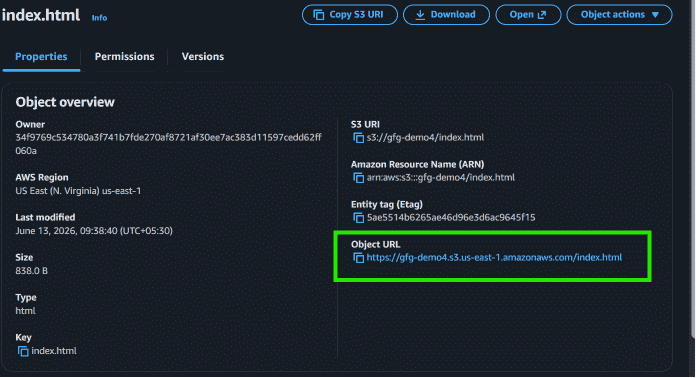
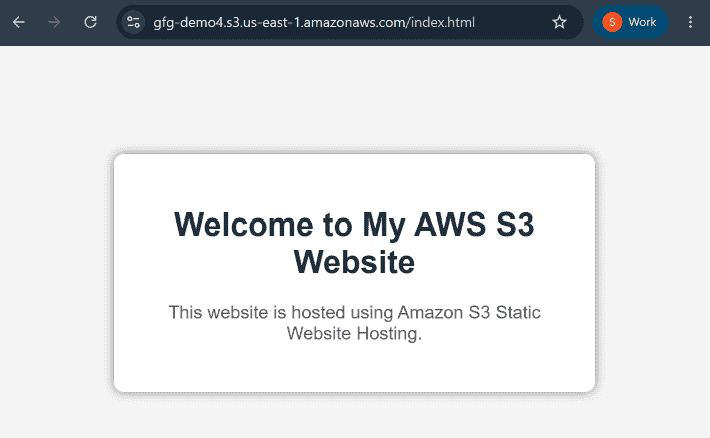
Step 7: Access the Website
- Paste the copied Object URL into a web browser.
- Your static website will now be publicly accessible through Amazon S3.