Looking for an easy way to manage containers without the command line? Podman Desktop is a free, open-source GUI for Windows, macOS, and Linux that simplifies container, image, volume, and network management. Follow this guide to install it and start managing your containerized applications visually.
This article walks you through the step-by-step installation of Podman Desktop across platforms so you can quickly begin managing containerized applications with confidence and ease.
If you're new to Podman or just looking for a more visual and efficient way to handle containers, you're in the right place.
Table of Content
What is Podman Desktop?
Podman Desktop is a graphical user interface (GUI) that simplifies container management, providing an easy way to handle containers, images, volumes, and networks.
In this guide, we’ll walk you through installing Podman Desktop on Windows, macOS, and Linux, helping you get started with containerized applications effortlessly.
Read more: What is Podman? Complete Processes to Setup on Linux
Why use Podman Desktop?
Podman Desktop isn’t just another container management tool—it brings several advantages:
1. User-Friendly Dashboard
- A visual dashboard to manage containers and pods effortlessly.
- Start, stop, and debug containers with just a few clicks.
2. Run and Manage Containers Easily
- Works seamlessly with Podman, Docker, Lima (Linux Machines), and CRC (CodeReady Containers).
- Allows switching between different container engines effortlessly.
3. Kubernetes Integration
- Easily deploy and run pods in Kubernetes.
- Convert existing Podman pods into Kubernetes workloads.
- Switch between different Kubernetes contexts depending on your environment.
4. Automatic Podman Updates
- Keeps Podman up to date without manual downloads.
- System tray support for quick access to container engine management.
5. Enterprise-Ready Features
- oxy support, image registry management, and bridging between local and remote environments.
- Deploy containers to both local and remote Kubernetes environments.
System Requirements for Podman Desktop
You must maintain the following system requirements before using Podman Desktop:
| Requirement | Details |
|---|---|
| Operating System | Windows 10/11, macOS (M1/M2 or Intel), or a modern Linux distro |
| Memory (RAM) | Minimum 4 GB (more recommended for smoother performance) |
| Storage | At least 500 MB for installation; additional space for containers/images |
| CPU | Modern processor (any standard CPU from the last few years will work) |
| Virtualization | Must be enabled in BIOS (required for container support) |
Step-by-Step Guide to Install Podman Desktop
Step 1: Install Podman Desktop
Download the latest release of the Podman Desktop from the official Github releases page.

Step 2: Run the Setup file of Podman Desktop
We can double click on the setup file then it will start installing the Podman Desktop.
Step 3: Getting started with Podman Desktop.
Click on the Start onboarding button.

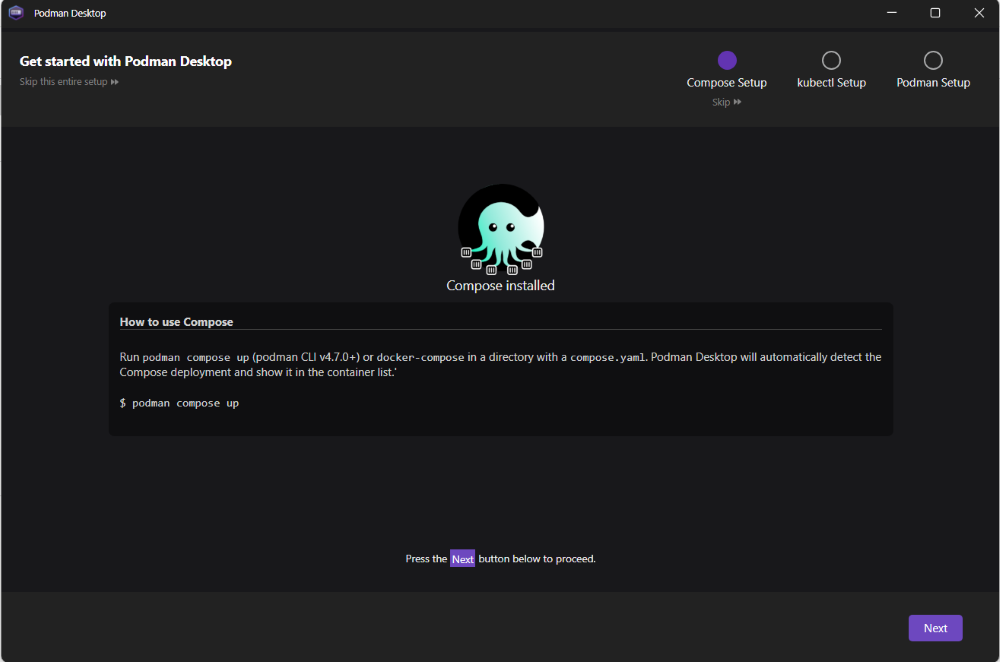
Step 4: Skip the Compose Setup
If you don't want to configure Docker Compose, you can skip this step by clicking "Skip". You can also configure it later.
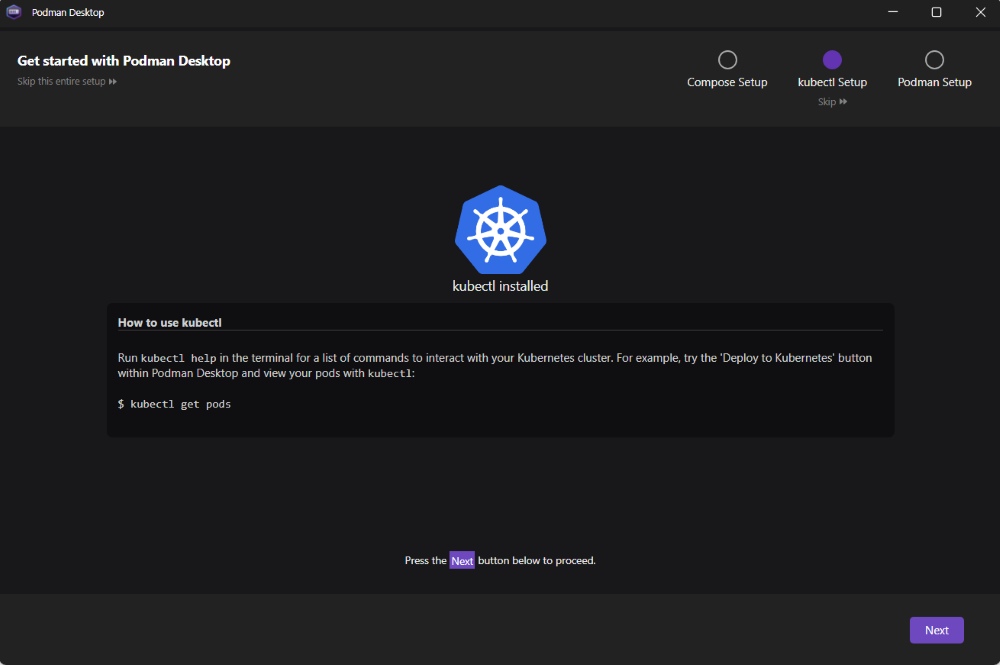
Step 5: Skip the kubectl setup
Similarly, skip the kubectl setup unless you're planning to use Kubernetes right away
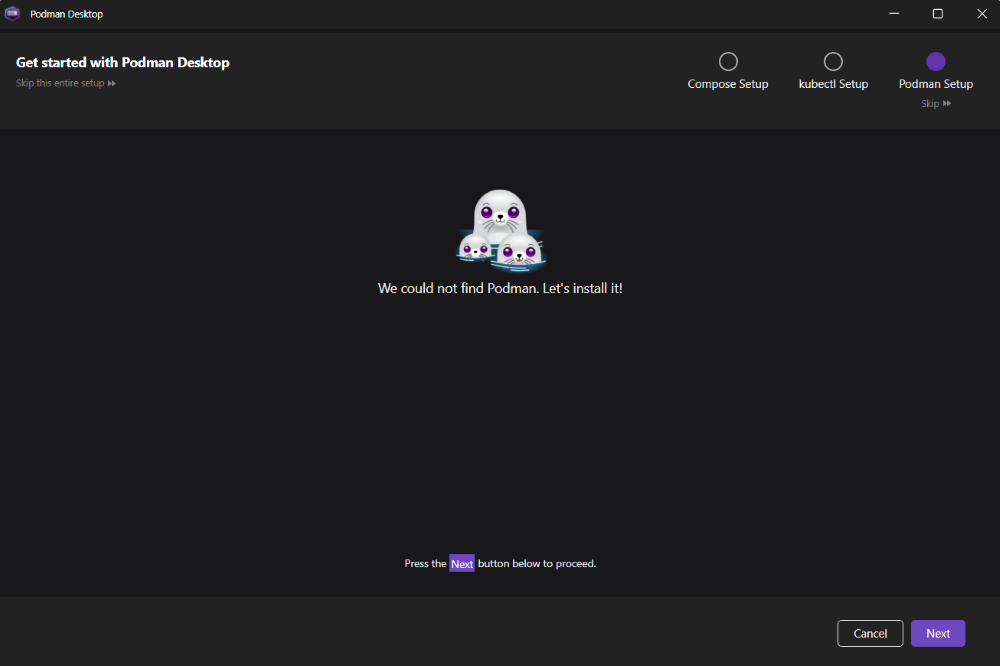
Step 6: Install the Podman Setup
Click on the next button.
Step 7: Confirm Installation
Click on "Yes" for the confirmation for Podman 5.1.2 installation.

Step 8: Setup
Click on the install button

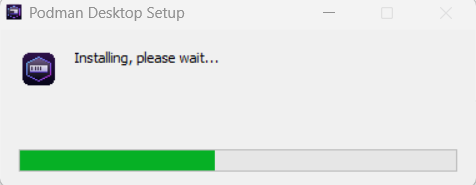
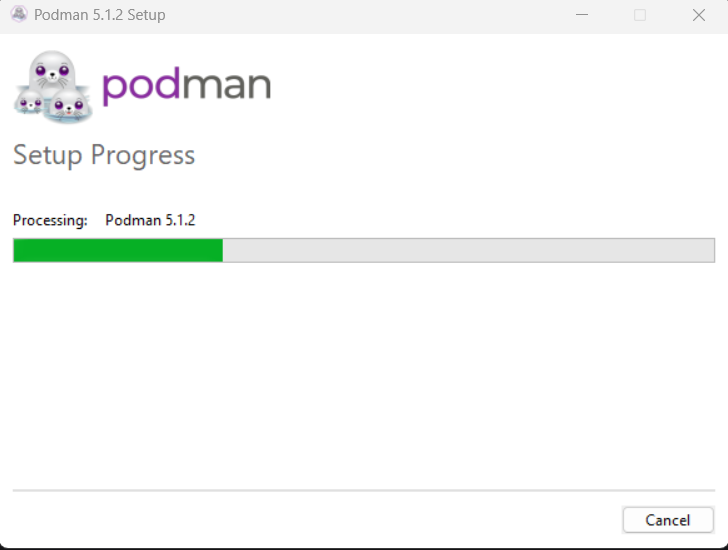
Step 9: Setup Progress
You will see a progress bar as Podman sets up. This may take a couple of minutes.
Step 10: Next button
After completion of Podman Setup, click on "Next".

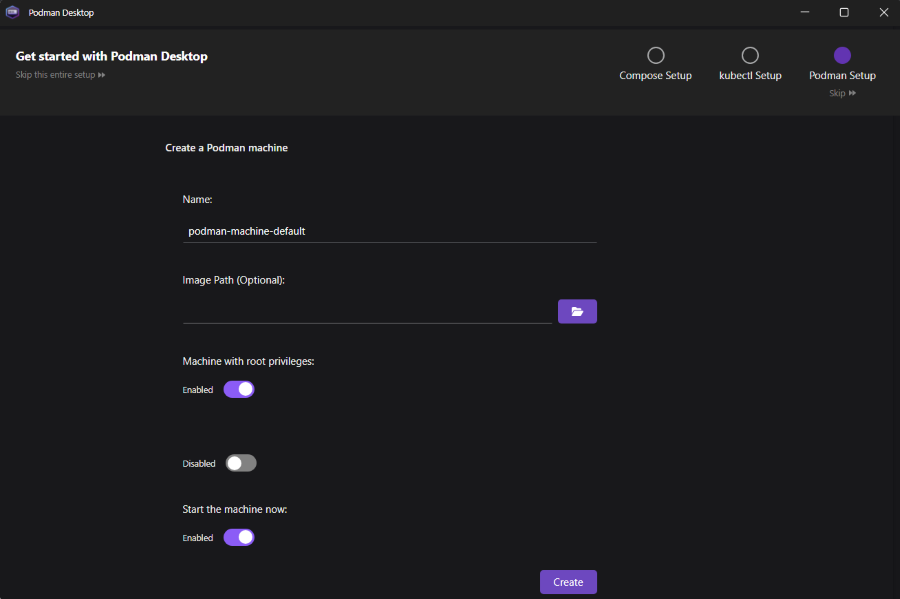
Step 11: Create the Podman Machine
Click on Create Podman Machine. This sets up a virtual environment where your containers will run.
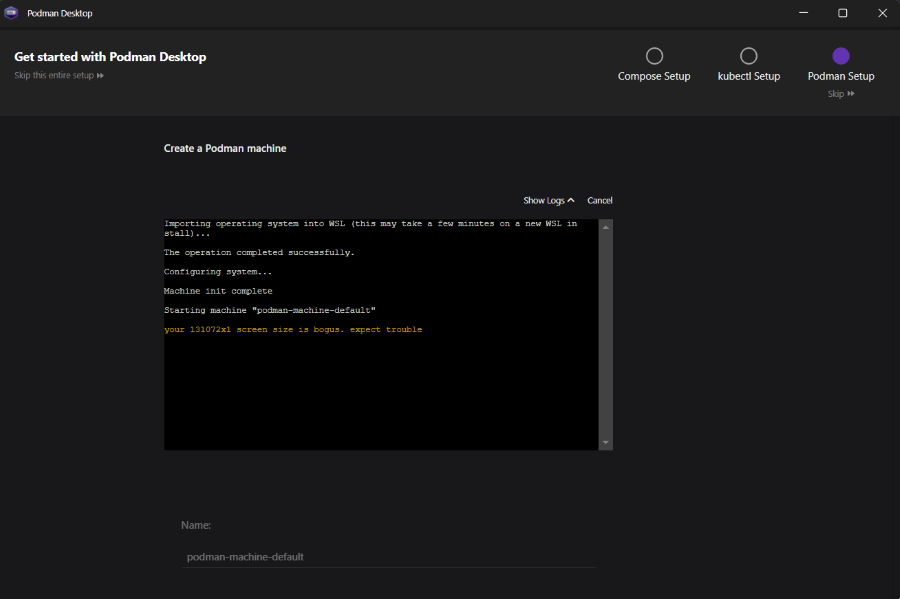
Step 12: Machine create logs
During creation, logs will show the background activity like downloading images and configuring the VM. Wait for it to complete.
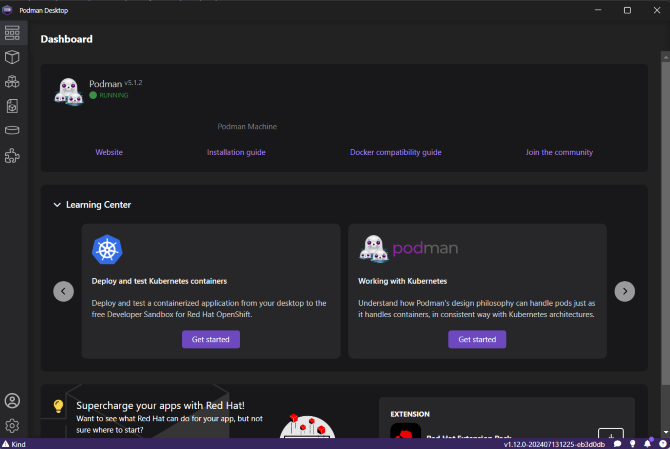
Step 13: Podman Desktop Dashboard
After creation of machine you will see the main interface i.e., Podman Desktop Dashbaord.
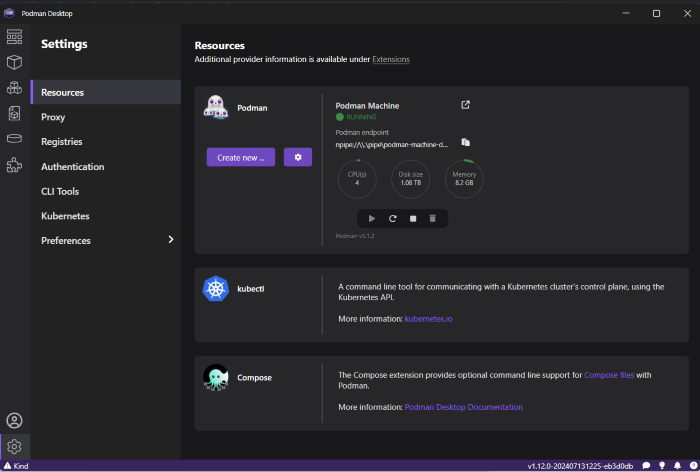
Step 14: Podam Desktop Resources
Click on Resources. Podman Desktop provides a clean UI to manage them easily.
This installation can covers the essentials for installing and setting up the podman Desktop. By the following these steps, we can manage the containers efficiently using the graphical interface of the Podman Desktop Application.
Conclusion
Installing the Podman Desktop can allows you to manage the containers and pods with the user friendly interface. By the leveraging WSL 2 and the Linux distribution, we can run and manage the containers efficiently and securely.
This article will provides the comprehensive set by step process to set up and configure the Podman Desktop. Podman Desktop can managing the containerized applications on windows becomes seamless and straightforward.
