Kubernetes cluster autoscaler allows automatically expanding or decreasing the number of nodes or altering pod resources based on demand. When demand rises, the cluster can add nodes or allocate more resources to pods when demand falls, Kubernetes can remove nodes or assign fewer resources to a pod. This can assist optimize resource utilization and expenses while also improving performance.
What is Kubernetes Cluster Autoscaler?
The Kubernetes Cluster Autoscaler is a component that modifies a Kubernetes Cluster's size automatically. It states that a few cluster nodes need to be up and running to host pods. That means capacity is given to workload pods and in turn to Kubernetes itself. Node autoscaling is the ability of self-managed clusters to self-adjust the amount of resources available within a cluster, based on the number of nodes or aggregate resources which those nodes provide. The former of these strategies is horizontal scaling the latter is vertical scaling.
How Kubernetes Cluster Autoscaler Works?
- Cluster Autoscaler will search for pending pods while it is in operation. Ten seconds is the default scan interval; the --scan-interval command allows you to change this value.
- As long as it stays inside the boundaries set by the administrator, CA will create a new node to expand the cluster if there are any waiting pods and it needs additional resources.
- AWS, Azure, and GCP are among the public cloud providers that enable Kubernetes Cluster Autoscaler capability.
- Then the Kubernetes scheduler assigns all pending pods to the new node.
Implementation of Kubernetes Cluster Autoscaler: Dynamically Adjusting Cluster Size
Below is the step-by-step process to implement Kubernetes Cluster Autoscaler: Dynamically Adjusting Cluster Size:
Step 1: Monitor the Cluster
First, you have to check the cluster, to monitor the status of your cluster, especially pending pods.
kubectl get pods --all-namespaces --field-selector=status.phase=PendingOutput:

Step 2: Verify Scaling
Next, you can identify the need for scaling, and determine whether pods are unschedulable.
kubectl top nodesOutput:

Step 3: View the Current Node Count
To view how many nodes are in the cluster at the moment type the below command.
kubectl get nodesOutput:

Step 4: Drain a Node
Then you can securely empty a node, and move its pods before removing it.
kubectl drain <node_name> --ignore-daemonsets --delete-emptydir-dataOutput:

Step 5: Check Pod Status
Next, you need to guarantee the scheduling of pending pods.
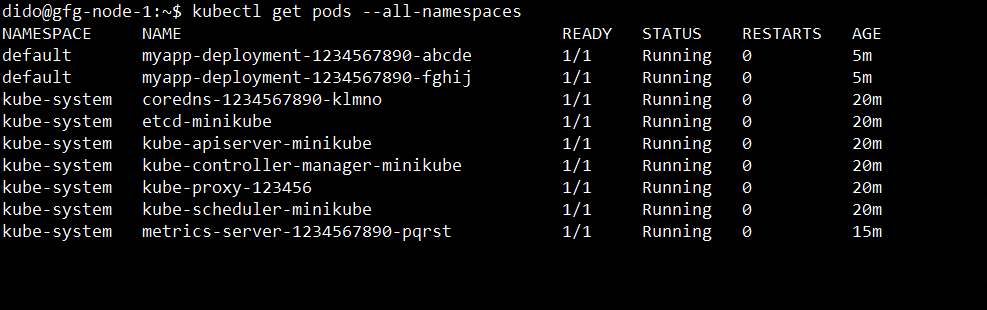
kubectl get pods --all-namespacesOutput:
Step 6: Test Autoscaler Logs
Lastly, Viewing the Kubernetes Cluster Autoscaler logs is essential to comprehending how the autoscaler determines how big to scale your cluster.
kubectl logs -f deployment/cluster-autoscaler -n kube-systemOutput:

Best Practices of Kubernetes Cluster Autoscaler
- Optimize Pod Scheduling: Make sure that the proper resource requests and restrictions are established for each pod. This enables the autoscaler to decide how to scale depending on real resource utilization.
- Test Scaling Scenarios: Test how the autoscaler performs in various situations, such as abrupt demand spikes or progressive workload increases. This makes it more likely that the autoscale will respond to actual circumstances effectively.
- Understand Cost Implications: You must ensure the cost implications of scaling up and down. This is because while autoscaling can serve to maximize available resources if it is not controlled properly, it also has the potential to be more expensive.
- Monitor and Tune Scaling Behavior: To comprehend the behavior and performance of Cluster Autoscaler, keep an eye on its logs and metrics constantly. To see scaling events and resource usage, use technologies such as Prometheus and Grafana.
Conclusion
In this article we have learned about Kubernetes Cluster Autoscaler: Dynamically Adjusting Cluster Size. The Kubernetes Cluster Autoscaler can adjust the size of the nodes in your cluster to workload demand and helps you use resources more efficiently with reduced costs.
