Sorting data in Excel helps organize information so it is easier to analyze and understand. It allows you to quickly arrange both small and large datasets, making it simple to find and manage the required data efficiently.
Types of Sorting in Excel
- Single Column Sorting: Sorts data based on values in one column, such as arranging names alphabetically or numbers from smallest to largest.
- Multiple Column Sorting: Sorts data using more than one column, for example, sorting by department first and then by employee names within each department.
Sort a Single Column in Excel
Sorting a single column in Excel is a basic operation that allows you to organize data in ascending or descending order based on the values in that column. Consider the Employee dataset depicted below. It has information about the employees, the Job Title, Department, Gender and so on.

Let’s sort the data based on the Annual Salary of each Employee in descending order.
Select the data range and press Ctrl + Shift + L to enable filters. Then, click the downward arrow in the Annual Salary column and choose “Sort Largest to Smallest.”

Steps to Sort Multiple Columns in Excel
Most often, only one column needs to be sorted. However, there can be times when you need to sort across many columns. Data can be sorted by several columns using advanced sorting methods. Here's a step-by-step guide on how to do it:
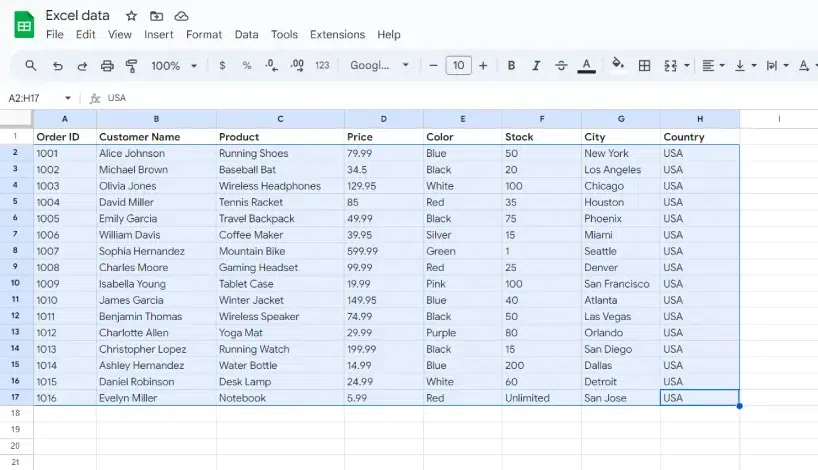
Step 1: Select your data
Click anywhere within the data range you want to sort. Ideally, select the entire table, including any header row.
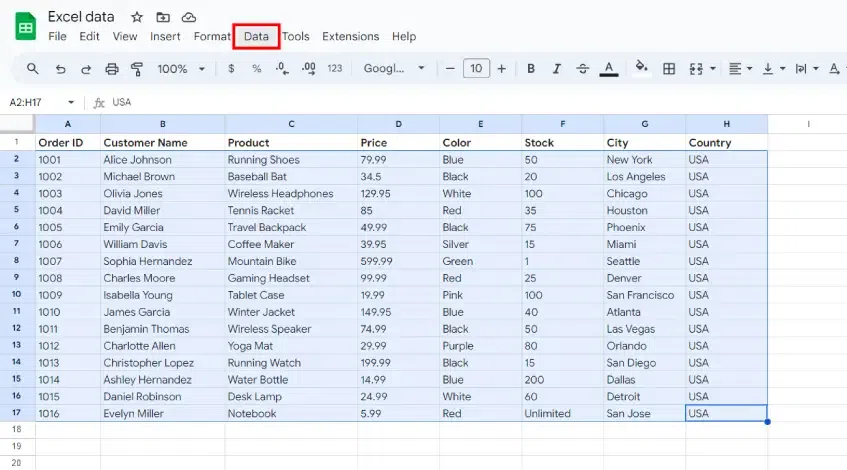
Step 2: Go to the Data tab
Navigate to the "Data" tab on the Excel ribbon and click on it.
Step 3: Click Sort in the 'Data tab'
In the "Data Tab" group, find the "Sort" button and click on it.
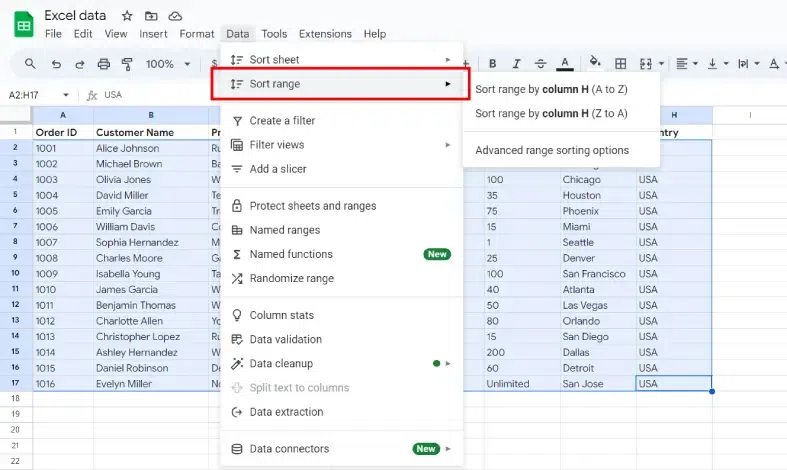
Step 4: Choose the first sort column
A "Sort" dialog box will appear. In the "Sort by" dropdown menu, select the first column you want to sort by. This is your primary sorting criteria.
.webp)
Step 5: Add Additional Sorting Levels (optional)
If you want to sort by more than one column, click the "Add Level" button. Then, choose the next column you want to sort by from the new "Then by" dropdown menu and set its order (ascending or descending). You can repeat this step for a third level of sorting.

Tip: Sorting happens sequentially. The data will be sorted by the first column first, then within those sorted groups, by the second column and so on.
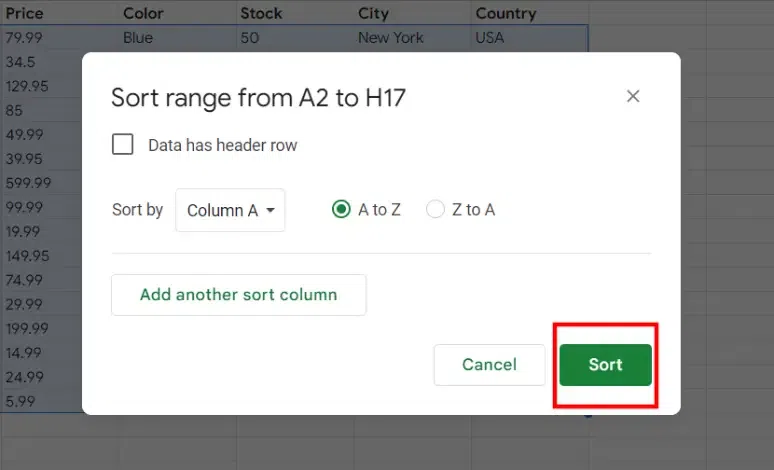
Step 6: Click 'OK'
Once you've defined your sorting criteria, click the "OK" button to execute the sort.
Custom Sort in Excel
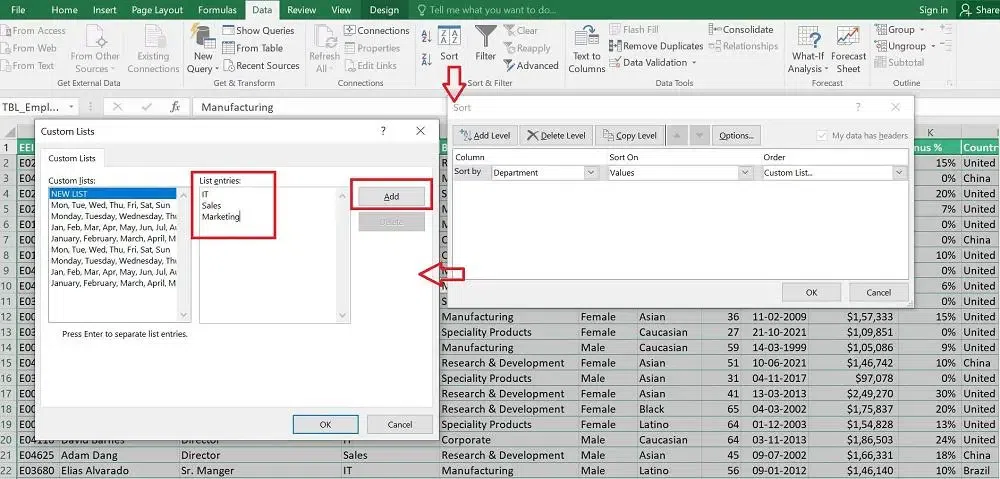
You can create your custom order in Excel by using custom sorting. Data that cannot be sorted alphabetically or ascending may occasionally need to be sorted. To sort data, Excel enables you to make your unique lists. Suppose you want to sort the dataset based on Department in the following order - IT, Sales, Marketing. Follow the steps given below for your reference:
- Select the dataset > Click on the Sort option in the Data tab
- Choose the Department column to sort
- Under Sort On, select Cell Values
- Choose the Custom List, under Order
- In the Custom Lists dialog box, add the List entries separated by commas - IT, Sales, Marketing
- Click on Add > Select OK.
The result of the same is displayed below.

Addition Tip for Sorting
- You can sort up to three levels in the basic sort and more using the custom sort.
- Sorting happens sequentially, so prioritize your most important sorting criteria first.
- For clarity, consider using a helper column with formulas to define your sorting logic before using the custom sort option.
