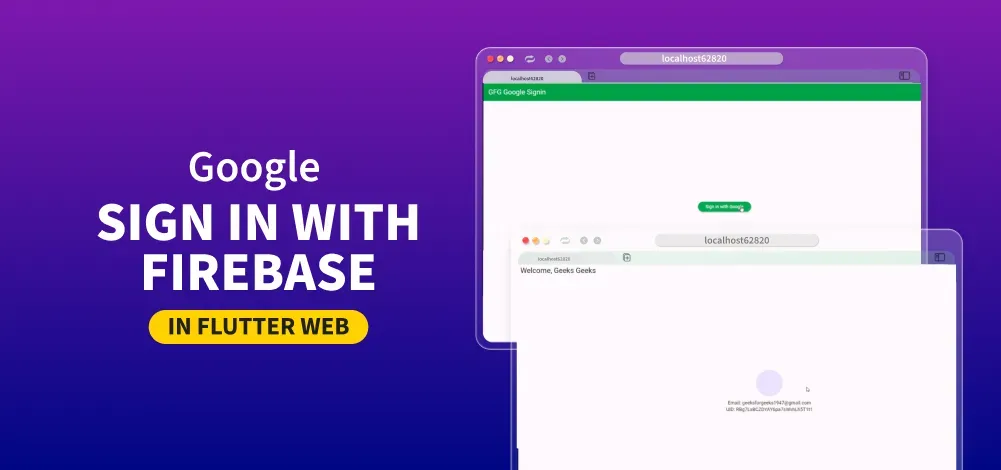
Firebase is a Google product that helps developers build, manage, and grow their apps easily. It also helps developers build their apps faster and more securely. No programming is required on the Firebase side, which makes it easy to use its features more efficiently. You can sign in with Google Sign-in with Firebase in the Flutter Web app by choosing the account through which you wish to sign in.
Steps to Implement Google Sign In with Firebase
Step 1: Create a new Flutter Application
Create a new Flutter application using the command Prompt. To create a new app, write the following command and run it.
flutter create app_nameTo know more about it refer this article: Creating a Simple Application in Flutter
Step 2: Adding the Dependency
To add the dependency to the pubspec.yaml file, add firebase_core and firebase_auth as dependencies in the dependencies part of the pubspec.yaml file, as shown below:
dependencies:
     flutter:
       sdk: flutter
     firebase_core: ^3.12.1
     firebase_auth: ^5.5.1
Now, run the below command in the terminal.
flutter pub getOr
Run the below command in the terminal.
flutter pub add firebase_core firebase_authStep 3: Import dependencies
To use libraries, import all of them in the respective .dart file.
import 'package:firebase_auth/firebase_auth.dart';
import 'package:firebase_core/firebase_core.dart';
Step 4: Add Firebase to your Flutter application
Follow this article to know How to Add Firebase to Flutter App?
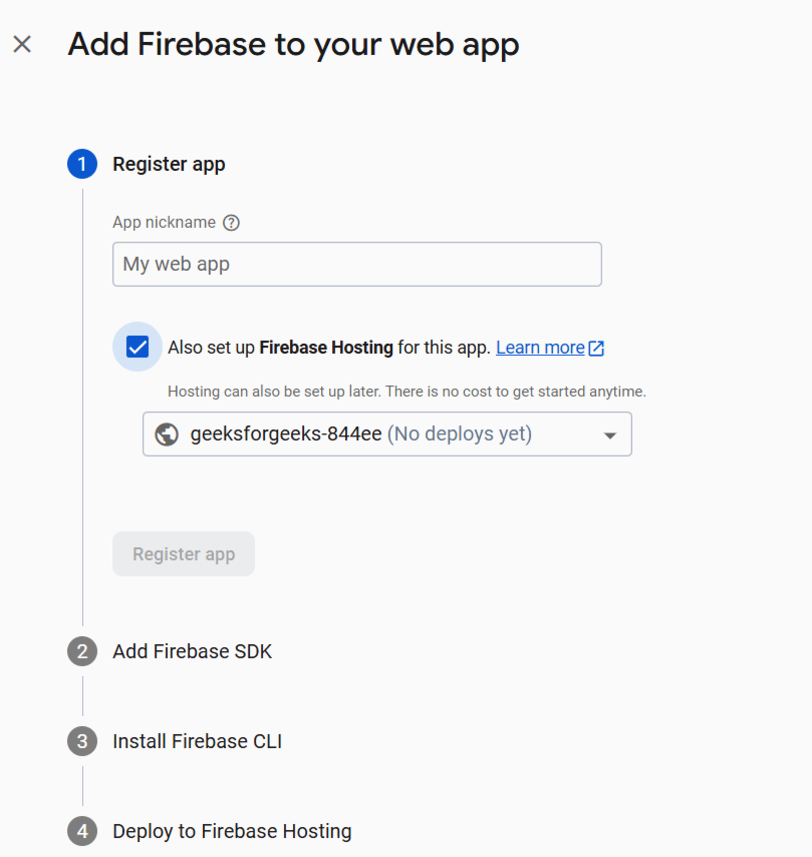
Step 5: Create a web app in Firebase
After creating a Firebase project in the Firebase Console, in Project Overview, go to Web.

- Register App: Enter a web app name -> Click on Register App.
- Add Firebase SDK section, copy the following code.
.png)
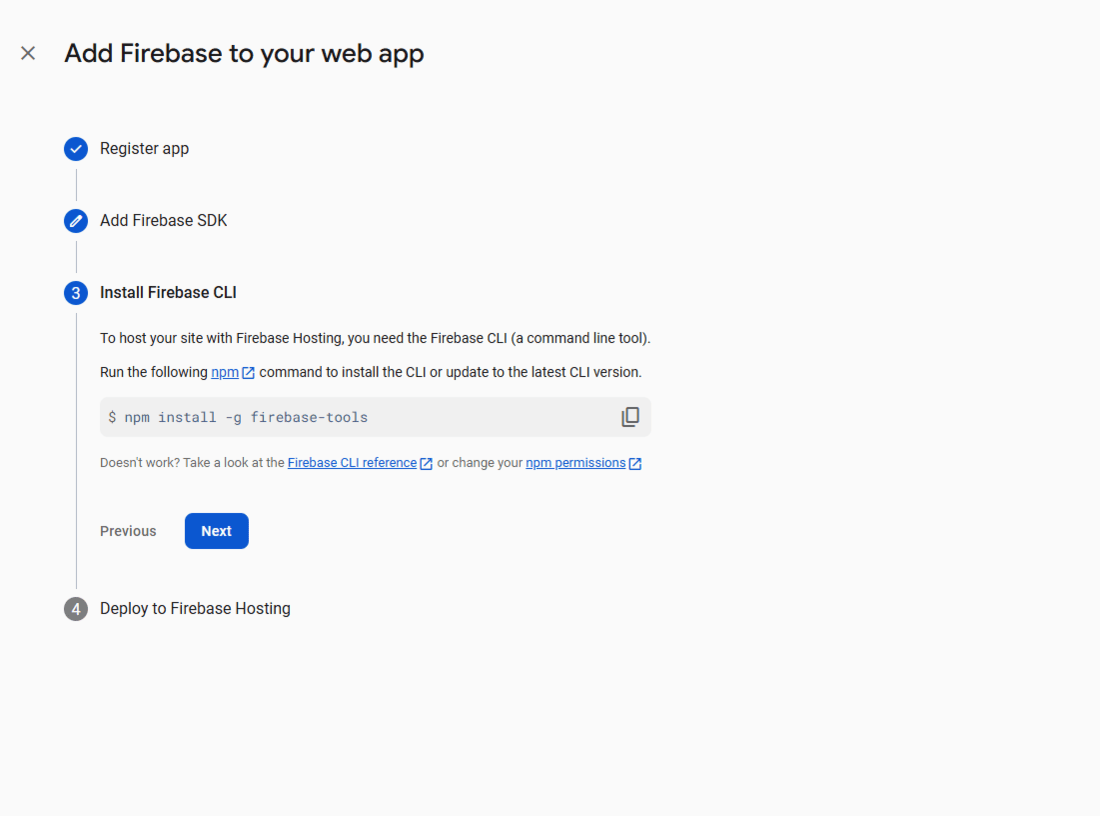
- Install Firebase CLI: Copy the given command and run it in the terminal, and click next.
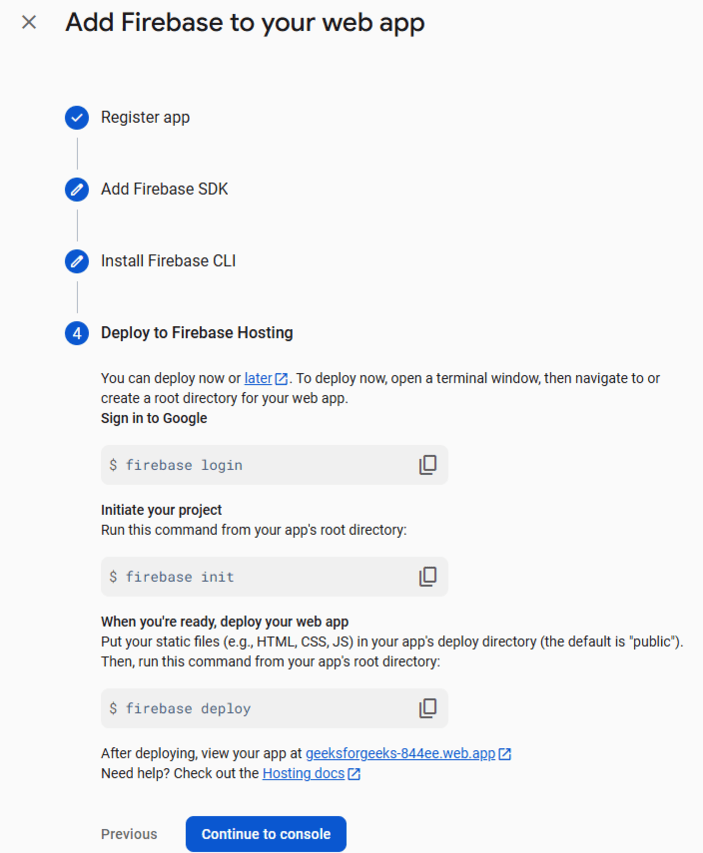
- Deploy to Firebase Hosting: Copy the below commands and click on "Continue to Console".
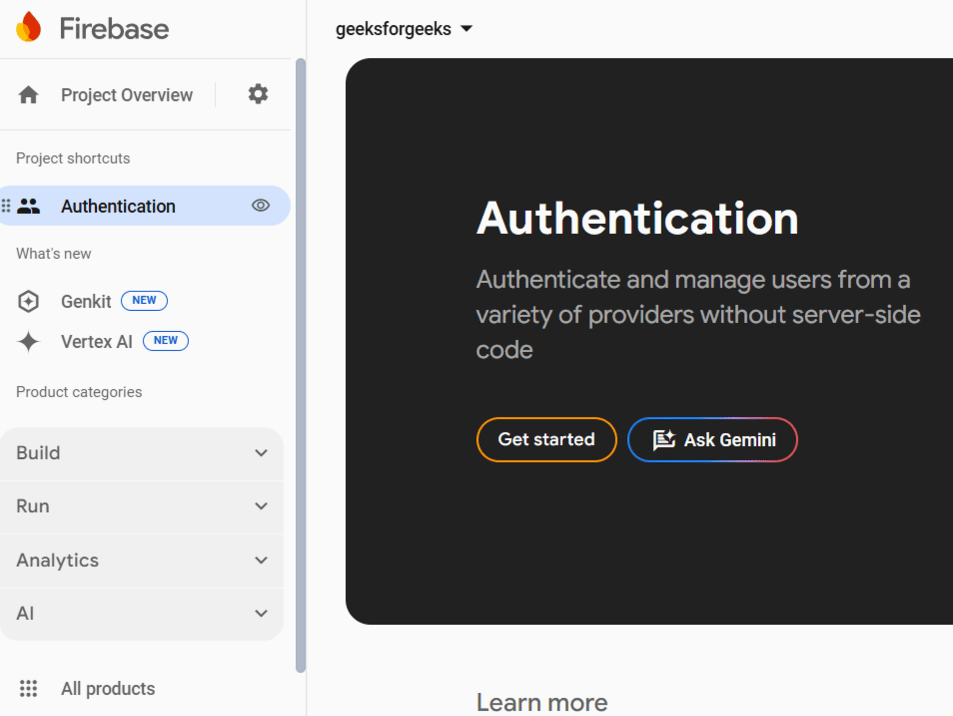
Step 6: Enable Google Sign-In in Firebase
- In Firebase Console, go to Build ->Authentication -> Sign-in Method and click on "Get started".
- Click on Google.
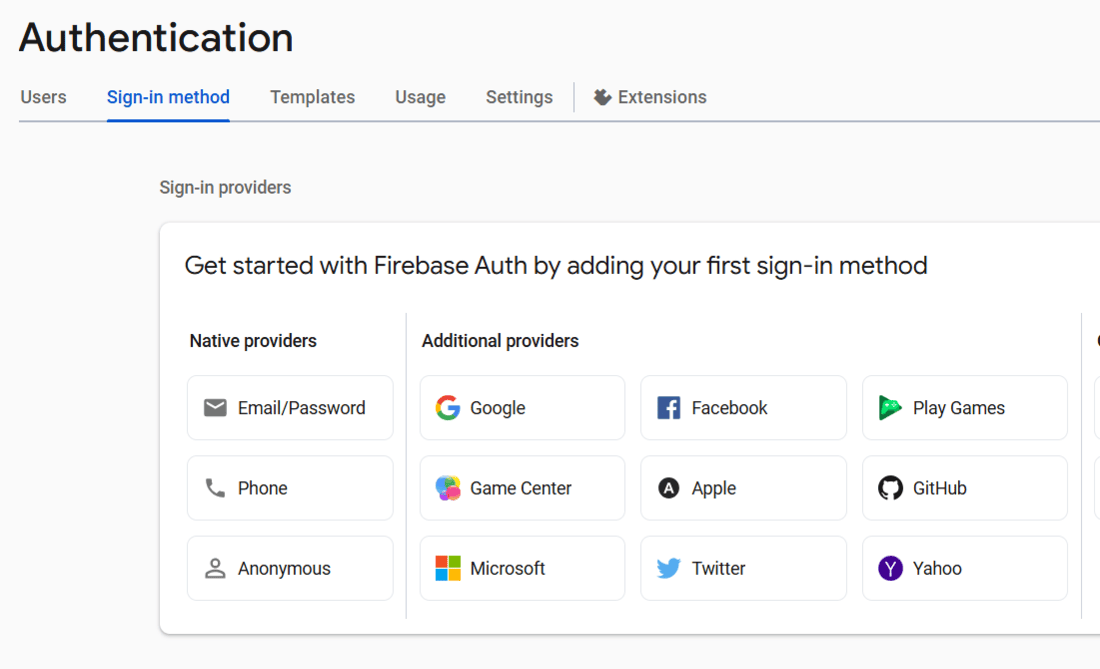
- Enable Google authentication and set a support email, and click on "Save".

Step 7: signInWithGoogle Method
Create a signInWithGoogle method to enable user login with Google using the firebase_auth package.
signInWithGoogle.dart:
import 'package:firebase_auth/firebase_auth.dart';

class GoogleAuthService {
  final FirebaseAuth _auth = FirebaseAuth.instance;

  // Sign in with Google using signInWithPopup
  Future<User?> signInWithGoogle() async {
    try {
      GoogleAuthProvider authProvider = GoogleAuthProvider();
      UserCredential userCredential = await _auth.signInWithPopup(authProvider);
      return userCredential.user;
    } catch (e) {
      print("Error signing in: $e");
      return null;
    }
  }

  // Sign out
  Future<void> signOut() async {
    await _auth.signOut();
  }
}
Step 8: Working with main.dart:
Add the boilerplate code below in main.dart to initialize the Firebase in the main function and create a basic structure with an AppBar and body using a Scaffold.
main.dart:
import 'package:firebase_core/firebase_core.dart';
import 'package:flutter/material.dart';
import 'google_auth_service.dart';

void main() async {
  WidgetsFlutterBinding.ensureInitialized();
  await Firebase.initializeApp(
    options: FirebaseOptions(
      apiKey: "YOUR_API_KEY",
      authDomain: "YOUR_AUTH_DOMAIN",
      projectId: "YOUR_PROJECT_ID",
      storageBucket: "YOUR_STORAGE_BUCKET",
      messagingSenderId: "YOUR_MESSAGING_SENDER_ID",
      appId: "YOUR_APP_ID",
    ),
  );
  runApp(MyApp());
}

class MyApp extends StatelessWidget {
  @override
  Widget build(BuildContext context) {
    return MaterialApp(
      debugShowCheckedModeBanner: false,
      home: SignInScreen(),
    );
  }
}
Step 9: Develop UI
sign_in_screen.dart:
class SignInScreen extends StatefulWidget {
  @override
  _SignInScreenState createState() => _SignInScreenState();
}

class _SignInScreenState extends State<SignInScreen> {
  final GoogleAuthService _authService = GoogleAuthService();

  @override
  Widget build(BuildContext context) {
    return Scaffold(
      appBar: AppBar(
          title: Text("GFG Google Signin"),
          backgroundColor: Colors.green,
          foregroundColor: Colors.white),
      body: Center(
        child: ElevatedButton(
          style: ElevatedButton.styleFrom(
              backgroundColor: Colors.green, foregroundColor: Colors.white),
          onPressed: () async {
            await _authService.signInWithGoogle();
          },
          child: Text("Sign in with Google"),
        ),
      ),
    );
  }
}
Step 10: Create Home Screen
Display user details after login.
home_screen.dart :
class HomeScreen extends StatelessWidget {
  final User user;

  HomeScreen({required this.user});

  @override
  Widget build(BuildContext context) {
    return Scaffold(
      appBar: AppBar(
        title: Text("Welcome, ${user.displayName}"),
      ),
      body: Center(
        child: Column(
          mainAxisAlignment: MainAxisAlignment.center,
          children: [
            CircleAvatar(
              backgroundImage: NetworkImage(user.photoURL ?? ""),
              radius: 40,
            ),
            SizedBox(height: 10),
            Text("Email: ${user.email}"),
            Text("UID: ${user.uid}"),

          ],
        ),
      ),
    );
  }
}
Step 11: Run the application
flutter run
Select a device as Chrome (web) or Edge (web), as per your choice. Then, run the application using the above command. Click on the 'Sign In with Google' button and choose your account.
Step 12: Deployment (optional)
- Enable Firebase Hosting:
firebase init- Select Hosting.
- Choose Use an existing project.
- Select the Firebase project.
- Build the app:
flutter build web- Deploy:
firebase deploy