The edit history feature in Google Sheets is a tool for tracking modifications in a spreadsheet over time. It logs detailed information about edits, including the user responsible, the nature of the changes, and the exact timestamp.
1. Edit History in Google Sheets
Edit History in Google Sheets is a feature that allows users to track changes made to a spreadsheet over time. It provides a detailed log of who made edits, what changes were made, and when they occurred.
Key Features:
- Version Tracking: View previous versions of the spreadsheet, including modifications to data and formatting.
- Collaborator Identification: See which user made specific edits in collaborative sheets.
- Restore Changes: Revert to an earlier version if necessary, ensuring data integrity.
2. How to See Edit History of a Specific Cell
This is particularly useful for tracking changes in a collaborative environment, identifying when and who made edits, and maintaining accurate records. Follow these steps to check the edit history of any cell:
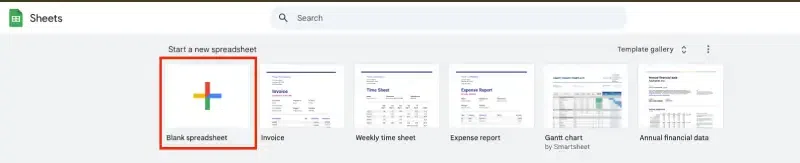
Step 1: Open Your Google Sheet
Navigate to the Google Sheets file for which you want to view the version history.
Step 2: Right-Click on the Target Cell
Navigate to the Google Sheets document where you want to check the cell's history. Locate the specific cell you want to review and right-click on it to open a context menu.
Step 3: Select "Show Edit History"
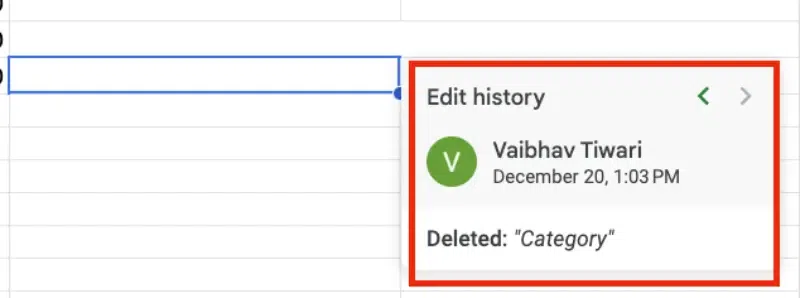
From the context menu, click on the Show edit history option. This will display a small pop-up window showing the most recent changes made to that cell.

Step 4: Review the Changes
In the pop-up window, you'll see details of the edits, including:
- The name of the person who made the changes.
- The time and date of the edits.
- The previous and current values of the cell.
Step 5: Browse Through the History
If there are multiple edits for the cell, use the arrow buttons in the pop-up to navigate through the full history of changes. Each step will display the corresponding information about who made the edits and when.
3. How to See the Version History of a Worksheet
If you want to check full worksheet version history then you can check by following these easy steps:
Step 1: Open Your Google Sheet
Navigate to the Google Sheets file for which you want to view the version history.
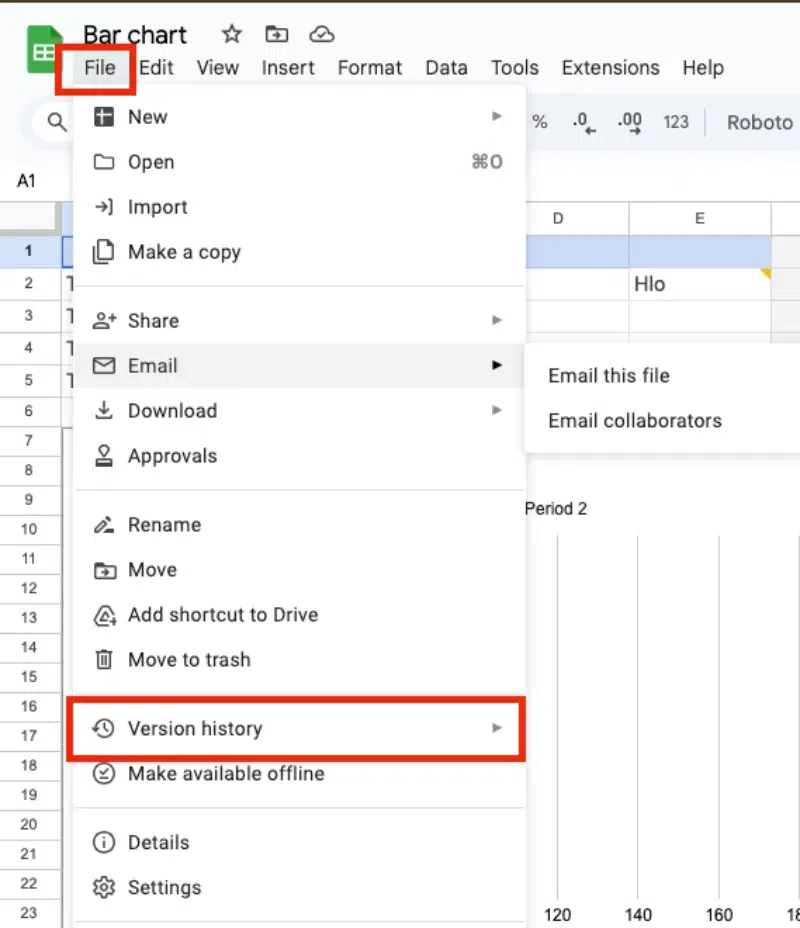
Step 2: Click on 'File' and Select 'Version History'
At the top-left corner of the sheet, click on the File tab to open the drop-down menu. Hover over the Version History option in the menu, then click See Version History.
Or Click on version History Icon
You can directly click on the version history icon (Clock icon) in the top right.
Alternatively, you can use the shortcut Ctrl + Alt + Shift + H (on Windows) or Cmd + Option + Shift + H (on Mac) to open the version history.
Step 4: Review the Versions
In the version history pane on the right side of the screen, you will see a list of all saved versions. The versions are organized by date and time, along with the name of the person who made the changes. You can click on any version to see what the sheet looked like at that specific point in time.

Step 5: Expand the Versions
If you need to explore further, click on the specific timeframes (shown by date and hour) to expand and see more detailed changes made within those versions. You can also hover over specific changes to see what was edited.
Step 6: Close Version History
Once you’ve reviewed the version history, click the X at the top-right corner of the version history panel to close it.
Note: Version history is available for all Google Sheets documents, and it is automatically saved as changes are made. You can view previous versions indefinitely, but it's always a good practice to periodically review the version history to stay aware of any edits made.
