Apache Maven is a build automation tool used primarily for Java projects and helps in the management of dependencies, project builds, and documentation of the project.
Here we will provide you with step-by-step instructions to install Apache Maven on Windows, macOS, and Linux.
Installation of Maven in Windows
Follow the steps below to install Apache Maven on Windows:
Step 1: Download the Maven Zip File and Extract

1. Click on the Download button.

2. Click on the apache-maven-3.8.4-bin.zip button.

3. Now check for the executable file in downloads in your system

4. Now right-click on the file and click on extract here to extract the file.

5. After extracting, you get the extracted folder.

6. Now copy the extracted folder.

7. Now paste the copy folder in your windows drive in the Program files folder.

8. Now the Permission Windows appears to paste the folder in program files then click on “Continue”.

9. Now open the folder apache maven.

10. Now after opening the folder then copy the address of the folder in program files.

Step 2: Add MAVEN_HOME System Variable
1. Now click on Start Menu and search “Edit the system environment variables” and open it.

2. After opening System, Variable New window appears, and click on “Environment Variables…”

3. Now click on New under user variable.

4. Now you can write any variable name and then paste the address we copy from program files in the variable value and then click on OK.

Step 3: Add MAVEN_HOME Directory in PATH Variable
1. Now go to the “System variables” Path option and double click on Path or Click on the Edit button.

2. Now click on New Button.

3. After New Paste the address we copy from program files to new.

4. After pasting the address add the \bin in the last and then click on OK.

5. Now click on the OK button.

6. Click on the OK button.

Step 4: Verify Maven Installation
1. Now your Apache Maven is installed on your computer. You may check by going to the “Start” menu typing Command Prompt. Open it.

2. When the Command Prompt opens, type mvn -version and click the enter button on the keyboard.

3. Now command prompt shows the version of Apache Maven installed on your windows.

You have successfully installed Apache Maven on your Windows 10 system.
Installation of Maven in MacOS
Follow the steps below to install Apache Maven on macOS:
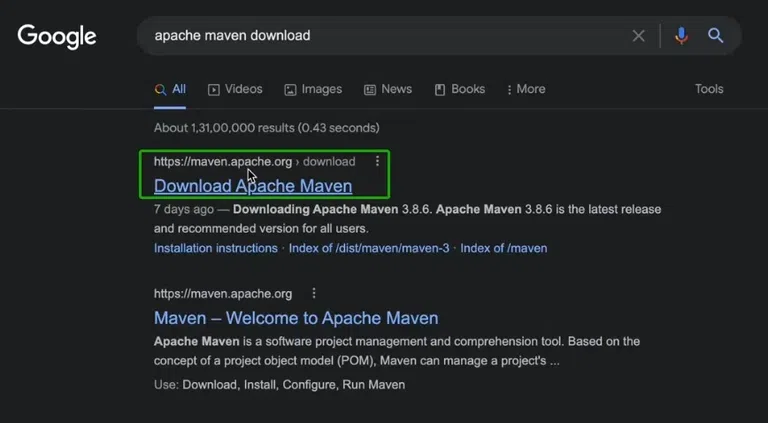
Step 1: Open the Apache Maven Website
Go to your browser and search for "Apache Maven download". Click on the official Apache Maven download page, which will look like this:
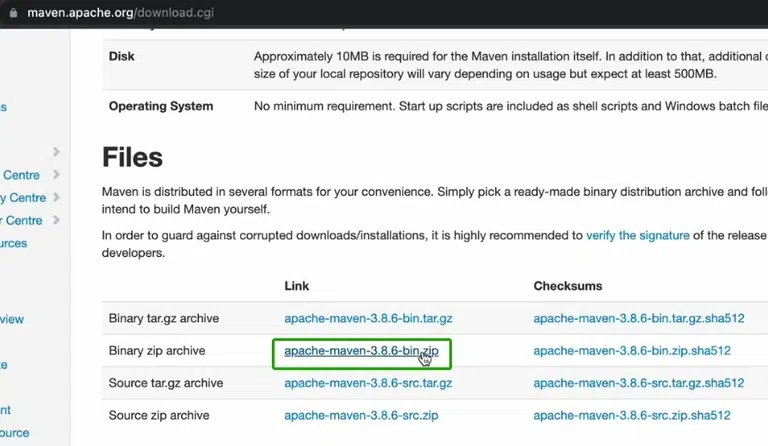
Step 2: Download the latest binary zip archive
Scroll down to the "Files" section and download the binary zip archive (e.g., apache-maven-3.x.x-bin.zip). This archive contains Maven binaries for all platforms, including macOS.
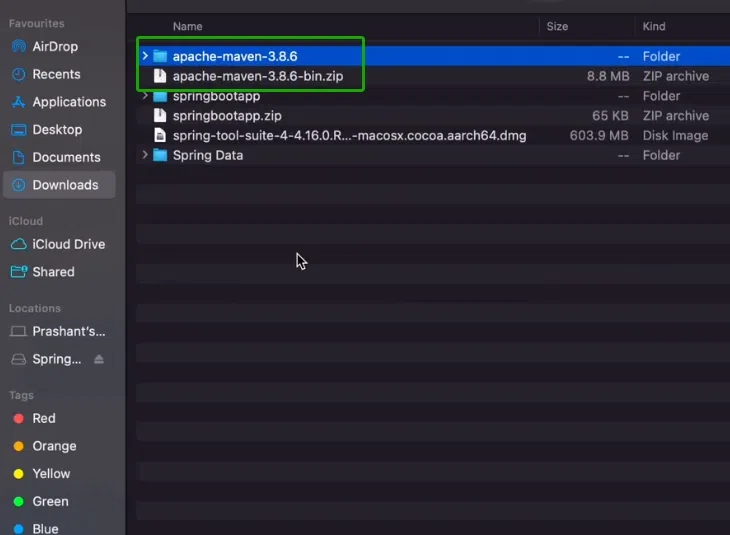
Step 3: Extract the Zip File
Locate the downloaded zip file and double-click it to extract. It will create a new folder with the same name as the zip file.
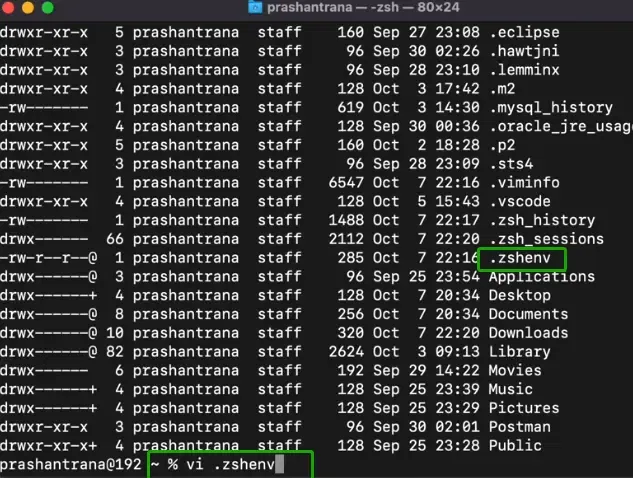
Step 4: Open Environmental Configuration File
To configure the Maven environment, open the terminal and edit your shell's environment file. If you are using the default zsh shell (on macOS Catalina and above), type:
vi .zshenvIf you are using bash, the file to edit might be ~/.bash_profile or ~/.bashrc.
Step 5: Configure Environment Variable
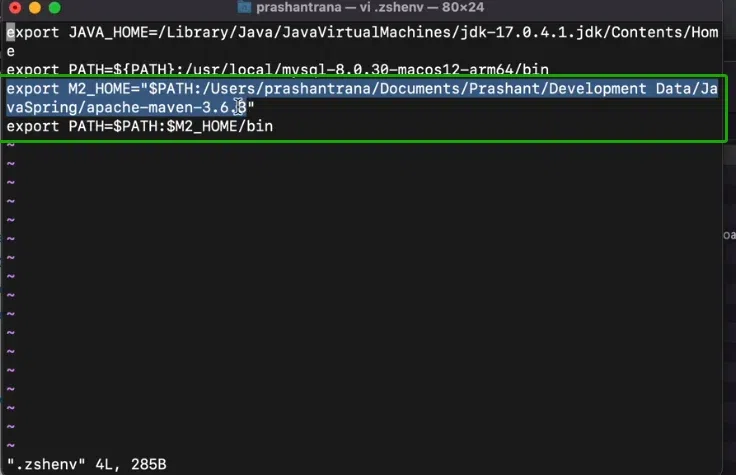
Add the following lines to configure Maven (adjust the path according to where Maven was extracted):
export M2_HOME="$PATH:/Users/prashantrana/Documents/Dev/JavaSpring/apache-maven-3.6.3"
export PATH=$PATH:$M2_HOME/bin
Save and close the file. Then apply the changes:
source ~/.zshenvStep 6: Verify the Installation
Run the following command to check if Maven is installed correctly:
mvn -versionYou should see the Maven version, Java version, and the Java home directory.
Install Apache Maven on Linux
For installing apache maven on Linux, we will have to follow the below steps one by one.
Step 1: Verify JDK Installation
First step is to verify whether JDK is installed or not. For this, simply open a terminal and type the following command:
java --versionAfter typing this command you can see output similar to image below, if it is not installed properly then it will show an error message that command was not found.
If you need to install JDK in Linux you can read this article: How to Install JDK in Linux?

Once it is verified that JDK is installed, go to the next step.
Step 2: Update Package Index
Next step is to update the library. This step is also important because we need to make sure we can run the command for installing maven and for that directory list needs to have maven in it.
Type the following command in your terminal and wait until the list is downloaded:
sudo apt update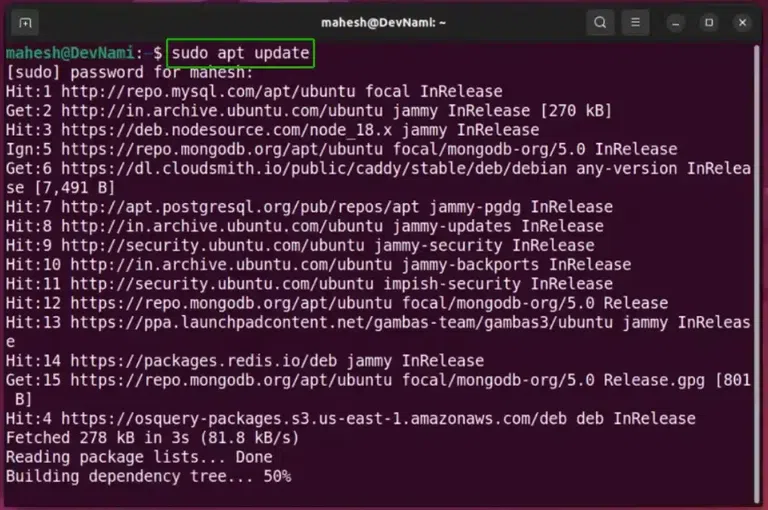
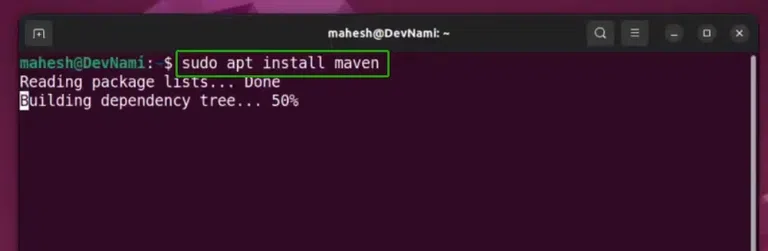
Step 3: Install Maven
Next step is to install maven. For this, simply type the following command and it will install maven in the Linux system.
sudo apt install mavenAs you can see in the image below as well:
Step 4: Verify Maven Installation
Once the installation is completed, we can check whether maven is installed successfully or not. For checking this, we will have to enter the following command in the linux terminal.
mvn -versionThis will show us the maven version which is installed in the system, also seen in the image below as well.
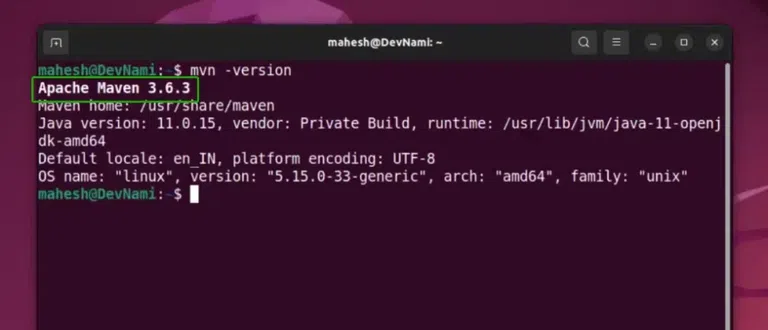
If installed correctly, you will see the Maven version, Java version, and Java home directory printed.
