MySQL is one of the most popular relational database management systems (RDBMS) in the world. It follows key database properties i.e. ACID (Atomicity, Consistency, Isolation, Durability) ensuring data integrity, providing high performance, scalability, and flexibility, and being open-source.
- Open-Source: Free to use and supported by a large community.
- ACID-Compliant: Ensures reliable and consistent transactions.
- High Performance: Optimized for handling large volumes of data efficiently.
- Scalability: Suitable for both small applications and enterprise systems.
- Cross-Platform: Available on macOS, Windows, and Linux.
- Data Security: Supports authentication, encryption, and access control mechanisms.
Installation
Follow these steps to install MySQL on macOS:
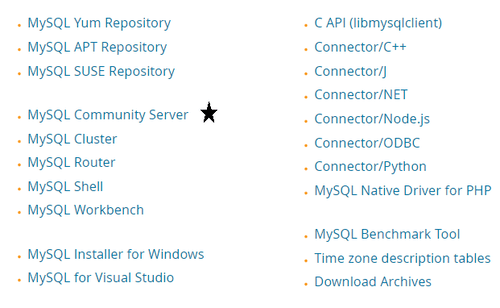
Step 1: Go to the official website of MySQL using any browser and Scroll down there you will find the following link.

Step 2: Then click on the MySQL Community Server link.
Step 3: If you are using the latest machine, you can simply click download there. But if you are using an older machine then go for archives. As my machine is an older one I have to move to Archives.

Step 4: Then choose the version there and download the proper software.

Step 5: Then start the MySQL installation process, and click on the continue button.

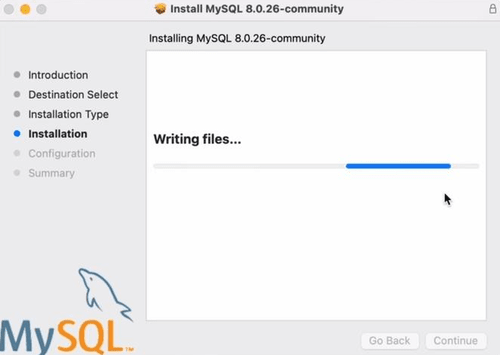
Step 6: Review the installation settings and click Install to begin the installation.

Step 7: Follow the setup wizard to configure the server and create a password for the MySQL root user.
Step 8: After the installation finishes, click Finish to close the installer.

Step 9: Provide some strong passwords and then click on the Finish button.

Step 10: Wait for some time till the process is going on.

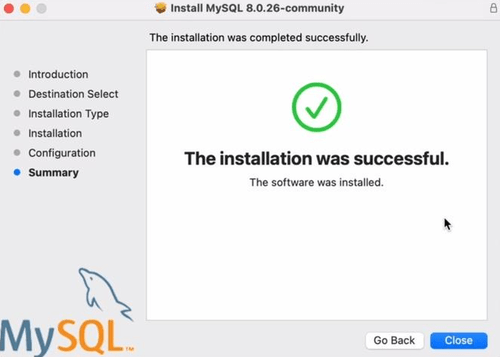
Step 11: Then you will find your installation is successful.
Step 12: At last, go to system preferences, there you will find MySQL is installed.

Hence, MySQL installation is successfully done! Now, Let's verify if MySQL is successfully installed or not.
Step 13 : Click Start MySQL Server to start the MySQL service. This ensures that the MySQL server is running on your system.
Step 14: You will be provided with an option to set a root password. Make sure to set a strong password to protect your database.
.png)
Verify MySQL is installed correctly using following command:
mysql --version
How to Create a Database in MySQL
Now that MySQL is installed and running on your macOS, let’s create a database
1. This command will show how many databases are there in your MySQL Server.
SHOW DATABASES;

2. Now, if you want to add a new database, you need to run the following command. It will create a new database.
create database <database_name>;

3. Then again run the following command, there you will find your database is added to MySQL.
show databases;

Hence, we have successfully created a database using create database command. You are now ready to start using MySQL. MySQL is the best relational database that will keep all your data secure. Many Companies use MySQL because of its solid data security and is supported by multiple applications.
Create First Table
After creating a database, the next step is to create tables for storing data. First, select the database using the USE command:
USE mydatabase;
Now create a table named students:
CREATE TABLE students (
id INT PRIMARY KEY AUTO_INCREMENT,
name VARCHAR(50)
);
To view all tables in the currently selected database, run:
SHOW TABLES;
Troubleshooting Installation Issues
If you encounter issues during the installation process, here are some common solutions:
- MySQL Not Starting: If the MySQL server isn’t starting, ensure that no other services are using port 3306 (the default MySQL port). You can change the port in the MySQL configuration file if needed.
- Permission Issues: If you see permission errors while installing or starting MySQL, make sure you have the necessary permissions to install software and access system files.
- Version Mismatch: If your macOS version isn't compatible with the latest MySQL version, download an older version from the archives on the MySQL download page.
