In modern web development, managing metadata is crucial for optimizing how your website appears in search engines and social media platforms. The Meta component in Remix provides a streamlined and flexible way to handle metadata dynamically within your Remix applications. Metadata includes elements such as the page title, description, and other meta tags that describe the content of the page and influence how it is indexed by search engines.
What is <Meta/>?
The <Meta /> component in Remix is used to handle metadata for web pages dynamically. Metadata includes crucial information such as the page title, description, and other meta tags that help search engines and social media platforms understand and index your content. By leveraging <Meta />, you can control how your Remix application's pages are represented in search results and on social media shares, making it easier to optimize SEO and improve the user experience.
Traditionally, managing metadata involved manually editing the <head> section of HTML files or using third-party libraries to dynamically update these tags. Remix simplifies this with its built-in <Meta /> component, allowing developers to configure metadata directly inside their components, based on server-side data or client-side state.
The <Meta /> component can dynamically adjust the metadata for individual pages and routes, which is particularly helpful for content-rich applications where the metadata should change depending on the page content.
Syntax:
import { Meta } from "remix";

// Example usage in a component
export function meta() {
  return [
    { title: "GFG Page" },
    { name: "description", content: "This is a description of GFG page." },
    { name: "keywords", content: "GFG, page, remix" },
  ];
}

export default function MyPage() {
  return (
    <div>
      <h1>Welcome to My Awesome GFG Page</h1>
      <p>This page is truly awesome.</p>
    </div>
  );
}
Where:
- meta() Function: It returns an array of metadata objects, like the page title, description, and keywords. Each object defines a meta tag to be injected into the HTML <head> section.
- { title: "Welcome to Remix" }: sets the page’s title.
- { name: "description", content: "This is an awesome page built with Remix." }: sets a description for SEO.
- { name: "keywords", content: "remix, react, seo, metadata" }: adds SEO keywords.
- <Meta /> Component: The <Meta /> component takes the meta tags from the meta() function and inserts them into the <head> of the page, dynamically updating the metadata.
- Page Content:The Index component renders a simple heading and description, while the <Meta /> component manages the SEO metadata behind the scenes.
Steps to Install and Set Up Remix
Step 1: Install and Verify Node Version:
Before creating Remix Application make sure you have node.js and npm installed. You can install node js from here. Confirm the installation by running these commands.
npm -v
node -v
Step 2: Initialize Remix Project:
Now create a new folder and navigate to it in the terminal. Run the following command to create a Remix app with its latest version.
npx create-remix@latestStep 3: Navigate to Your Project Directory:
Once the project is created, navigate into your project directory:
cd Project_nameStep 4: Install Dependencies:
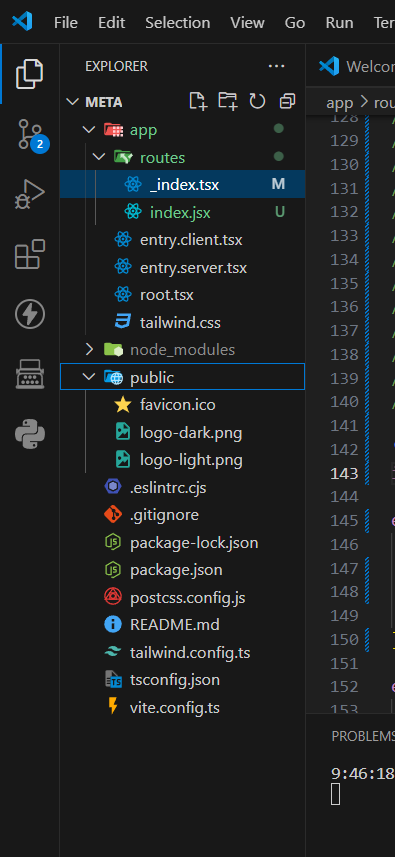
npm installProject Structure:
Updated Dependencies:
"dependencies": {
    "@remix-run/node": "^2.12.1",
    "@remix-run/react": "^2.12.1",
    "@remix-run/serve": "^2.12.1",
    "isbot": "^4.1.0",
    "react": "^18.2.0",
    "react-dom": "^18.2.0"
  },
  "devDependencies": {
    "@remix-run/dev": "^2.12.1",
    "@types/react": "^18.2.20",
    "@types/react-dom": "^18.2.7",
    "@typescript-eslint/eslint-plugin": "^6.7.4",
    "@typescript-eslint/parser": "^6.7.4",
    "autoprefixer": "^10.4.19",
    "eslint": "^8.38.0",
    "eslint-import-resolver-typescript": "^3.6.1",
    "eslint-plugin-import": "^2.28.1",
    "eslint-plugin-jsx-a11y": "^6.7.1",
    "eslint-plugin-react": "^7.33.2",
    "eslint-plugin-react-hooks": "^4.6.0",
    "postcss": "^8.4.38",
    "tailwindcss": "^3.4.4",
    "typescript": "^5.1.6",
    "vite": "^5.1.0",
    "vite-tsconfig-paths": "^4.2.1"
  }
Example: This example shows the use of <Meta/>.
// app/routes/_index.tsx
import { Meta } from "@remix-run/react";
// Define metadata as an array of meta objects
export function meta() {
return [
{ title: "Welcome to Remix" },
{ name: "description", content: "This is an awesome page built with Remix." },
{ name: "keywords", content: "remix, react, seo, metadata" }
];
}
export default function Index() {
return (
<div>
{/* The <Meta /> component will use the meta()
function to inject tags into <head> */}
<Meta />
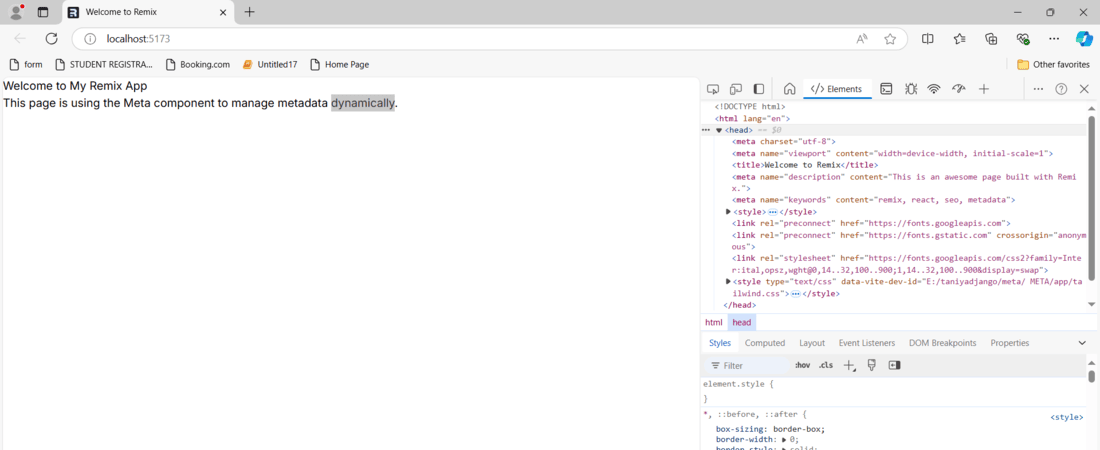
<h1>Welcome to My Remix App</h1>
<p>This page is using the Meta component to manage metadata dynamically.</p>
</div>
);
}
Step to run Application:
npm run devOutput:
Why Use the Meta Component?
Traditionally, setting metadata in web applications involved manual configuration and often required the use of third-party libraries or custom code to handle dynamic changes. The Meta component in Remix simplifies this process by integrating metadata management directly into the Remix framework. This ensures that your metadata can be set and updated easily based on the content and state of your pages.
Conclusion
The <Meta /> component in Remix simplifies managing metadata for your web pages, providing an efficient way to optimize your site for search engines and improve user experience. By returning metadata as an array of objects, Remix allows for flexible and dynamic handling of meta tags for each route, ensuring you can easily set titles, descriptions, and other meta tags directly within your route components. This approach aligns with modern web development best practices, ensuring that your application is both SEO-friendly and maintainable.
Using the <Meta /> component helps streamline your workflow by integrating metadata management directly into the Remix framework, reducing the need for external libraries or complex setups.
