A Handler in Android is used to handle and manage runnable objects. The handler class handles the execution of triggers. Handlers are used to manage tasks in the background. A Handler can also be used to generate a delay before executing a function with the help of a post-delay function.
Note: that we are going to implement this project using the Kotlin language.
A sample video is given below to get an idea about what we are going to do in this article.
So in this article, we will show you how you could add a delay in invoking a function in Android. Follow the below steps once the IDE is ready.
Step-by-Step Implementation
Step 1: Create a New Project in Android Studio
To create a new project in Android Studio please refer to How to Create/Start a New Project in Android Studio. We demonstrated the application in Kotlin, so make sure you select Kotlin as the primary language while creating a New Project.
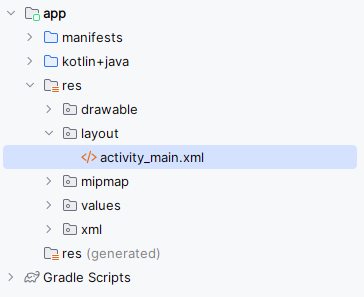
Step 2: Working with the activity_main.xml file
Navigate to the app > res > layout > activity_main.xml and add the below code to that file.
Below is the code for the activity_main.xml file. Add a TextView and a Button as shown below. TextView will be used to display a counter to verify the delay.
<?xml version="1.0" encoding="utf-8"?>
<RelativeLayout
    xmlns:android="http://schemas.android.com/apk/res/android"
    xmlns:app="http://schemas.android.com/apk/res-auto"
    xmlns:tools="http://schemas.android.com/tools"
    android:layout_width="match_parent"
    android:layout_height="match_parent"
    tools:context=".MainActivity">

    <TextView
        android:id="@+id/text_view_1"
        android:layout_width="wrap_content"
        android:layout_height="wrap_content"
        android:textSize="50sp"
        android:text="0"
        android:layout_centerHorizontal="true"
        android:layout_above="@id/button_1"
        android:layout_marginBottom="30sp"/>

    <Button
        android:id="@+id/button_1"
        android:layout_width="wrap_content"
        android:layout_height="wrap_content"
        android:text="click"
        android:layout_centerInParent="true"/>

</RelativeLayout>
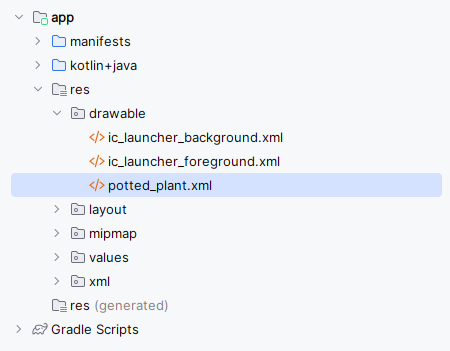
Step 3: Add Resources to Drawable Folder
To use the application we should add the files to drawable folder.
Step 4: Working with the MainActivity.kt file
Go to the MainActivity.kt file and refer to the following code. Below is the code for the MainActivity.kt file. Comments are added inside the code to understand the code in more detail.
package com.example.handler_delay

import androidx.appcompat.app.AppCompatActivity
import android.os.Bundle
import android.os.Handler
import android.os.Looper
import android.widget.Button
import android.widget.ImageView
import android.widget.TextView
import android.widget.Toast

class MainActivity : AppCompatActivity() {

      // Declared Variables will be used
      // afterwards
    lateinit var mImageView:ImageView
    lateinit var mTextView: TextView
    lateinit var mButton: Button


    override fun onCreate(savedInstanceState: Bundle?) {
        super.onCreate(savedInstanceState)
        setContentView(R.layout.activity_main)

        // Declaring and initializing elements from layout
        mImageView = findViewById(R.id.image_view_1)
        mTextView = findViewById(R.id.text_view_1)
        mButton = findViewById(R.id.button_1)

        // Declaring a delay
        // in milli-seconds
        val mDelay: Long = 5000

        // WHen button is clicked,
        // timer starts and handler starts
        mButton.setOnClickListener {

              // Handler is used for Delay
            Handler(Looper.getMainLooper()).postDelayed({
                mSomeFUnction() }, mDelay)
        }
    }

    // Sample function that will
    // display after the delay
    private fun mSomeFUnction(){
        ShowImage()
        mTextView.setText("")
        Toast.makeText(applicationContext, "Toast is called post delay", Toast.LENGTH_SHORT).show()
    }

    // Show the Image
    private fun ShowImage(){
        mImageView.setImageResource(R.drawable.potted_plant)
    }
}
Output:
You can see that as soon as the delay ends, the function is invoked.
