Everything in MS Word is accompanied by a style. A style is a set of predefined formatting instructions that you can use over and over again in a document. A style is a specified font, colour, and size combination that may be applied to any text in your project. Styles may help your documents seem and feel more professional.
- To apply a style, select the text on which you want to apply any style. To preview a style, point to it on the Home tab (in the rightmost section). Then choose the one which you find appropriate for your selected text.
- You can apply any of the predefined styles (That Word provides) using this method/way.
Method 1
Follow the following steps to modify a style:
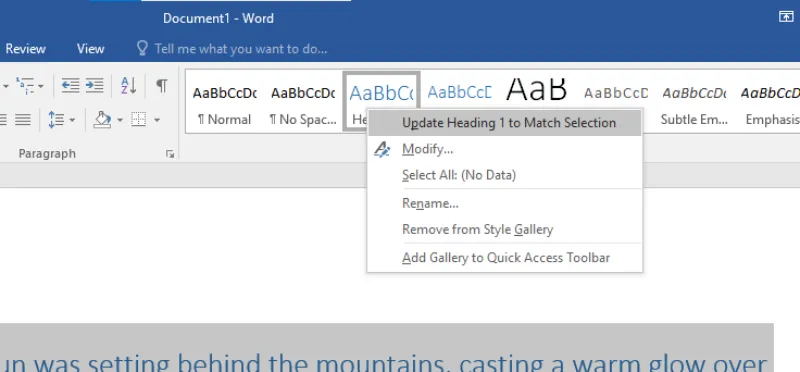
Step 1: Right-click the style you wish to edit in the Styles group on the Home tab.
Step 2: Choose Modify from the drop-down menu.
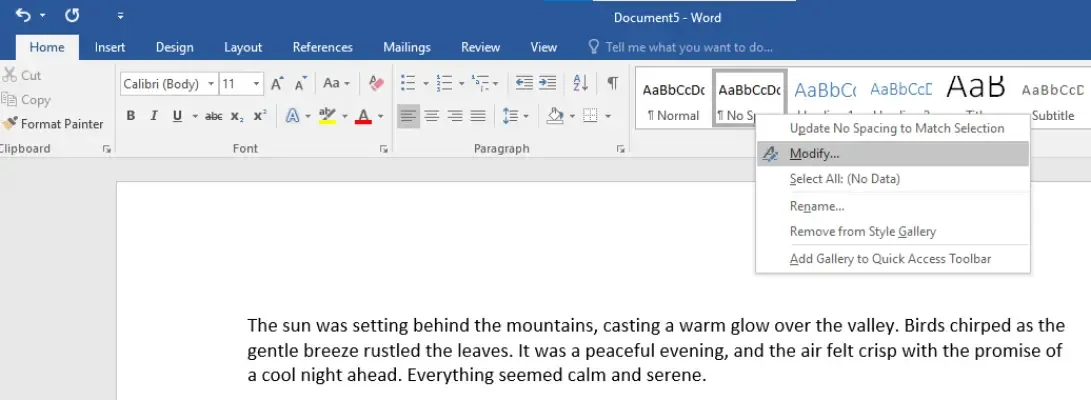
Step 3:
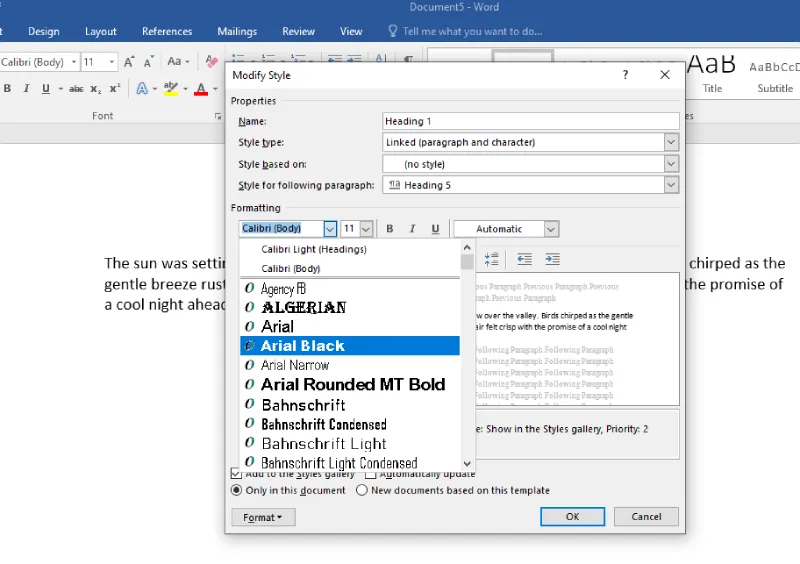
- A dialogue box (Modify Style) will pop up. Make any formatting adjustments you like, such as font style, size, or color.
- You can even modify the style's name if you wish.
- Example: Here we are changing the formatting to Arial Black from Cambria (Headings) and choosing the style based on: "No Spacing"
Step 4: To save your changes, click OK.
Step 5: The style will be modified.
Here the formatting of the text has been changed to Arial Black from Cambria (Headings)
Method 2
Step 1: Select the text that already uses the style (like Heading 1).
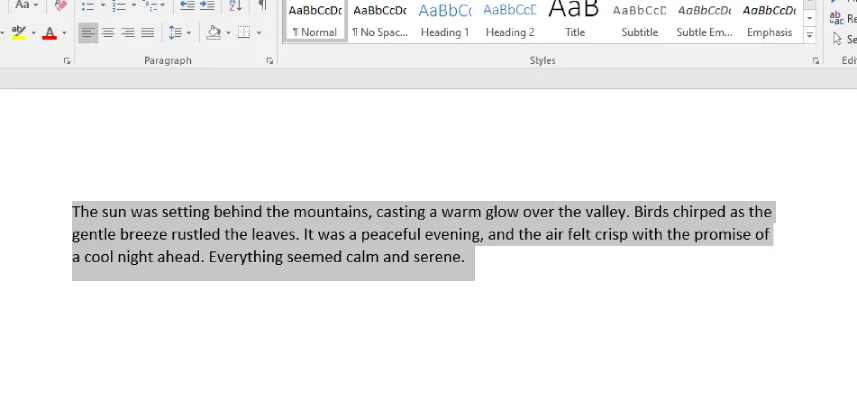
Step 2: Change the formatting of the selected text, such as the font size or colour, to what you want.
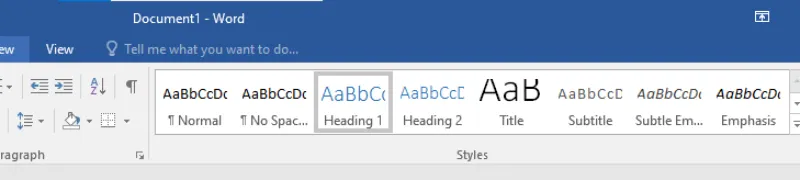
Step 3: Go to the Home tab, find the Styles group, right-click the style you changed (e.g., Heading 1), and click Update [Style Name] to Match Selection.
All text with the style that you changed will automatically change to match the new style that you defined.
