MS Word provides a Shapes feature that allows users to add elements like boxes, arrows, circles, and callouts to highlight content. These shapes can be customized by changing their color, size, style, or outline, helping make documents clearer and more visually appealing.
Some examples of shapes are:


Steps to Add Shapes in MS Word
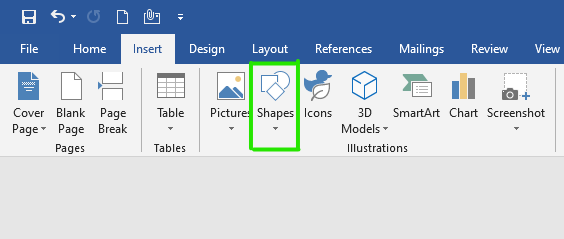
Step 1: On the navigation menu click on the insert option.

Step 2: In the illustration section select the shapes option as shown in the figure:
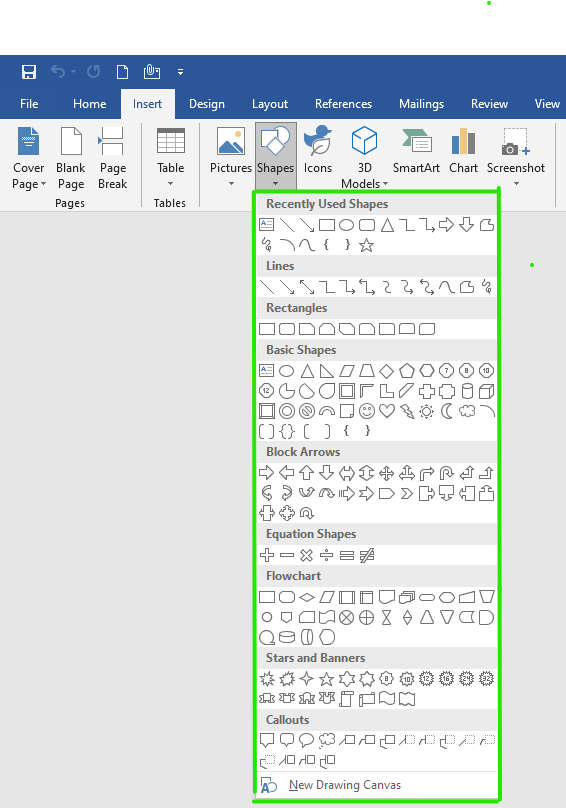
Step 3: A list of shapes will pop up on the screen where you can select different types of shapes.
There are total of 8 sections in shapes:
- Lines
- Rectangles
- Basic Shapes
- Block Arrows
- Equation Shapes
- Flowcharts
- Stars and Banners
- Callouts
Step 4: Now select a shape as per your need.

Step 5: Next drag the cursor on your current page to draw the shape.
Step 6: Finally shape is added on the current page of the document as shown in the figure:

Step 7: Now click on the drag button to set the size of the shape as shown in the figure:

Step 8: On the navigation menu click on the format option to give color, layout, style to the shape.

Step 9: Under the shape style section click on the drop-down arrow to open the style panel.

Step 10: A theme style color panel will open where you can select different types of color styles for the shape as shown in the figure:
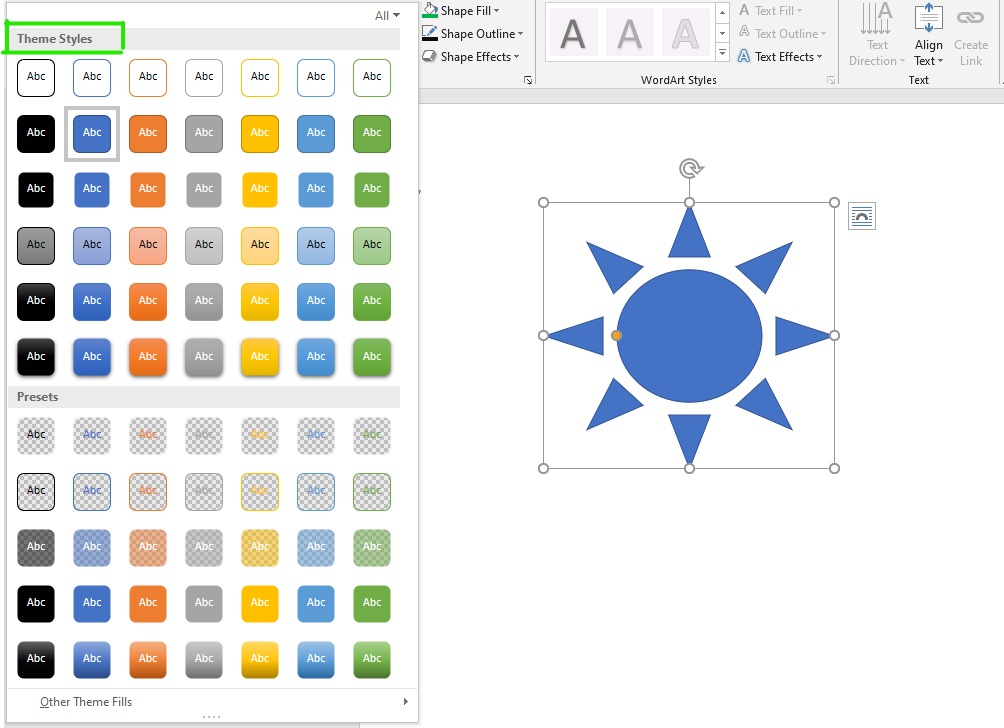
Step 11: Select the color of your choice.

Step 12: You can also choose a different color pattern from other theme fills options as shown in the figure:

Step 13: You can also select a different color from the shape fill option.

Step 14: Next click on the shape outline option to give an outline to the shape.

Step 15: Select the color from the theme colors panel as shown in the figure:

Step 16: Next click on the shape effects option.

Step 17: Now select the option from the menu as per your requirement.

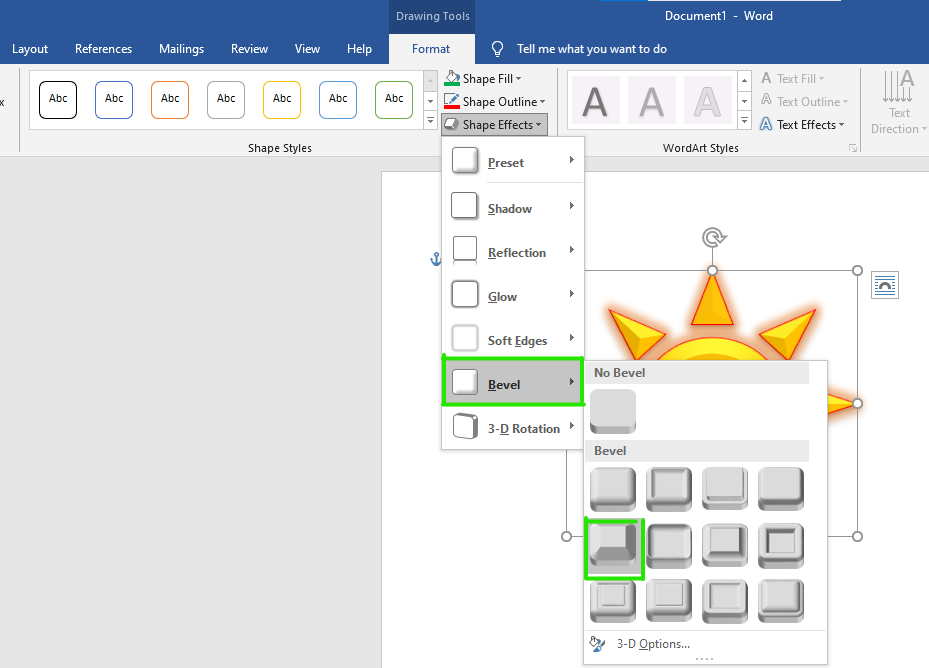
Finally, the shape is inserted in your document.
These are some of the steps to insert a shape in an MS Word document.
