PyVista, a versatile Python library built on top of VTK (Visualization Toolkit), provides an easy-to-use interface for 3D visualization and mesh analysis. On the other hand, Qt, a powerful framework for building graphical user interfaces (GUIs), offers a wide range of tools for creating desktop applications. By integrating PyVista with Qt, you can create interactive 3D visualization applications with a sophisticated GUI, providing a seamless experience for users.
In this article, we'll explore how to integrate PyVista with Qt to build a basic 3D visualization application. We'll cover setting up the environment, creating a PyVista plot, embedding it into a Qt application, and handling user interactions.
Setup of PyVista with QT
Before we start integrating PyVista with Qt, we'll need to set up our Python environment with the necessary libraries. We can install PyVista and PyQt5 using pip:
pip install pyvista pyqt5 pyvistaqtCreating a QT window
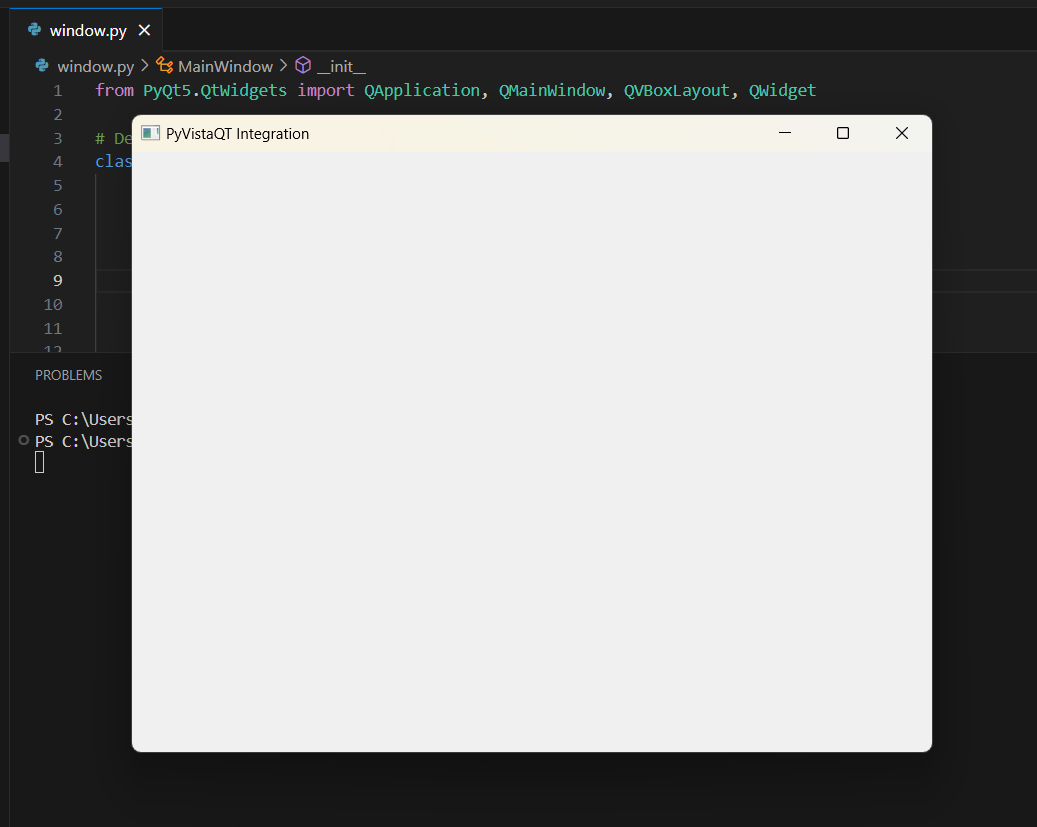
To begin, we first need to create a basic QT window using PyQT5. This can be done by setting up a QApplication and creating a QWidget, which is the main window.
Code
When we run the code we get a QT Window
from PyQt5.QtWidgets import QApplication, QMainWindow, QVBoxLayout, QWidget

# Define a custom MainWindow class that inherits from QMainWindow
class MainWindow(QMainWindow):
    def __init__(self):
        super().__init__()

        # Set the window title
        self.setWindowTitle('PyVistaQT Integration')

        # Set the geometry of the window
        # (position and size on the screen)
        self.setGeometry(100, 100, 800, 600)

        # Create a central widget for the main window;
        # this is where other widgets will be placed
        central_widget = QWidget()

        # Set the central widget in the main window,
        # so it occupies the central area
        self.setCentralWidget(central_widget)

        # Create a vertical box layout,
        # which arranges widgets vertically
        layout = QVBoxLayout()

        # Assign the layout to the central widget
        central_widget.setLayout(layout)

# Create an instance of QApplication,
# which manages the GUI application’s control flow and main settings
app = QApplication([])

# Create an instance of the MainWindow class
window = MainWindow()

# Display the window on the screen
window.show()

# Start the event loop,
# which waits for and dispatches events such as user interactions
app.exec_()
Output:
Integrating PyVista with Qt
The module pyvistaqt is used to integrate PyVista plots into the QT windows that we created, it also provides the VTK render into the window into the QT widgets.
Code
In this example we will create a QT windows and integrate PyVista plots to display a 3D Model (sphere in this case).
import pyvista as pv
import pyvistaqt as pvqt
from PyQt5.QtWidgets import QApplication, QMainWindow, QVBoxLayout, QWidget


class MainWindow(QMainWindow):
    def __init__(self):
        super().__init__()
        # Set the window title
        self.setWindowTitle('PyVista QT Integration')
        # Set the window position and size (x, y, width, height)
        self.setGeometry(100, 100, 800, 600)

        # Create central widget and layout
        central_widget = QWidget()
        self.setCentralWidget(central_widget)

        # Create a vertical box layout to arrange widgets vertically
        layout = QVBoxLayout()
        central_widget.setLayout(layout)

        # Initialize a PyVistaQt interactor to embed PyVista in the Qt app
        self.plotter = pvqt.QtInteractor(self)
        layout.addWidget(self.plotter.interactor)

        # Create and add a 3D sphere mesh to the plotter for visualization
        self.plotter.add_mesh(pv.Sphere())
        self.plotter.show_grid()

# Set up the Qt application
app = QApplication([])
window = MainWindow()
window.show()

 # Start the event loop to keep
 # the application running and responsive to user interactions
app.exec_()
Output
How does the code works:
The code demonstrates how to integrate PyVista, a 3D visualization library, with PyQt, a GUI framework. We first creates a simple PyQt application with a main window that embeds a PyVista 3D plotter. Here's a brief overview:
- Main Window Class: We define
MainWindowclass, inheriting fromQMainWindow. Inside its constructor:- The window title and size are set.
- A central widget and a vertical layout are created to organize the GUI elements.
- A PyVista plotter (
QtInteractor) is embedded into the window, and a 3D sphere is added to the plotter. - A grid is shown in the plot to give a visual reference.
- Application Setup: We then create a
QApplicationobject, which manages the application's control flow and main settings. TheMainWindowis instantiated and displayed. - Event Loop: The
app.exec_()method starts the application's event loop, keeping the window open and responsive to user inputs.
Conclusion
Integrating PyVista with Qt opens up a world of possibilities for creating interactive 3D visualization applications in Python. By embedding PyVista plots in a Qt application, we can build sophisticated user interfaces that provide powerful tools for visualizing and interacting with 3D data. Whether we are developing scientific applications, engineering tools, or educational software, this combination of libraries offers the flexibility and power needed to create engaging and user-friendly applications.
Q: Can PyVista be used with other versions of PyQT?
Ans: In the above examples, PyVista is integrated with PyQT5, but for similar functionality PySide2 or PySide6 can be used with PyVista.
Q: What are the performance constraints while usign this integration?
Ans: The performance in mainly relies on the complexity of scenes/models and efficiency of the QT application. The performance can be increased by optimizing the model.
Q: Are interactive plots supported with this integration?
Ans: Yes, PyVista supports interactive 3D plots and the interactivity can be enchances via PyQT's event handling and PyVista's interactive features.
