Several applications use Java as they require older versions like Java 6 and Java 7, whereas their newer versions might not be preferred. Having these versions available on Ubuntu allows you to run legacy applications while flexibly shifting between different Java environments.
How to install Java-6 & Java-7 in Ubuntu?
To Install Both of these Java-6 & 7 in Ubuntu follow the given below steps.
1. Installing Java 6
Step 1: Go to this link.
https://www.oracle.com/in/java/technologies/javase-java-archive-javase6-downloads.html
jdk-6u45-linux-x64.bin.

After that You will download the file.
- Open the Terminal and type this command.
cd Downloads
Now you are in file Directory.
Step 2: To make the downloaded bin file executable use the following command.
chmod +x jdk-6u45-linux-x64.bin
Step 3: To extract the bin file use the following command.
./jdk-6u45-linux-x64.bin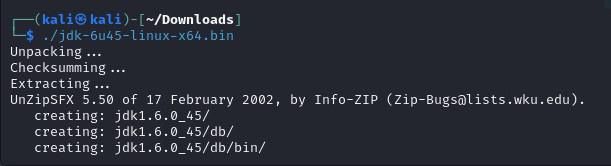
Step 4: Using the following command create a folder called "jvm" inside /usr/lib if it is not already existing.
sudo mkdir /usr/lib/jvm Step 5: Move the extracted folder into the newly created jvm folder.
sudo mv jdk1.6.0_32 /usr/lib/jvm/Step 6: To install the Java source use following commands.
sudo update-alternatives --install /usr/bin/javac javac /usr/lib/jvm/jdk1.6.0_32/bin/javac 1
sudo update-alternatives --install /usr/bin/java java /usr/lib/jvm/jdk1.6.0_32/bin/java 1
sudo update-alternatives --install /usr/bin/javaws javaws /usr/lib/jvm/jdk1.6.0_32/bin/javaws 1

Step 7: To make this default java.
sudo update-alternatives --config java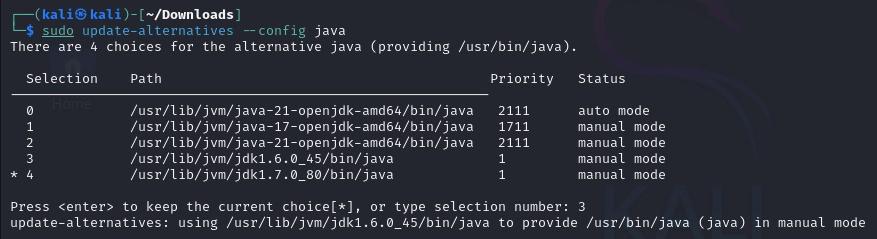
Step 8: To verify Java has installed correctly use this command.
java -version
Installing Java 7
Step 1:
Go to https://www.oracle.com/in/java/technologies/javase/javase7-archive-downloads.html.
- Select jdk-7u80-linux-i586.tar.gz

After that You will download the file.
- Open the Terminal and type this command.
cd DownloadsStep 2: To make the downloaded bin file executable use the following command.
chmod +x jdk-7u80-linux-i586.tar.gz
Step 3: To extract the bin file use the following command.
./jdk-7u80-linux-x64.binStep 4: Using the following command create a folder called "jvm" inside /usr/lib if it is not already existing.
sudo mkdir /usr/lib/jvm Step 5: Move the extracted folder into the newly created jvm folder.
sudo mv jdk1.7.0_80/usr/lib/jvm/
Step 6: To install the Java source use following command.
sudo update-alternatives --install /usr/bin/java java /usr/lib/jvm/jdk1.6.0_32/bin/java 1 
Step 7: To make this default java.
sudo update-alternatives --config javaStep 8: To make symlinks point to the new Java location use the following command.
ls -la /etc/alternatives/java*
Step 9: To verify Java has installed correctly use this command

Conclusion
You can install Java 6 and Java 7 in Ubuntu, which means all your older applications will keep running. This allows the flexibility for you to run legacy as well as modern Java-based programs since you can administer versions.
