Installing Xcode on Windows 11 isn’t straightforward because Xcode is built exclusively for macOS. However, by setting up a macOS virtual machine, you can run Xcode on a Windows PC for iOS or macOS app development.
- Xcode officially works only on macOS, so a virtual machine is required on Windows.
- VirtualBox (or VMware) allows you to emulate macOS on a Windows 11 PC.
- Once macOS is installed, you can download Xcode directly from the Mac App Store.
- This method is best for learning and small development tasks, not ideal for heavy production work.
Steps to Install Xcode in Windows 11
Step 1: Download and Install VirtualBox
- Visit the official VirtualBox download page and download a VirtualBox for Windows and install it on your Windows system.
- Install macOS on VirtualBox using this article: How to Run macOS on Windows?
Step 2: Install Xcode from the App Store
- Open the Mac App Store and search for Xcode.
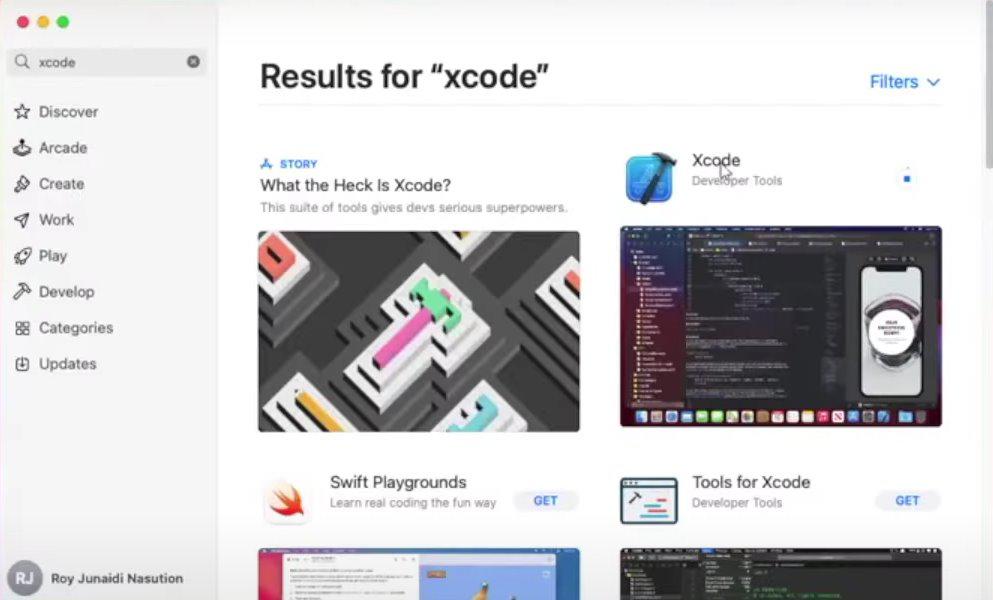
- Download Xcode from App Store and Install it.
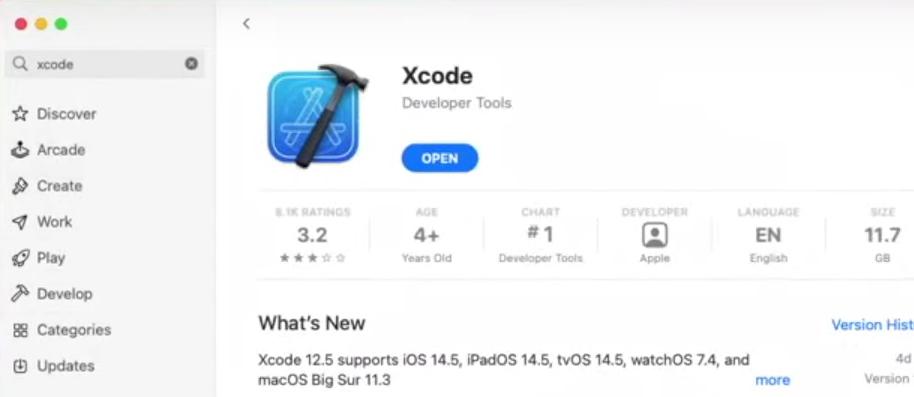
Step 3: Run Xcode
- Open and Run after Installation, and install the necessary updates and components, and its ready to use.

