Getting your business listed on Google Maps is one of the most important steps you can take to increase your visibility and attract local customers. Whether you're running a small local shop, an online retail business, or a service-oriented company, Google My Business provides a free and easy way to manage your online presence. By adding your business to Google Maps, you’ll ensure that potential customers can easily find your business, contact you, and read reviews, all while improving your chances of being discovered through Google Search.
In this guide, we’ll walk you through the simple steps to add and verify your business on Google Maps, ensuring your profile stands out and reaches more customers.
Disclaimer: Google may take up to 5 business days to verify your business details, so make sure you provide accurate information during the setup process.
What is Google My Business
Google My Business is a free tool that lets you manage and optimize your business profile on Google, which includes appearing on Google Maps and Google Search. It's similar to adding a place to Google Maps, but with verification to confirm you own or manage the business. With this profile, you can also respond to customer questions and reviews.
Advantages of Adding Your Business to Google Maps
- Increased Visibility: When customers search for businesses in your industry near their location, your business appears in their feed.
- Customer Reviews: Customers can rate and provide feedback, which can attract new customers.
- Promotion through Google Ads: Use Google Ads to advertise your business online.
- Control and Analytics: You get a business dashboard to edit your information, read customer reviews, and access business insights.
How to Add Business to Google Maps [2 Methods]
Here are effective methods to add your business in google maps:
Method 1: How to Search Your Location and Add Business to Google Maps
Step 1: Open Google Maps and Search your Location
Open Google Maps and Search the Location of Your Business in Google Maps.
.webp)
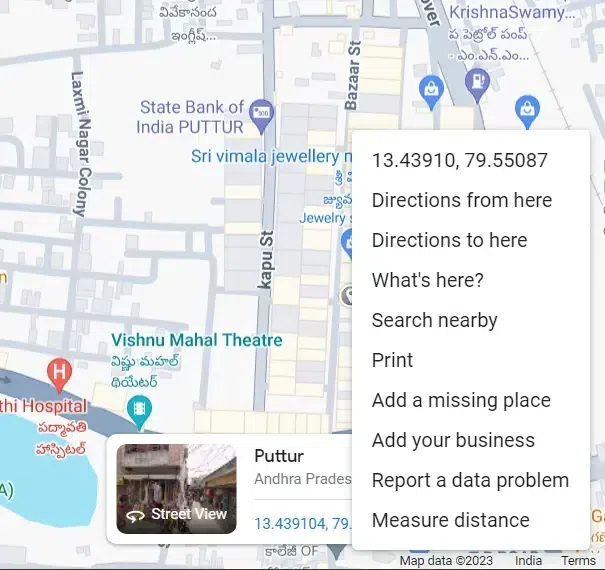
Step 2: Right-Click on the Location and Select "Add Your Business"
If your business is not listed, right-click on the map at the correct location and select “Add Your Business”.
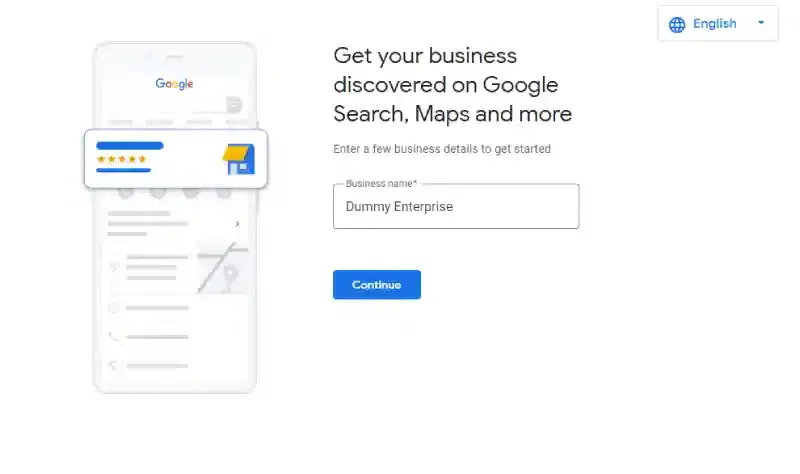
Step 3: Enter Your Business Name
Type your business name in the provided box. If you’re a new business, choose a unique name to attract customers. If your business is established, keep the name consistent for verification purposes.
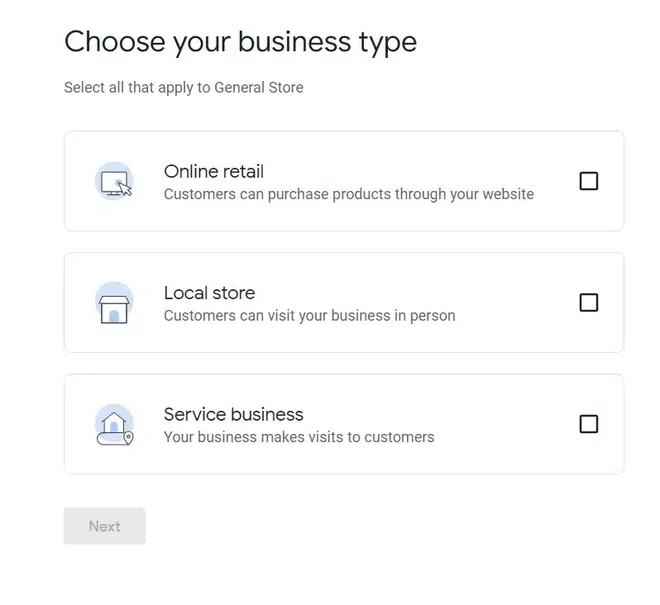
Step 4: Select Your Business Type
Choose the business type from the options:
- Online Retail (e.g., Amazon, Walmart)
- Local Store (e.g., supermarkets)
- Service Business (e.g., consulting, repairs)
Step 5: Add Your Website (Optional)
Enter your business website if applicable. You can skip this step and update it later.
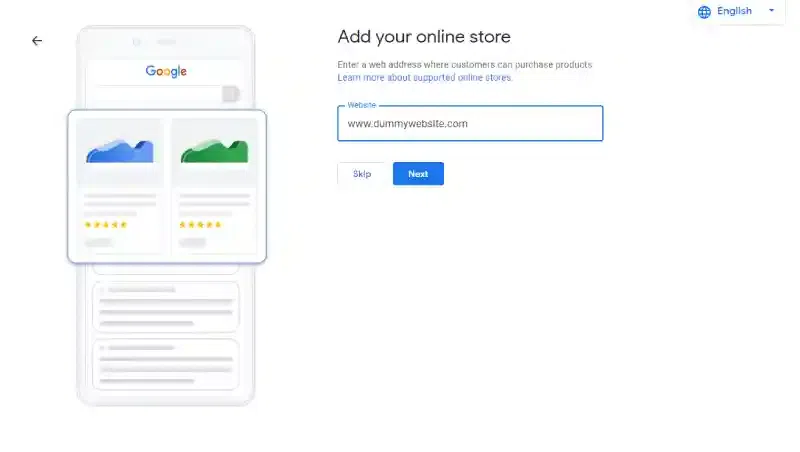
Step 6: Select Your Business Category
Choose a category that fits your business type (e.g., Graphic Designer). Click Next.
.webp)
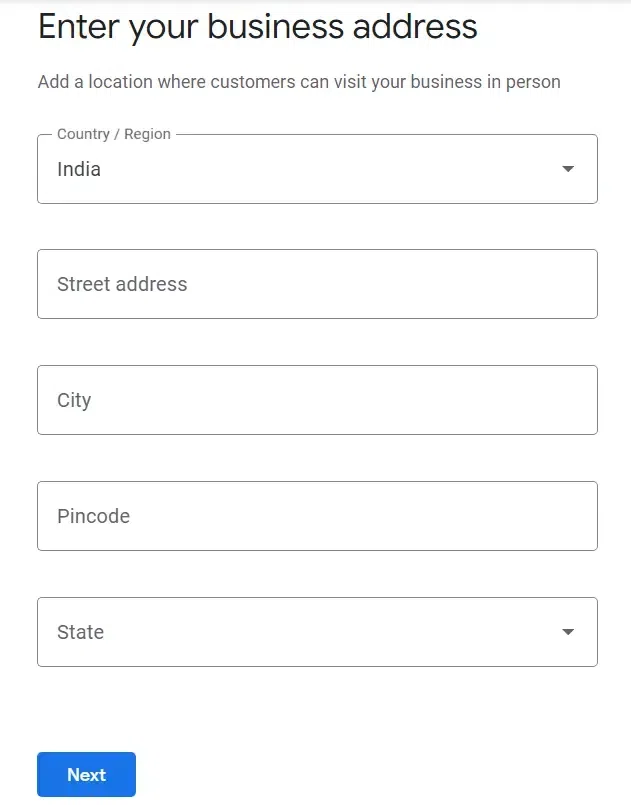
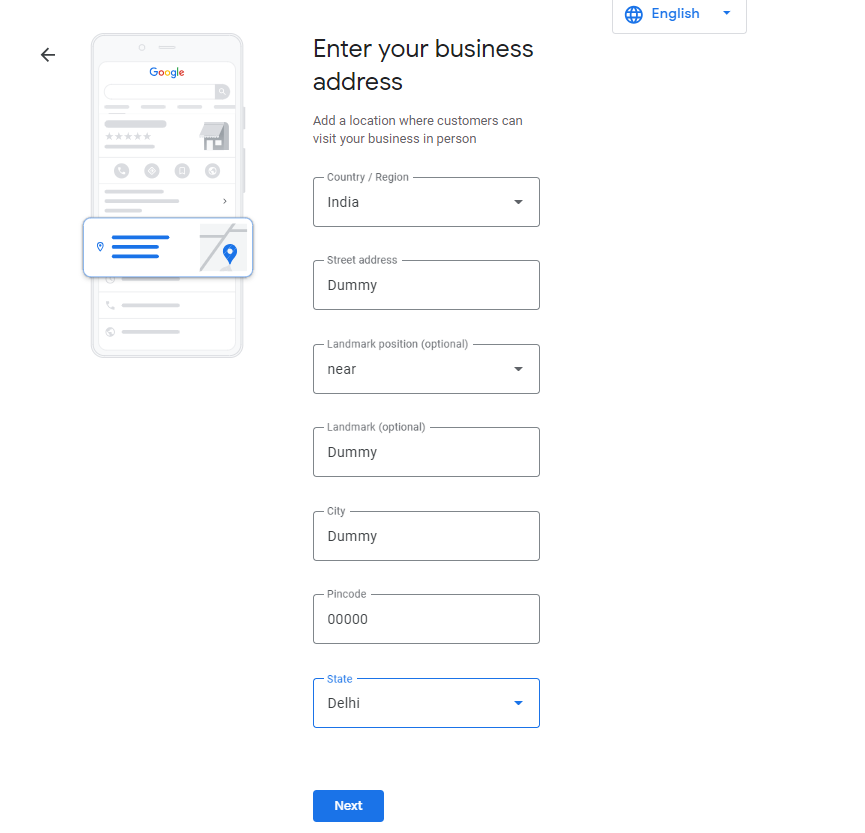
Step 7: Enter Your Business Address
Provide your complete business address, including country, state, city, zip code, and physical location. Double-check for accuracy to ensure proper Google verification.
Step 8: Choose or Create Your Business Name
Google will suggest similar business names. If your business name doesn’t match any of the suggestions, select “None of these” and click Next.
.webp)
Step 9: Mark Your Exact Business Location on the Map
Pin the exact location of your business on the map. Click Next.
.webp)
Step 10: Add Your Phone Number
Enter your contact number and business website (if applicable). Click Next.
Note: You can skip this step, but it’s better to provide a valid, active phone number for customer contact.
.webp)
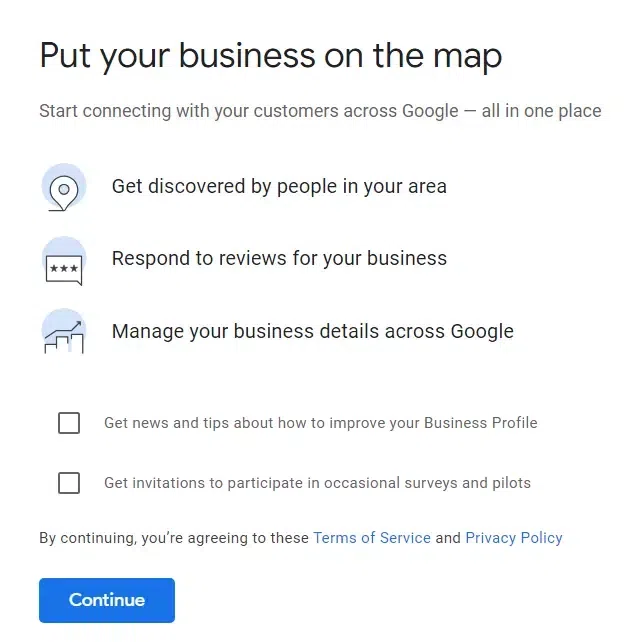
Step 11: Put Your Business on the Map
Click Continue to finish the process. You can enable Google tips and news for business growth.
Tip: You can also enable News and tips from Google as it will help you grow your business online.
Step 12: Your Business Has Been Successfully Added to Google Maps
Congratulations! Your business is now live on Google Maps.
Method 2: How to Add My Business to Google Maps Using the Menu
Step 1: Open Google Maps
Go to Google Maps.
Step 2: Access the Menu
Click on the three parallel lines (hamburger menu) in the top-left corner and select “Add Your Business”.
.webp)
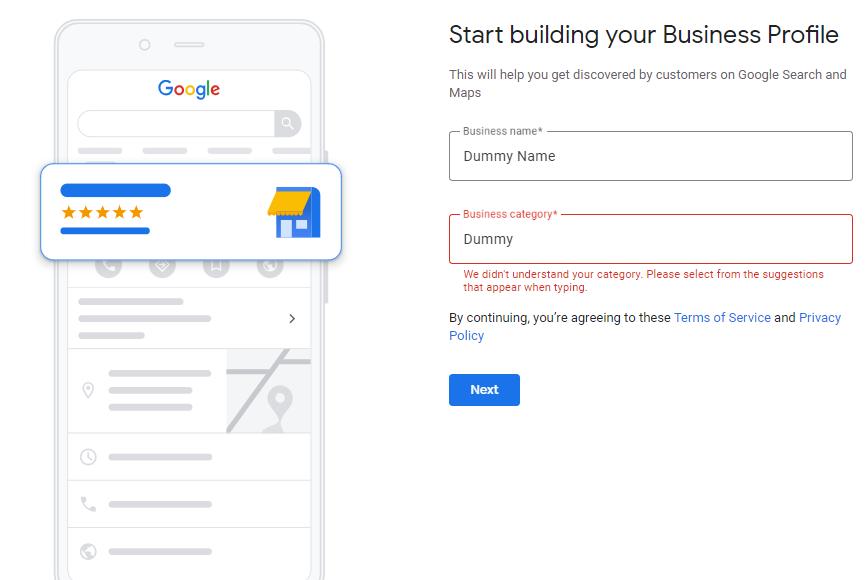
Step 3: Start Building Your Business Profile
Enter your Business Name and Select a Business Category.
Step 4: Enter Your Business Address
Provide your business address (country, state, city, zip code).
Step 5: Choose an Existing Business or Select "None of These"
If a similar business appears, choose it; otherwise, select None of these and click Next.
.webp)
Step 6: Mark Your Exact Business Location on Google Maps
Use the map to pin your business location, then click Next.
.webp)
Step 7: Add your Phone Number and Click Next
Add the contact number and the business website(if exists) and Click on Next. (You can skip this part but it is better to add info so that customers can contact you.)
Note: Make sure that you add a valid and active Mobile Number! This can be edit in the future if you want to skip this task currently you can!
.webp)
Step 8: Put Your Business on the Map
Review the information, then click Continue to finalize.
.webp)
Step 9: Your Business is Successfully Added to Google Maps
Congratulations! Your business is now visible on Google Maps.
How to Claim Your Business on Google Maps
Once your business is on Google Maps, you can claim it to manage your profile:
Step 1: Search for Your Business
- Look for your business in Google Maps or Google Search.
Step 2: Click on “Claim This Business”
- You will see a Claim this Business button. Click it to start the verification process.
Step 3: Verify Your Business
- Google will ask you to verify that you own or manage the business, often by sending a verification code through mail, phone, or email.
Conclusion
Adding your business to Google Maps is one of the best ways to ensure that local customers can find you online. By following this simple, step-by-step guide, you’ll be able to claim your business, verify it, and optimize it to stand out on Google Search and Google Maps.
Make sure to keep your business details updated, respond to reviews, and take full advantage of Google’s features to engage customers effectively.
