Ever noticed the "Anonymous animal" avatars in your Google Docs user history? If you've ever wondered what they mean and how to go anonymous in Google Docs, you're not alone. Going anonymous can be incredibly useful for discreet collaboration or simply viewing a document without disclosing your identity. Imagine participating in a shared document where your presence or edits are visible to all, switching to anonymous mode lets you browse, comment, or edit privately, which is especially beneficial for open-access documents or sensitive group projects.
Whether you're a student, professional, or casual user, understanding how to go anonymous or share Google Docs anonymously can protect your privacy and enhance your collaboration experience. Explore and learn how to hide your identity, the boundaries of anonymous access, and best practices for secure, private interactions.
Table of Content
Why Go Anonymous on Google Doc
There are several reasons why someone might choose to go anonymous on Google Docs. Whether you’re collaborating on a public document, participating in a sensitive project, or simply wanting to keep your identity private, going anonymous helps maintain your privacy. It also prevents other collaborators from seeing your email address or profile, allowing you to contribute without the distraction of identity-related biases or interactions.
How to Configure Your Google Docs Share Settings
You need to setup your Google Docs Share settings in order to go anonymous on Google Docs:
Step 1: Open any Web Browser
Open any of the modern web browsers such as Google Chrome Mozilla Firefox or Bing which supports incognito mode of browsing.
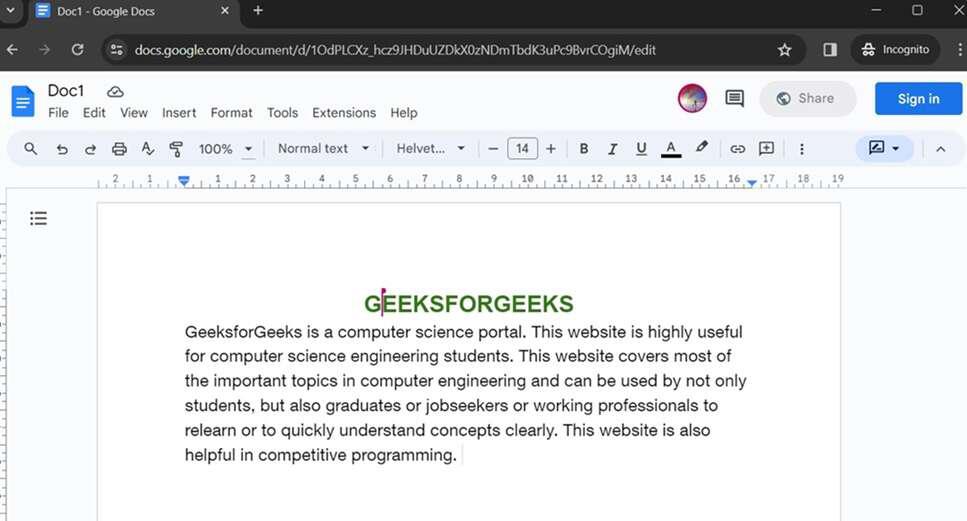
Step 2: Open Google Docs and Open the document
Open Google Docs in the web browser, and sign in to Google Docs. Open the document.
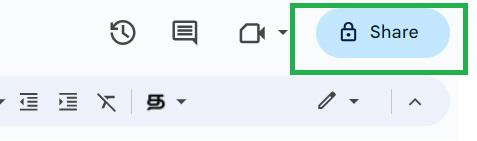
Step 3: Click on the 'Share' Button
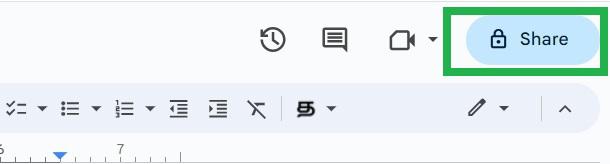
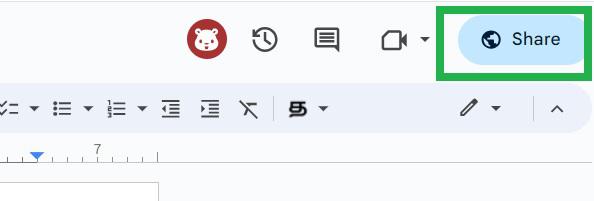
At the top rightmost corner of the web page, there is a 'Share' button with a lock symbol. It is denoting that this document is now private, and not shared with anyone. Click the 'Share' button.
Step 4: Click on the 'Restricted' button to change access to the document
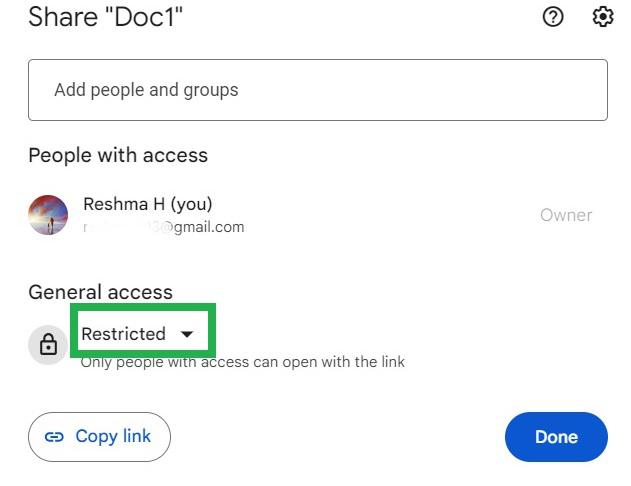
The sharing settings open in a popup. Click the 'Restricted' button to change the access to the document.
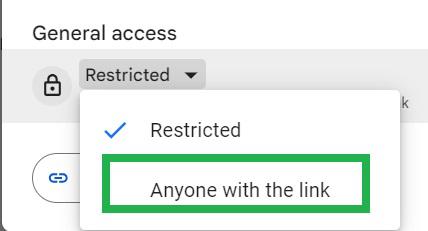
Step 5: Click 'Anyone with the link' in the Dropdown
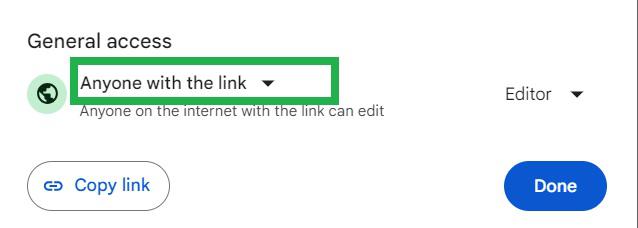
A dropdown opens up. Click 'Anyone with the link' in the dropdown.
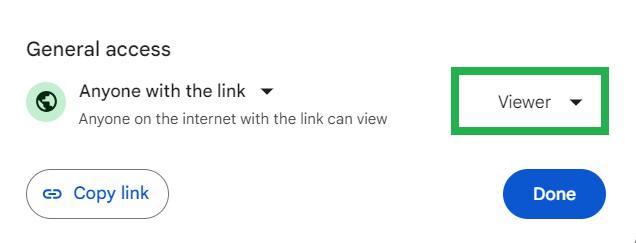
Step 6: Click on the 'Viewer' button in the popup
Click on the 'viewer' button in the popup to change the type of access to anyone opening this document.
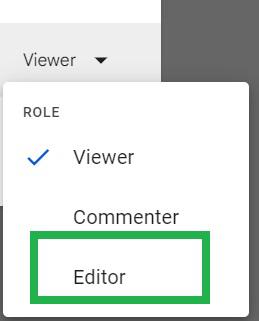
Step 7: Click 'Editor' in the Dropdown
A dropdown opens up with three options. Click 'Editor' in the dropdown.
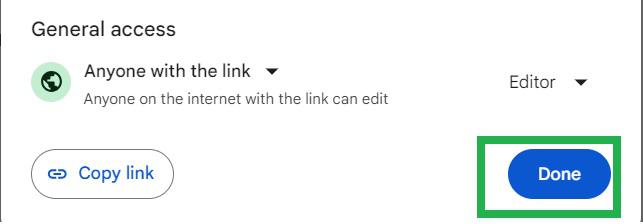
Step 8: Click 'Done' in the Pop-Up
Click the 'Done' button in the popup. Now the access to this document is changed to public. Anyone with or without a Google account and access to this document can edit this document.
Step 9: Click the Share Button
The document is now shared publicly. This is confirmed by the 'Share' button on the webpage appearing with a globe image.

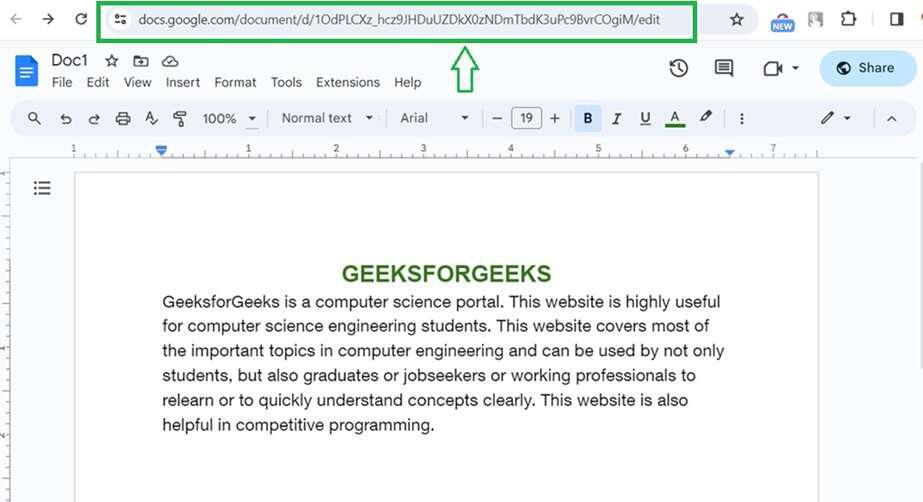
Step 10: Copy the Share Link
Open the document in your browser, and copy the URL of the shared document from the address bar. Make sure this is a publicly shared document.
How to Open an Incognito Browser Window
- Google Chrome: Click on the three-dot menu icon and select "Open Incognito Tab."
- Microsoft Edge: Click on the three-dot menu icon and choose "New InPrivate Window."
- Firefox: Click on the upper-right menu icon and opt for "New Private Window."
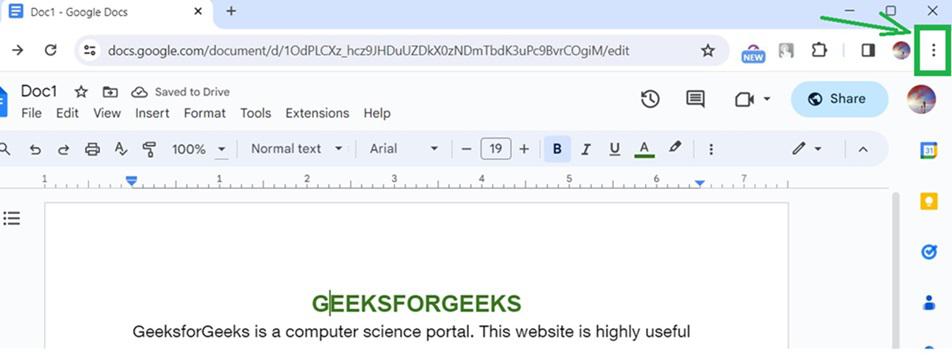
Step 11: Click the three vertical dots at the top rightmost corner of the web browser
Here we are using the Google Chrome web browser. Click the three vertical dots at the top rightmost corner of the Google Chrome browser.
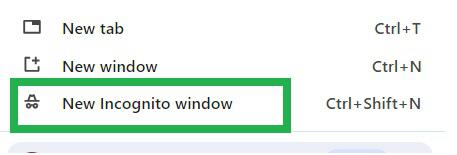
Step 12: Click 'New Incognito Window' in the dropdown
A dropdown appears. Click 'New Incognito Window' in the dropdown to open a new window of the Google Chrome browser in incognito mode.
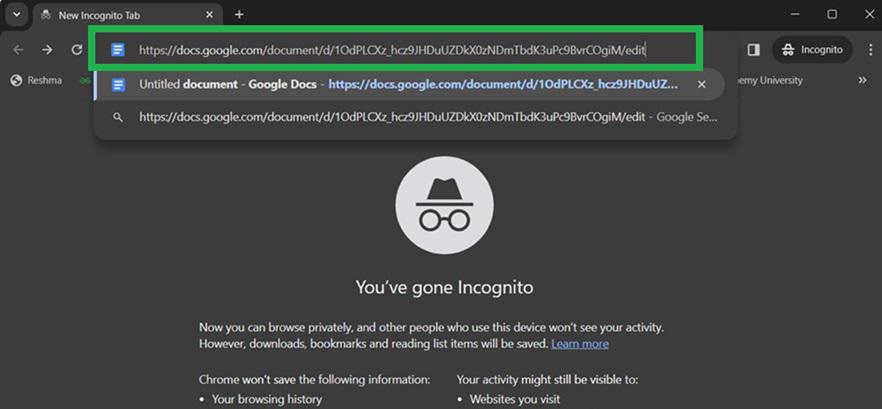
Step 13: Paste the URL in the address bar of the incognito window and press the 'Enter' key on keyboard
A new Google Chrome window opens up in incognito mode. Paste the copied URL at the address bar of the new incognito window. Press the 'Enter' key in your keyboard to access the shared document.
Step 14: Make changes or add comments to the document as an anonymous user
Now the shared document is opened in the incognito window.
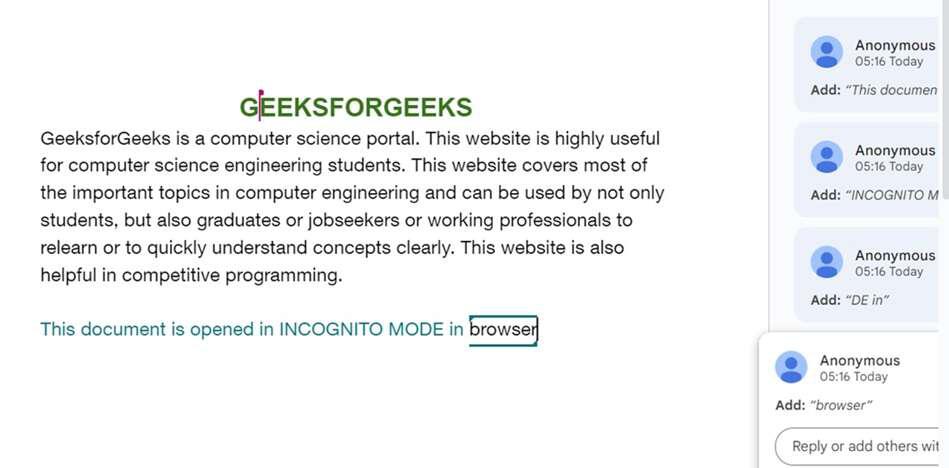
Step 15: Make changes to the Document
We can make changes to the document or add comments on the document as anonymous users now. Let us type some words to the document in the incognito window now. Here we can see at the right side of the incognito window, that the editing made is done anonymously.
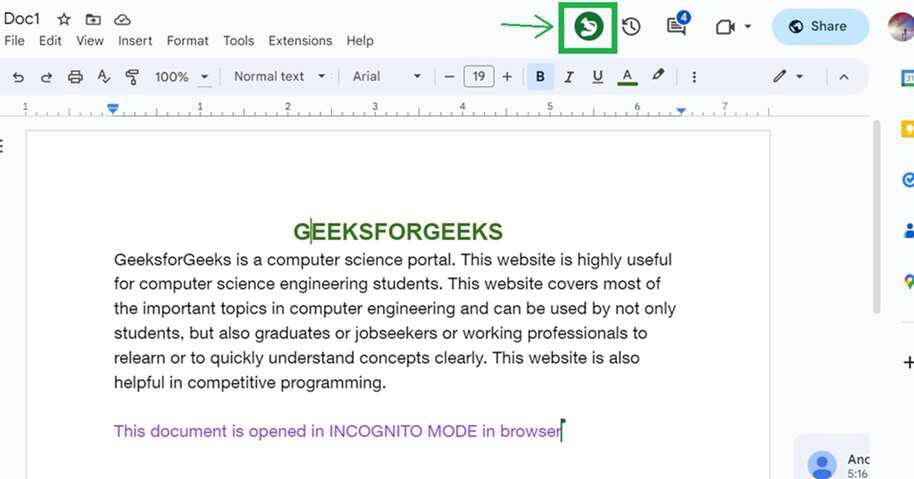
Step 16: Profile picture and name showing as an anonymous animal
The profile picture and name of the anonymous user appear anonymously at the top of the Google Docs successfully. No one can see the details of the editor if the editing is made anonymously using incognito mode.
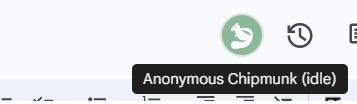
On placing the cursor on the squirrel picture, the name of the anonymous user is shown as 'Anonymous chipmunk'. This picture and name changes to random animals such as giraffe, elephant and more.
How to Get Rid of Anonymous on Google Docs
Anonymous users have access to a publicly shared document, and they have permission to view, comment or edit the document. These anonymous users can be stopped by the steps below.
Step 1: Open Google Docs and open the document in which you want to stop anonymous users
Open Google Docs in your browser. Open the document which is currently shared with anonymous users.
Step 2: Click on the Share button at the top rightmost corner
Click on the 'Share' button at the top rightmost corner of the Google Docs webpage.
Step 3: Click on the 'Anyone with the link' button in the popup
A popup opens up. Click on the 'Anyone with the link' button below.
Step 4: Click 'Restricted' in the dropdown
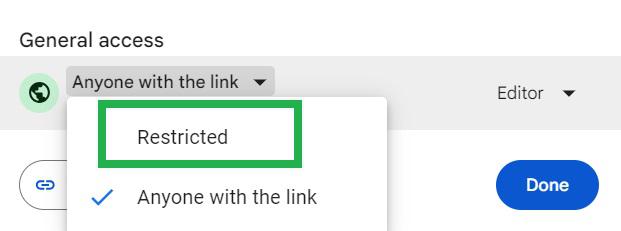
A dropdown opens. Click 'Restricted' in the dropdown.
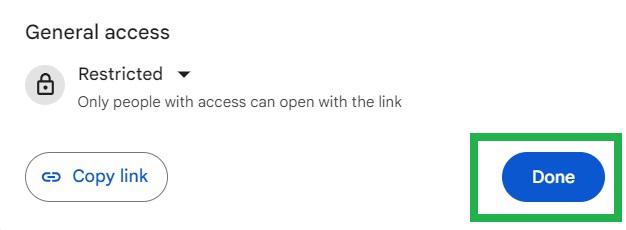
Step 5: Click the 'Done' button in the popup
Click the 'Done' button in the popup. Now anonymous users have been restricted from using this document. Only the users to which the document is shared specifically can have access to the document.
Step 6: Anonymous users have been stopped from accessing the document
Now the 'Share' button does not have a globe icon. It indicates the document cannot be accessed by anonymous users.
Tips to Edit Google Docs Anonymously
Regular Edit
- Google usually shows your profile icon when you edit a document.
- This is based on your Google account info.
Anonymous Edit
- Log out of your Google account before opening the document.
- You'll then appear as an anonymous animal icon.
Easier Option
- Use an incognito window to access the document.
- It doesn't use stored info, so you edit without logging in.
How to Make Yourself Anonymous on Google Docs using Incognito Mode
- Configure Your Google Docs Share Settings,
- Open an Incognito Browser Window,
- Start Editing Anonymously
Also Read:
Conclusion
Going anonymous on Google Docs offers a layer of privacy that can be crucial in various situations, from collaborative projects to public document sharing. By using incognito mode, logging out of your Google account, or accessing documents through a different browser, you can easily hide your identity and work under the radar. While this anonymity has its pros and cons, it provides an essential tool for those who prioritize their privacy online. Next time you're on Google Docs, remember these tips to go anonymous and enjoy a more secure and private editing experience.
