Twitter, now rebranded as X, has been a popular platform for sharing thoughts with a global audience. However, as privacy concerns grow, many users are opting to make their Twitter accounts private. This guide will walk you through the simple steps to make your Twitter account private, ensuring that only your approved followers can see your tweets. Learn how to enhance your Twitter privacy settings and secure Twitter for a safer social media experience.
In this blog, we will look at simple steps to make your Twitter account private and protect your tweets from public viewing.
Every new signup account has a default privacy setting, that is your tweets will be open to the world. To change this there are pretty straightforward steps to tweak your privacy settings. Let us learn how you can make changes in the privacy settings of your Twitter account and switch it to a private account.
A private account offers perks like a re-enforced private Twitter life and thereby helps you to avoid all the negative people on the platform.
Who Can See My Tweets from a Private Twitter Account
A private Twitter account gives you a more exclusive digital space where you control who's in. So, here only your approved followers can see what you share. It acts like a no-entry board for all the other users.
So, feel free to tweet without worries – only your approved followers are getting the updates. There is one thing that you should pay close attention to, and that is to keep an eye on who you invite into your Twitter circle!
Why Make Your Twitter Account Private
Making your Twitter account private offers several benefits:
Control Over Followers: Only approved followers can see your tweets, ensuring your private Twitter account is protected.
Privacy: Share personal updates without worrying about strangers seeing them.
Avoid Unwanted Attention: Keep your tweets away from random users and potential trolls, effectively securing your Twitter presence.
How to Protect Your Posts in the App
When you protect your posts and make them private, accounts that followed you before you went private will still be able to see your feed unless you block them. Initially, when you create your account, it’s public by default, allowing anyone to follow you. If you lock it, you’ll need to individually approve follow requests.
How to Make Your Twitter Account Private on Web Browser
If you’re using X on your desktop computer via a web browser, here’s how to do it:
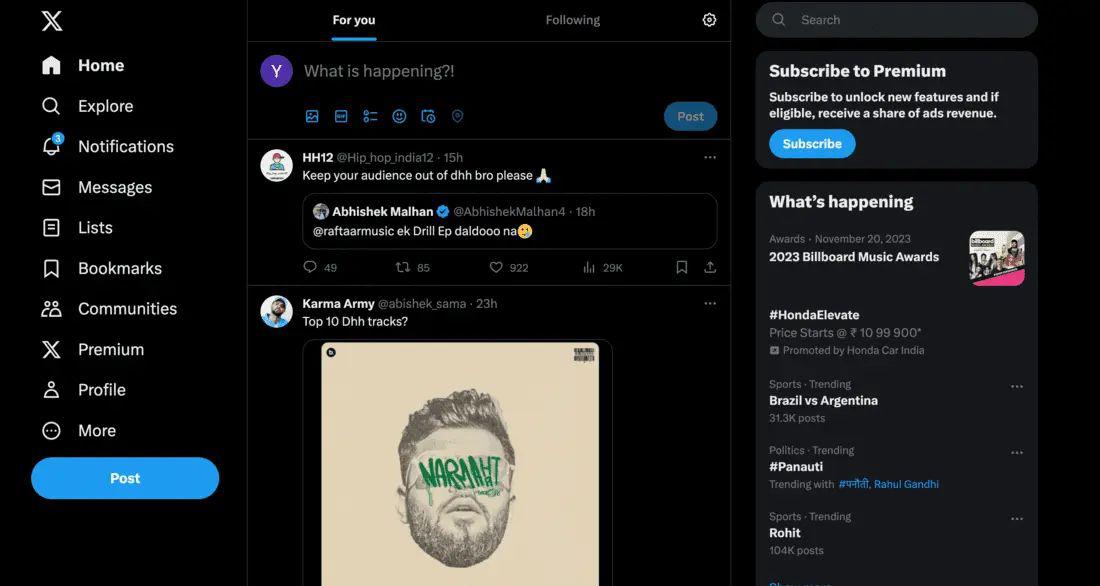
Step 1: Open Twitter
Open Twitter: Go to Twitter's website (https://twitter.com/) on your browser and log in.
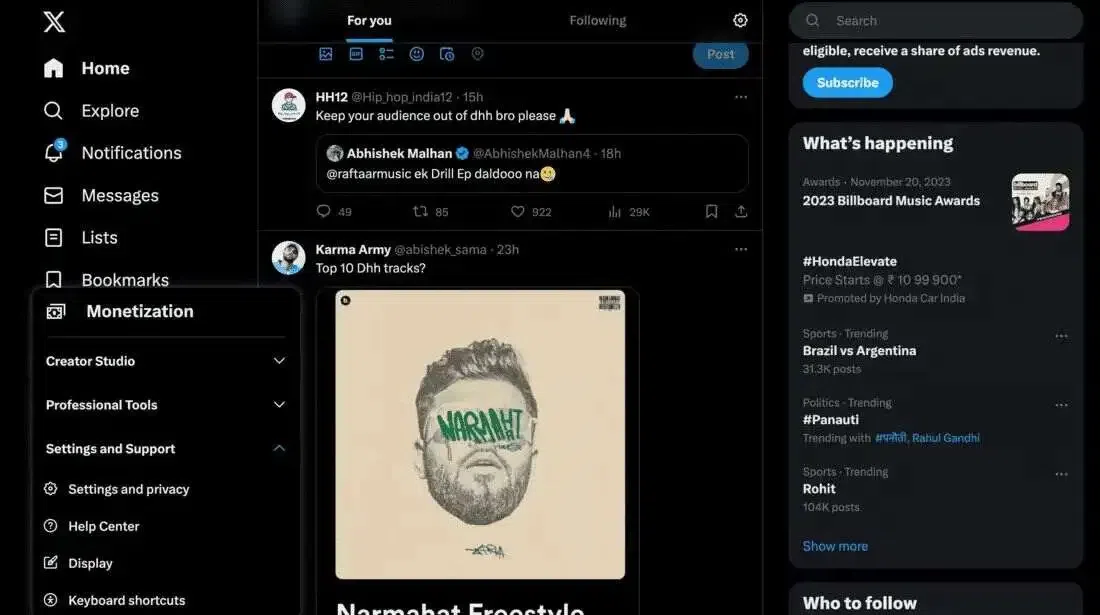
Step 2: Go to the Select More (Three Dots) Icon
Access Settings, Once logged in, look for "More" on the left side, click it
Step 3: Choose "Settings and privacy."
Click on "Settings and Privacy".
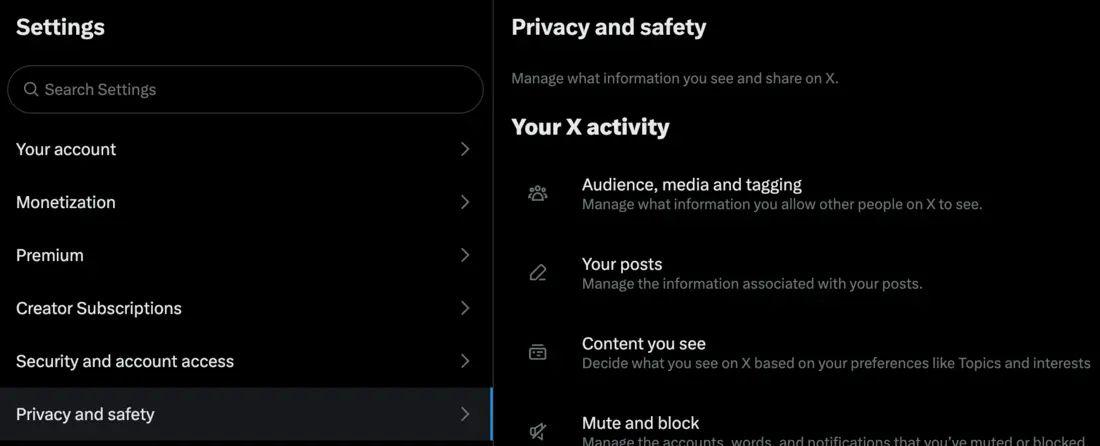
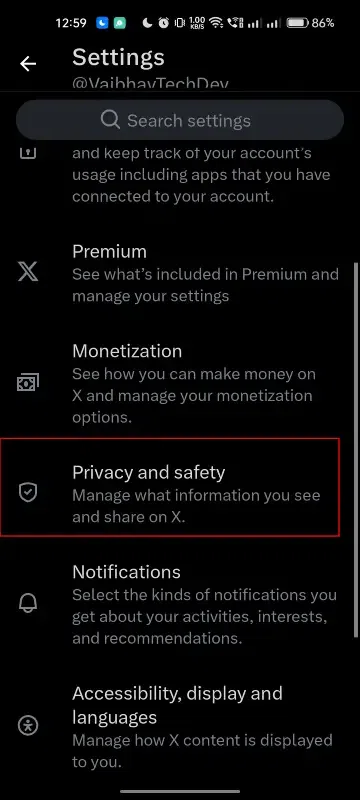
Step 4: Tap Privacy and Safety
Privacy and Security, In the Settings menu, pick "Privacy and safety" to open privacy settings.

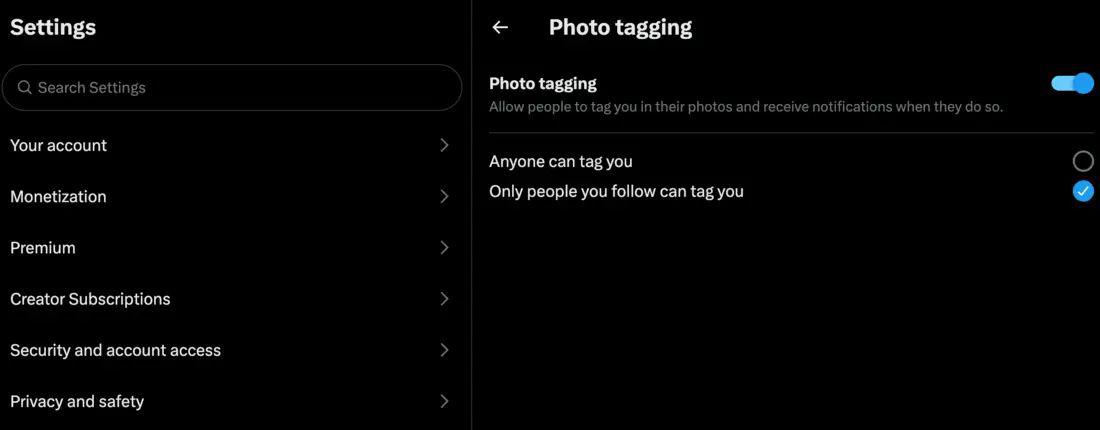
Step 4: Click on Audience and Tagging
Under "Privacy and safety," look for "Audience and tagging" to manage who sees your tweets.
Step 5: Protect Your Tweets
Scroll down to "Privacy" in Audience and tagging, find "Protect your Tweets," and check the box next to it.
Step 6: Check Privacy
Go back to your profile – you should see a message saying your tweets are protected and only visible to your approved followers. That's it!
How to Make Your Twitter Account Private on Android
If you’re using your Android smartphone or tablet, follow these steps:
Step 1: Tap Your Profile Icon or Menu
Open the Twitter app and tap your profile icon or the menu (three lines), depending on your Android version.
Step 2: Select Settings and Privacy
Go to "Settings and Privacy".

Step 3: Select Privacy and Safety
In the settings menu, tap "Privacy and Safety".
Step 4: Toggle Protect Your Tweets
Next to "Protect Your Tweets", toggle the slider to on. (On some phones, you might check a box instead).

Also, managing your followers is easy – just visit your profile and tap the "Followers" tab. If you ever want to go public again, follow the same steps and switch off the "Protect your Tweets" toggle.
How to Make Your Twitter Account Private on iOS
If you’re using X on your iPhone or iPad, here’s what to do:
Step 1: Tap Your Profile Icon
Open the Twitter app and tap your profile icon.
Step 2: Go to Settings and Privacy
Navigate to "Settings and Privacy".
Step 3: Tap Privacy and Safety
In the settings menu, select "Privacy and Safety".
Step 4: Toggle Protect Your Tweets
In the "Protect Your Tweets" section, toggle the slider on. Your account information will now be seen only by your followers, and you’ll need to approve any new follower requests.
When you lock your account, a padlock icon will appear next to your profile. If you come across a user profile you don't follow and see a padlock icon, they've protected their account, and you'll need to send a request to become an approved follower.
Tips to Stay Safe on Twitter
Here are some friendly tips:
- Lock Your Account: Make your account private for an exclusive experience.
- Choose Followers Wisely: Approve only those you trust.
- Tweet Wisely: Avoid oversharing personal information.
- Beware of Bots: Be cautious of suspicious accounts.
- Monitor DMs: Only interact with trusted individuals in Direct Messages.
- Enable Two-Factor Authentication: Add an extra layer of security to your private Twitter account.
Conclusion
By making your Twitter account private, you gain control over who sees your tweets, enhancing your online privacy. Follow the steps outlined in this guide to easily switch to a private account and enjoy a more secure social media experience. Remember, you can always revert to a public account if needed. Stay safe and tweet wisely!
