Wordpress has been the most popular CMS (Content Management System) for a long time now. Its user-friendly interface and vast plugin library make it ideal for building websites of all shapes and sizes. But with great power comes the responsibility of finding a reliable and scalable hosting solution.
Amazon Lightsail is a compelling option for those seeking a cost-effective and straightforward way to host their WordPress site. This guide will walk you through the process of setting up your WordPress site on Lightsail, from creating an instance to configuring security measures. Let's dive in!
Setting Up Your Lightsail Instance
Step 1: Create an account
The first and foremost requirement for setting up a Lighsail server is an AWS account.
Step 1.1: Lightsail Dashboard
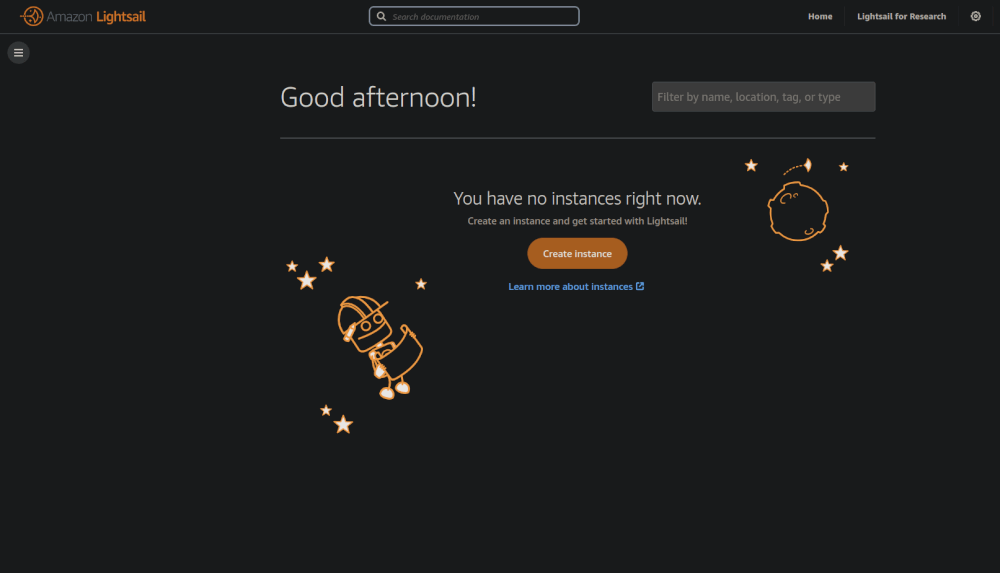
Head over to the AWS Lightsail console and sign in (or create a new account if you haven't already). You'll be greeted by the Lightsail dashboard, your one-stop shop for managing your virtual servers.
Step 2: Choosing Your Region
- Click on "Create instance" to initiate the instance creation process.
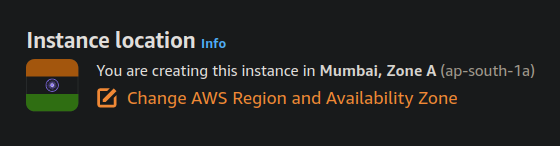
- The first step involves selecting the AWS Region where your virtual server will reside. Ideally, choose a region geographically close to your target audience for optimal performance.
Step 3: Choosing a Platform
For this article, we will be choosing Linux/Unix. You can also select Windows if you know what you are doing.
Step 4: Choosing a Blueprint
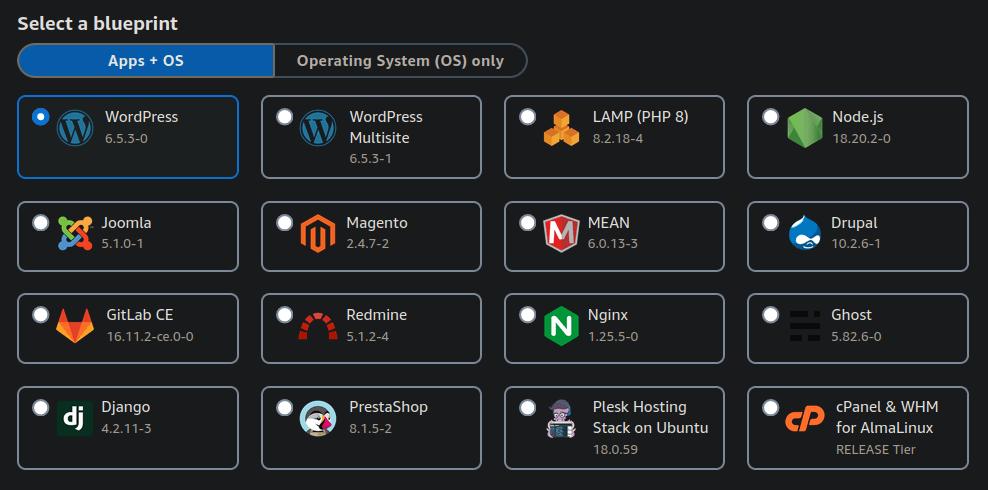
Lightsail then presents you with a selection of "Blueprints," pre-configured virtual server templates optimized for specific purposes. Since we're creating a WordPress server, select the blueprint labeled "WordPress". This blueprint comes with WordPress pre-installed, saving you valuable setup time.
Step 5: Downloading the Private SSH Key
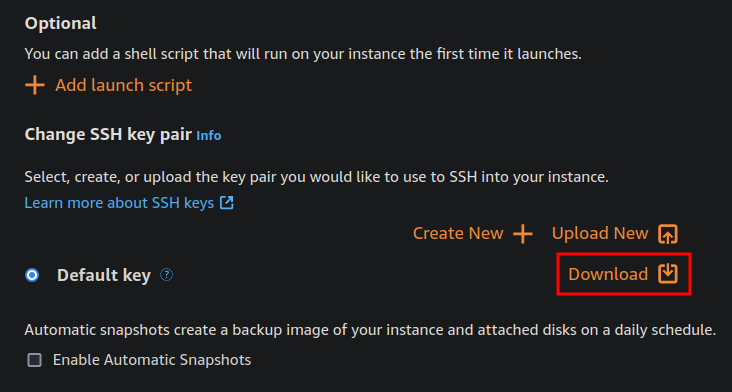
- Click on "Change SSH key pair"
- Click on "Download"
This will download the private SSH key that you will need to connect to the server after it has been created.
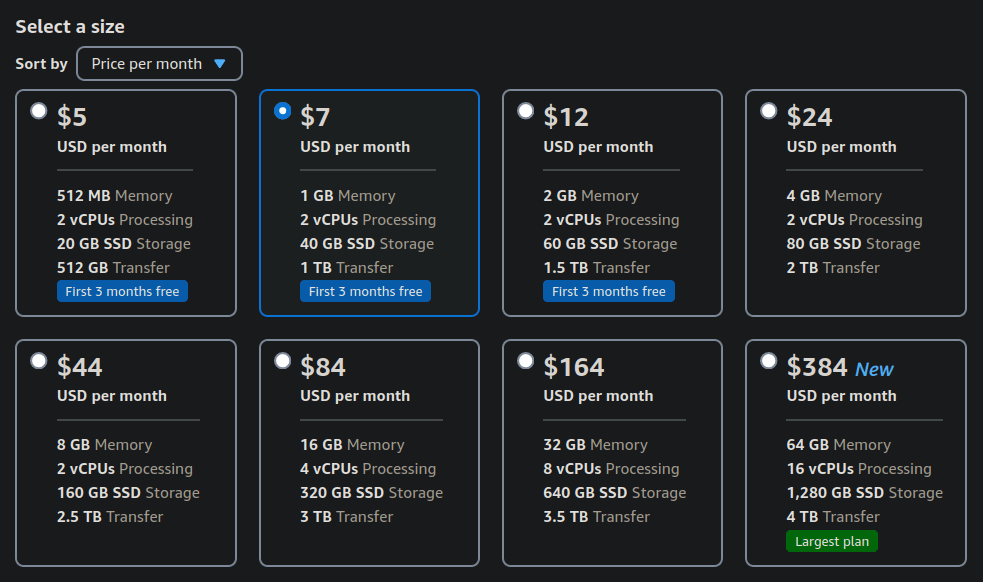
Step 6: Instance Plan Selection
Lightsail offers a tiered pricing structure for its instances. If you are making a basic WordPress site, you can get away with anything that offers atleast 1GB RAM. For this article we will choose the same.
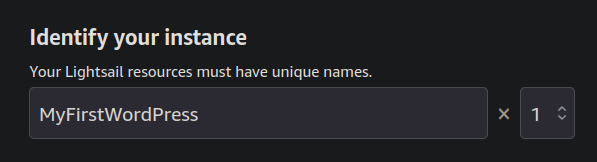
Step 7: Instance Details and Naming
Provide a descriptive name for your instance, something that clearly identifies it as your WordPress site (e.g., "MyFirstWordPress").
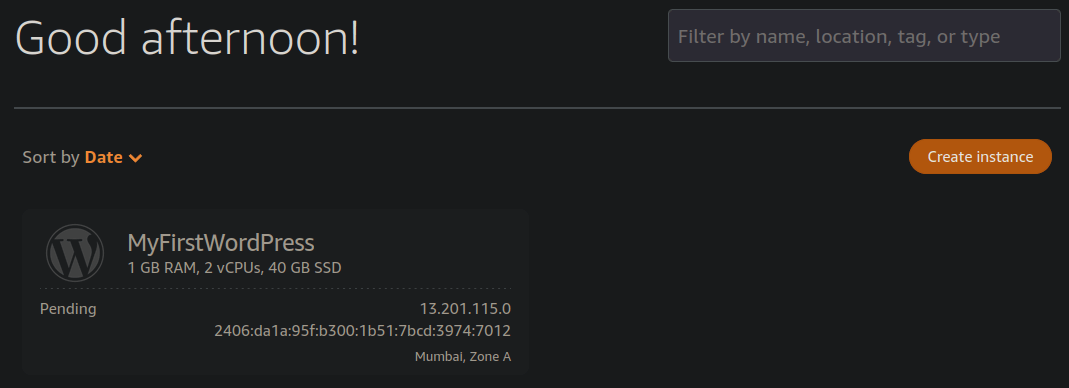
Step 8: Launching Your Instance
Double-check all your selections and hit "Create instance". This will create a your WordPress server.
Configuring Your WordPress Site
Now that we have created our WordPress server, we can go ahead and configure it.
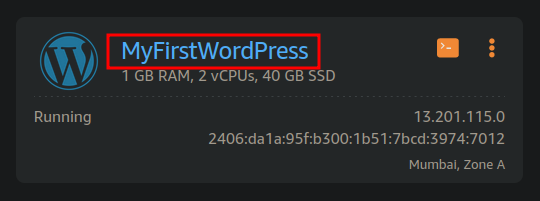
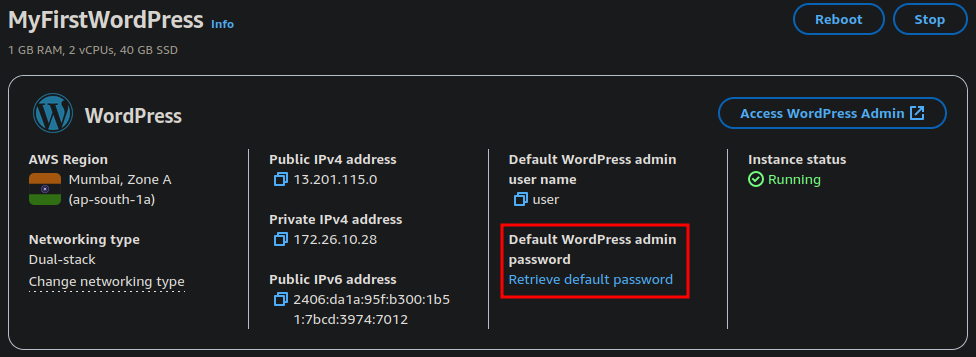
Step 1: Lightsail dashboard
Click on the big blue button that says your WordPress name. This will open up your server's dashboard.
Step 2: Get Username and Password
- Click on the "Retrieve default password"
- Click on "Copy" to copy the shell script
- Click on "Launch Cloudshell"
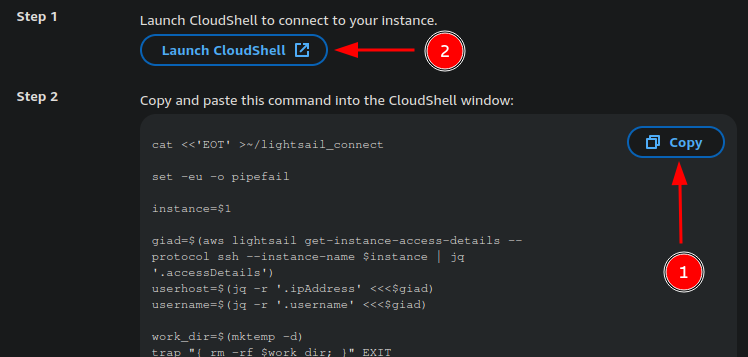
- Paste the script with CTRL + V into Cloudshell
- Copy the password displayed.
Step 3: Access WordPress dashboard
Click on the "Access WordPress Admin" button, and then on the button that says "Pubic IP address". You can then login to WordPress to manage your website.

