


Ask any note-taking enthusiast about their favorite app, and the name Obsidian is bound to pop up in the conversation every now and again. In addition to its vast plugin collection, Obsidian includes a ton of tools to organize your notes and customize every aspect of the note-taking app. Plus, it’s compatible with multiple backup options, so you don’t have to worry about losing access to your precious notes.
But have you ever wanted to self-host Obsidian on your local server and sync your files to a private Git server? If this unhinged idea sounds fun, you'll love my guide on building a robust knowledge base with Git and Obsidian.
Deploying an Obsidian container
With the Docker community designing fun, practical, and (downright) unhinged container images, it shouldn’t come as a surprise that you can host Obsidian inside a containerized environment. We’ll go with the Obsidian image developed by LinuxServer, which relies on KasmVNC to help you access the note-taking app from any device on your local network. Assuming you're using a Linux system for the Obsidian server,
- Open the terminal application included with your distro.
-
Use the nano text editor to create and open a docker-compose.yml file.
sudo nano docker-compose.yml

-
Open the Docker Hub page of LinuxServer’s Obsidian image and copy the text under the docker-compose section into the yml file you created earlier.

-
Modify the /path/to/config variable with an actual directory on your system.
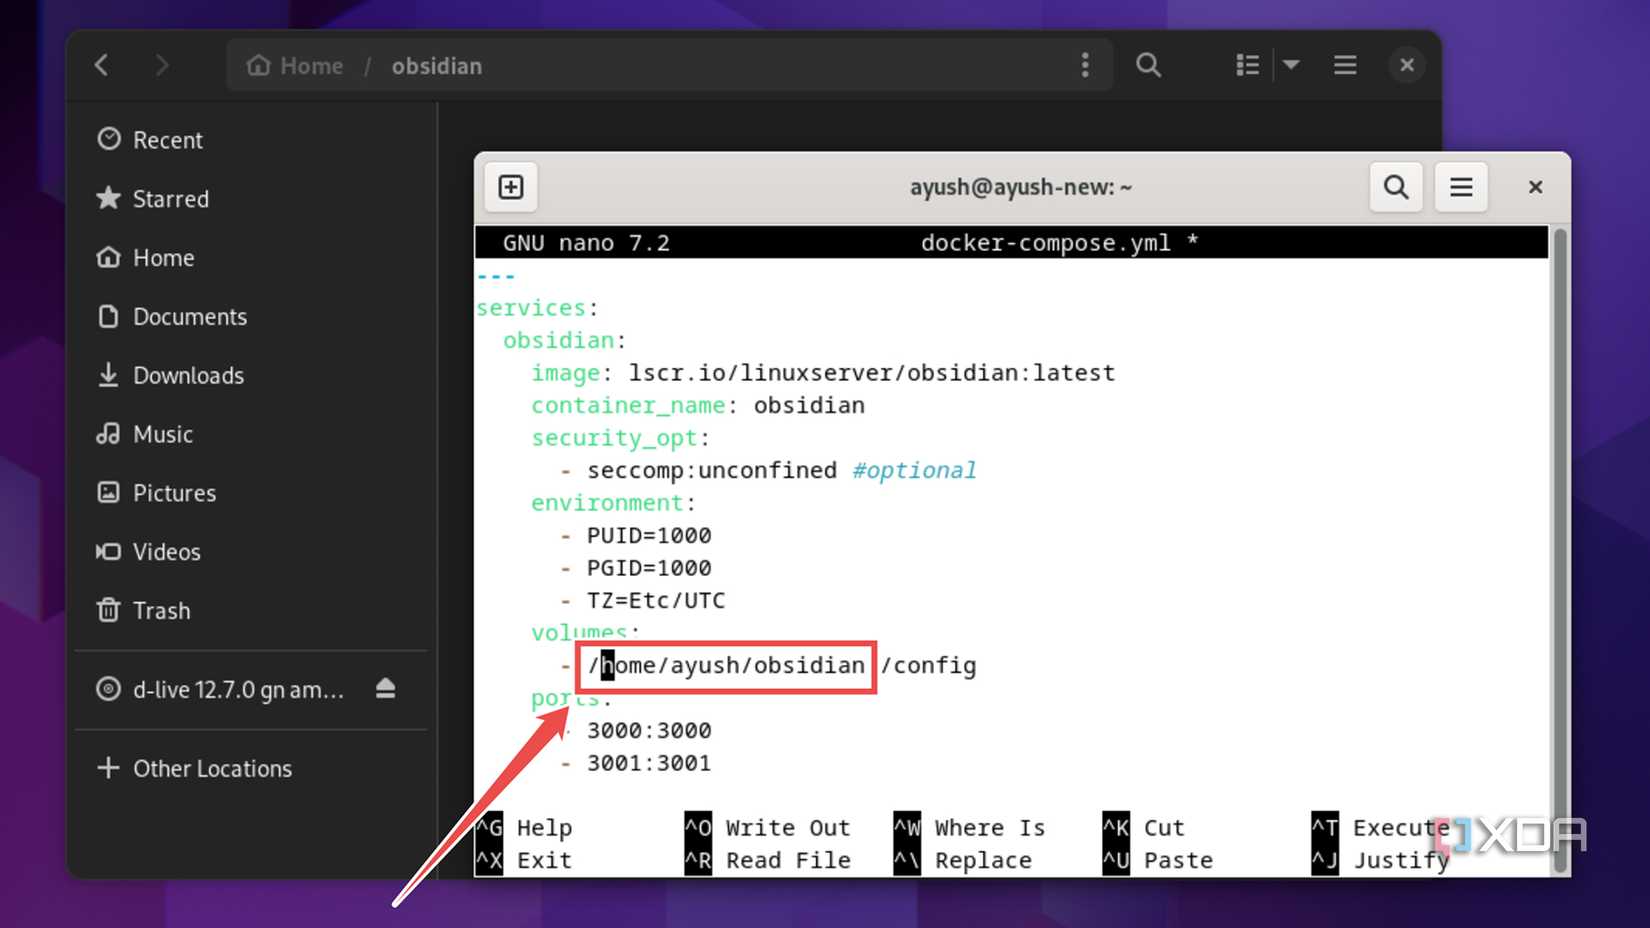
- Press Ctrl+X followed by Y and Enter to save the changes and exit the docker-compose.yml file.
-
Execute the following command to get the Obsidian instance up and running.
sudo docker compose up -d

-
Once Docker has pulled the necessary images and deployed the Obsidian instance, you can access the web UI by typing the IP address of your system followed by a colon (:) and port number 3000 into your favorite web browser.

-
Click on the Create button, choose a Vault Name and hit Create a second time to open the Obsidian dashboard.


Installing the Git plugin
Now that you’ve set up Obsidian, you’ll need the Git plugin to sync your notes with a private GitHub repository. To do so,
-
Click on the Settings icon in the bottom left corner of the screen, navigate to the Community plugins from the left, and press the Turn on community packages button.

-
Tap the Browse button adjacent to the Community packages.

-
Use the Search bar to find the Git plugin by Vinzent, (Denis Olehov) and hit the Install button after selecting it.

-
Wait for Obsidian to install the plugin before tapping Enable.


Connecting the Git plugin with a private GitHub repository
Finally, it’s time to pair the self-hosted Obsidian server with your GitHub repo. To do so,
-
Head to your GitHub account and create a Private repository for your Obsidian notes.

-
Click on your Profile Picture and select Settings inside the pop-up menu.

-
Scroll down and choose Developer settings.

-
Select Tokens (classic) and click on Generate New Token (Classic).

-
Pick the necessary permissions, hit the Generate token button, and copy the token created by GitHub somewhere safe.

-
Switch to the Obsidian web UI and create a new folder for the files you wish to sync with your GitHub repo.

-
Tap Ctrl+P to open the command palette and select Git: Clone an existing repo.

-
Enter the access token followed by an @ symbol and the GitHub link to your private repository. The overall format should resemble this:
https://access_token@github-repo
https://ghp_DQw5oPUX40hVBRzxasffdTnbL5VZT1osP1C@github.com/Ayush-Tech-User/obsidian.git
You can use the Clipboard option inside KasaVNC to quickly paste your link instead of manually typing all the characters.
-
Enter the Obsidian folder you created earlier as the note directory and leave the Depth field empty.

-
Reboot your Obsidian container using the docker restart command.
sudo docker restart obsidian

-
Click on the Settings icon, switch to the Git tab, and enter your GitHub Username and Email under the Author Details section.

-
Create a new file inside the shared folder and tap the Commit and Sync button to copy the file to your private Git repo.


Sync Obsidian files like a pro madman with Git



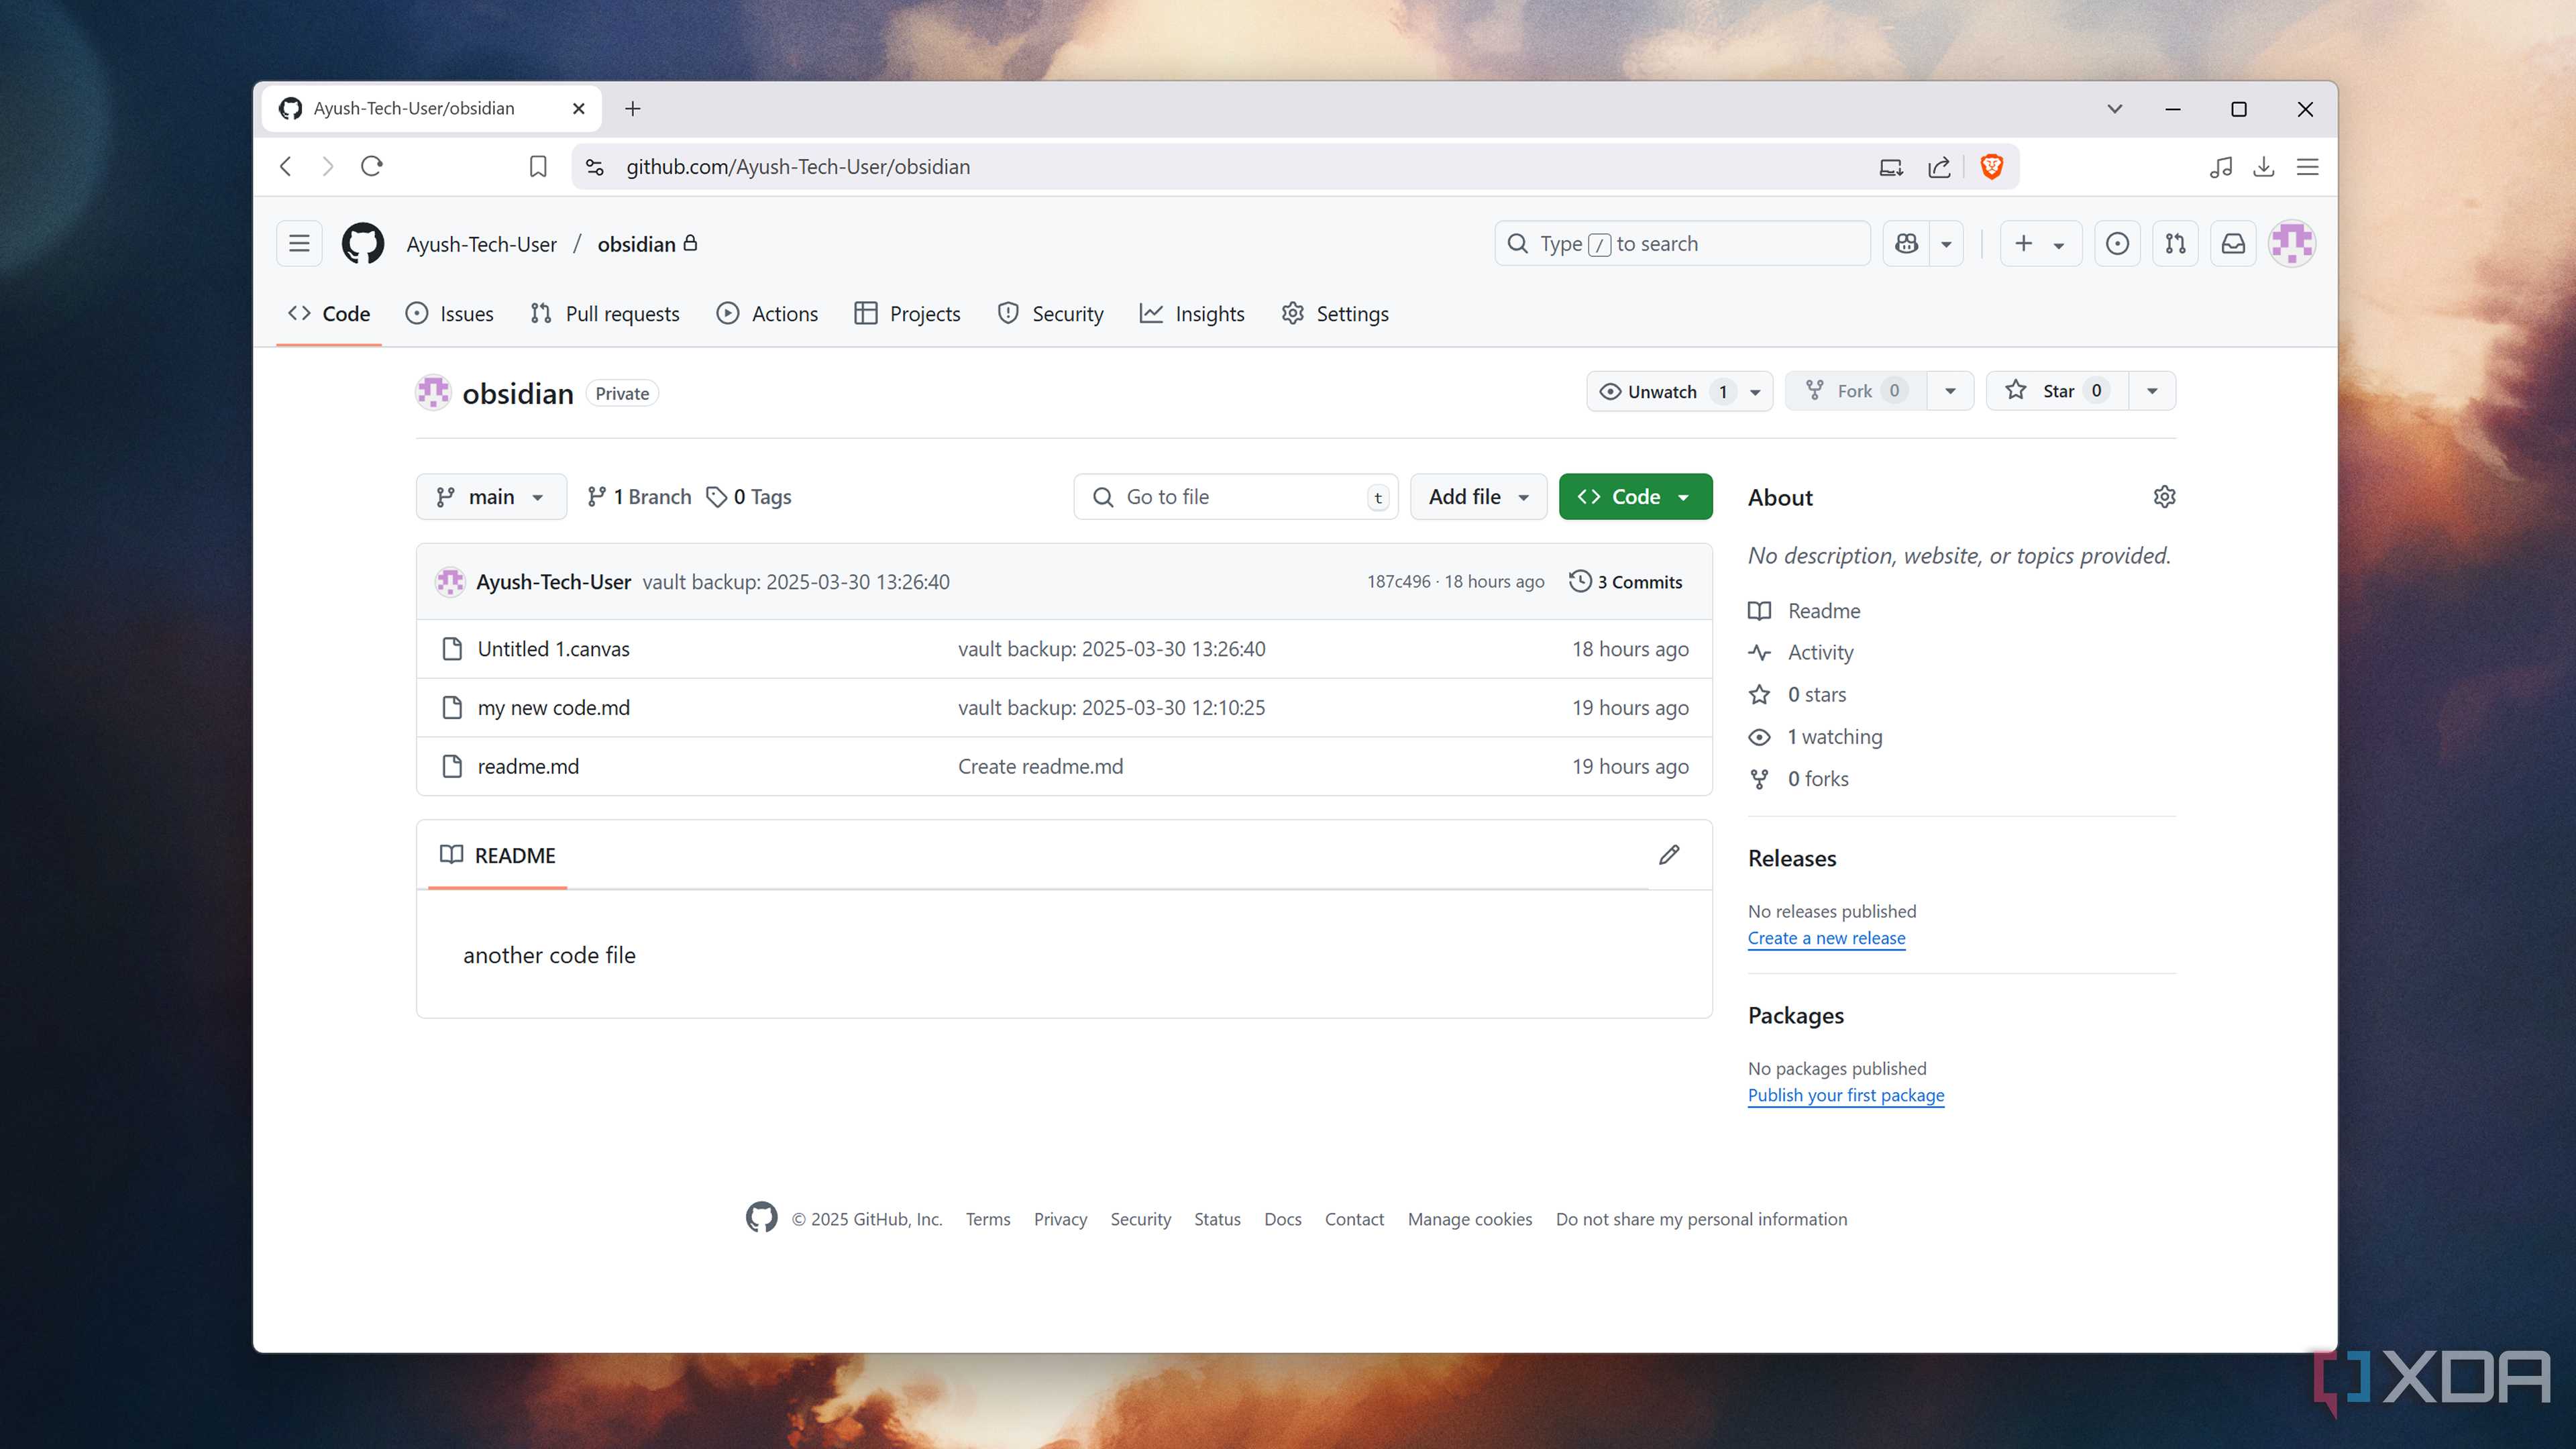


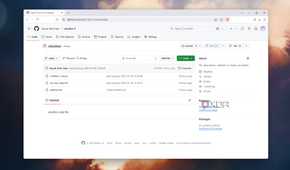
If you’ve performed all the steps correctly, the committed and pushed notifications will appear inside Obsidian, and the Git plugin will sync your notes with the GitHub repository. I recommend specifying a duration for the Auto commit-and-sync option in Git settings to automatically save changes to your private repo. I’ll admit that it’s not the most efficient way to safeguard your notes, but it’s a lot cooler than your average backup method.
