


Once you get into the nitty-gritty of computing projects, you’re bound to come across microcontrollers. Capable of interfacing with a host of sensors, motors, actuator modules, microcontrollers are ultra-useful in the field of home automation.
If you’re fond of smart home appliances and IoT devices, you can take their functionality to the next level by pairing a Home Assistant server with MCUs like the ESP32 boards, Arduino family, and Raspberry Pi Pico series. But since interfacing them with Home Assistant can get excessively complicated, we’ve created a detailed guide to help you out.
Connecting an Arduino to Home Assistant
Arduino has a diverse collection of microcontroller boards, ranging from simple UNO and Nano families to the complex Mega systems. Depending on the connectivity options available on your specific model, there are numerous ways to pair the Arduino board with Home Assistant… some more difficult than the rest.
Starting with the MCUs that support Wi-Fi, you can use the official Arduino IDE to prepare the microcontroller to send and receive data from the MQTT Broker add-on available on Home Assistant. We assume you’ve installed Home Assistant on a PC/SBC/mini-PC and configured the Arduino IDE on another PC. But if you encounter any issues setting up the OS or the IDE, you can consult our tutorials on both topics.
Once you’ve got everything up and ready,
-
Connect the Arduino board to the PC you’re using to access the Home Assistant web UI and press the Select Other Board and Port option under the Select Board button.

-
Choose the Model of your Arduino board and tap OK after ensuring you’ve selected the correct Serial Port.

-
Tap Ctrl+Shift+I and click on the Install button next to the ArduinoMqttClient library.

-
Hit the File button, hover your cursor over Examples, and select the code file that corresponds the most with your project needs inside the ArduinoMqttClient section.
-
Enter the SSID and Password of your Wi-Fi network within the pull quotes symbols of the SECRET_SSID and SECRET_PASS fields inside the arduino_secrets.h file.

-
Switch to the Example file, enter the IP address of your Home Assistant server after the broker field.

-
Press the Upload button.
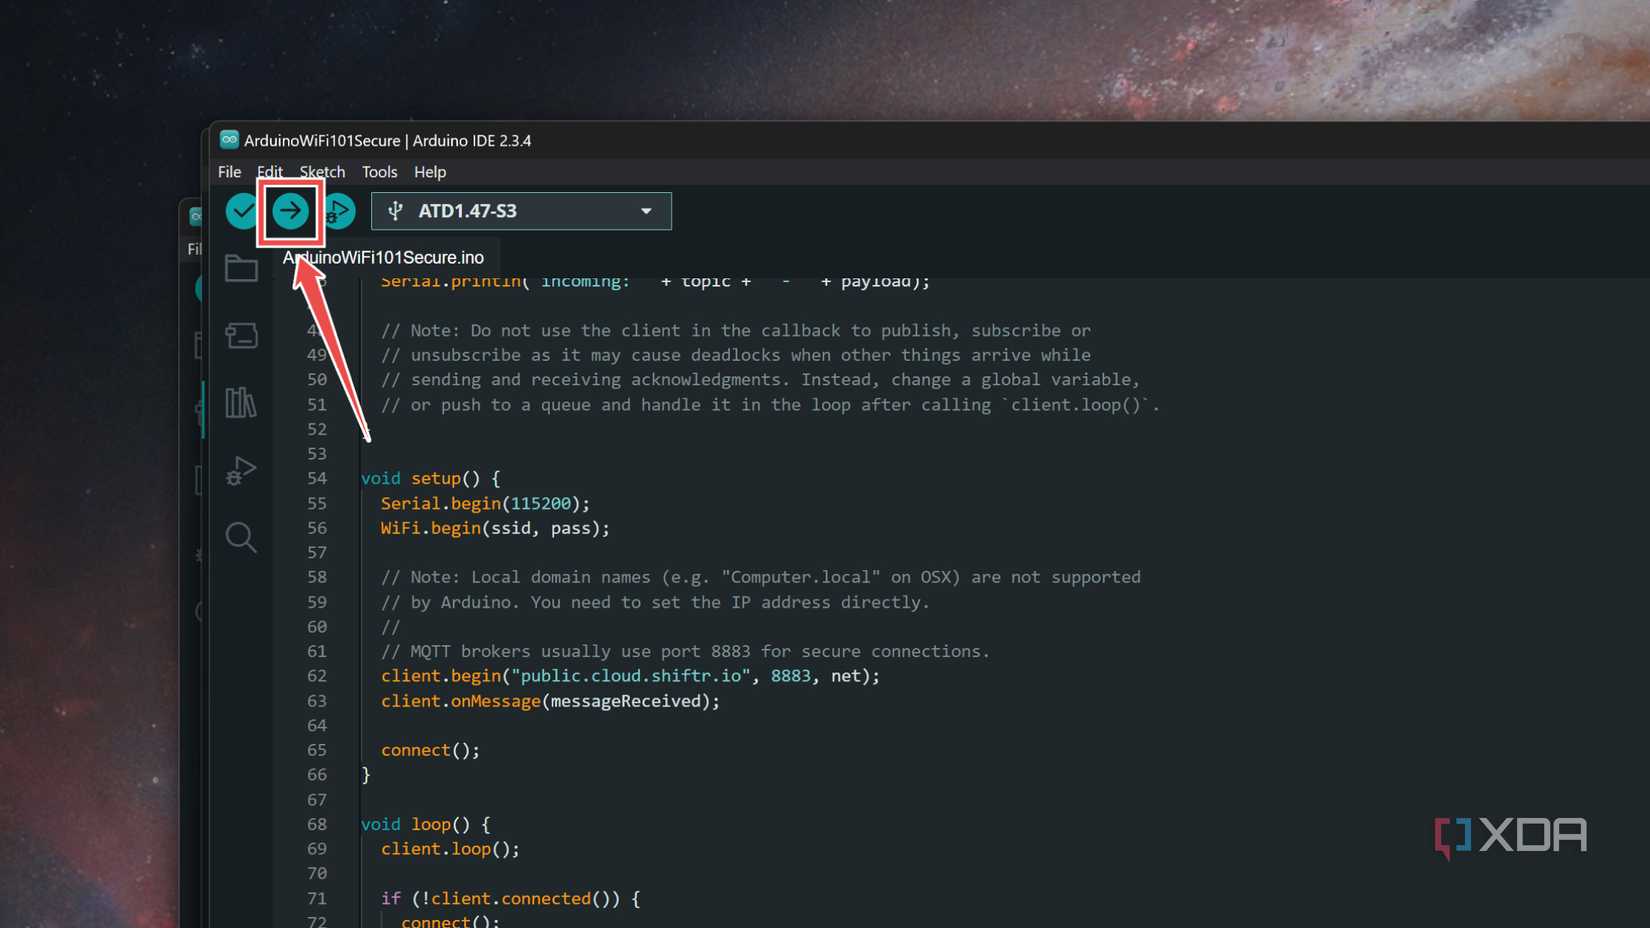
- Once the code has been flashed to your Arduino MCU, log into the Home Assistant web UI.
-
Navigate to the Settings tab and click on Add-ons.

-
Hit the Add-ons Store button and select the Mosquitto broker extension.

-
Click on Install and press Start once Home Assistant finishes setting it up.

-
Head back to the Settings tab and choose the Devices & services option.

-
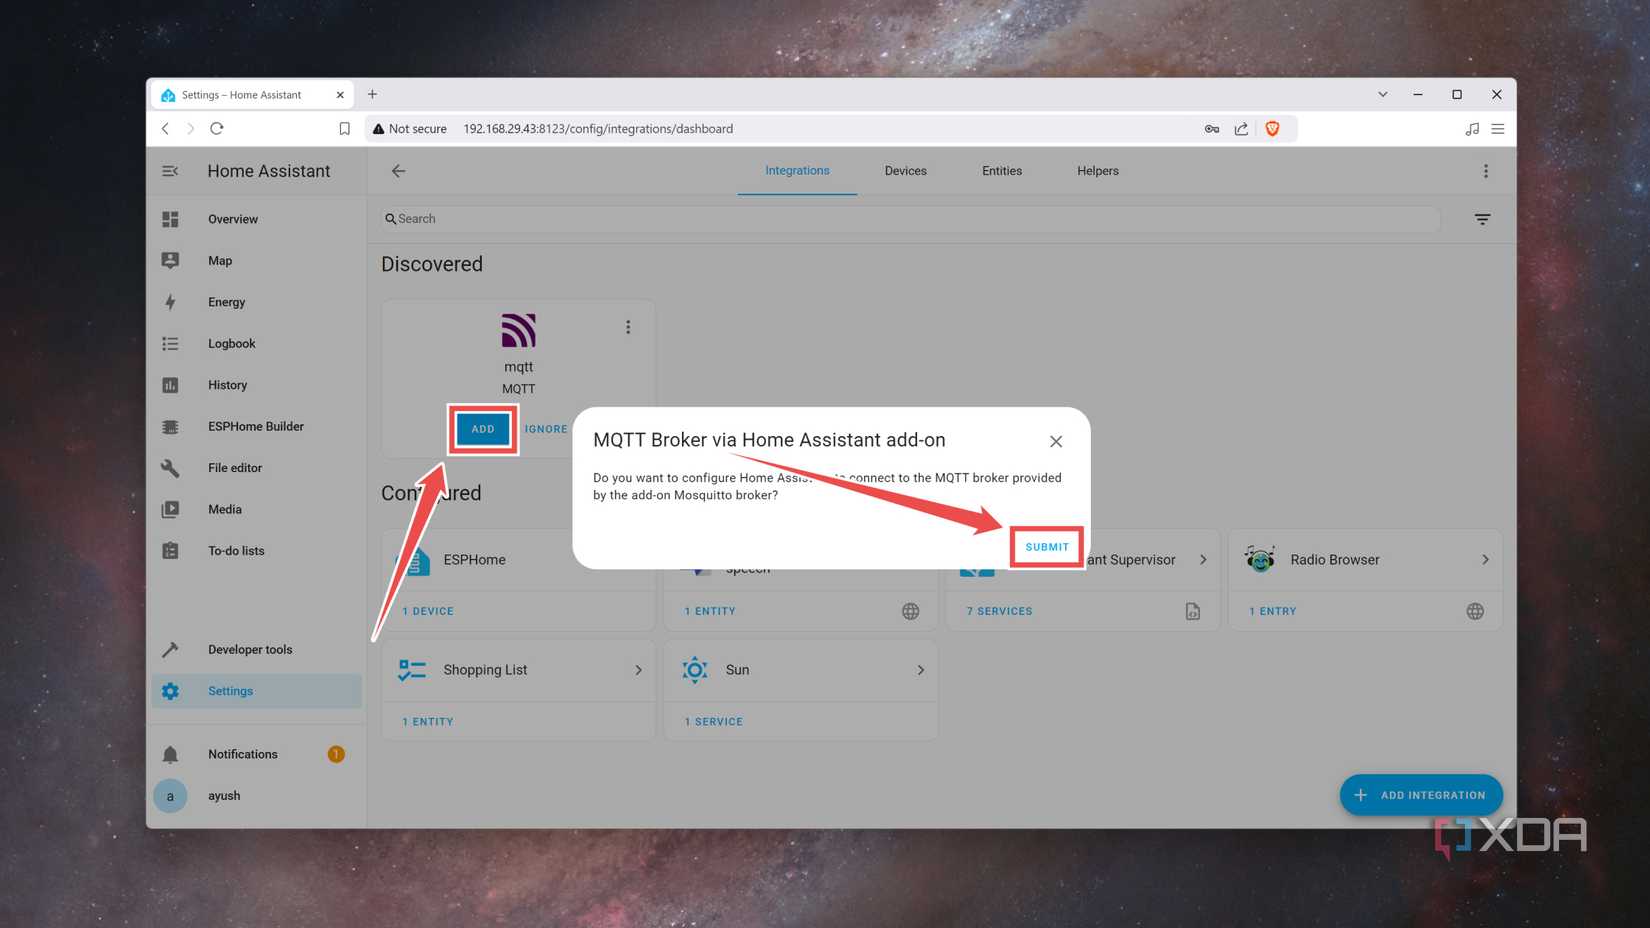
Select the Add button under MQTT and tap the Submit button.
-
Press Configure, and you’re free to read data and send messages to the Arduino MCU if the Topic you’d set within the Arduino IDE appears under the Publish a packet section.


However, if you’re stuck with a non-Wi-Fi Arduino model, you can hook it up to the Home Assistant PC and use the Serial integration to read data from it.
-
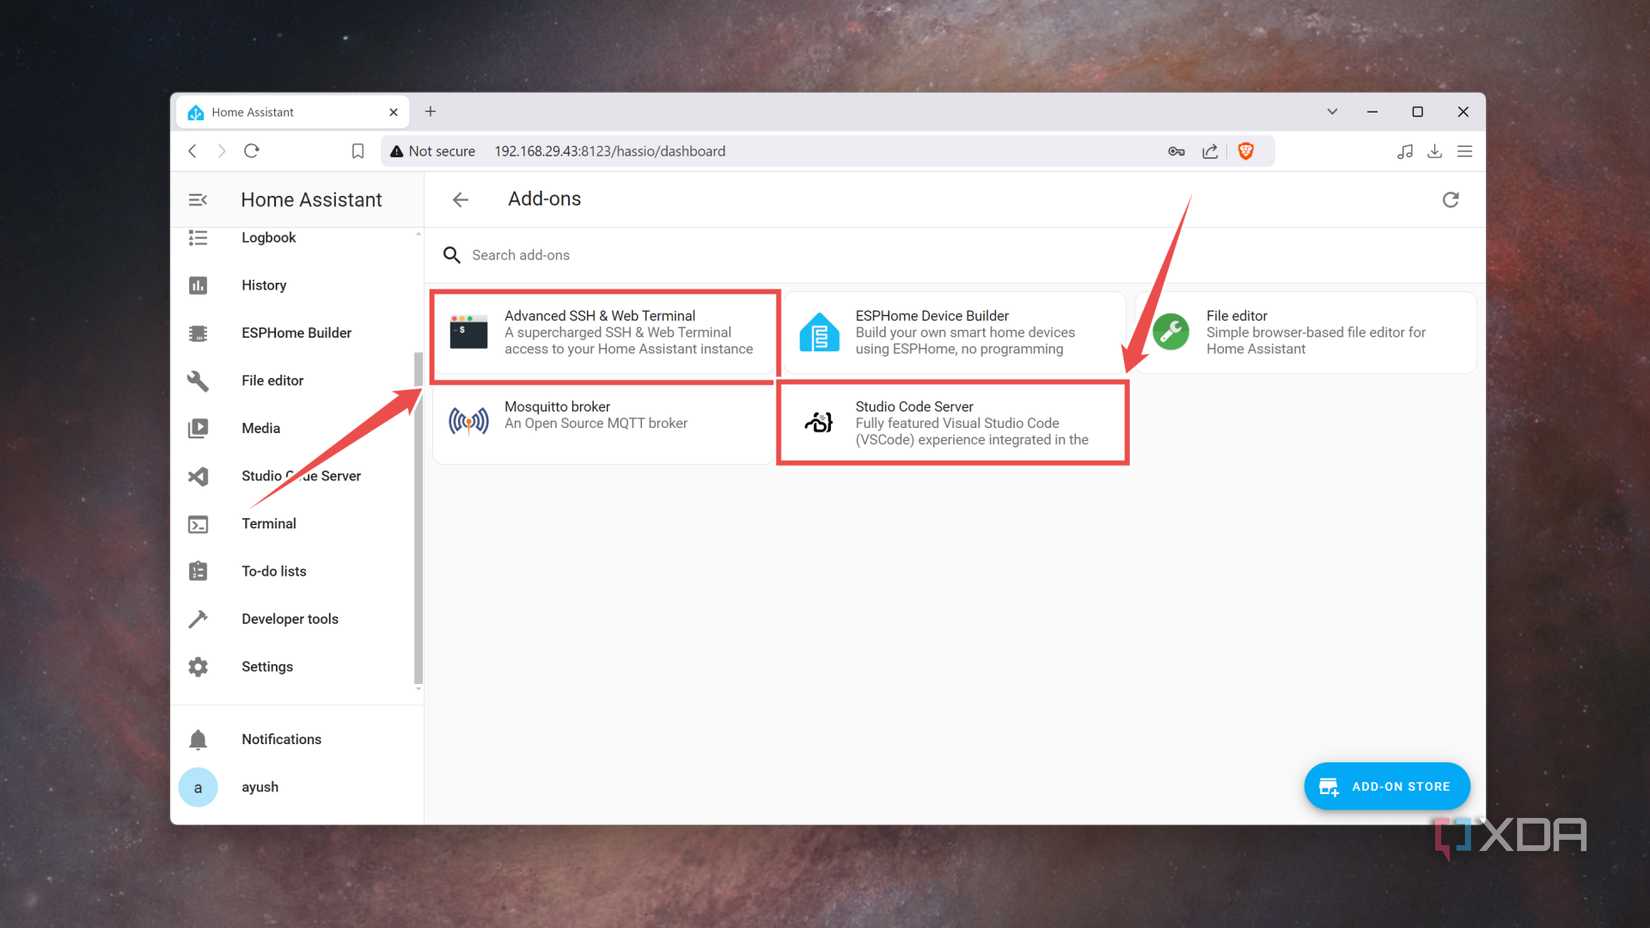
Open the Add-ons Store and Install the Studio Code Server and Advanced SSH & Terminal plugins.
-
Head to the Configuration tab of the latter add-on, enter a Password under the ssh section, and press Save before launching it.

-
To find the exact tty interface of your Arduino, head to the web Ui of the Terminal add-on and enter these commands:
-
ls /dev/ttyUSB*
-
ls /dev/ttyACM*
Assuming the Arduino board is the only device physically connected to the HASS server, one of these commands will display the interface we’re looking for.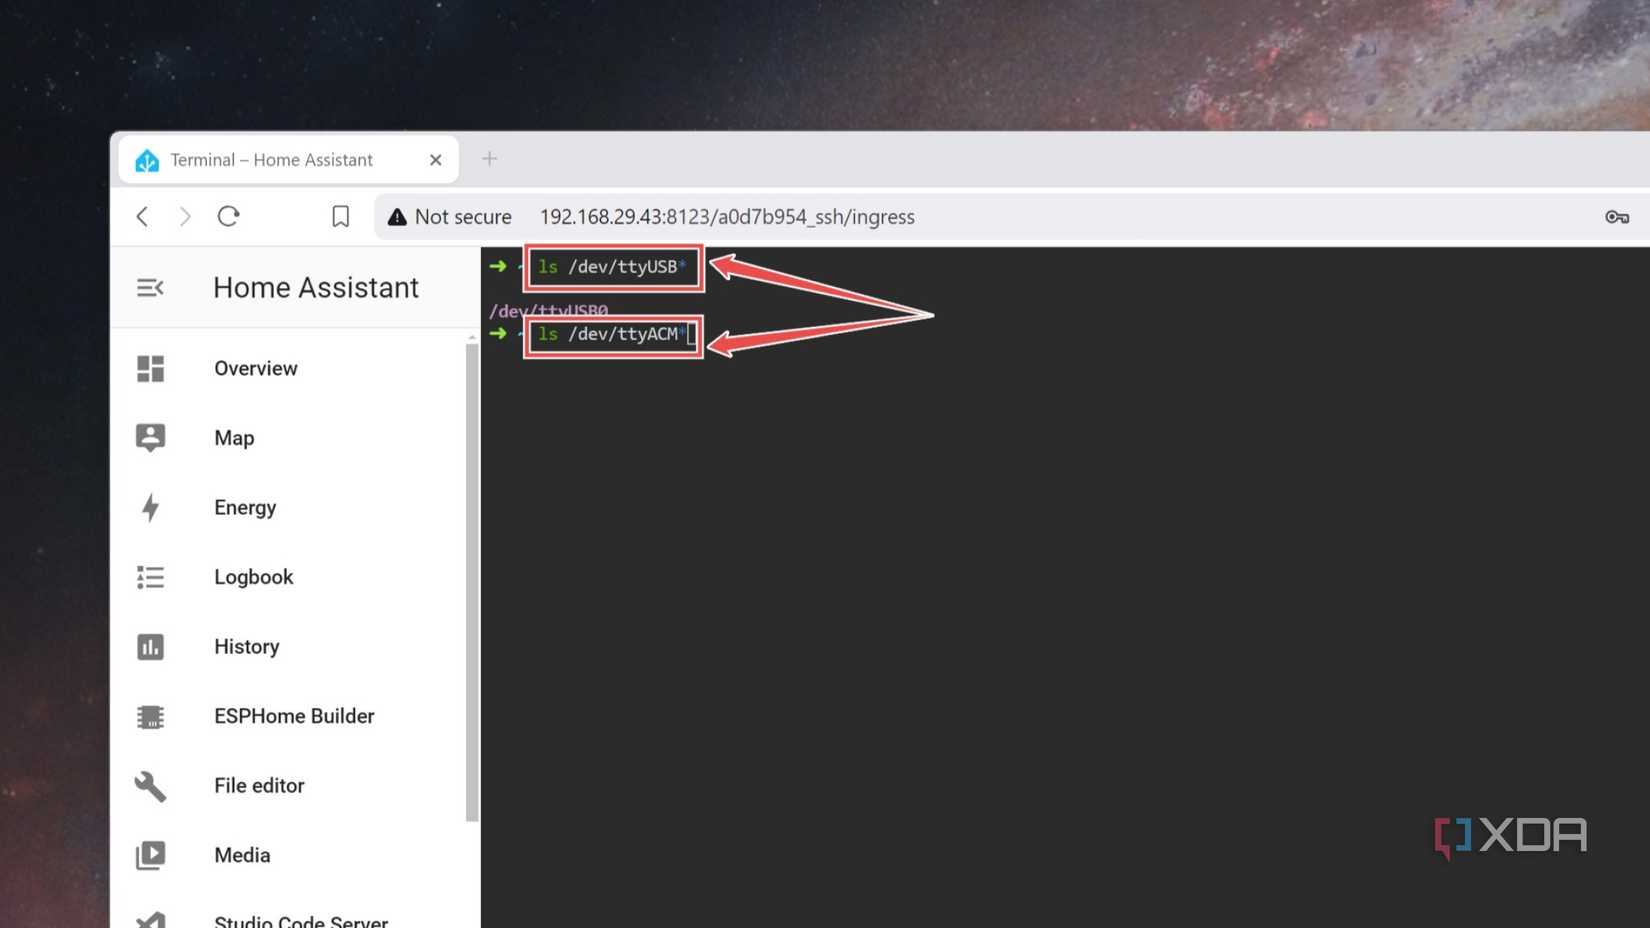
-
-
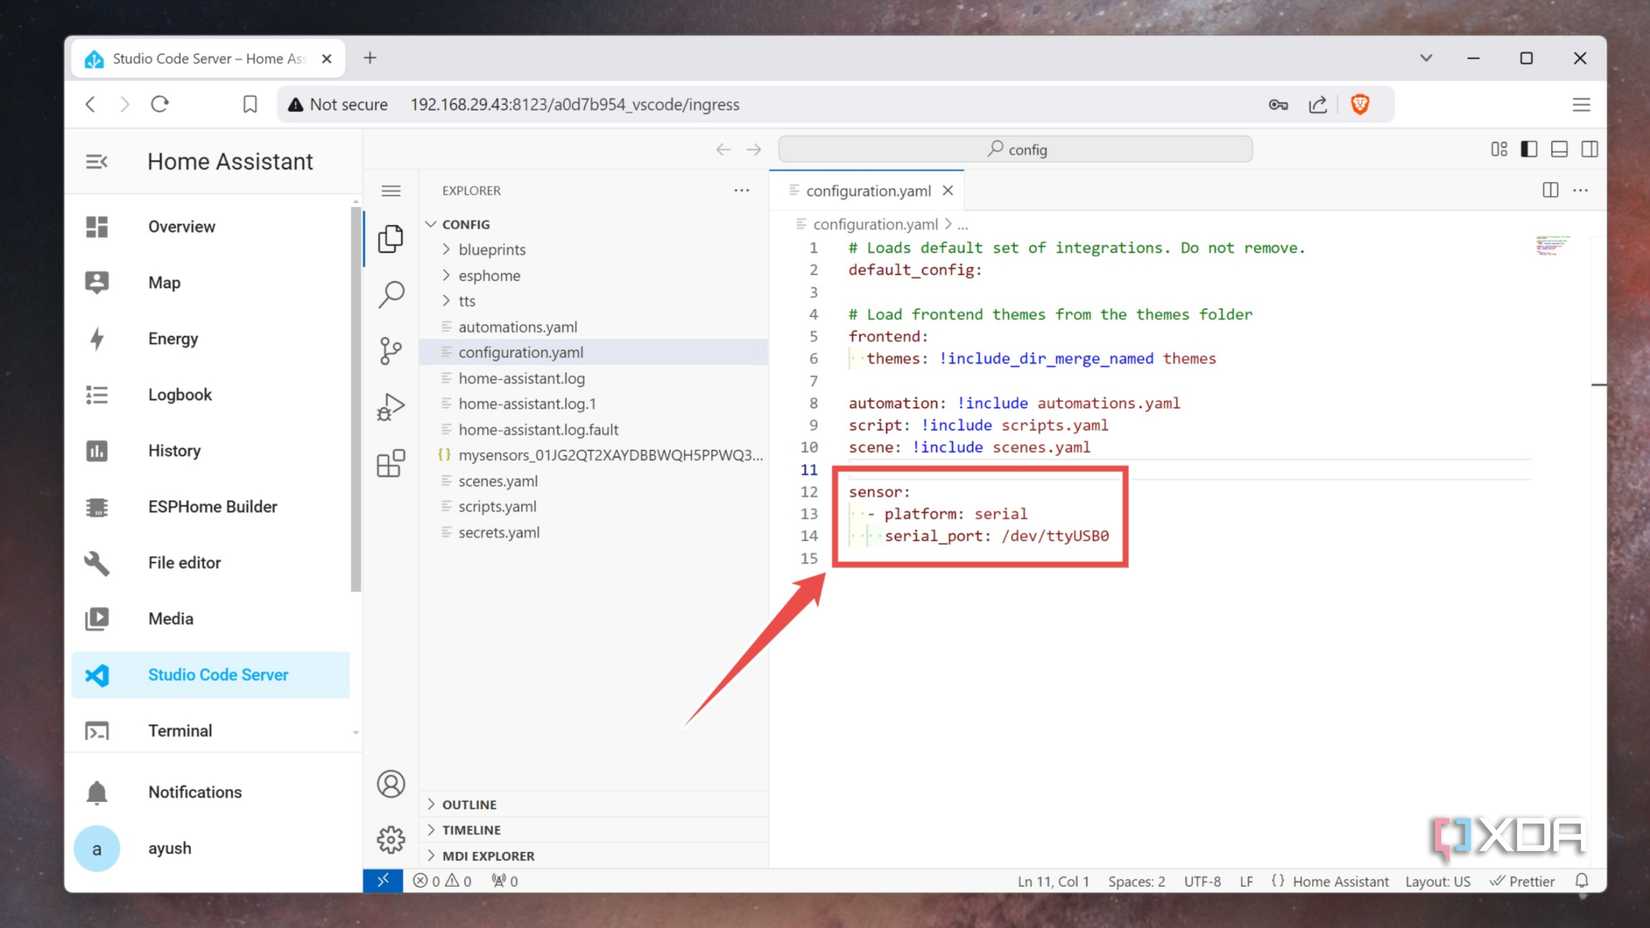
Start Studio Code Server and paste the following code (with the proper indentation) at the end of the configuration.yaml file:
-
sensor:
-
- platform: serial
-
serial_port: /dev/ttyUSB0
-
-
Switch to the Developer tools tab, click on Check configuration, and hit Restart.

- Once the Home Assistant’s web UI restarts, you’ll spot the Serial Sensor integration inside the Overview tab.


Connecting an ESP32/ESP8266/Raspberry Pi Pico to Home Assistant
Thankfully, the procedure to connect the ESP32/8266 and Raspberry Pi Pico is a lot easier, as the ESP Home add-on is compatible with these MCU series.
- Once again, open the Settings tab and click on Add-ons.
-
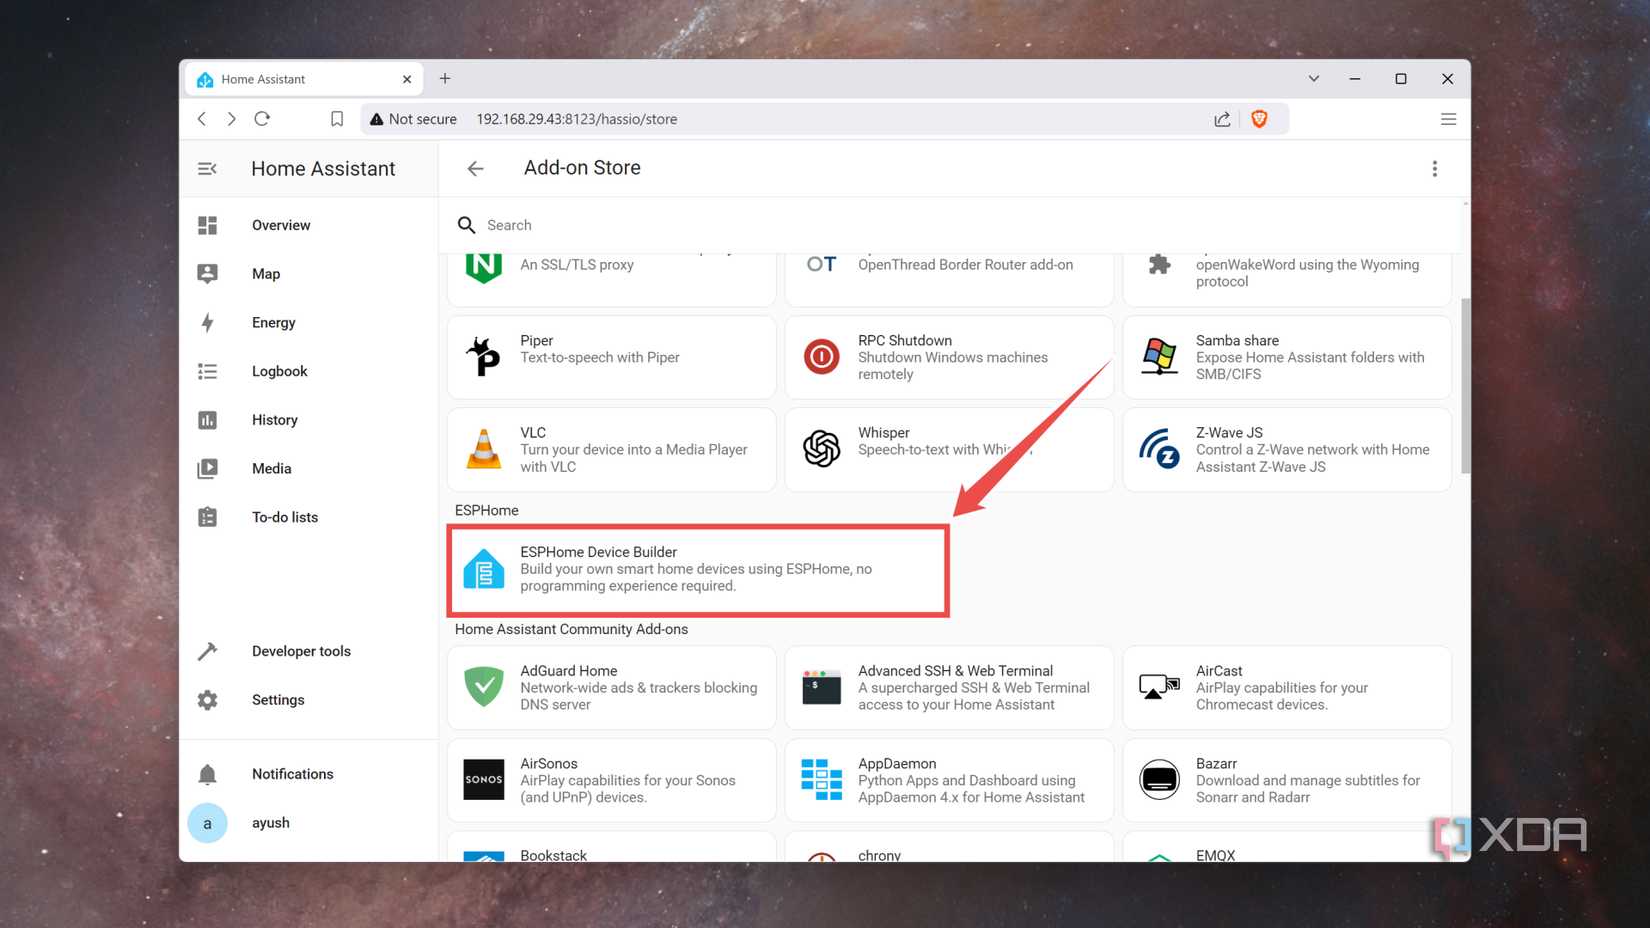
Select Add-ons Store and install ESP32Home Device Builder.
-
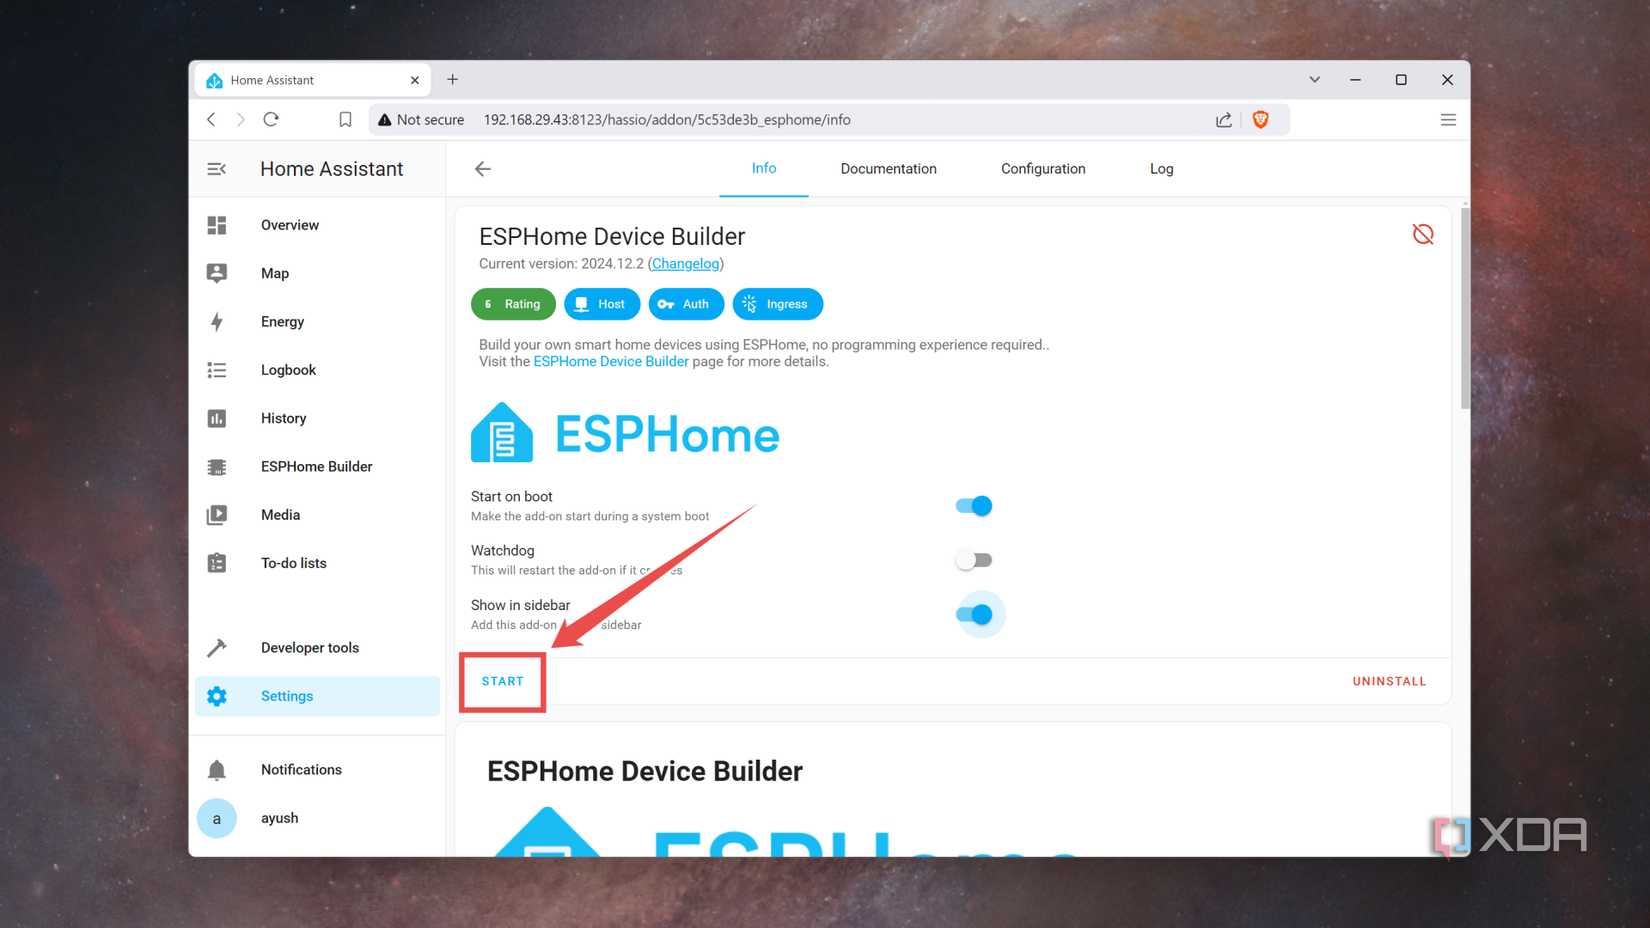
Click on Start followed by Open Web UI.
-
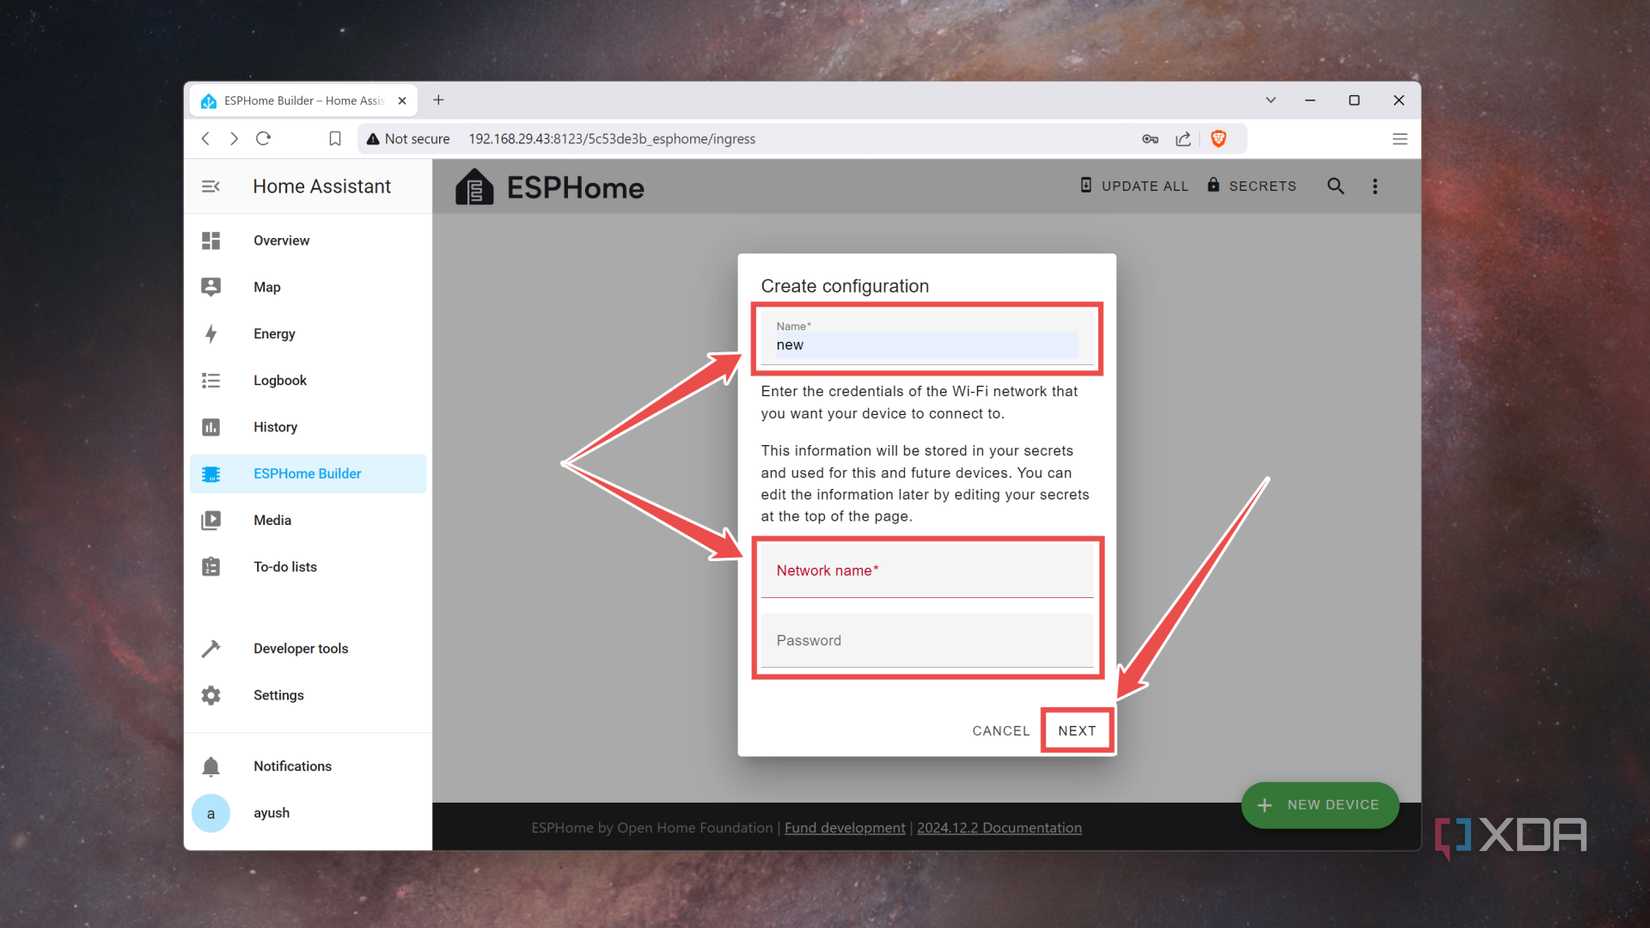
Press the New Device button and hit Continue inside the pop-up window.

-
Enter a Name for your microcontroller before filling out the Network Name (SSID) and Password of your local network.
-
Plug your microcontroller into the Home Assistant server machine and tap the Install button.
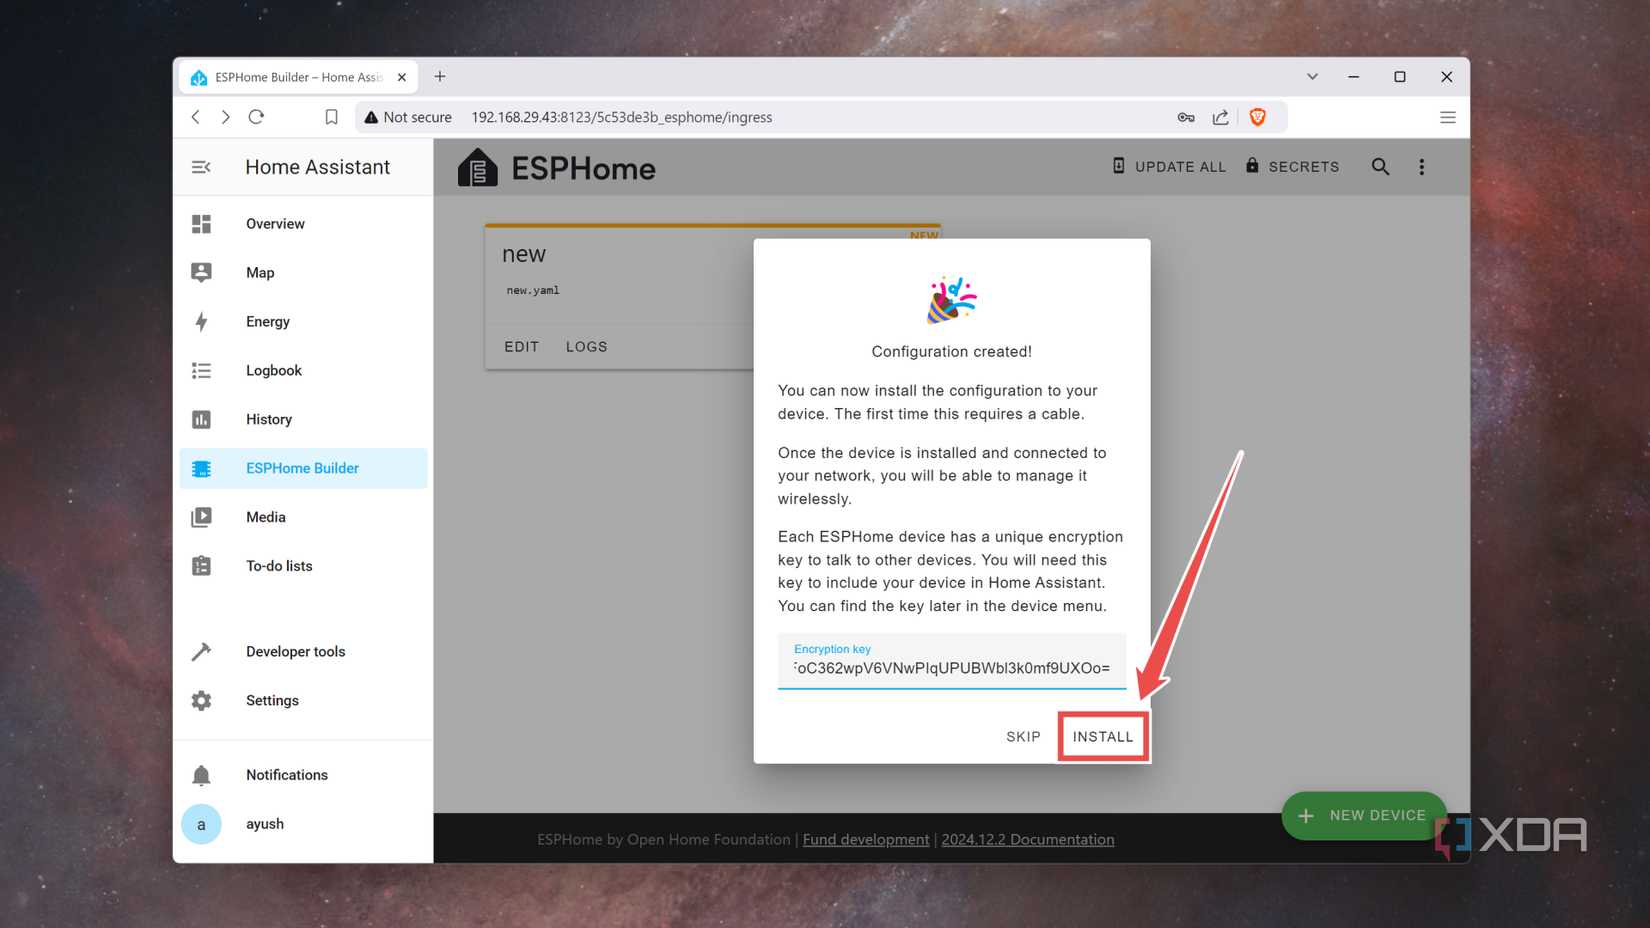
-
Choose the Plug into the computer running ESP32Home Device Builder option.
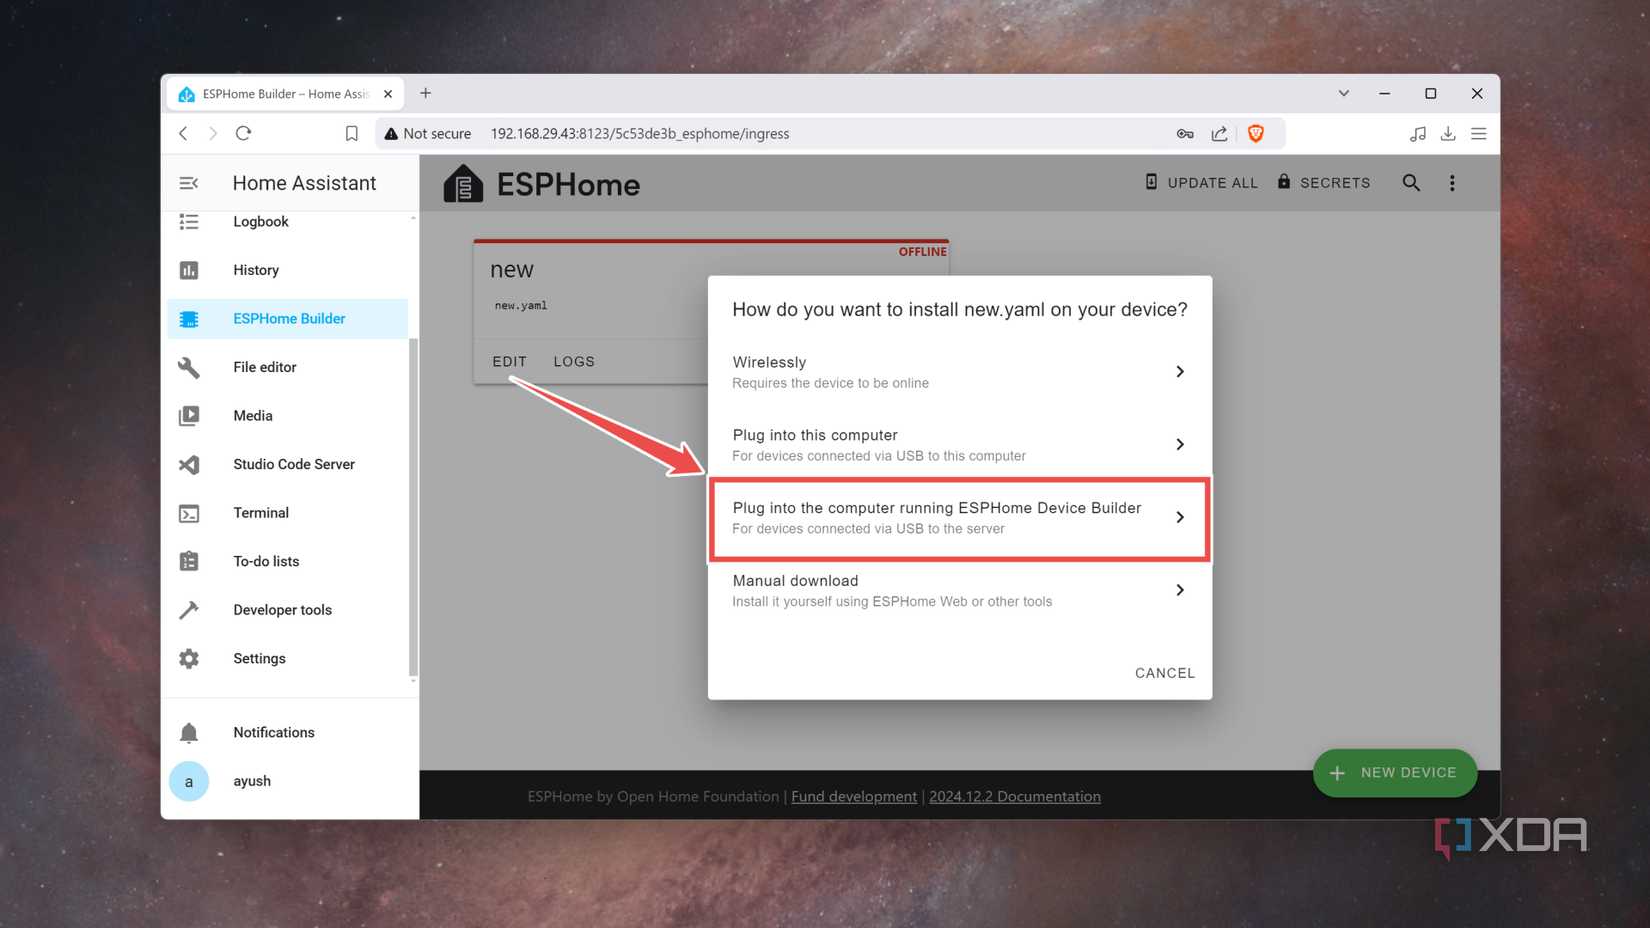
-
Select the Device and its Serial Port, and wait for the add-on to finish flashing the firmware onto the MCU.
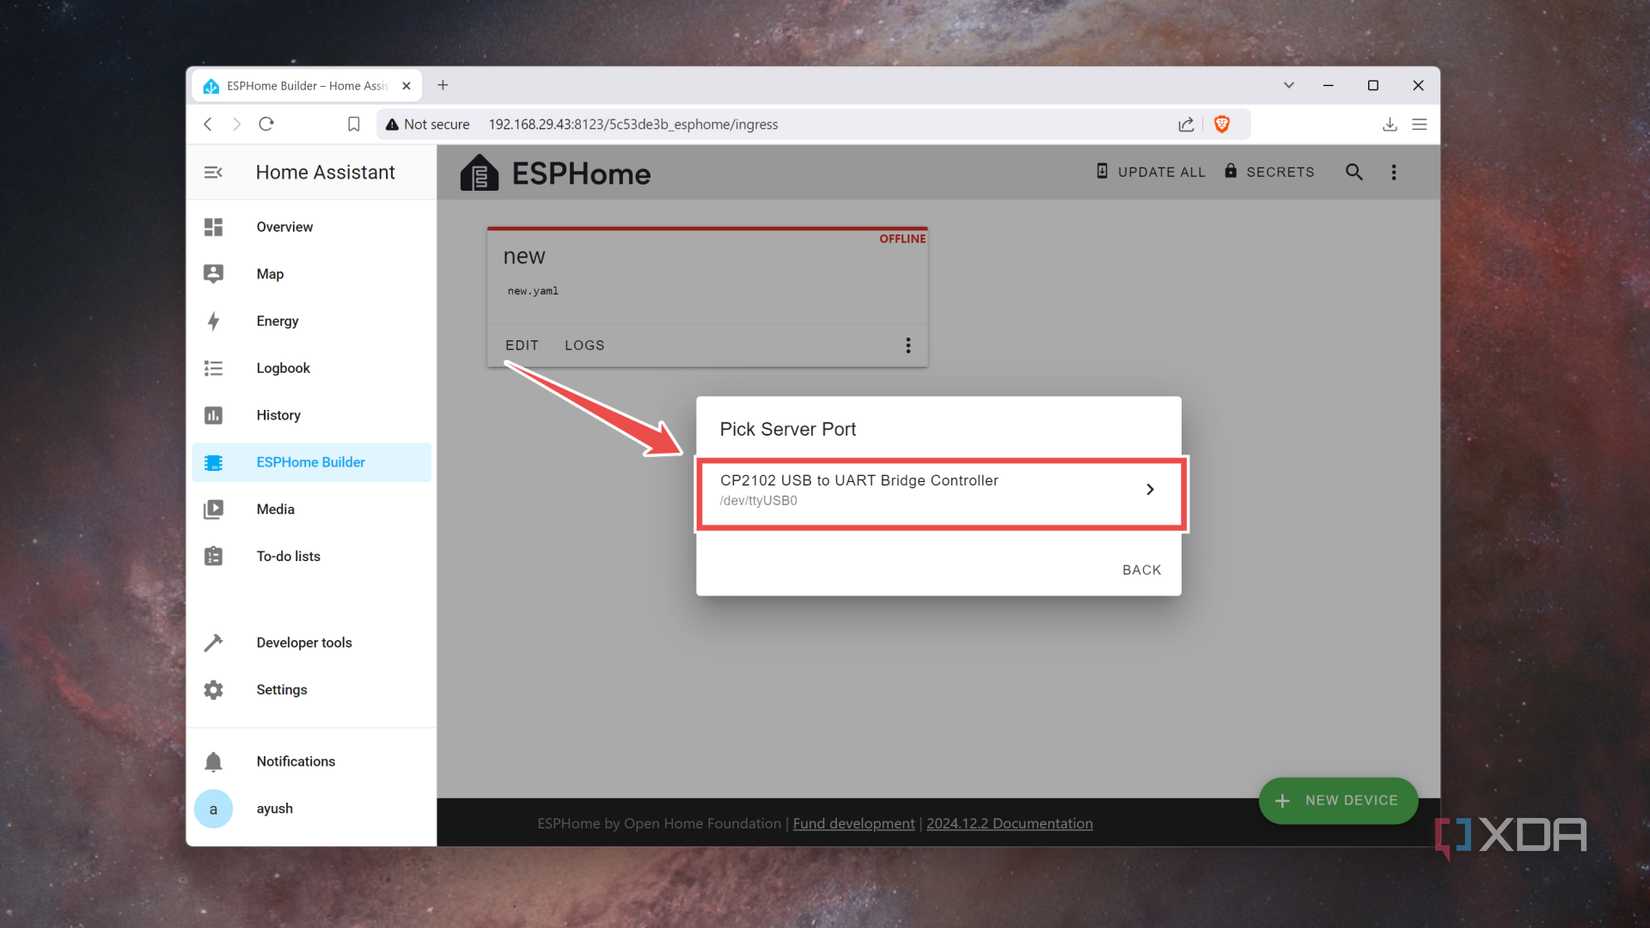
- Next, move to Settings and open Devices & services.
-
Pick the Add option under ESP32 and click on the Submit button.

-
Select the Location of your microcontroller and hit Finish.
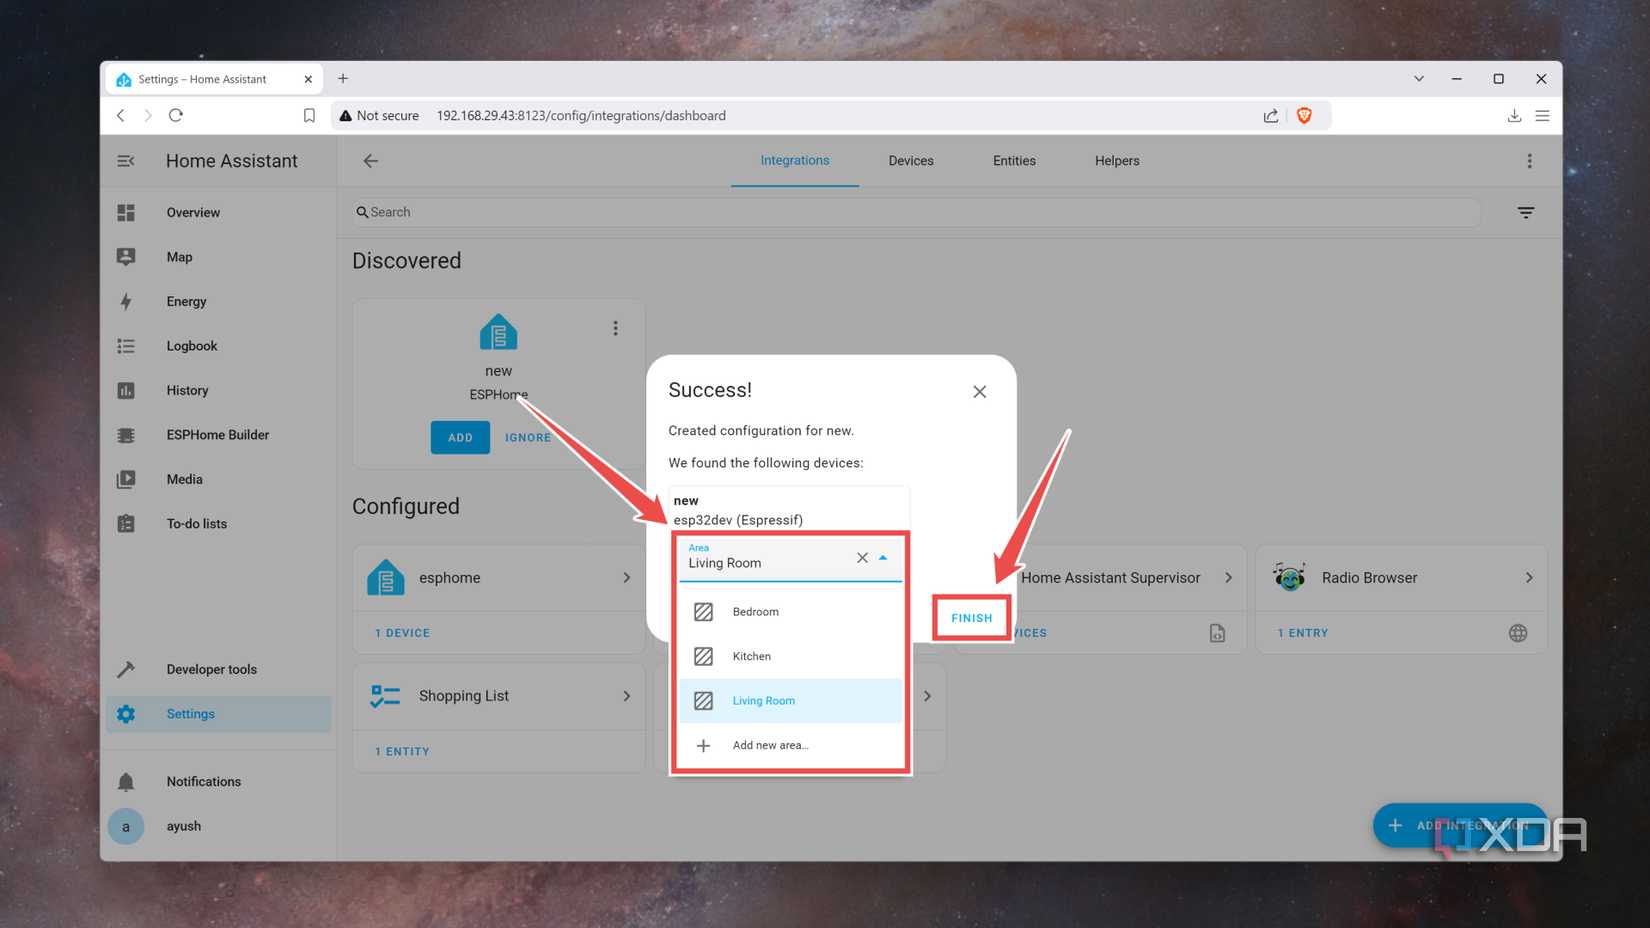
- The ESP32/ESP8266/Raspberry Pi Pico will be accessible inside the Integrations tab as an ESP32 Home device.


Building a powerful smart home using microcontrollers and Home Assistant


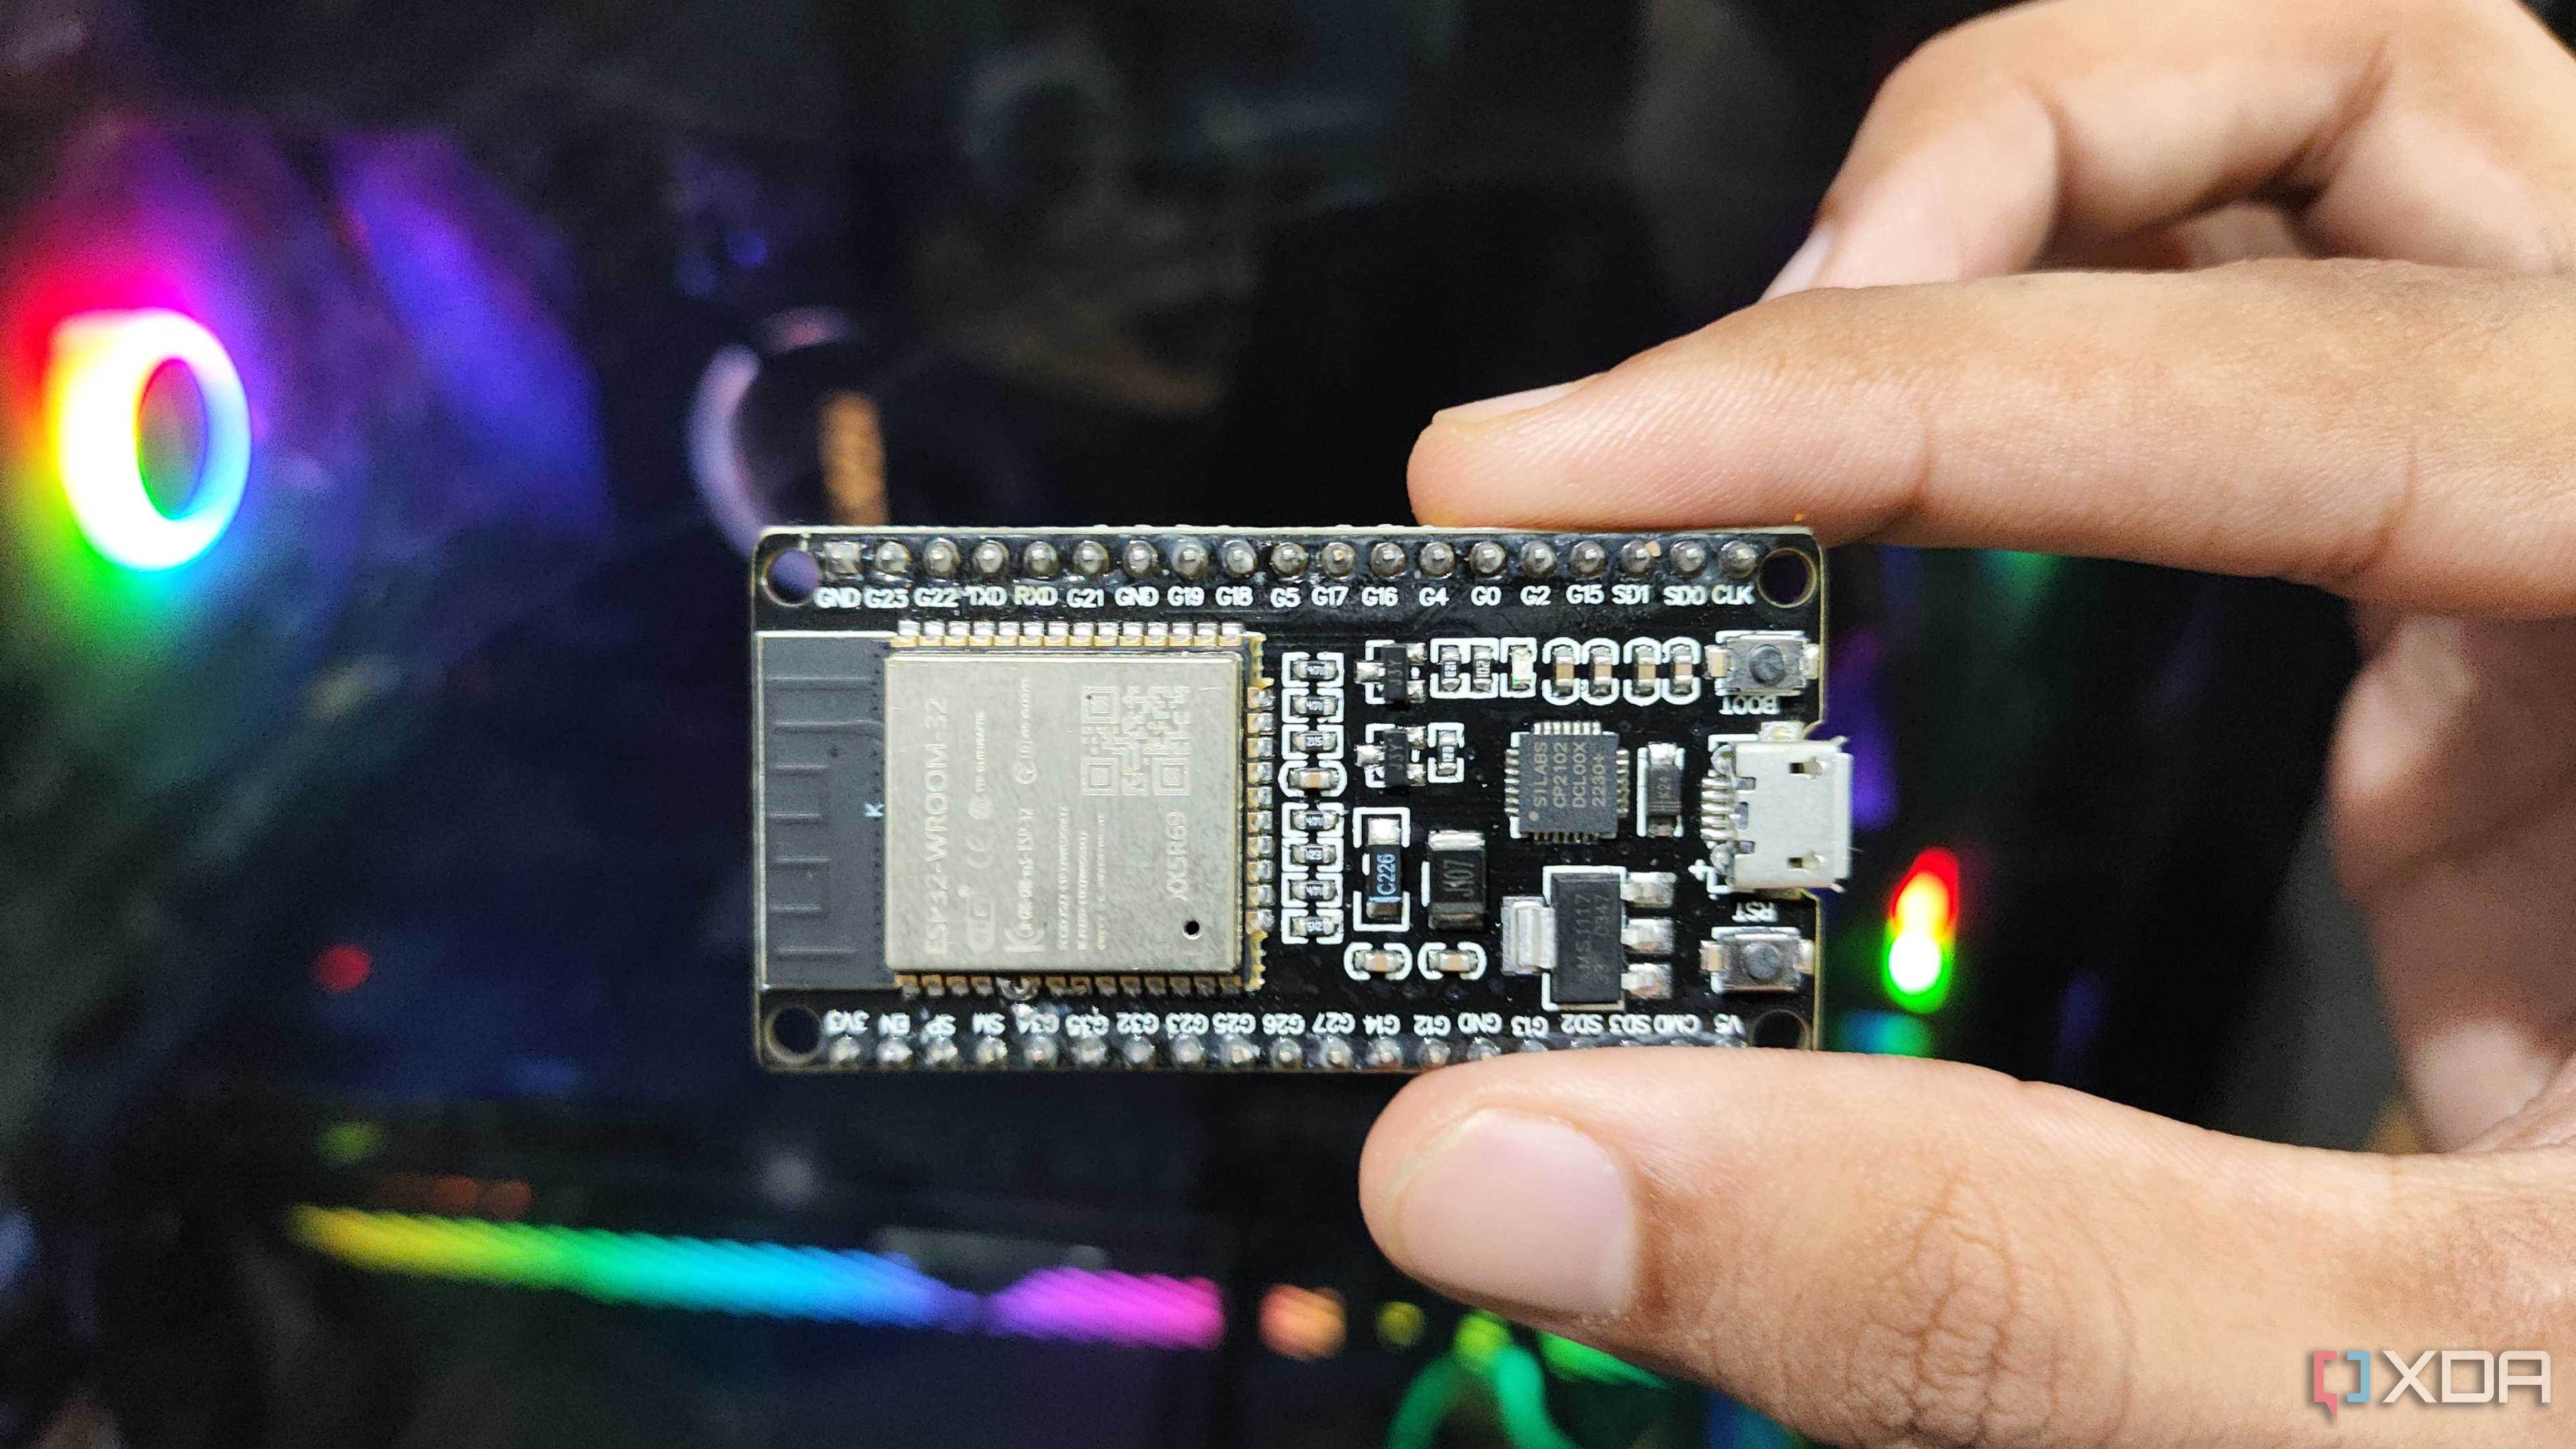
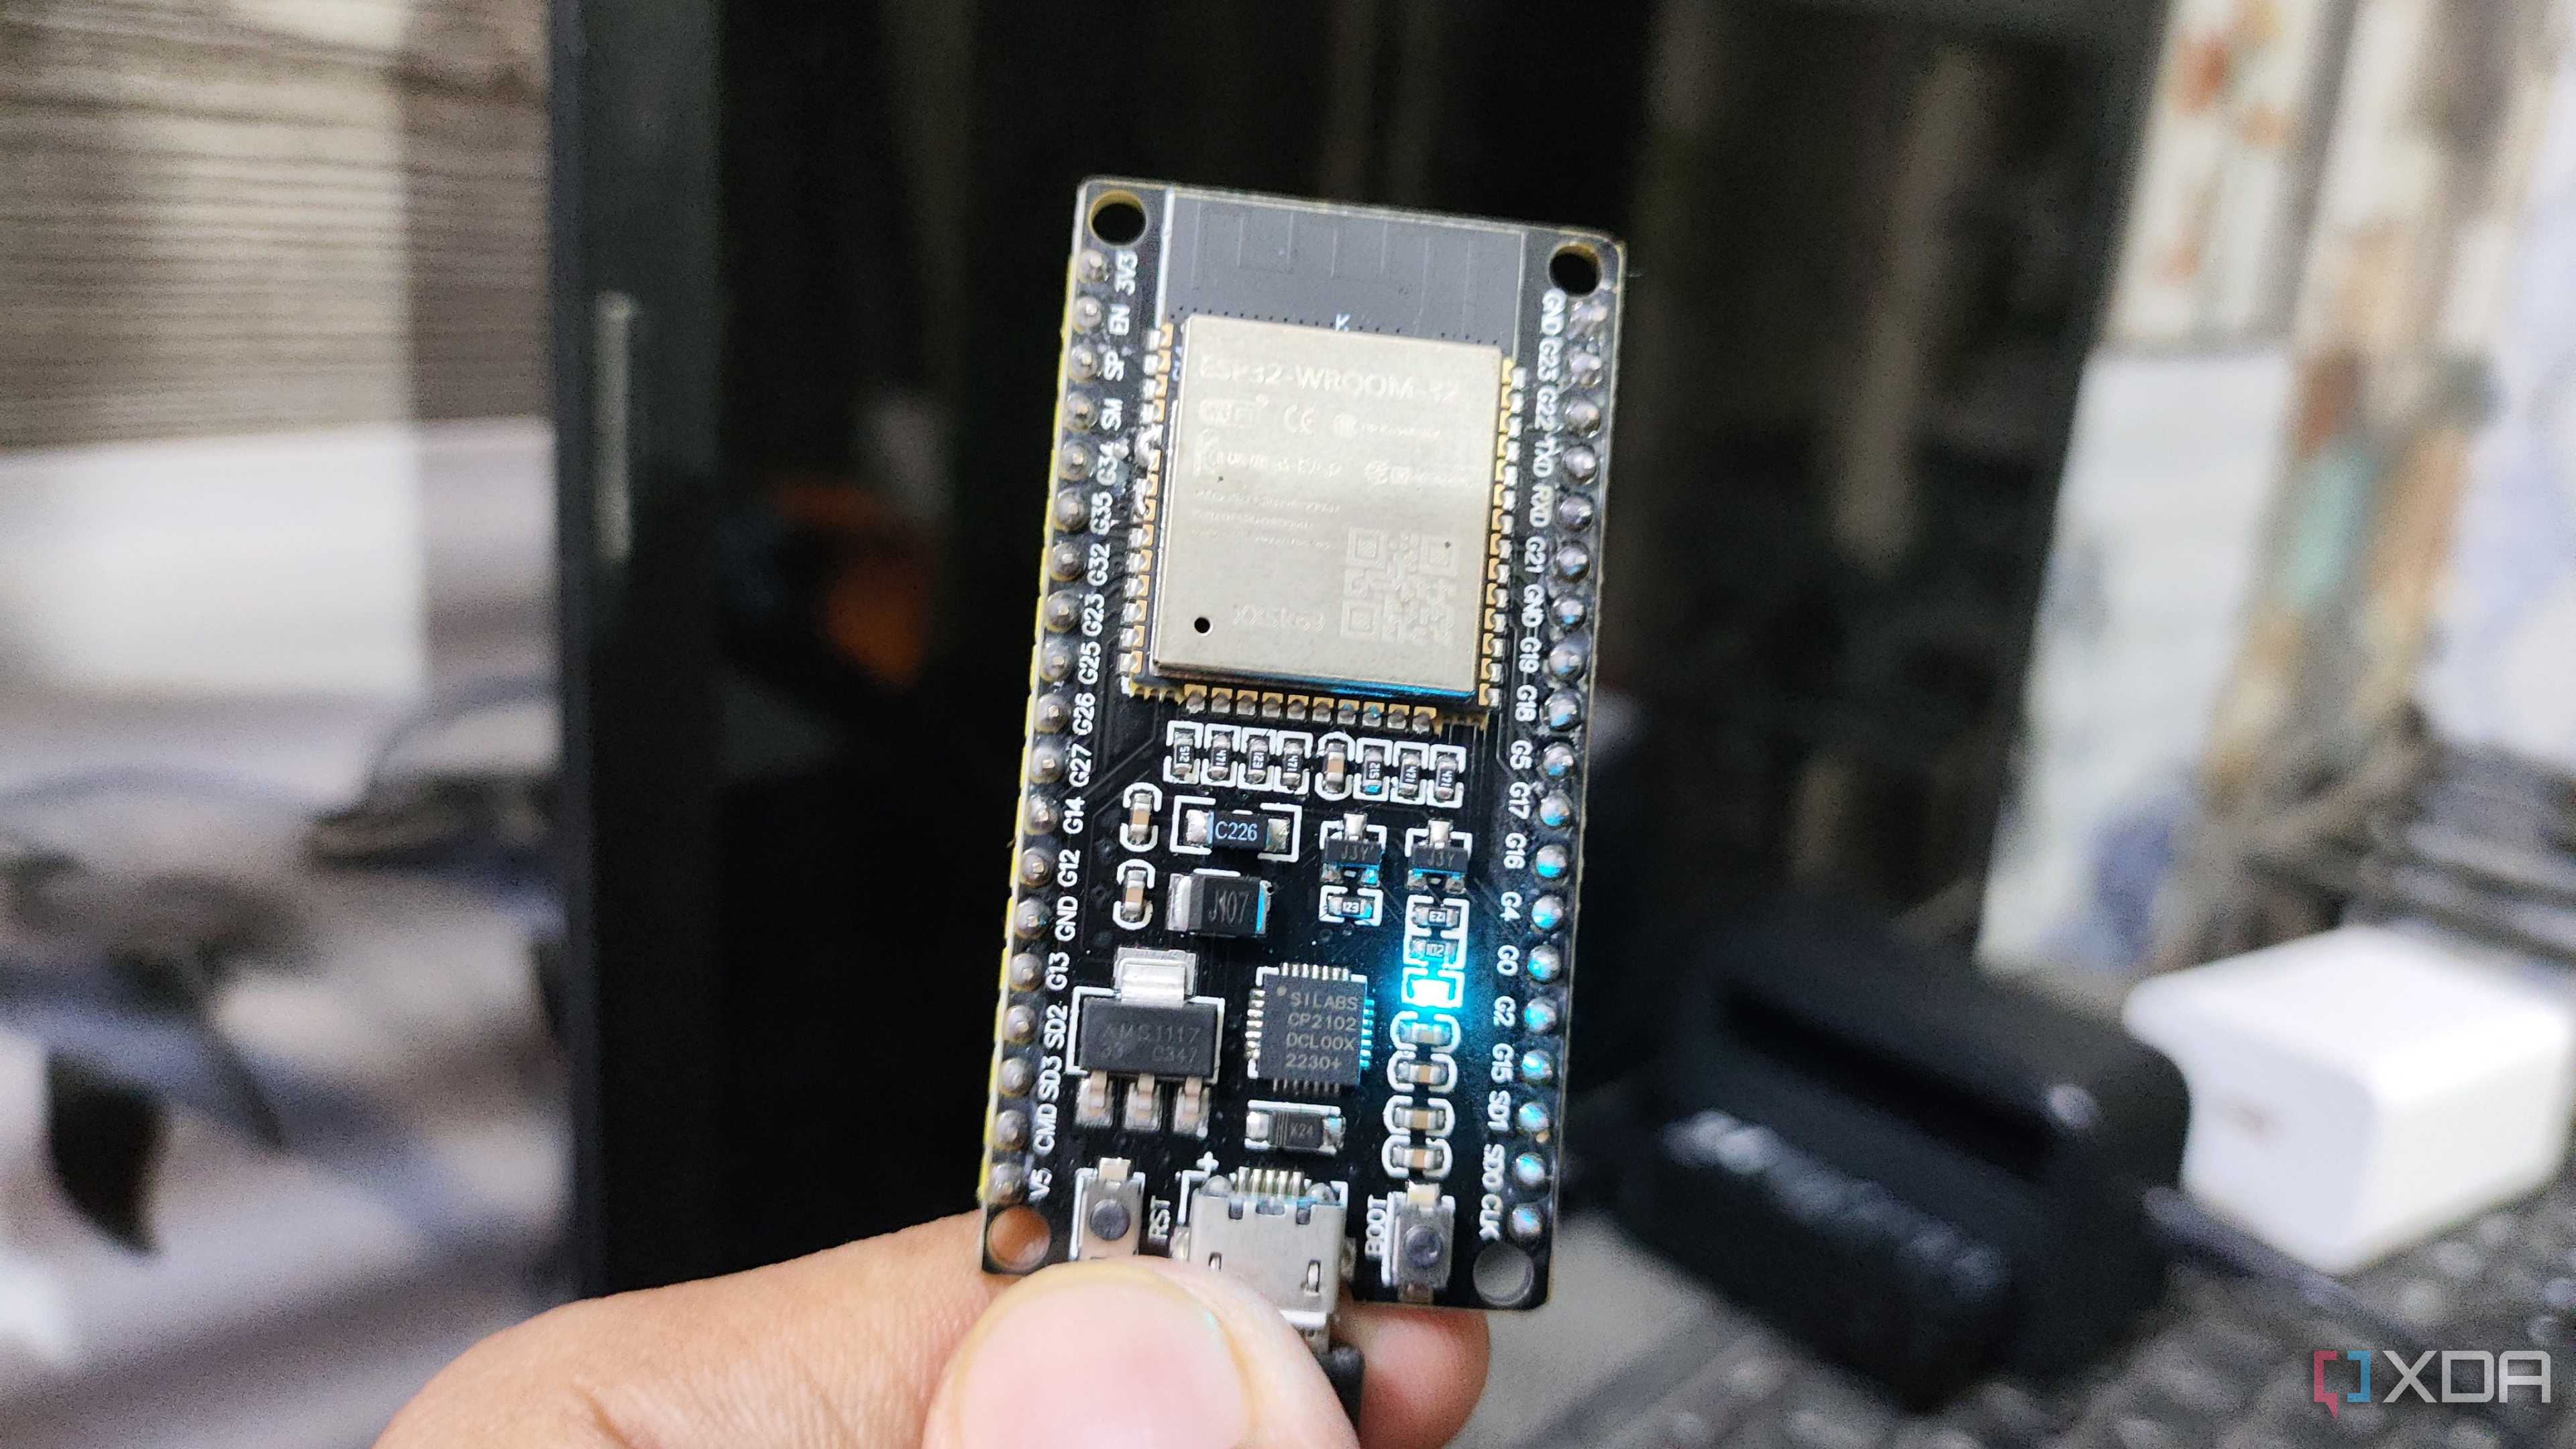
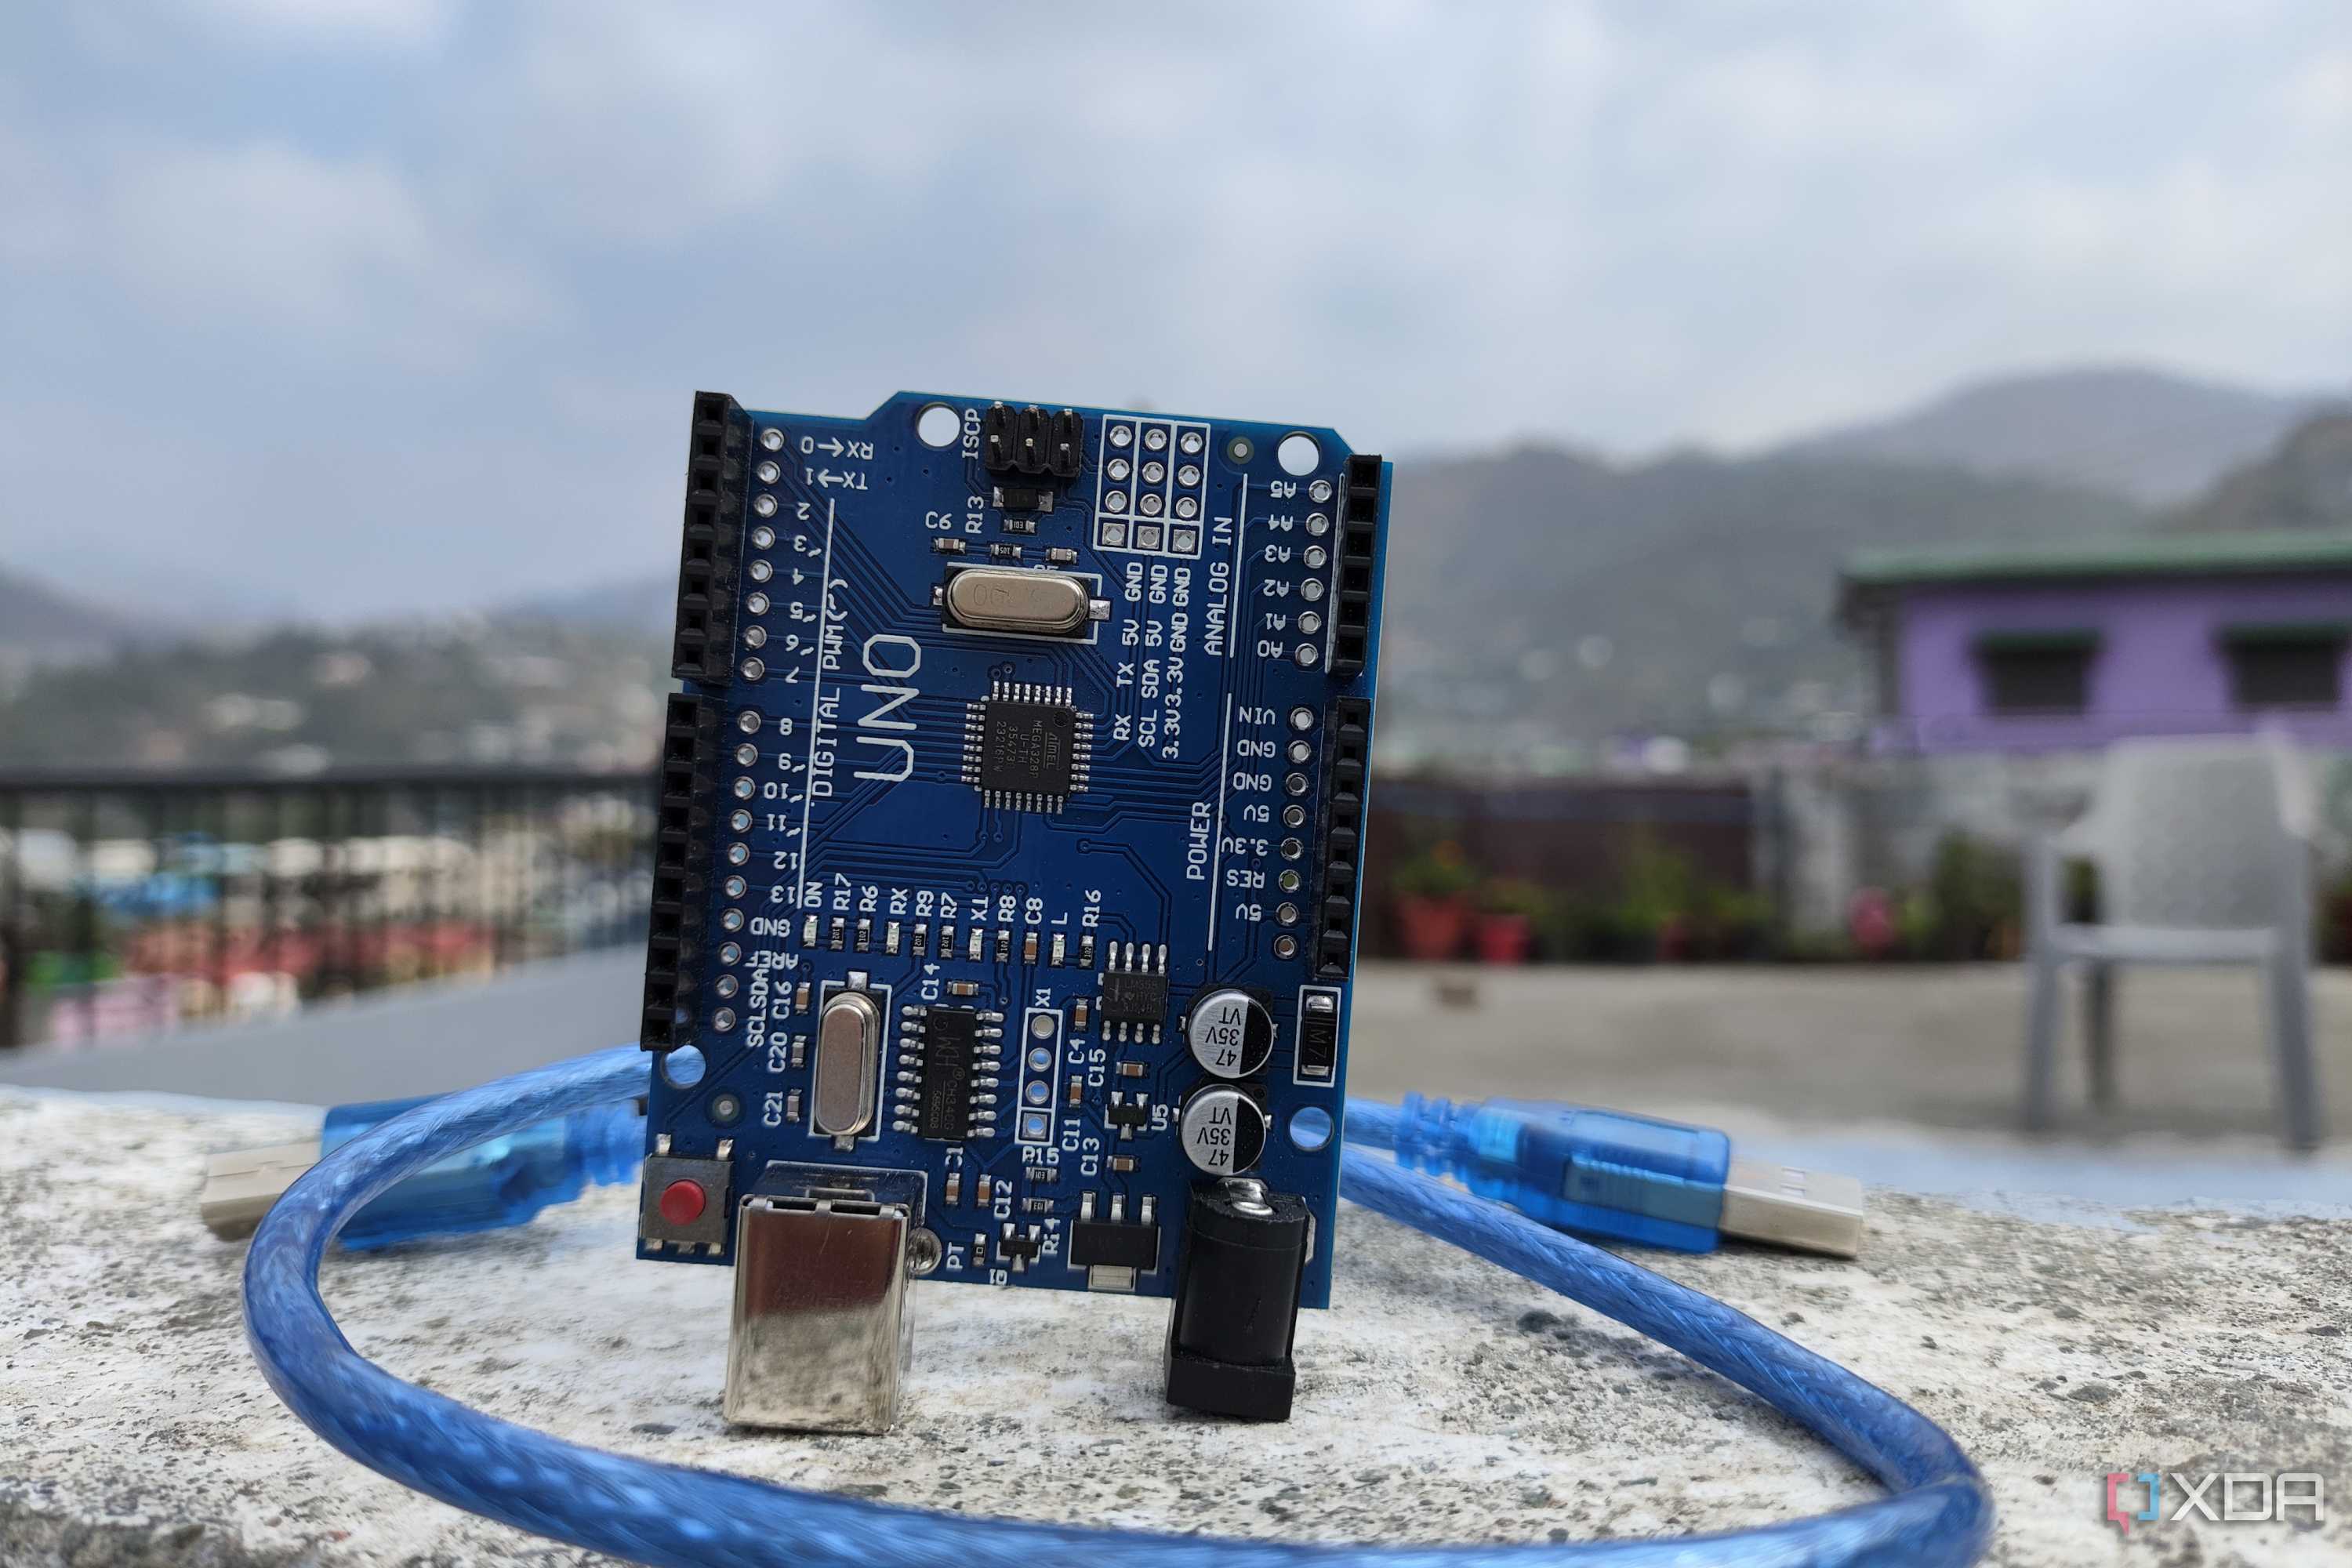
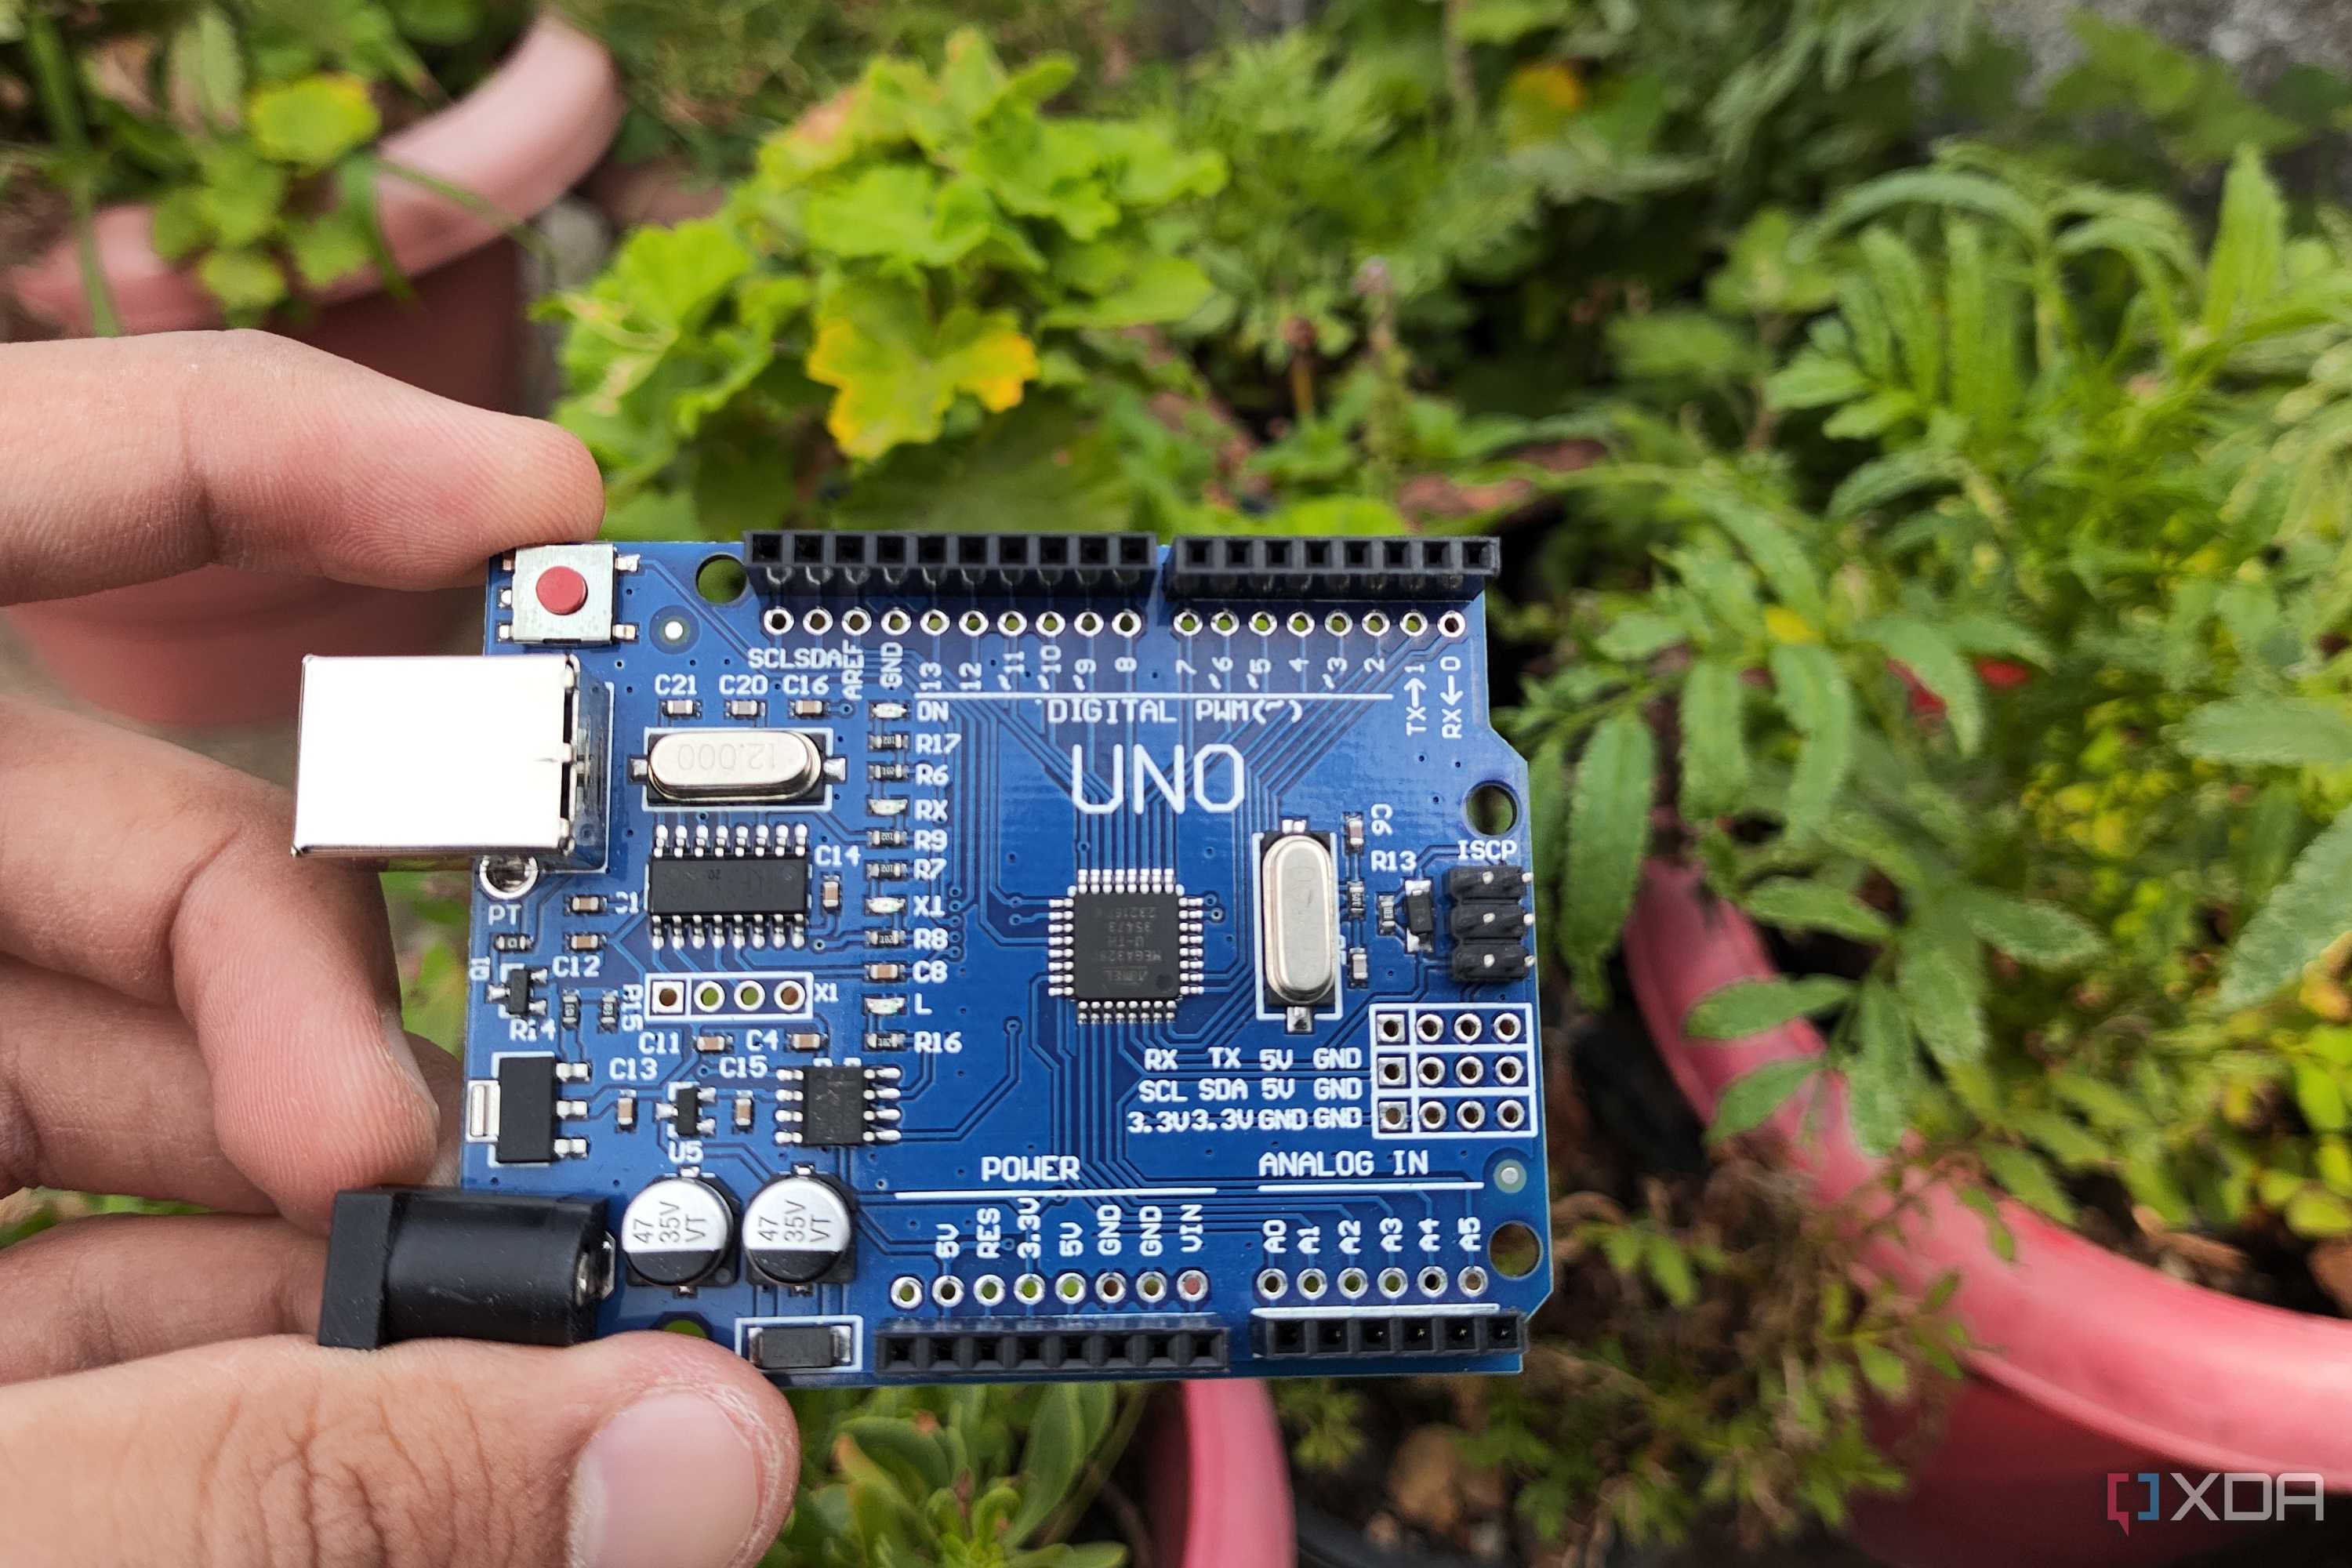
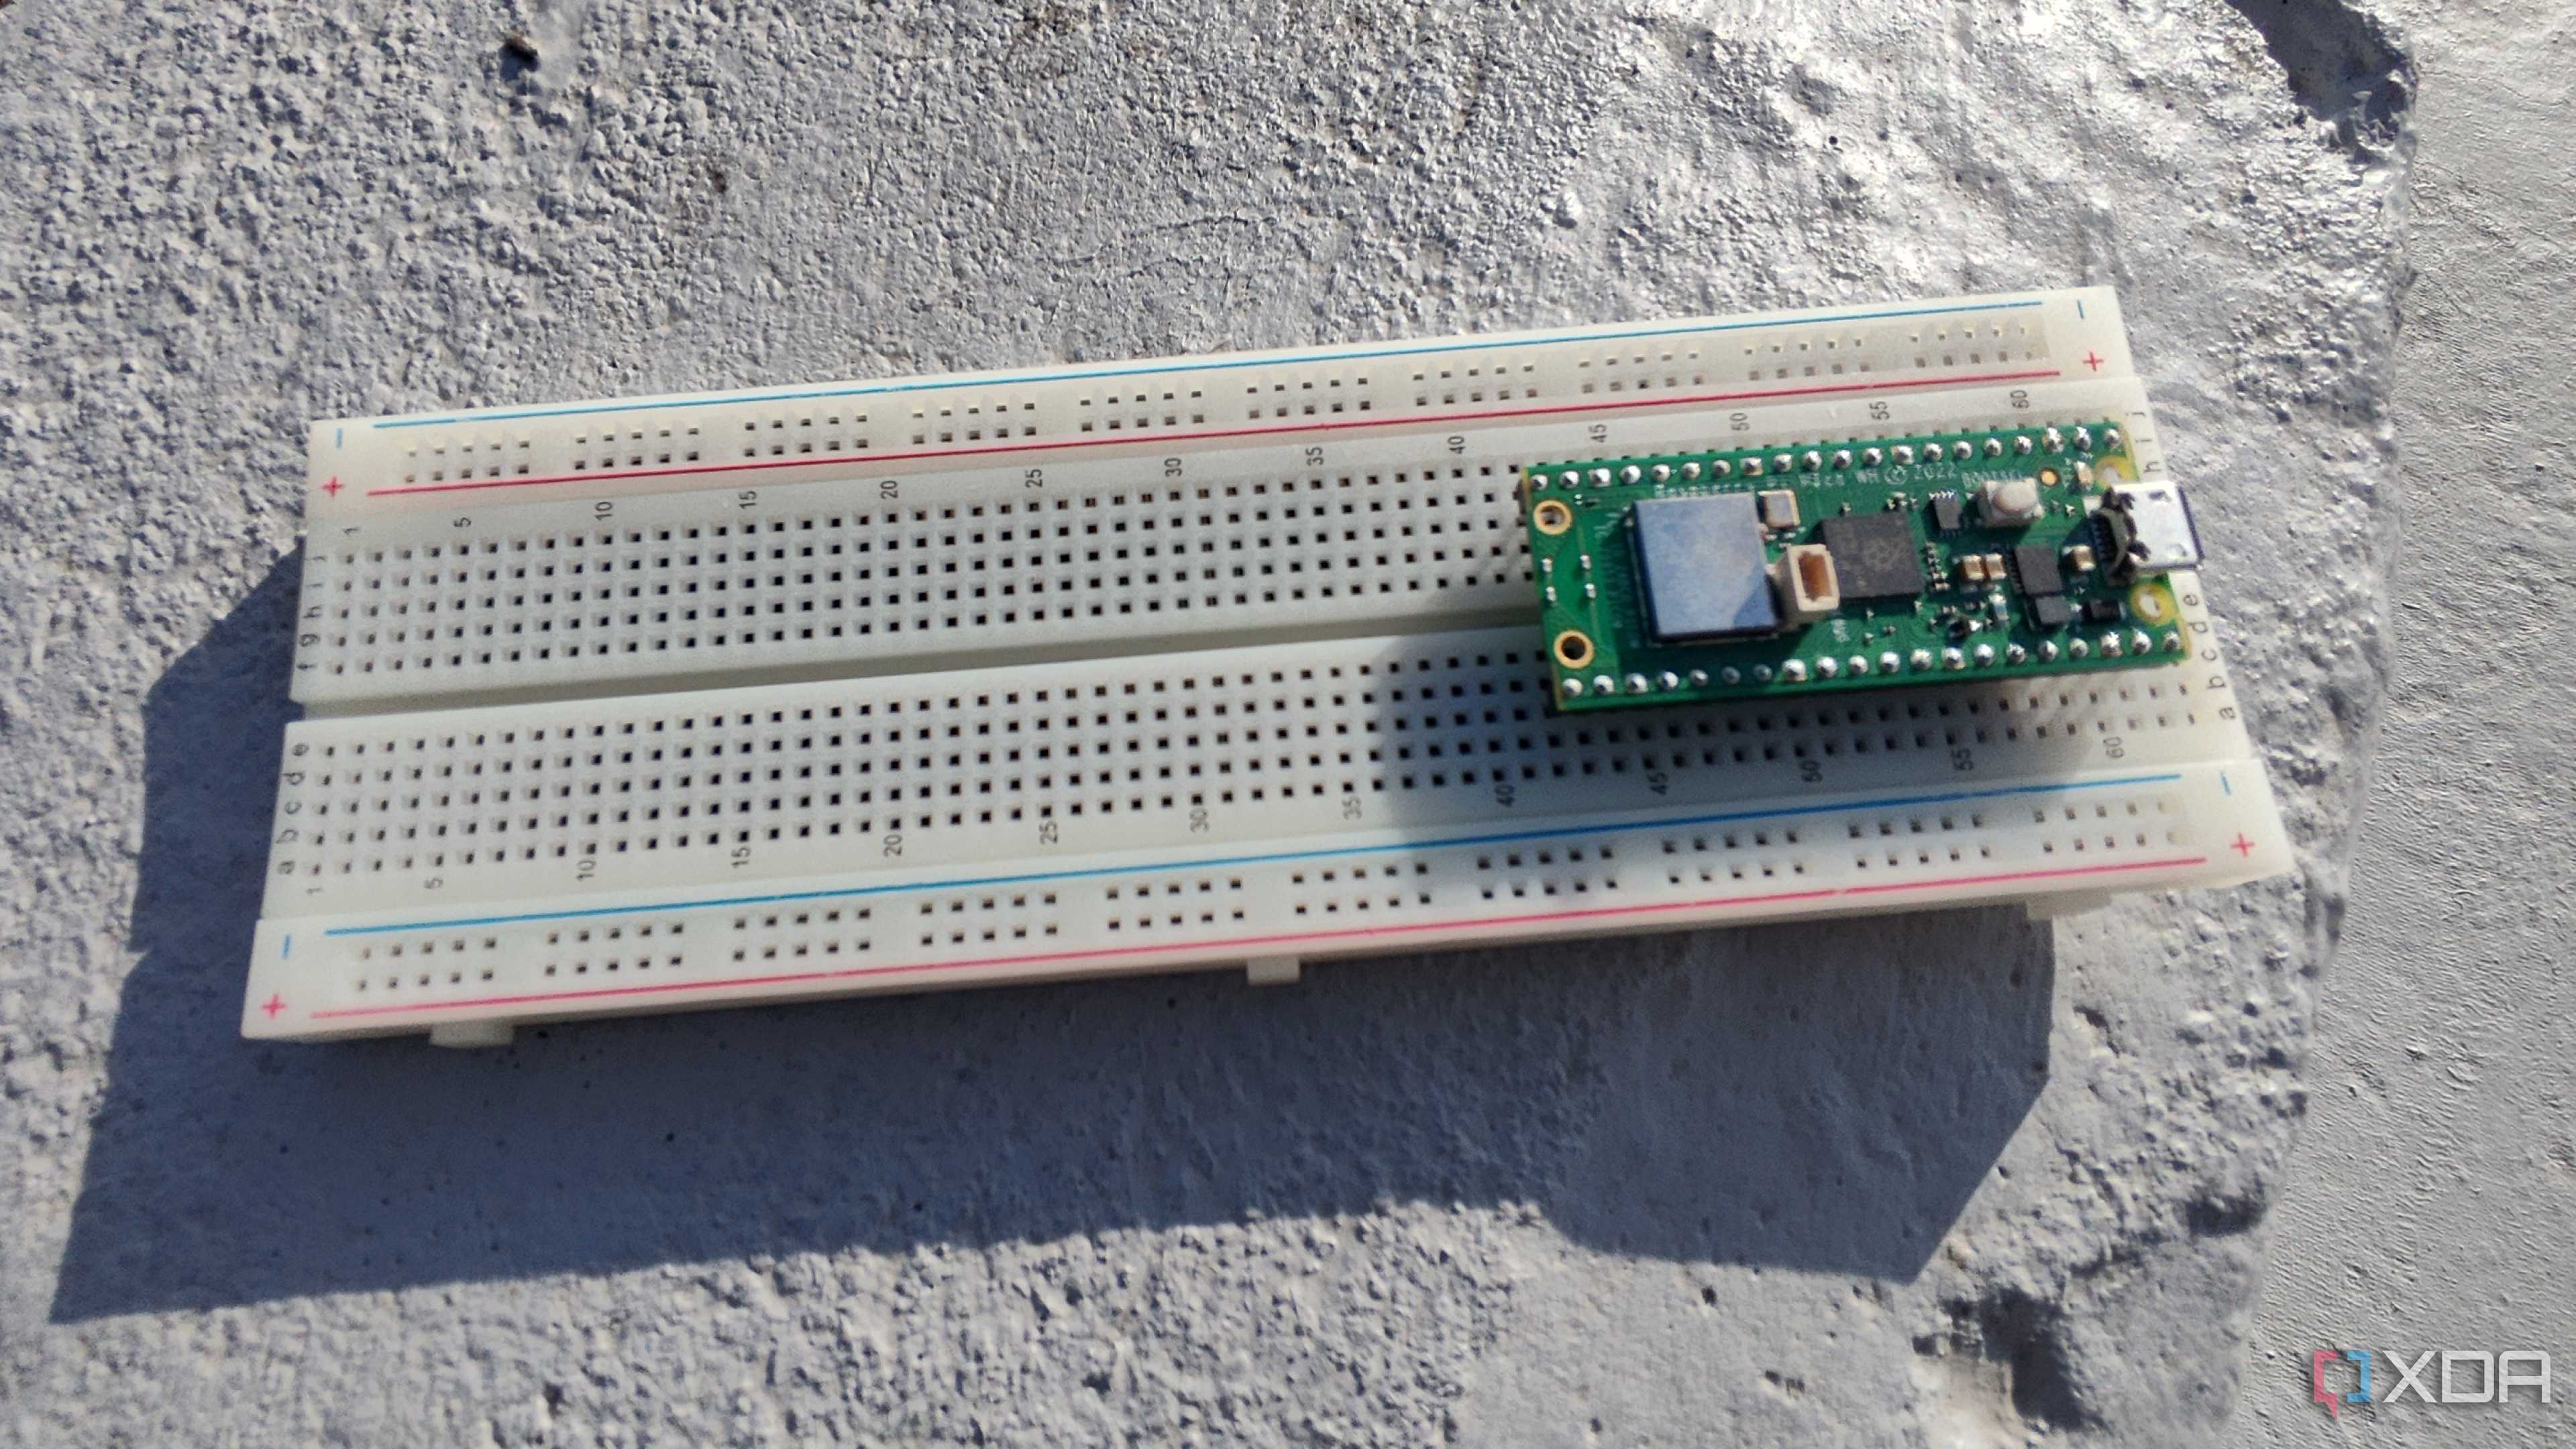
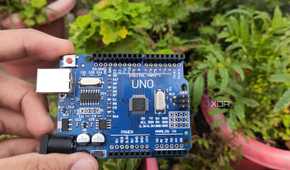
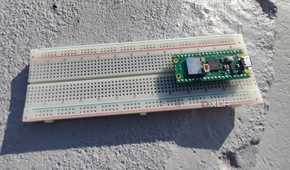
With that, your microcontrollers have been connected to Home Assistant, and you’re free to bring your tinkering fantasies to life. For instance, you can use an ESP32 and a BME280 module to put together a weather station that sends temperature, humidity, and air pressure readings to your Home Assistant server. Or you can use a Raspberry Pi Pico to build some smart LEDs for your computing lab. And once you’ve familiarized yourself with microcontrollers, the sky’s the limit!
