


Excel may be the dominant spreadsheet-editing software, but there are plenty of alternatives that can fulfill your data analysis and number-crunching needs. Whether you’re paranoid about storing your precious files on Microsoft’s servers or want a neat app that doesn’t force you to pay subscription fees, you’ll find plenty of decent Excel alternatives. Grist is one such option that you can self-host on your local hardware, and here’s a byte-sized guide to help you integrate this neat utility into your workflows.
What’s Grist, anyway?
And why should you use it?


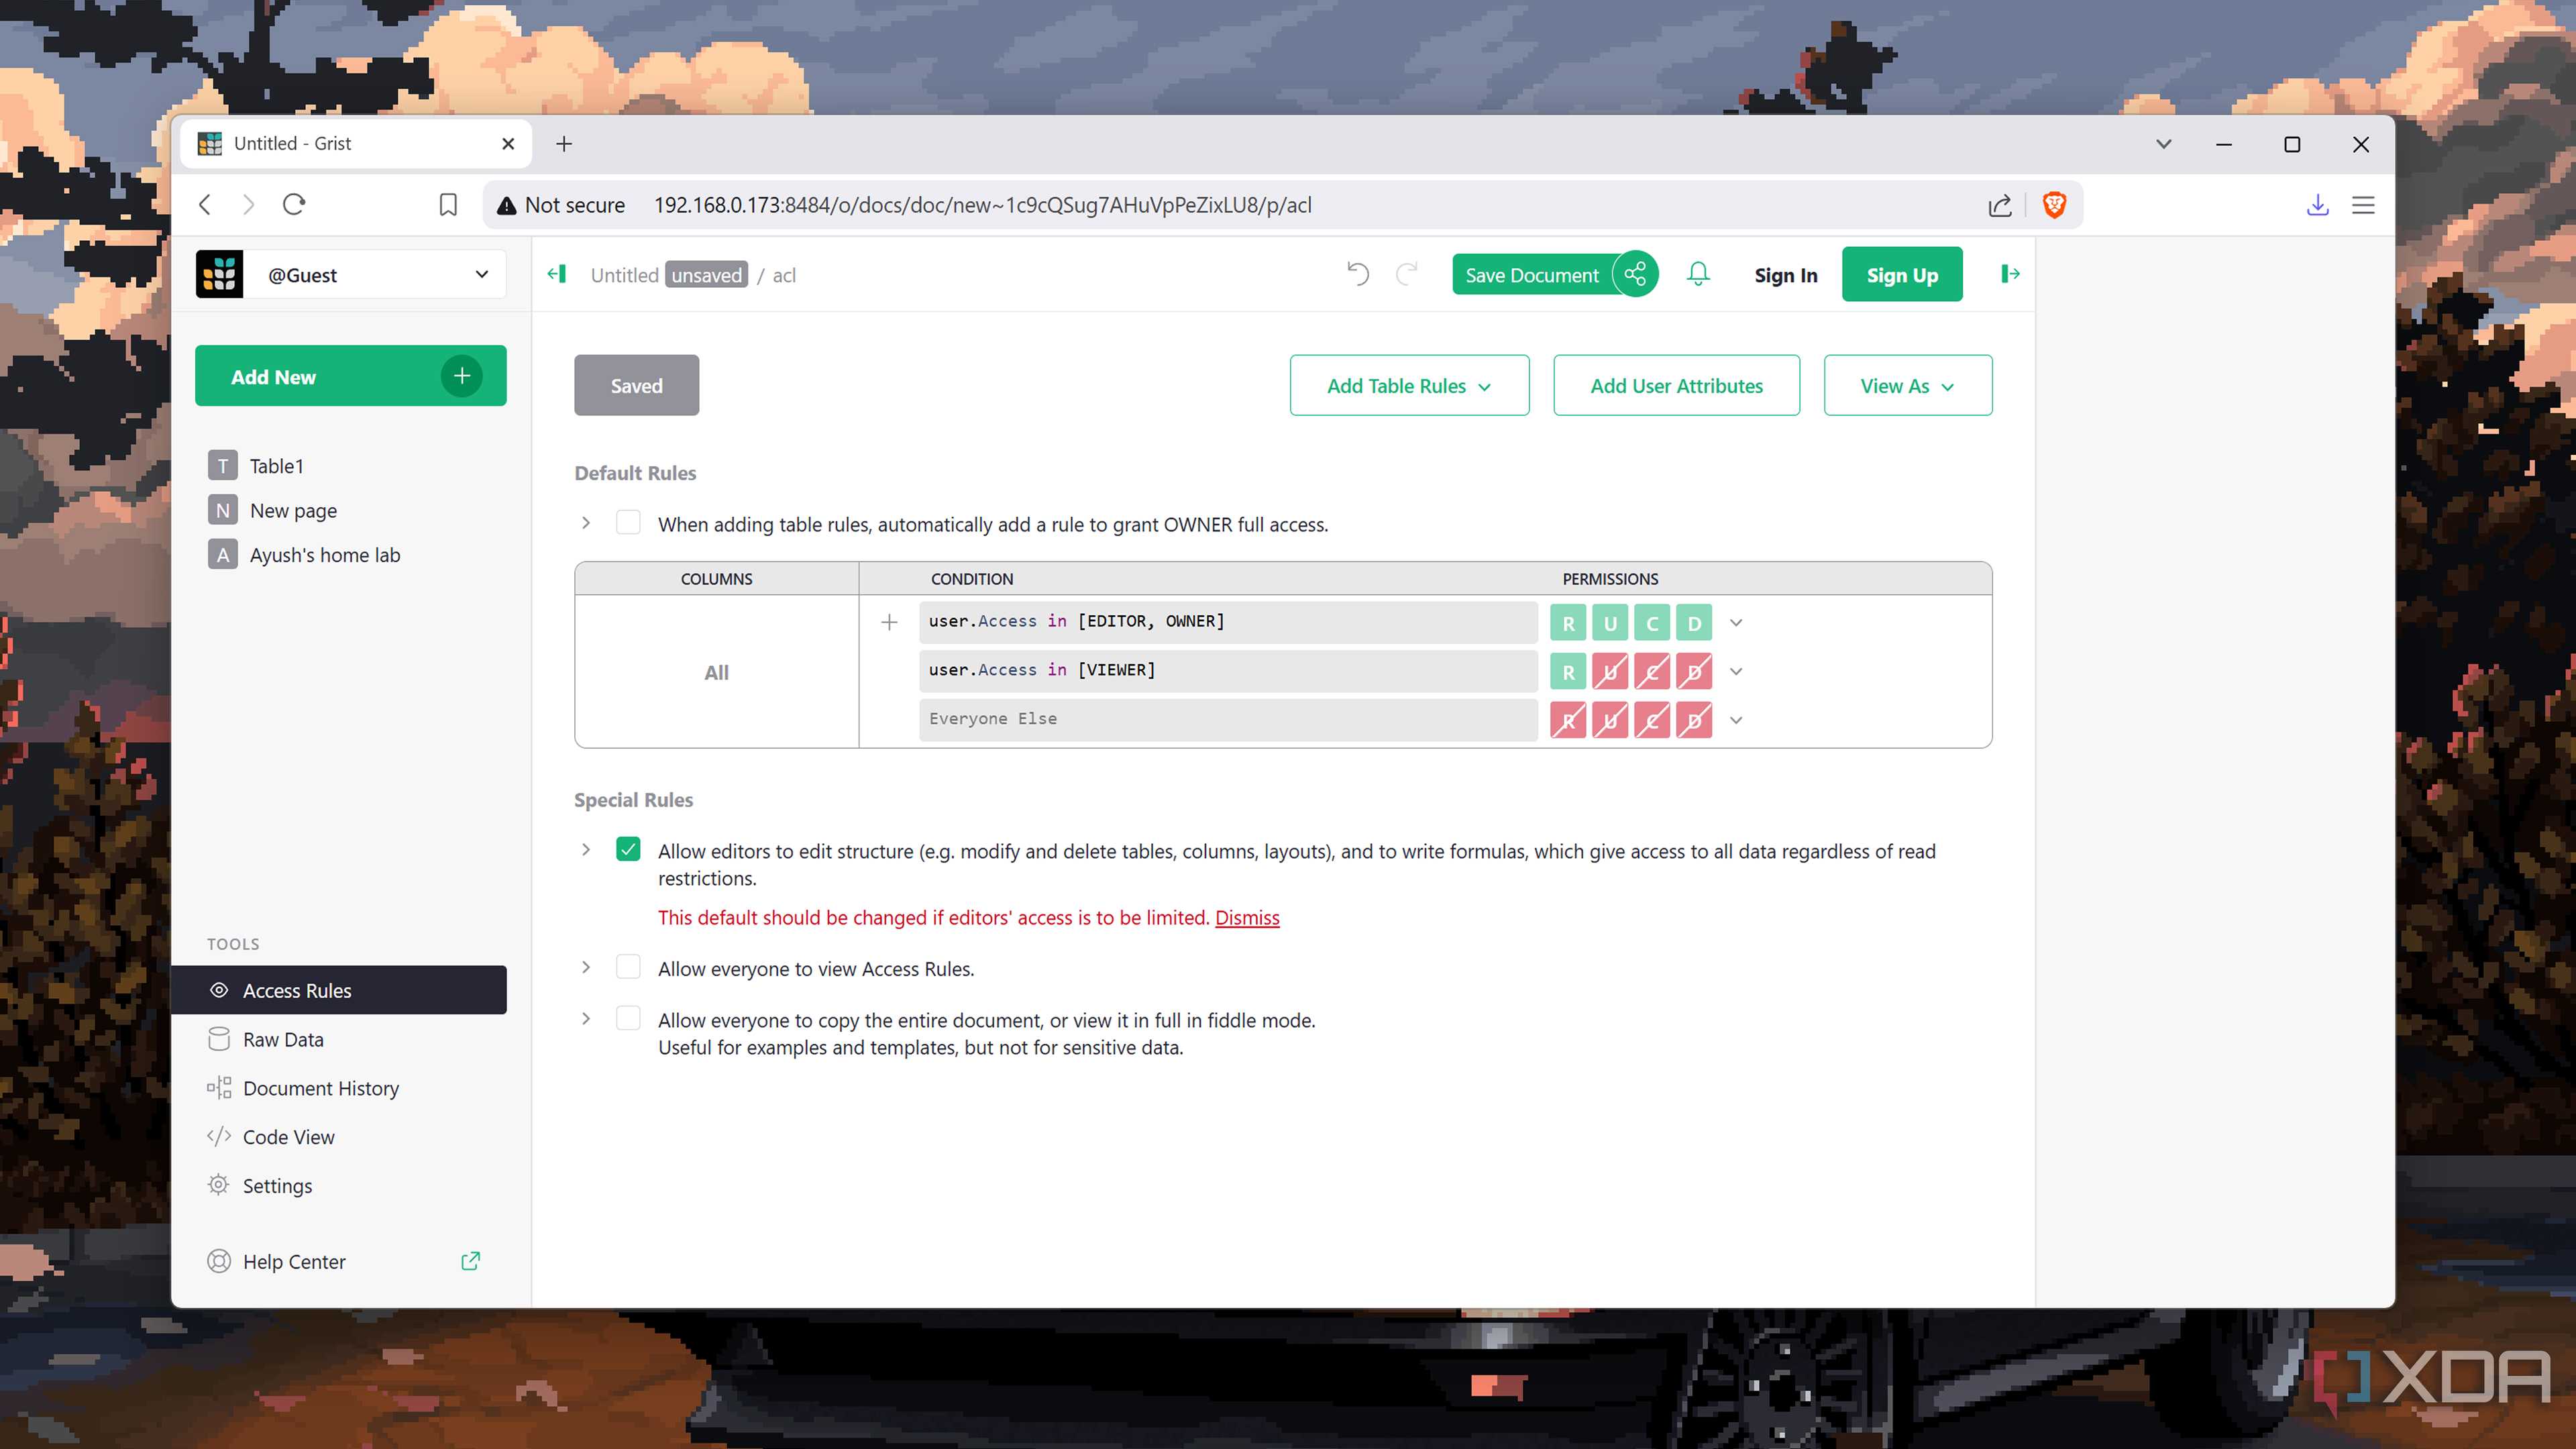
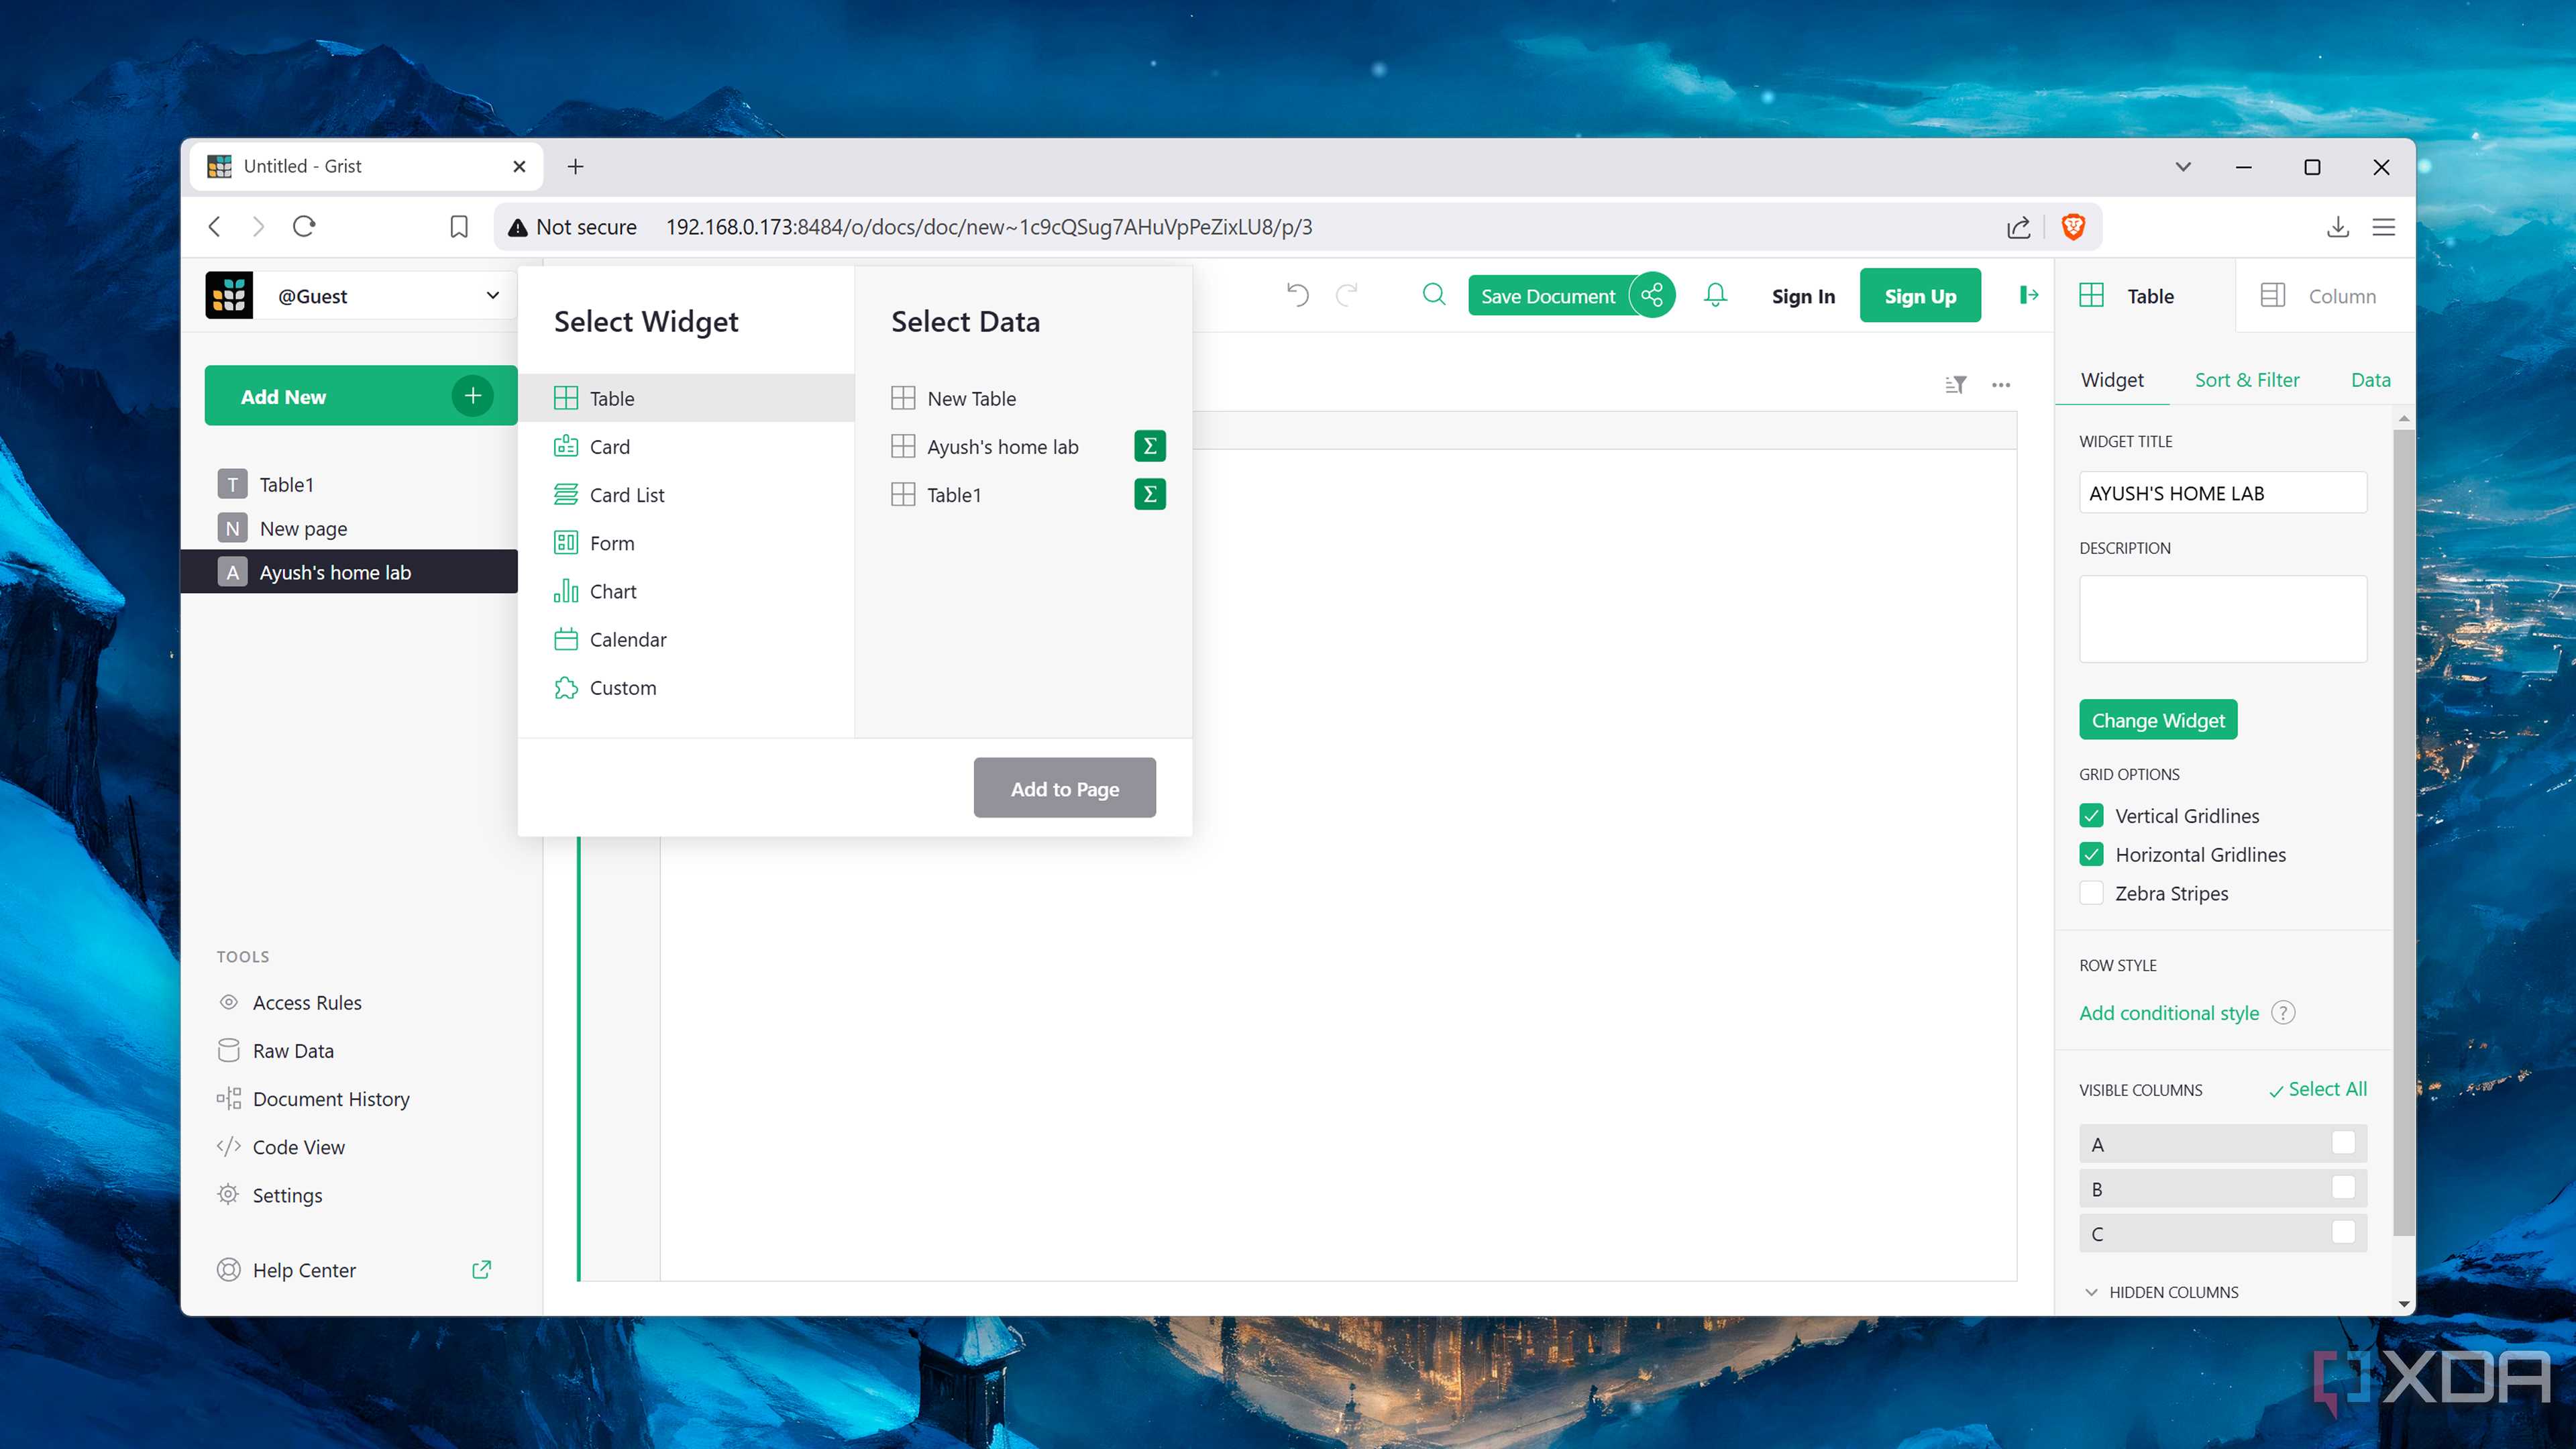
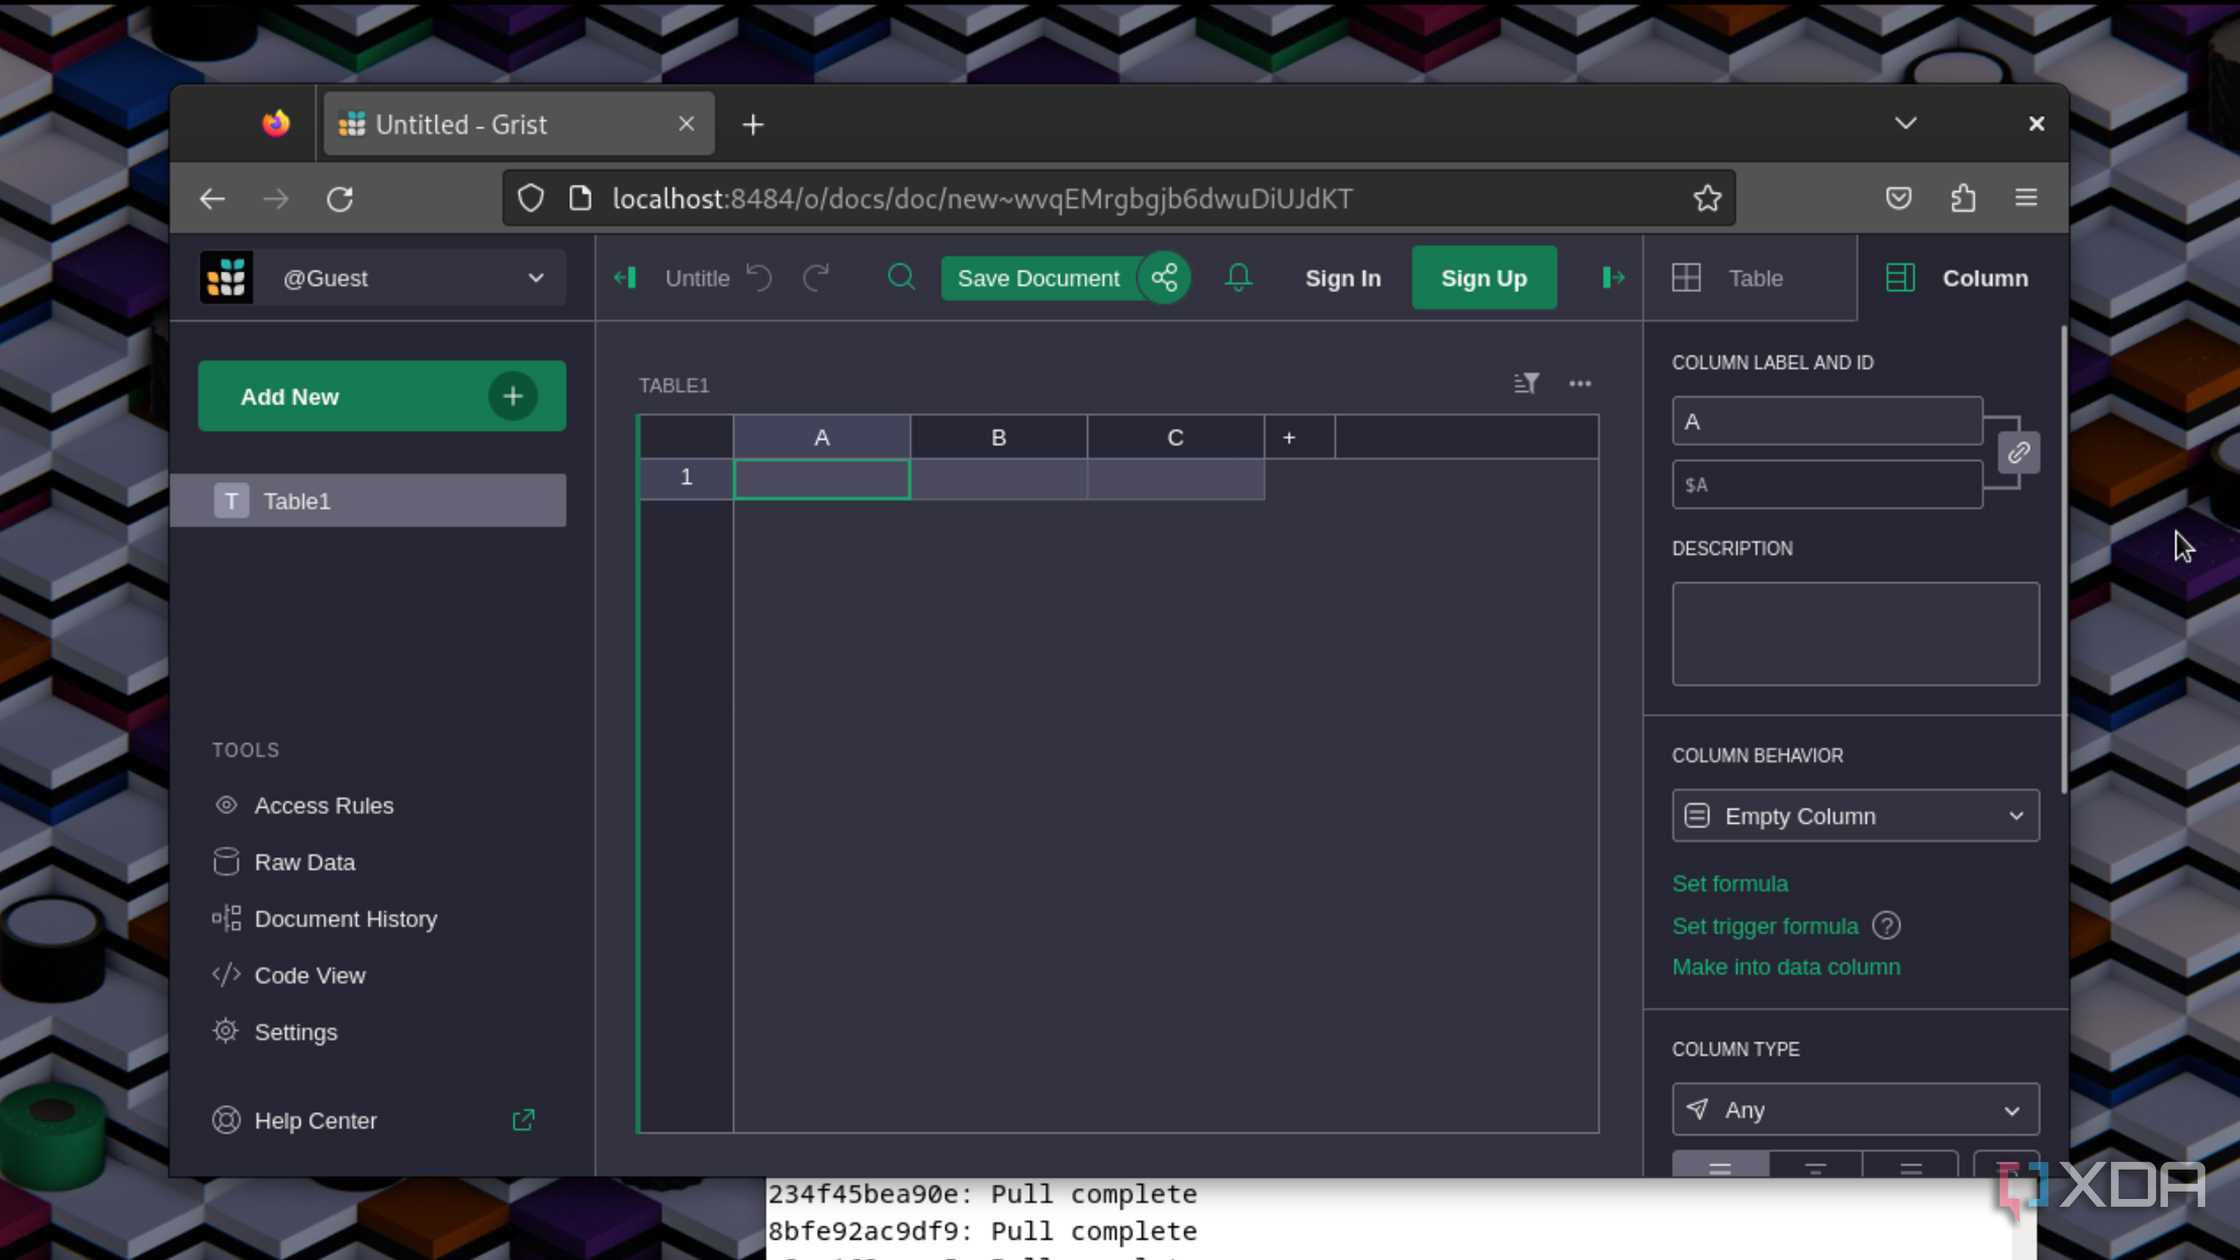
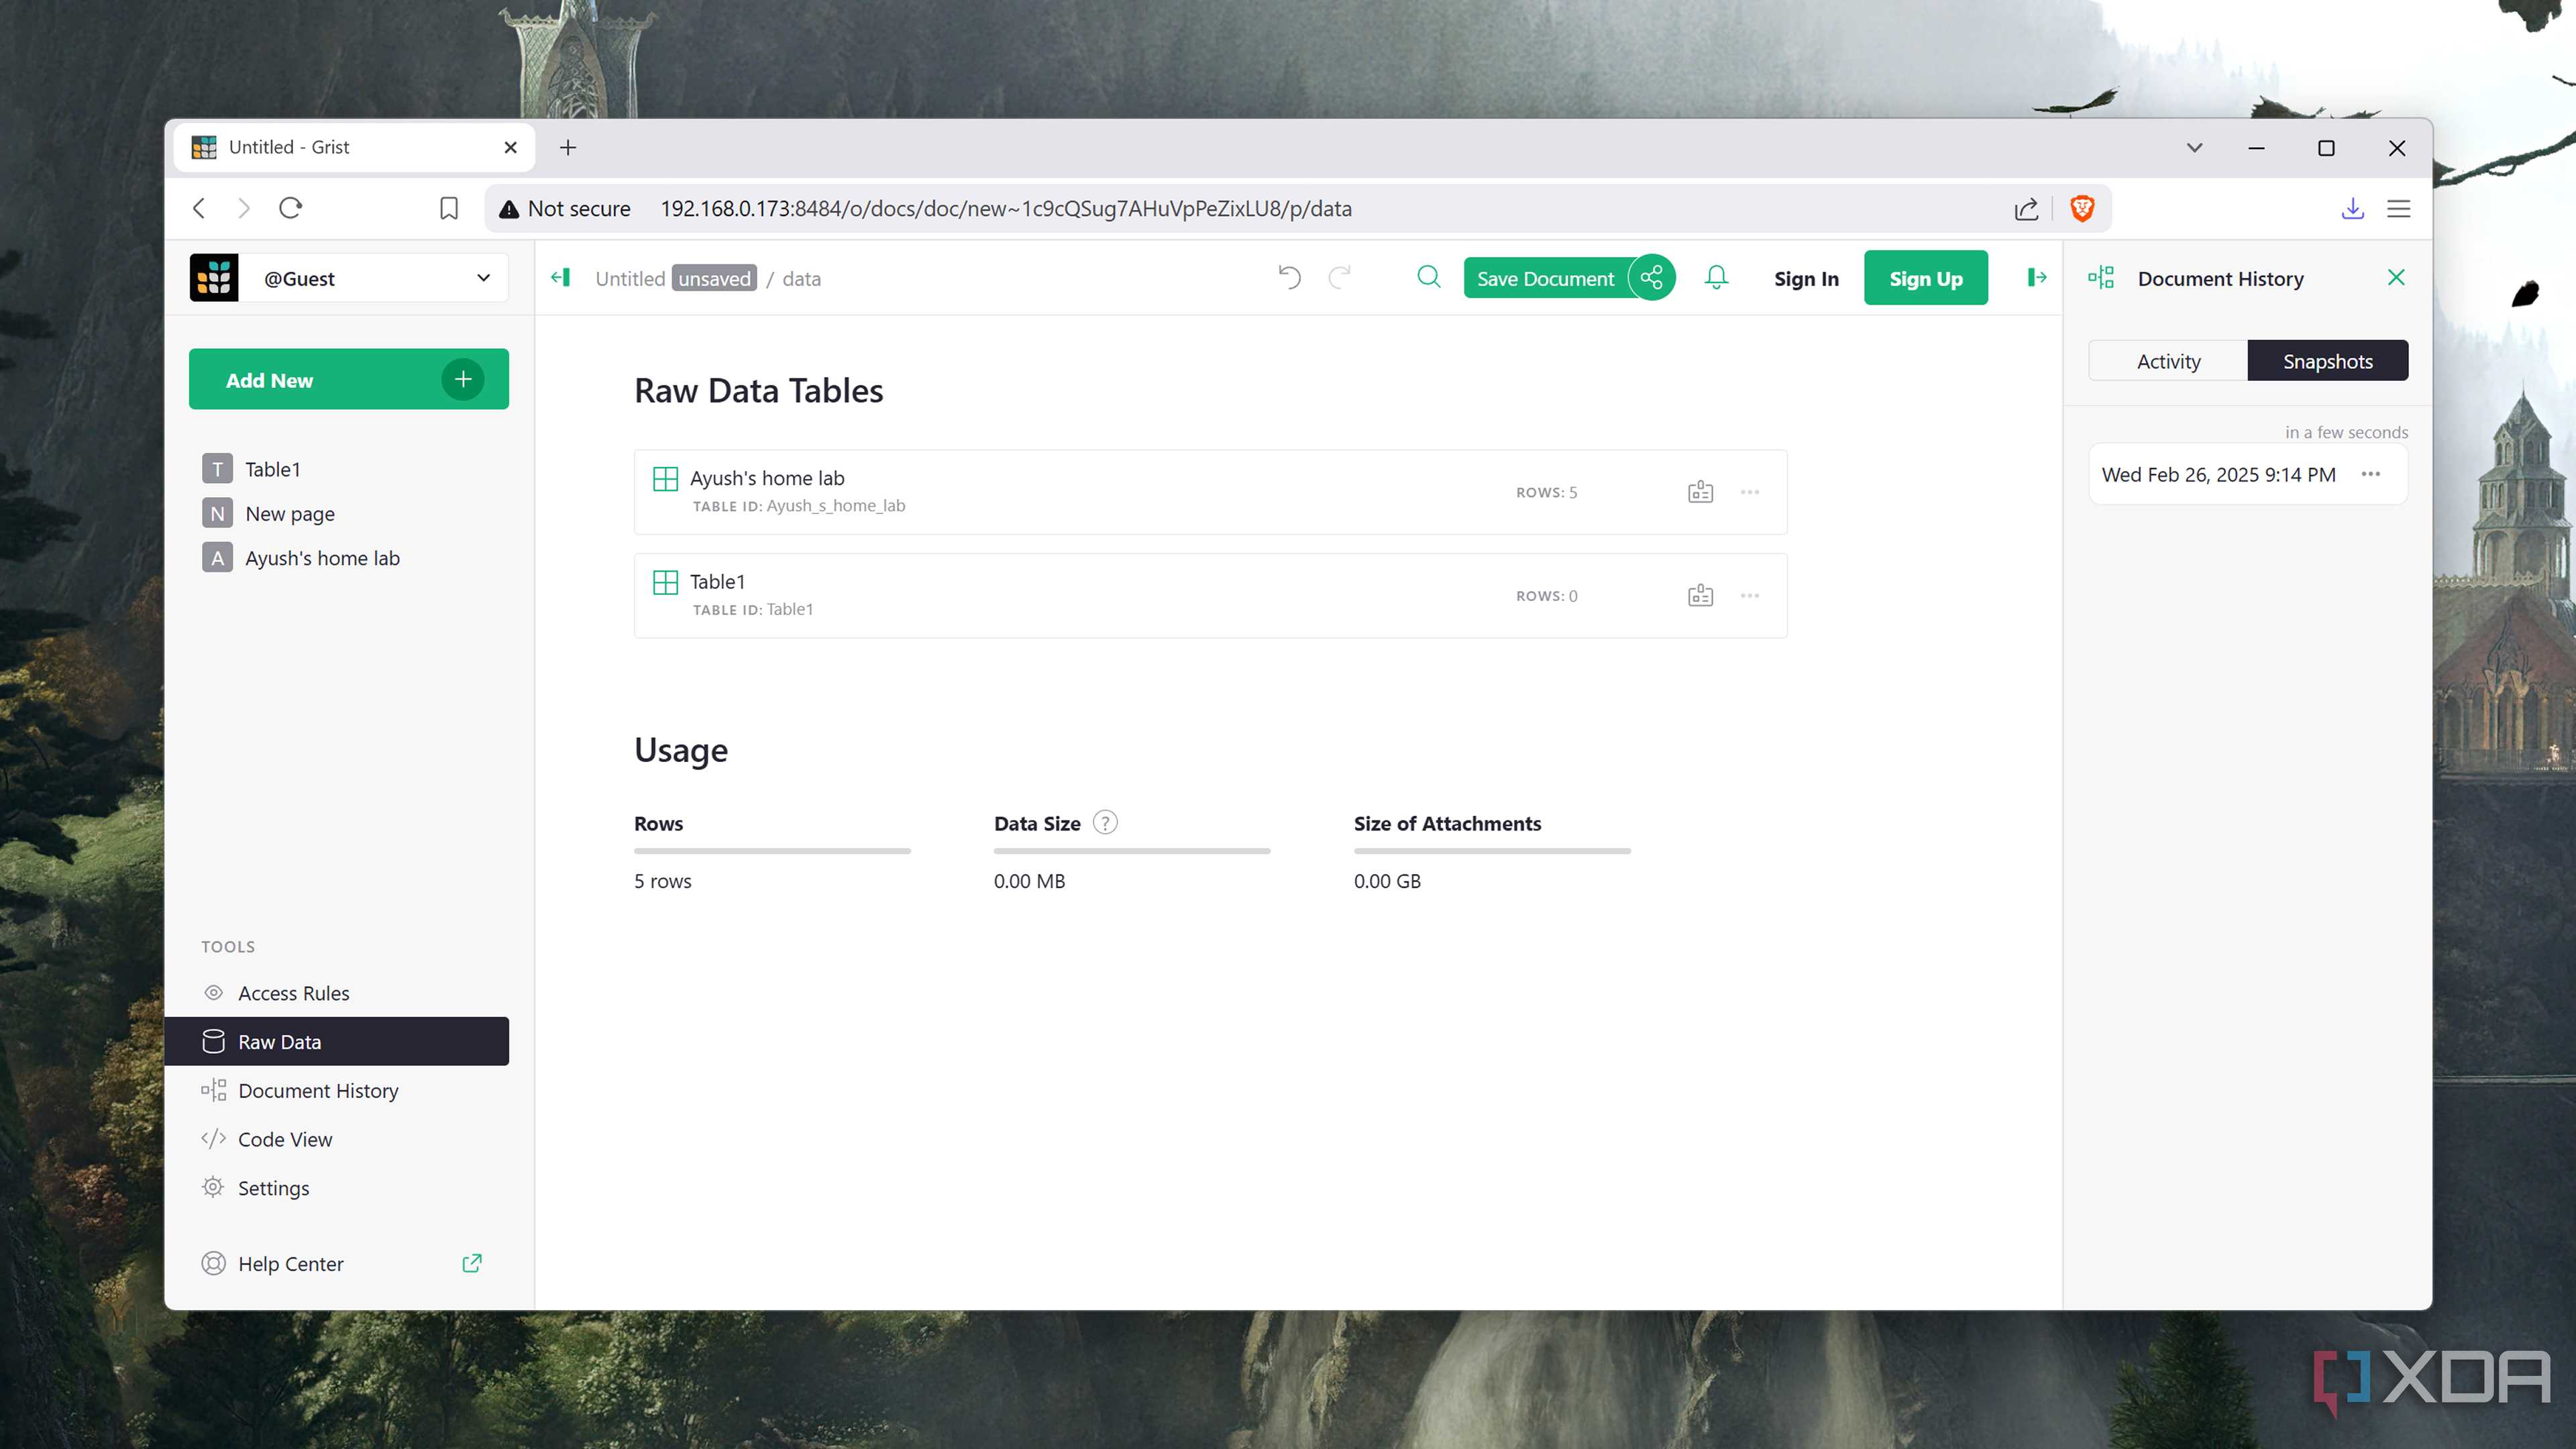
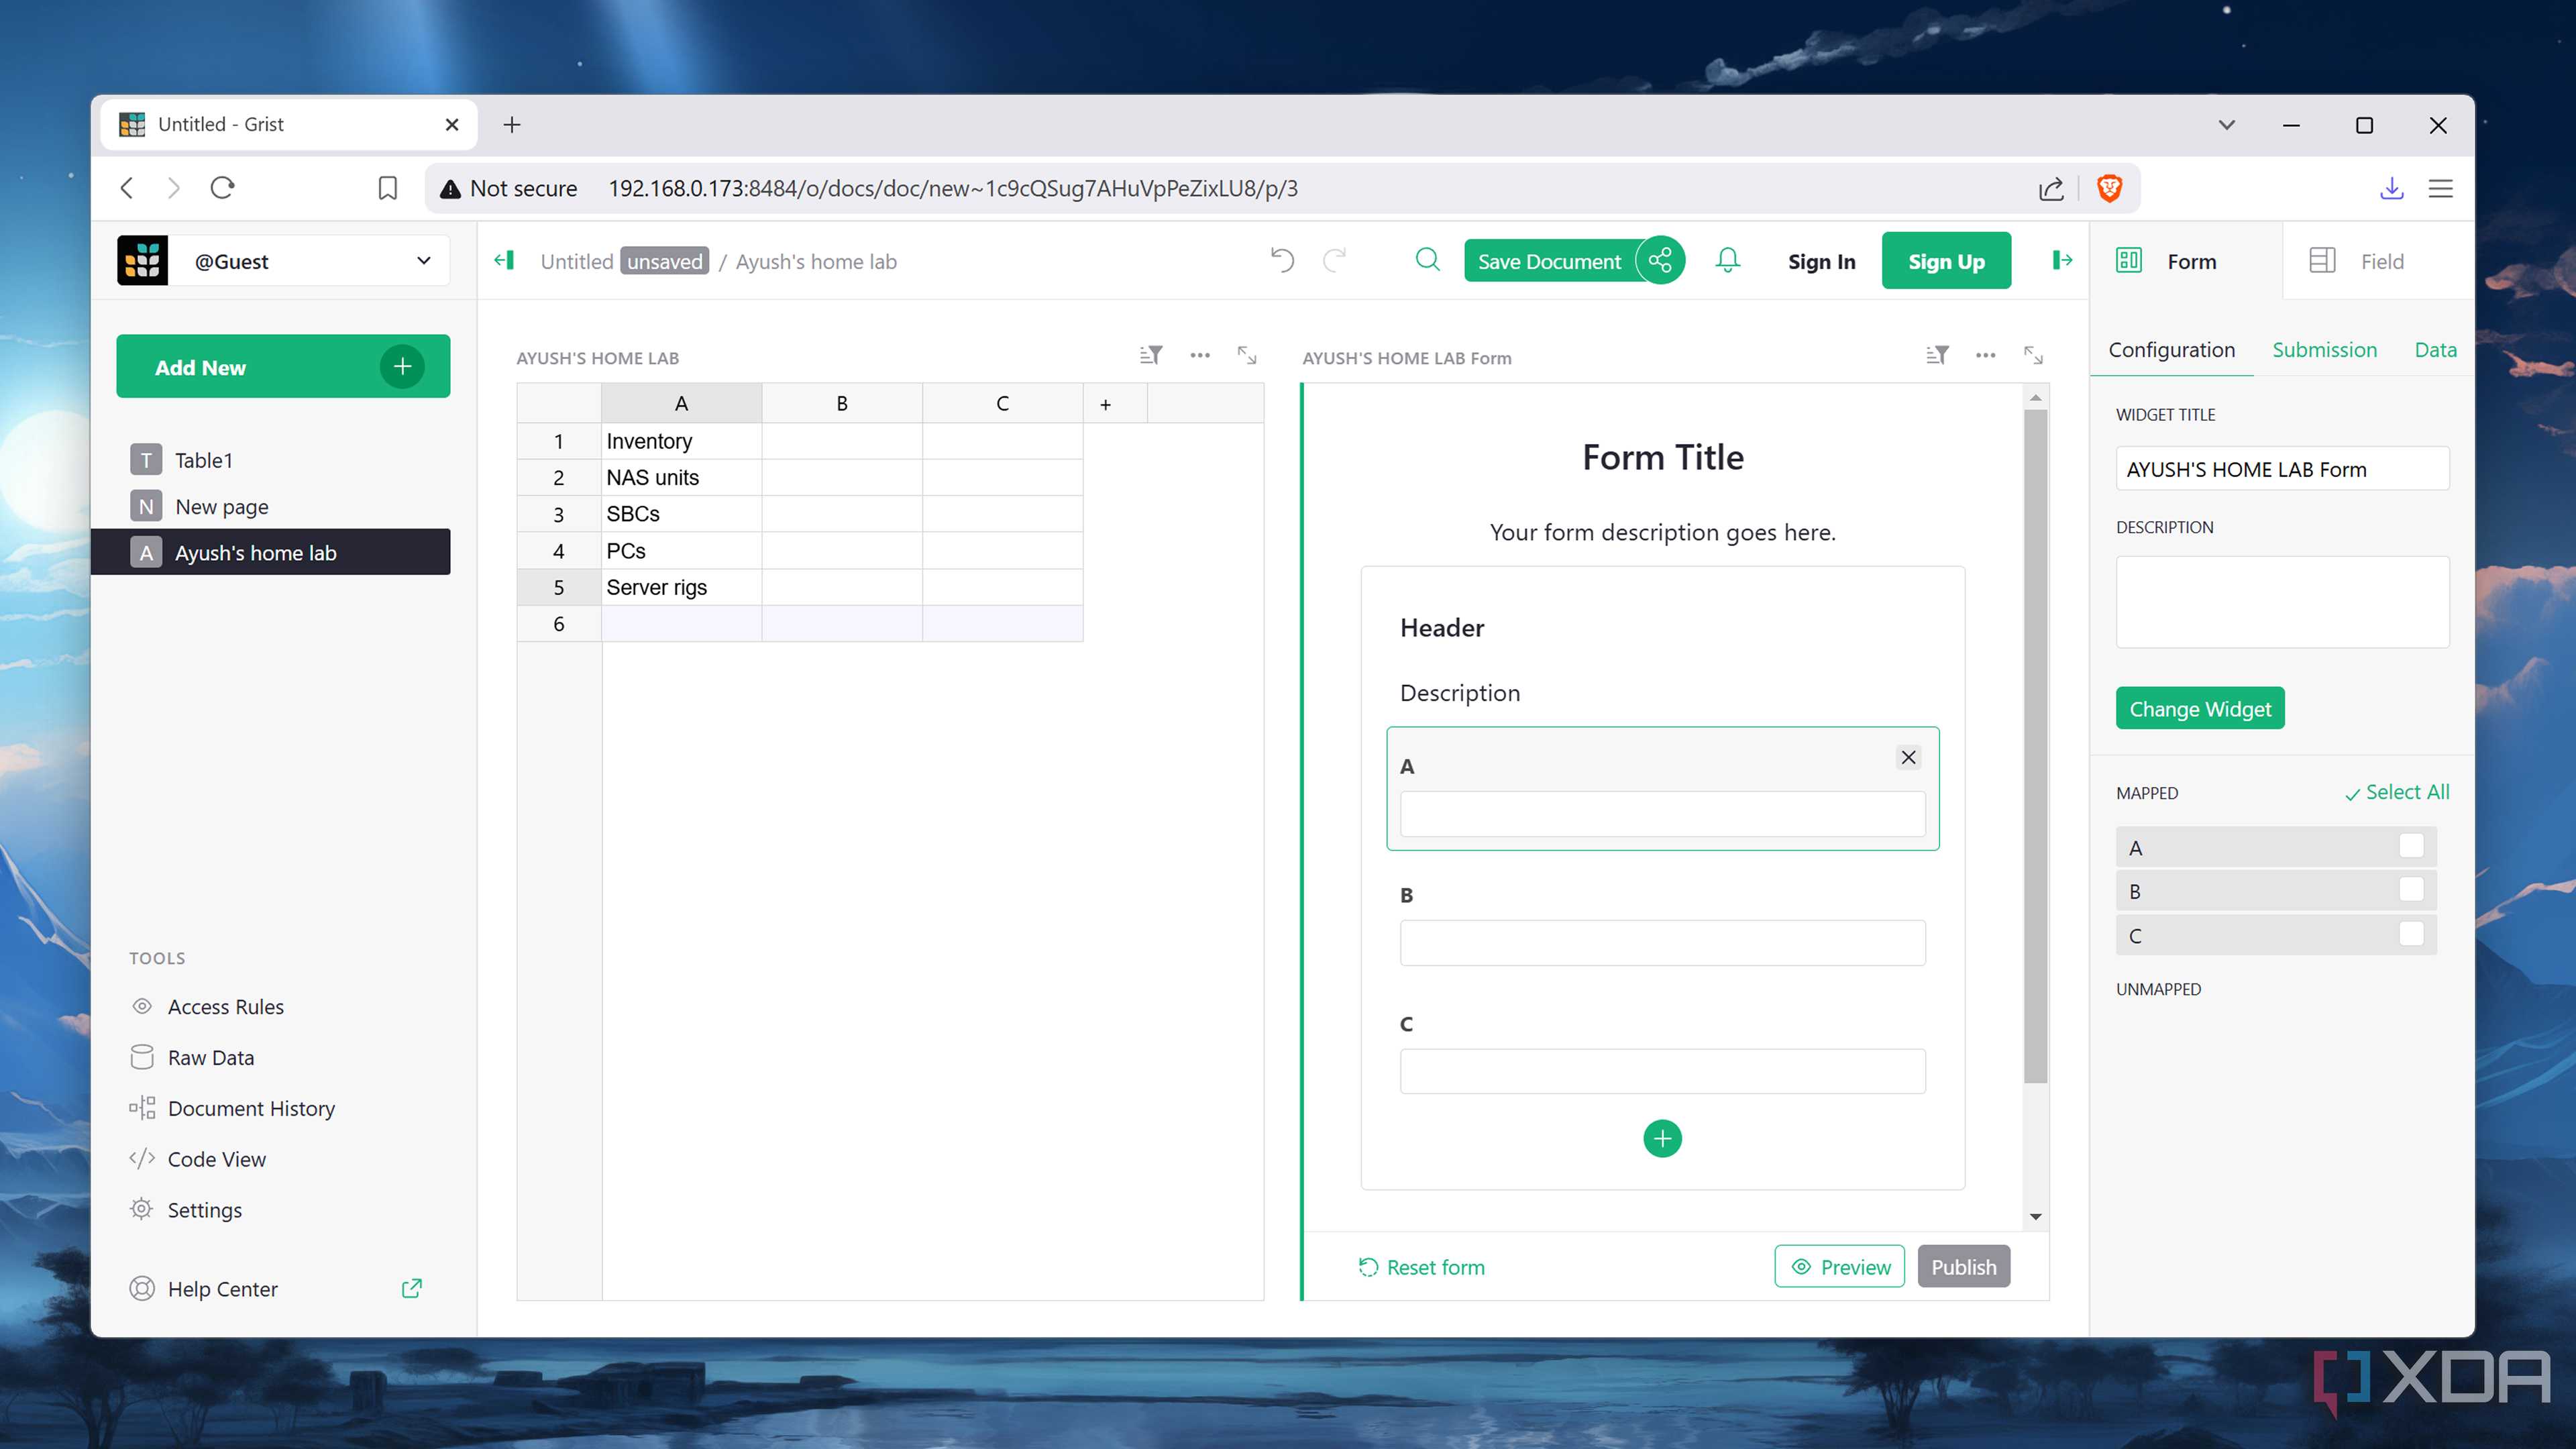
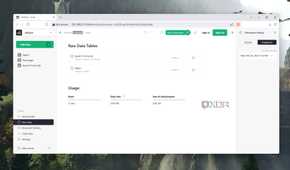
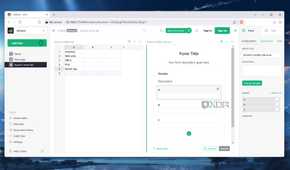
Rather than a full-on Excel clone, Grist combines the best features of Microsoft’s magnum opus spreadsheet tool with the database management utilities of NocoDB, Airtable, and other professional platforms. On the surface, Grist offers a simple spreadsheet UI to access your relational databases. However, its support for Python syntax and Excel formulas makes it perfect for hardcore record-keeping workloads.
Grist also offers multiple ways to view your spreadsheets, and you can even design custom widgets if you’re proficient in coding. For production environments, Grist lets you assign granular access permissions to your spreadsheets and can even be integrated with automation services like n8n.
Deploying a Grist instance
One of the aspects of self-hosted services is the ability to run them via a plethora of methods. For instance, Proxmox users can leverage the neat Proxmox VE-Helper Scripts repository to quickly whip up a Grist container:
-
Head to the Shell tab of your preferred Proxmox node.

-
Paste the following command into the terminal UI and hit Enter.
bash -c "$(wget -qLO - https://github.com/community-scripts/ProxmoxVE/raw/main/ct/grist.sh)"

-
Hit Yes when the script asks for confirmation to create the LXC container.

-
If you don’t want to dabble in custom configurations, choose the Default Settings option.

-
Wait for the script to finish setting up the Grist container before accessing its web UI with the link displayed at the bottom of the terminal.


Alternatively, you can set up Grist inside a Docker container. Assuming you have Docker Engine installed on your barebones OS/virtual machine, you can follow these steps to get the Grist instance up and running on your system:
- Open the terminal utility included in your Linux distro.
-
Download the latest Grist image using the docker pull command.

sudo docker pull gristlabs/grist
-
Execute the docker run command with the -v parameter to assign a storage volume to the Grist container:

sudo docker run -p 8484:8484 -v $PWD/persist:/persist -it gristlabs/grist
-
You can access the web UI by typing localhost:8484 into the Address bar of your favorite browser.

-
Alternatively, you can access the Grist interface from any device connected to your network by replacing the localhost string with the IPv4 address of the machine running the container.


Manage spreadsheets like a pro with Grist

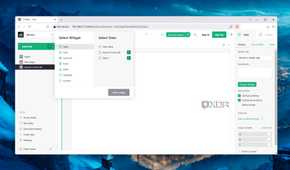
While I typically include some beginner tips and pointers in my guides, Grist has a fairly straightforward UI. Once you’ve added or imported a spreadsheet, you can go about your data analysis workflow with the Excel-esque layout. Aside from the formula, trigger formula, and conditional style options, the Add widgets button is another helpful utility for number-crunching experts, as it lets you use different views for your spreadsheets.
