


Swapping out an old hard disk drive for an SSD is one of the best upgrades you can make for your computer in 2024. It's true that SSDs are more expensive than your regular hard drives, but this upgrade is sure to breathe new life into your system's performance. The only downside to this is that you may not get a lot of storage for the money, making it very easy to run out of space on your system. But it's nothing a bit of clean up can't fix, which is why it is important to declutter your SSD occasionally. If you are wondering how to do it, then read on to find out how you can clean your SSD and free up space for all your games, pictures, videos, or whatever you want on your PC.
Clear the temporary files
Quick and easy cleanup tip
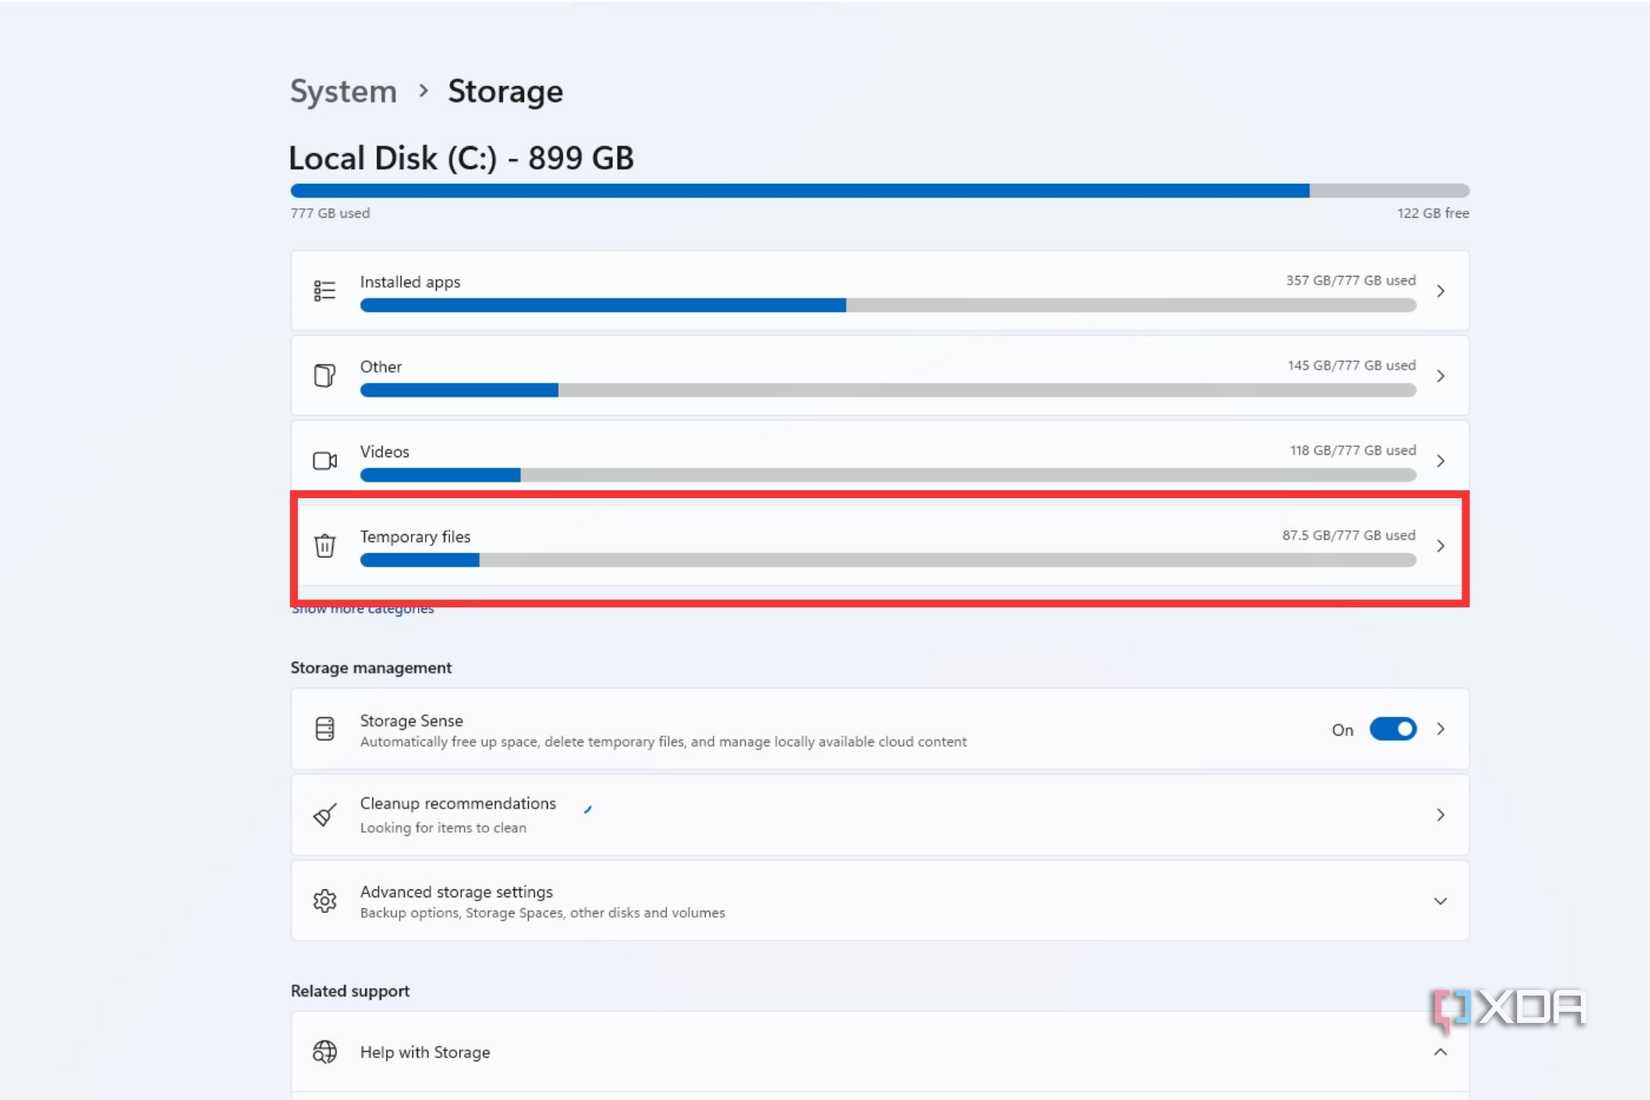
It's no secret that temporary files accumulate on your system, and they can take up a lot of space if you don't pay attention. Most cleaning utilities and even the built-in tools like Disk Cleanup target these files first, so why not handle them yourself occasionally to ensure they don't become a culprit in your cluttered SSD case? To find the temporary files:
- Press Windows + I on the keyboard to access the Windows Settings page.
-
Locate and click on the System settings on the left side.

-
Click Storage, and then select Temporary files.
-
Click the Refresh button.

-
Click the checkboxes to select/deselect items.
-
Hit the Remove files button once you select the files to clean up.


Uninstall unwanted apps
Get rid of the apps and games you haven't opened in ages
Getting rid of unwanted apps and games is another obvious step in cleaning up the SSD. We all have those apps that we installed ages ago and completely forgot they exist, right? Well, it's time to say goodbye to them, and put the space they're occupying to better use. To uninstall them:
- Press Windows + I to open Settings.
-
Click Apps on the left and select Installed Apps.

-
Click the drop-down next to the Sort by option and select Size (Large to small).

-
Locate the app you want to uninstall and click the three-dot icon next to it.

-
Select the Uninstall button twice to remove that particular app.


Run disk cleanup frequently
Among the best free utilities
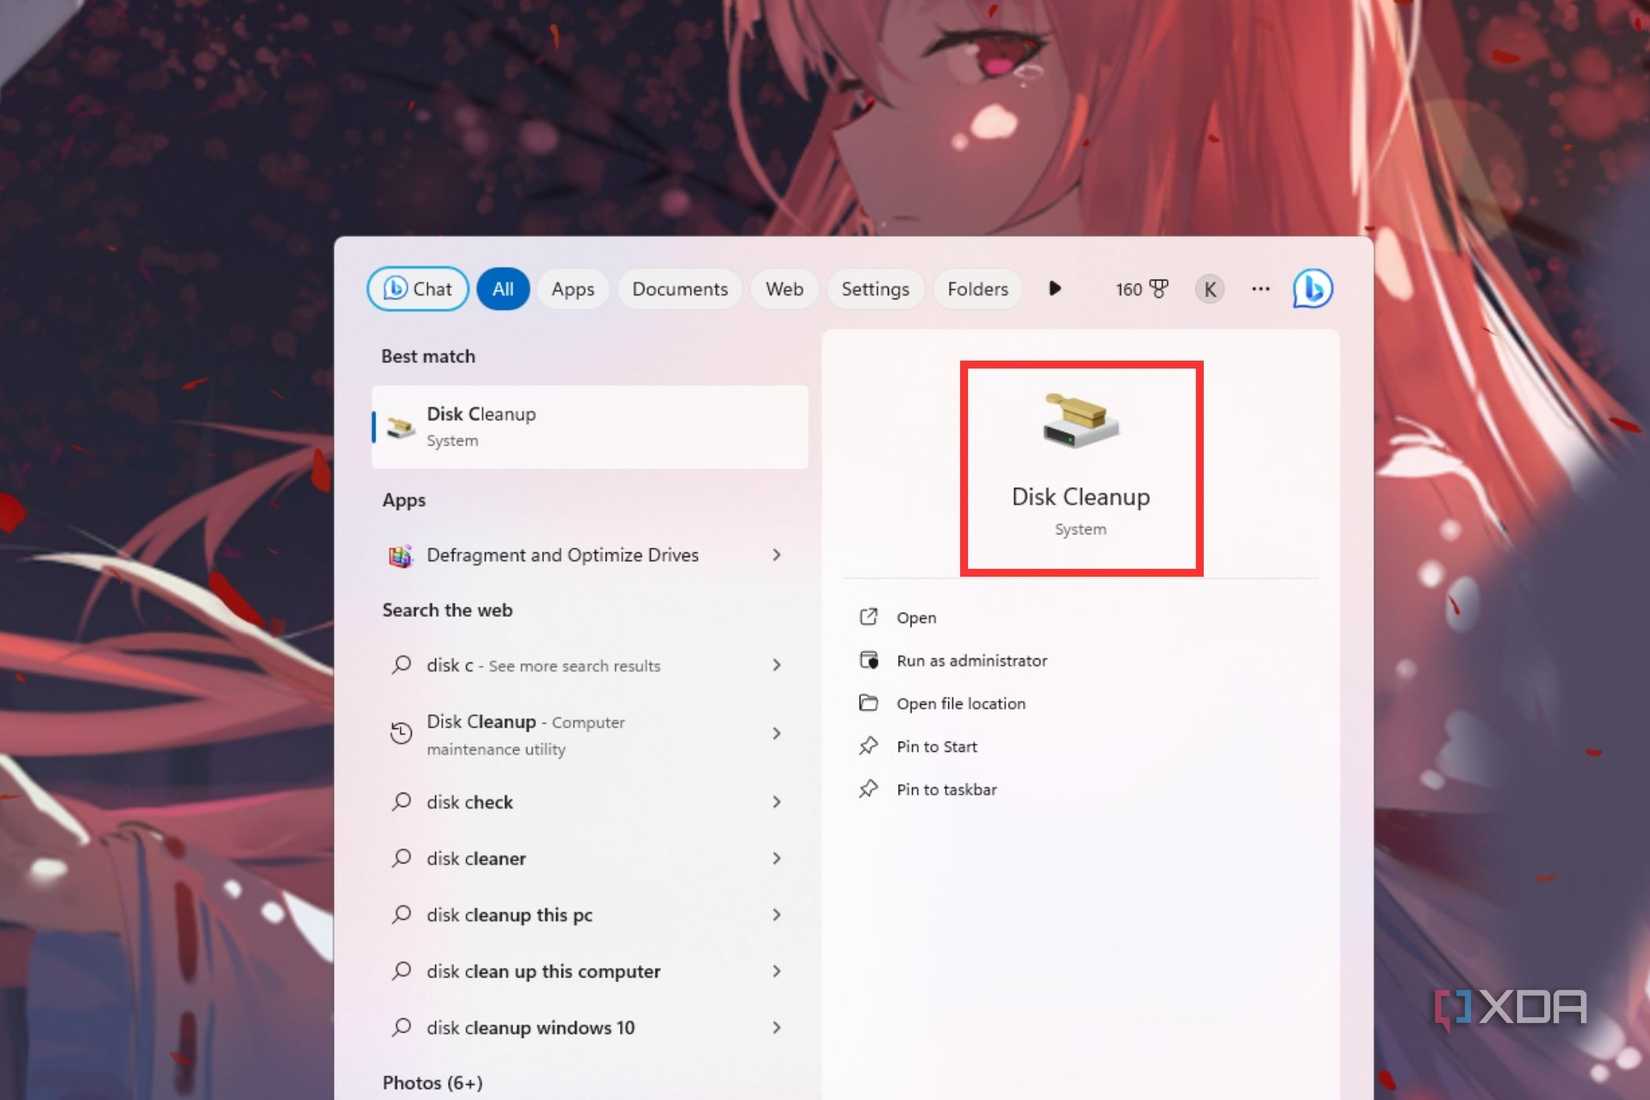
Disk Cleanup is a free Windows utility tool to free up space by cleaning unnecessary files. It's fairly simple to use, and it only takes a few minutes to get the job done and free up space on your SSD. To use it:
- Press the Start button and type Disk Cleanup.
-
Select the Disk Cleanup utility to open it.
- Select the drive you want to clean if you have more than one.
-
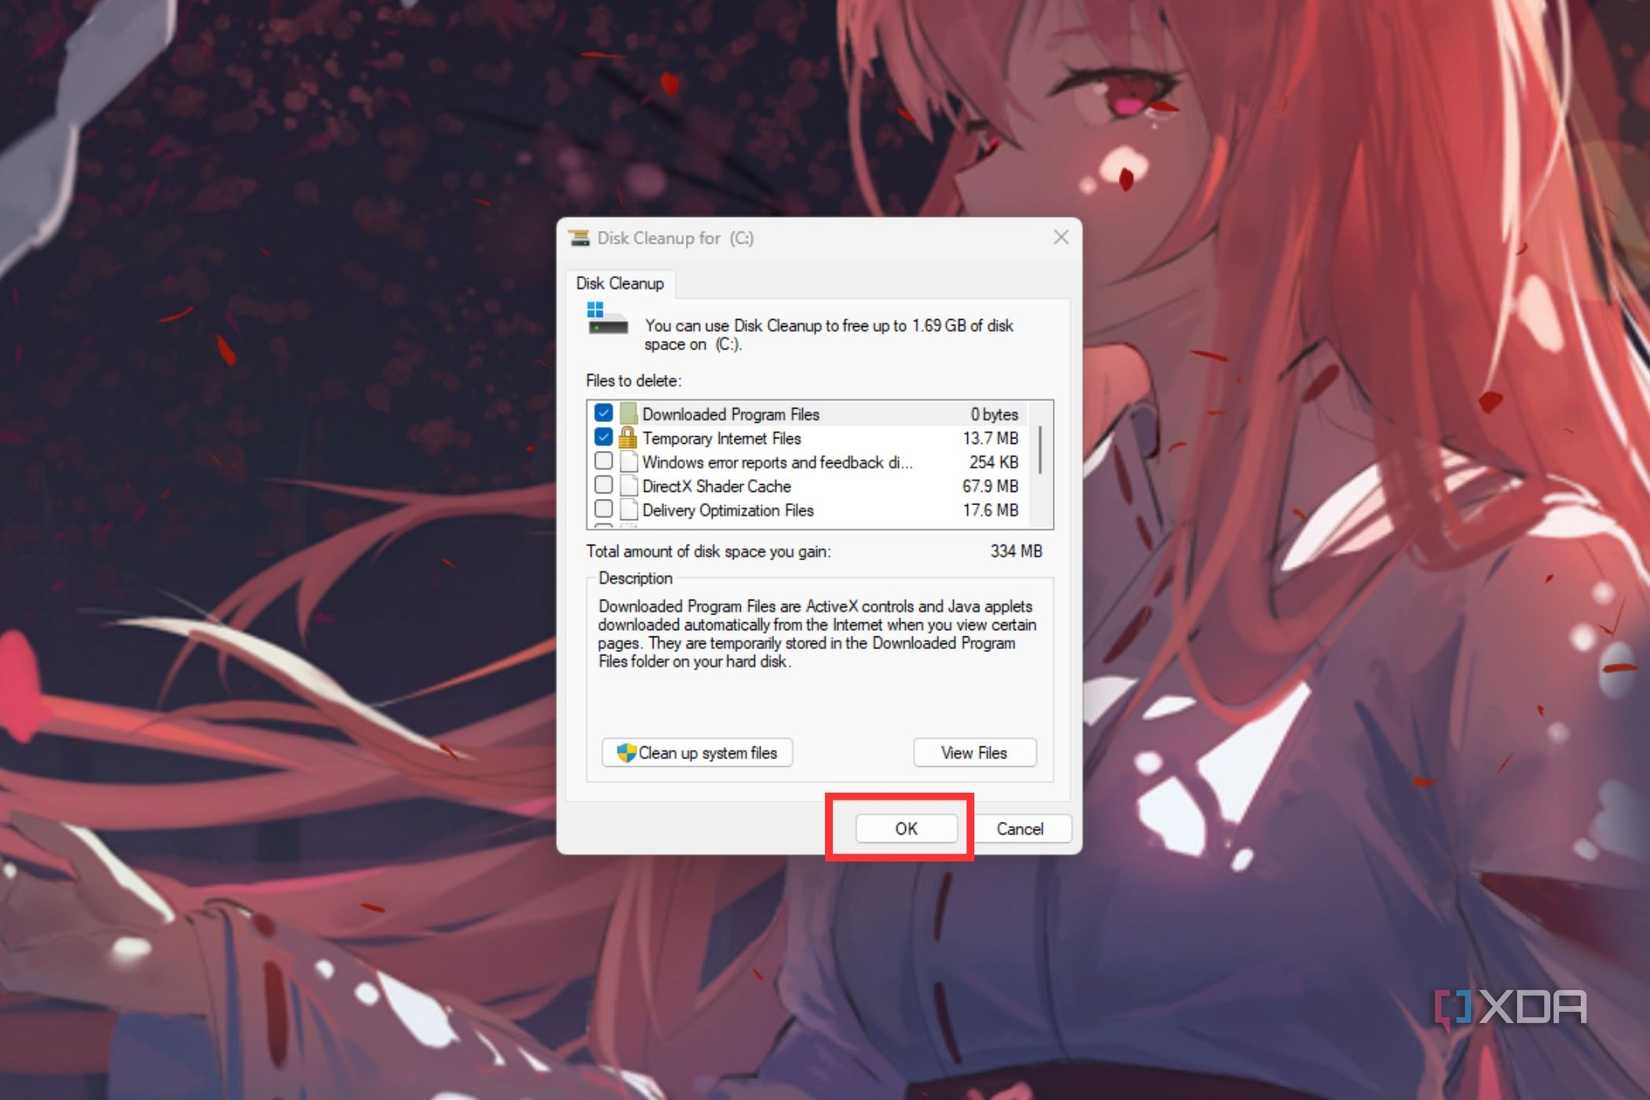
The Disk Cleanup utility calculates how much space you can free up.

-
Click the checkboxes to select/deselect items, and select OK when done.
-
Select Delete Files when prompted to clean up the unnecessary files on your machine.


Use Storage Sense to automatically free up space
Let the OS take charge
Windows Storage Sense is a simple utility tool that helps you manage your storage space. You can configure it to remove items you don't need, like temporary files. Storage Sense will automatically delete content from the Recycle Bin by default after some time, but it'll only delete the items in your Downloads folder and OneDrive if you've set it up to do so. This particular feature is disabled by default. To enable it:
- Press Windows + I to open Windows Settings.
-
Select System and locate the Storage option.
-
Look for Storage Sense on the Storage Management tab and click the toggle to enable it.

- Select the Storage Sense option to expand all the settings.
-
Adjust the frequency of content cleanup based on your requirements.


Use a third-party tool to clean the SSD
Plenty of both free and paid utilities out there
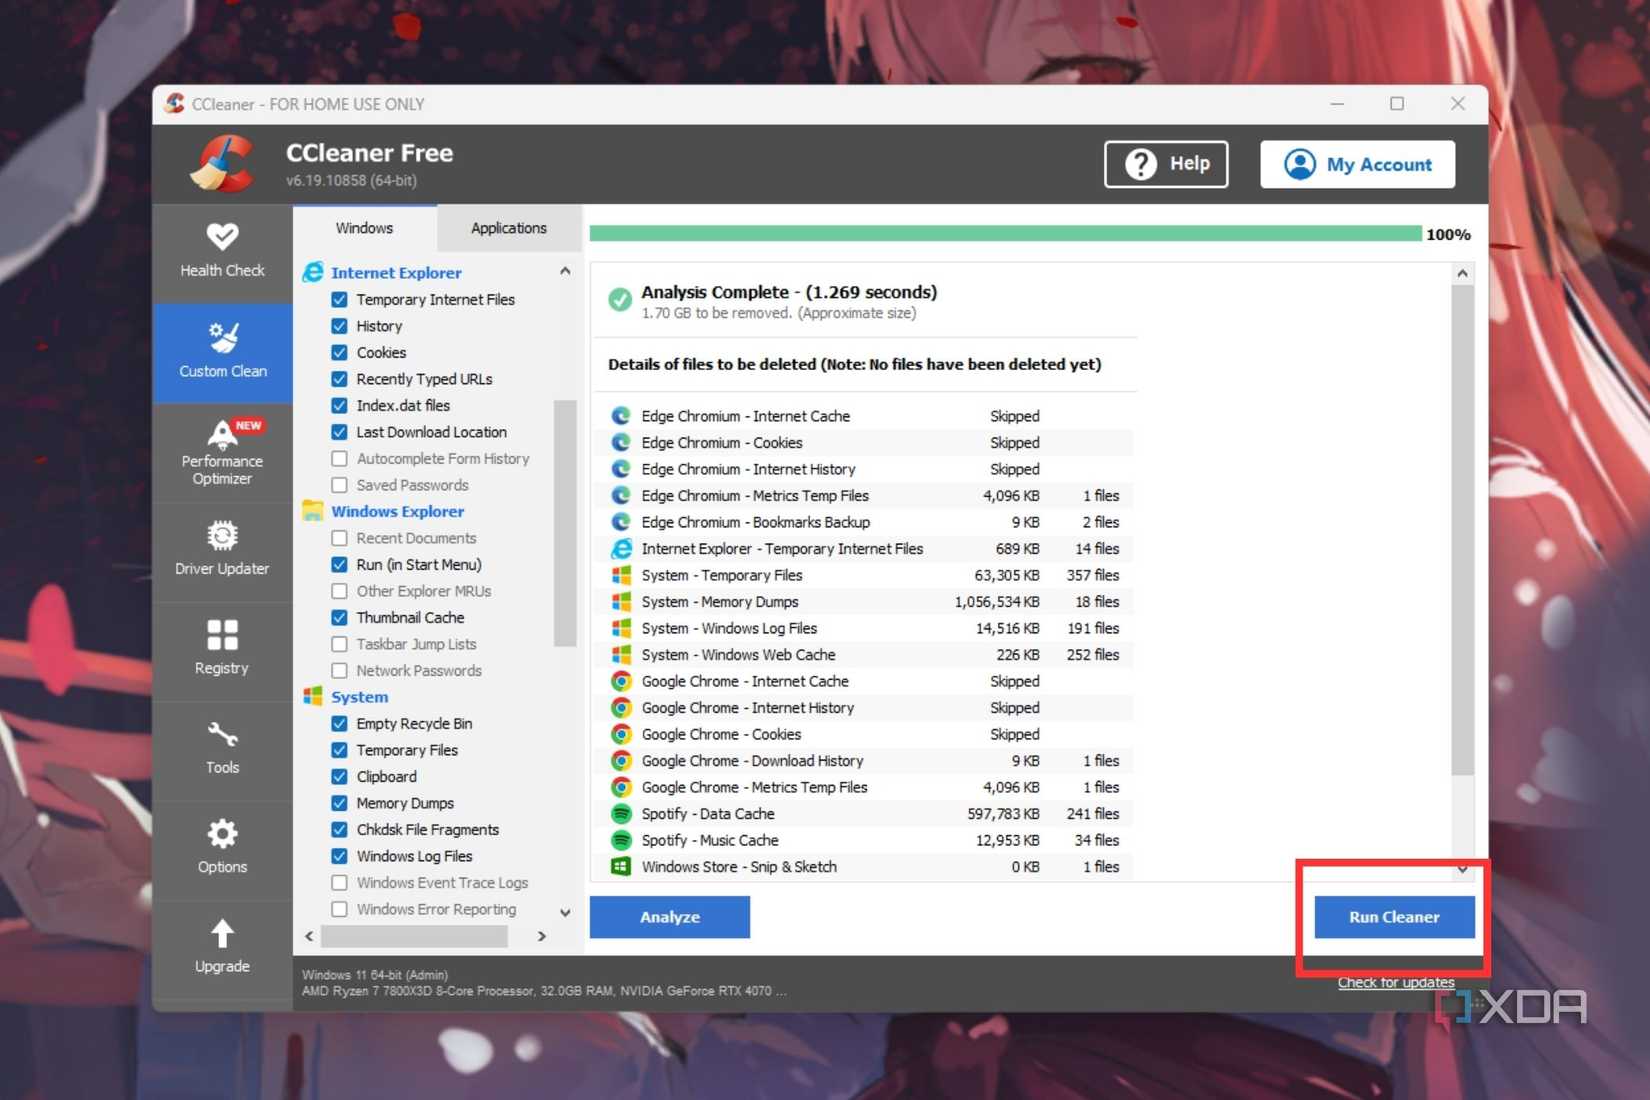
If you're not satisfied with the built-in tools to clean up your disk, you can also use third-party disk cleaners. CCleaner is among the most popular disk cleaning programs available, and it's the one we're using in this particular tutorial. CCleaner's Custom Clean option does a pretty good job of removing unwanted and temporary files to free up space. To use CCleaner:
-
Download the CCleaner setup file and install it.
Make sure you don't install the CCleaner browser during setup.

- Launch the application once it is installed.
-
Select the Custom Clean button on the left side.

-
Click Analyze.

-
Click Run Cleaner button after reviewing the files to remove them.
-
Click Continue on the confirmation screen.


Enjoy a cleaner, faster, and more spacious SSD


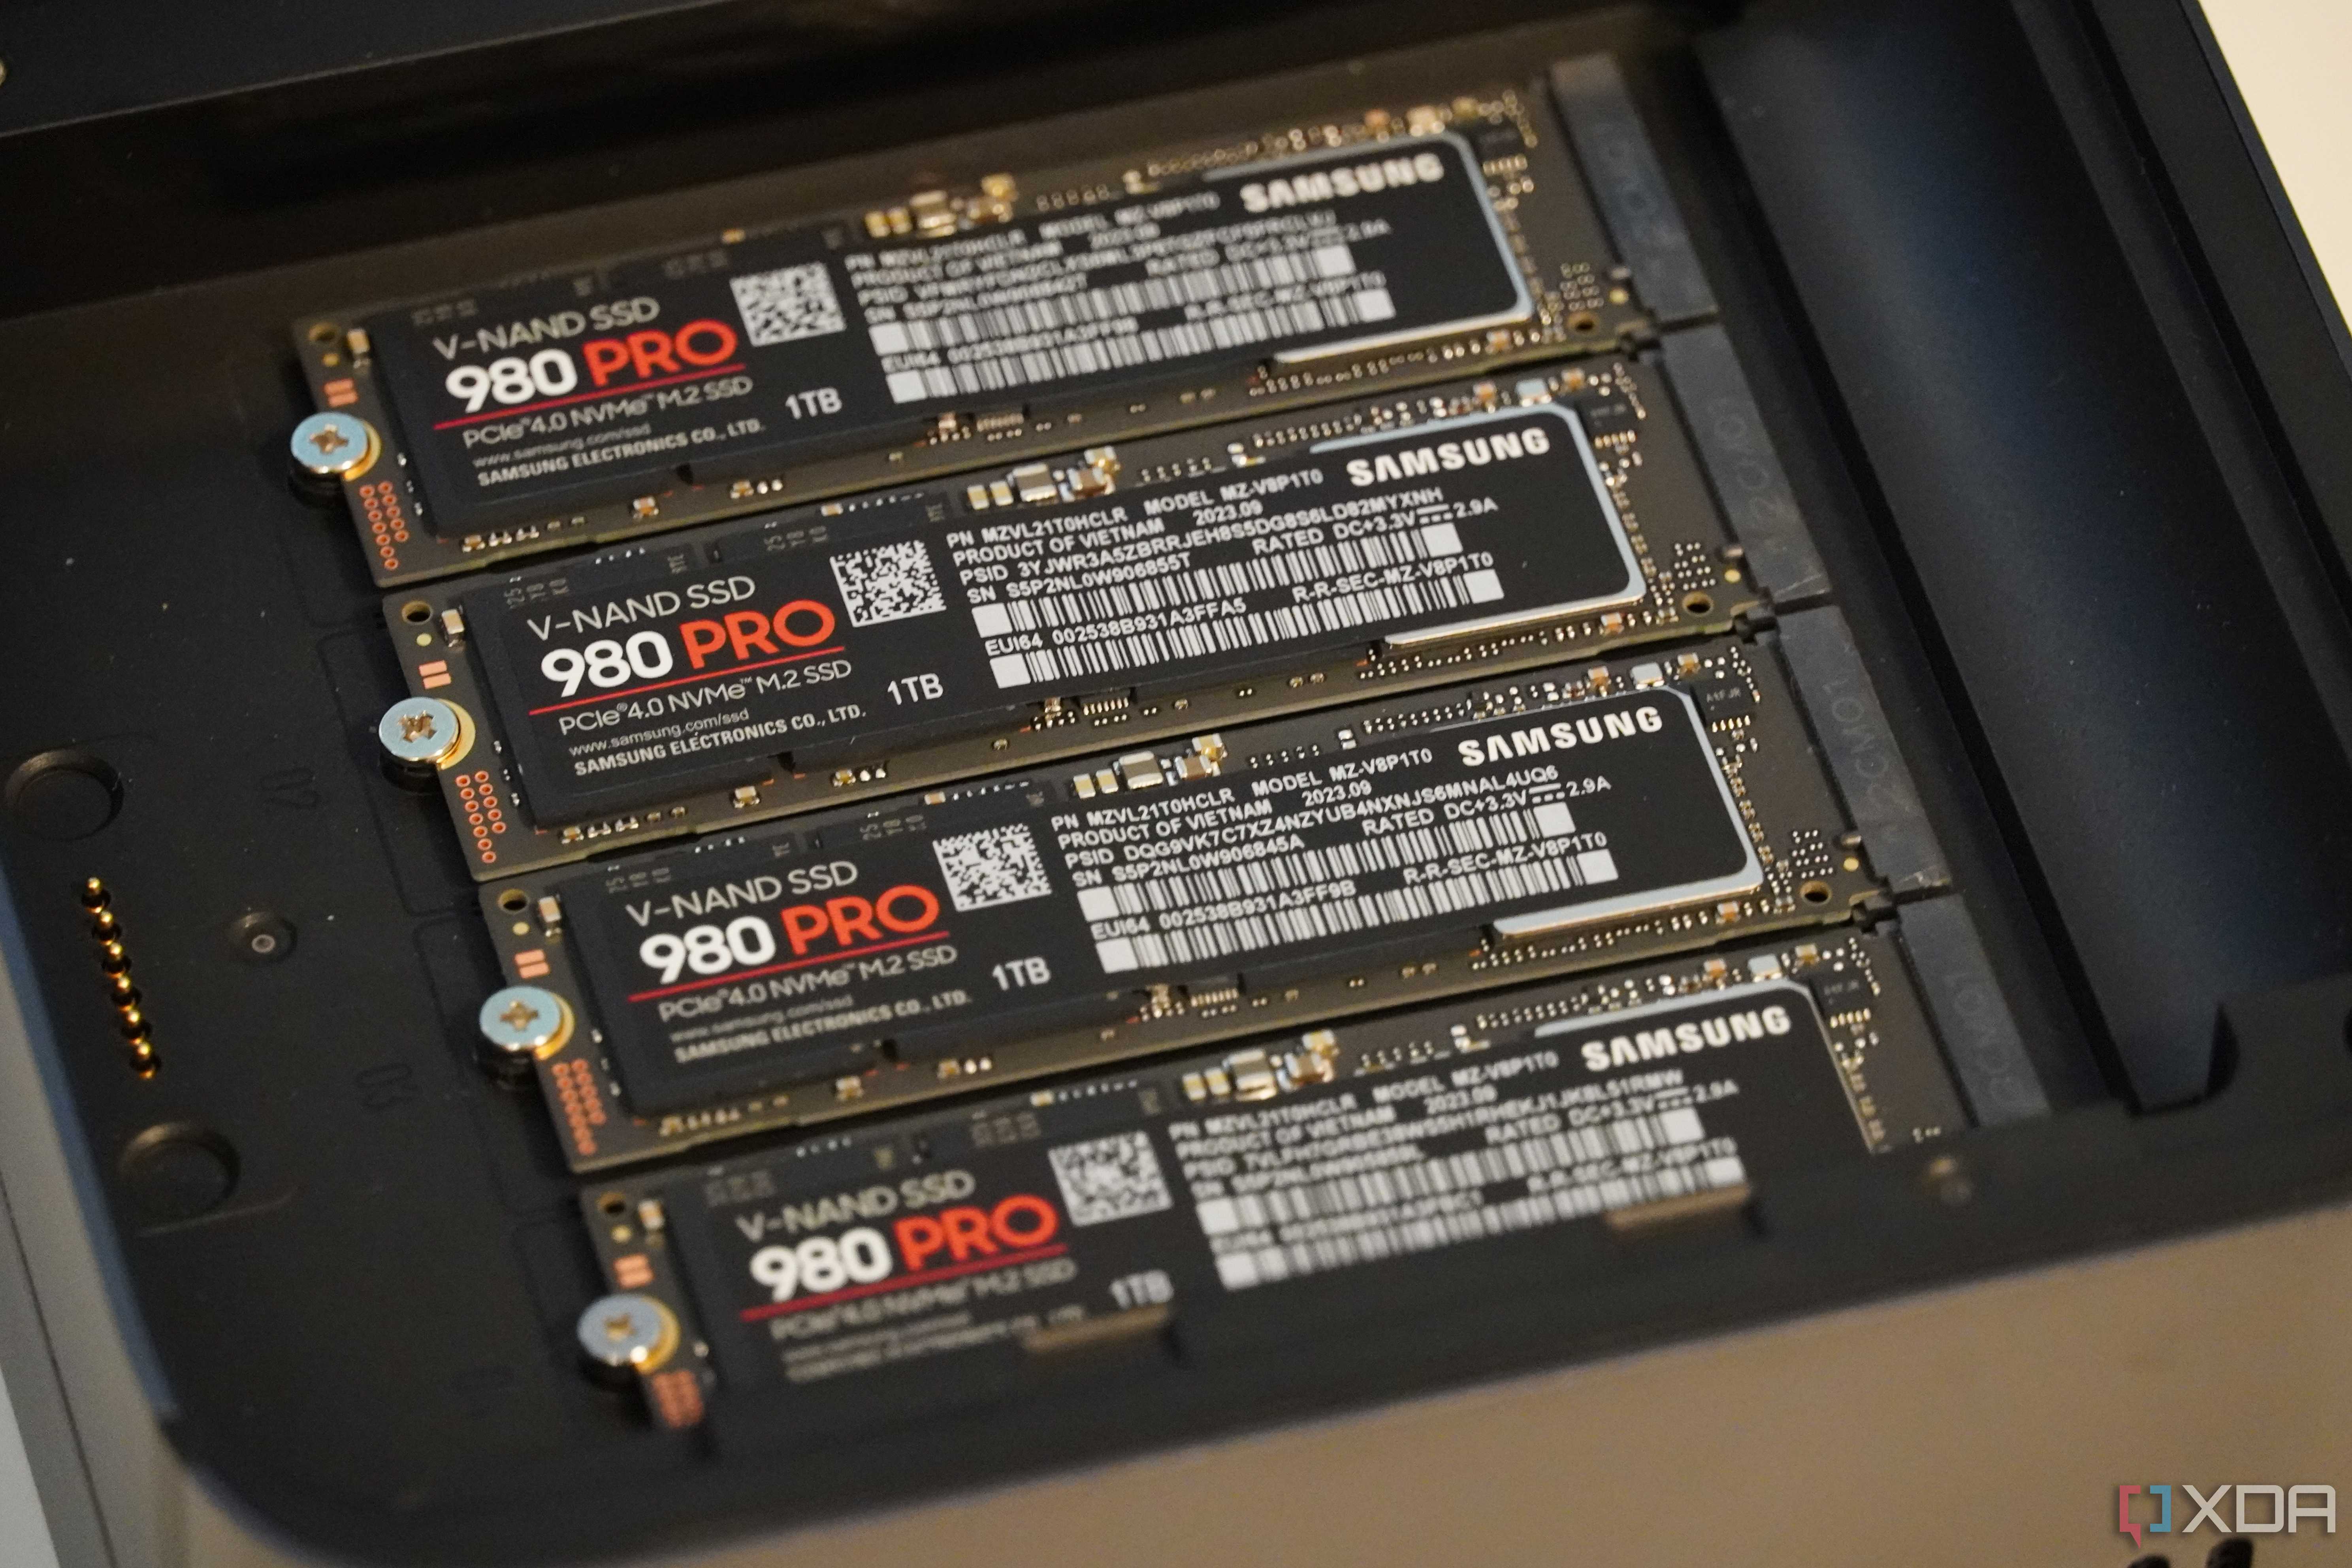
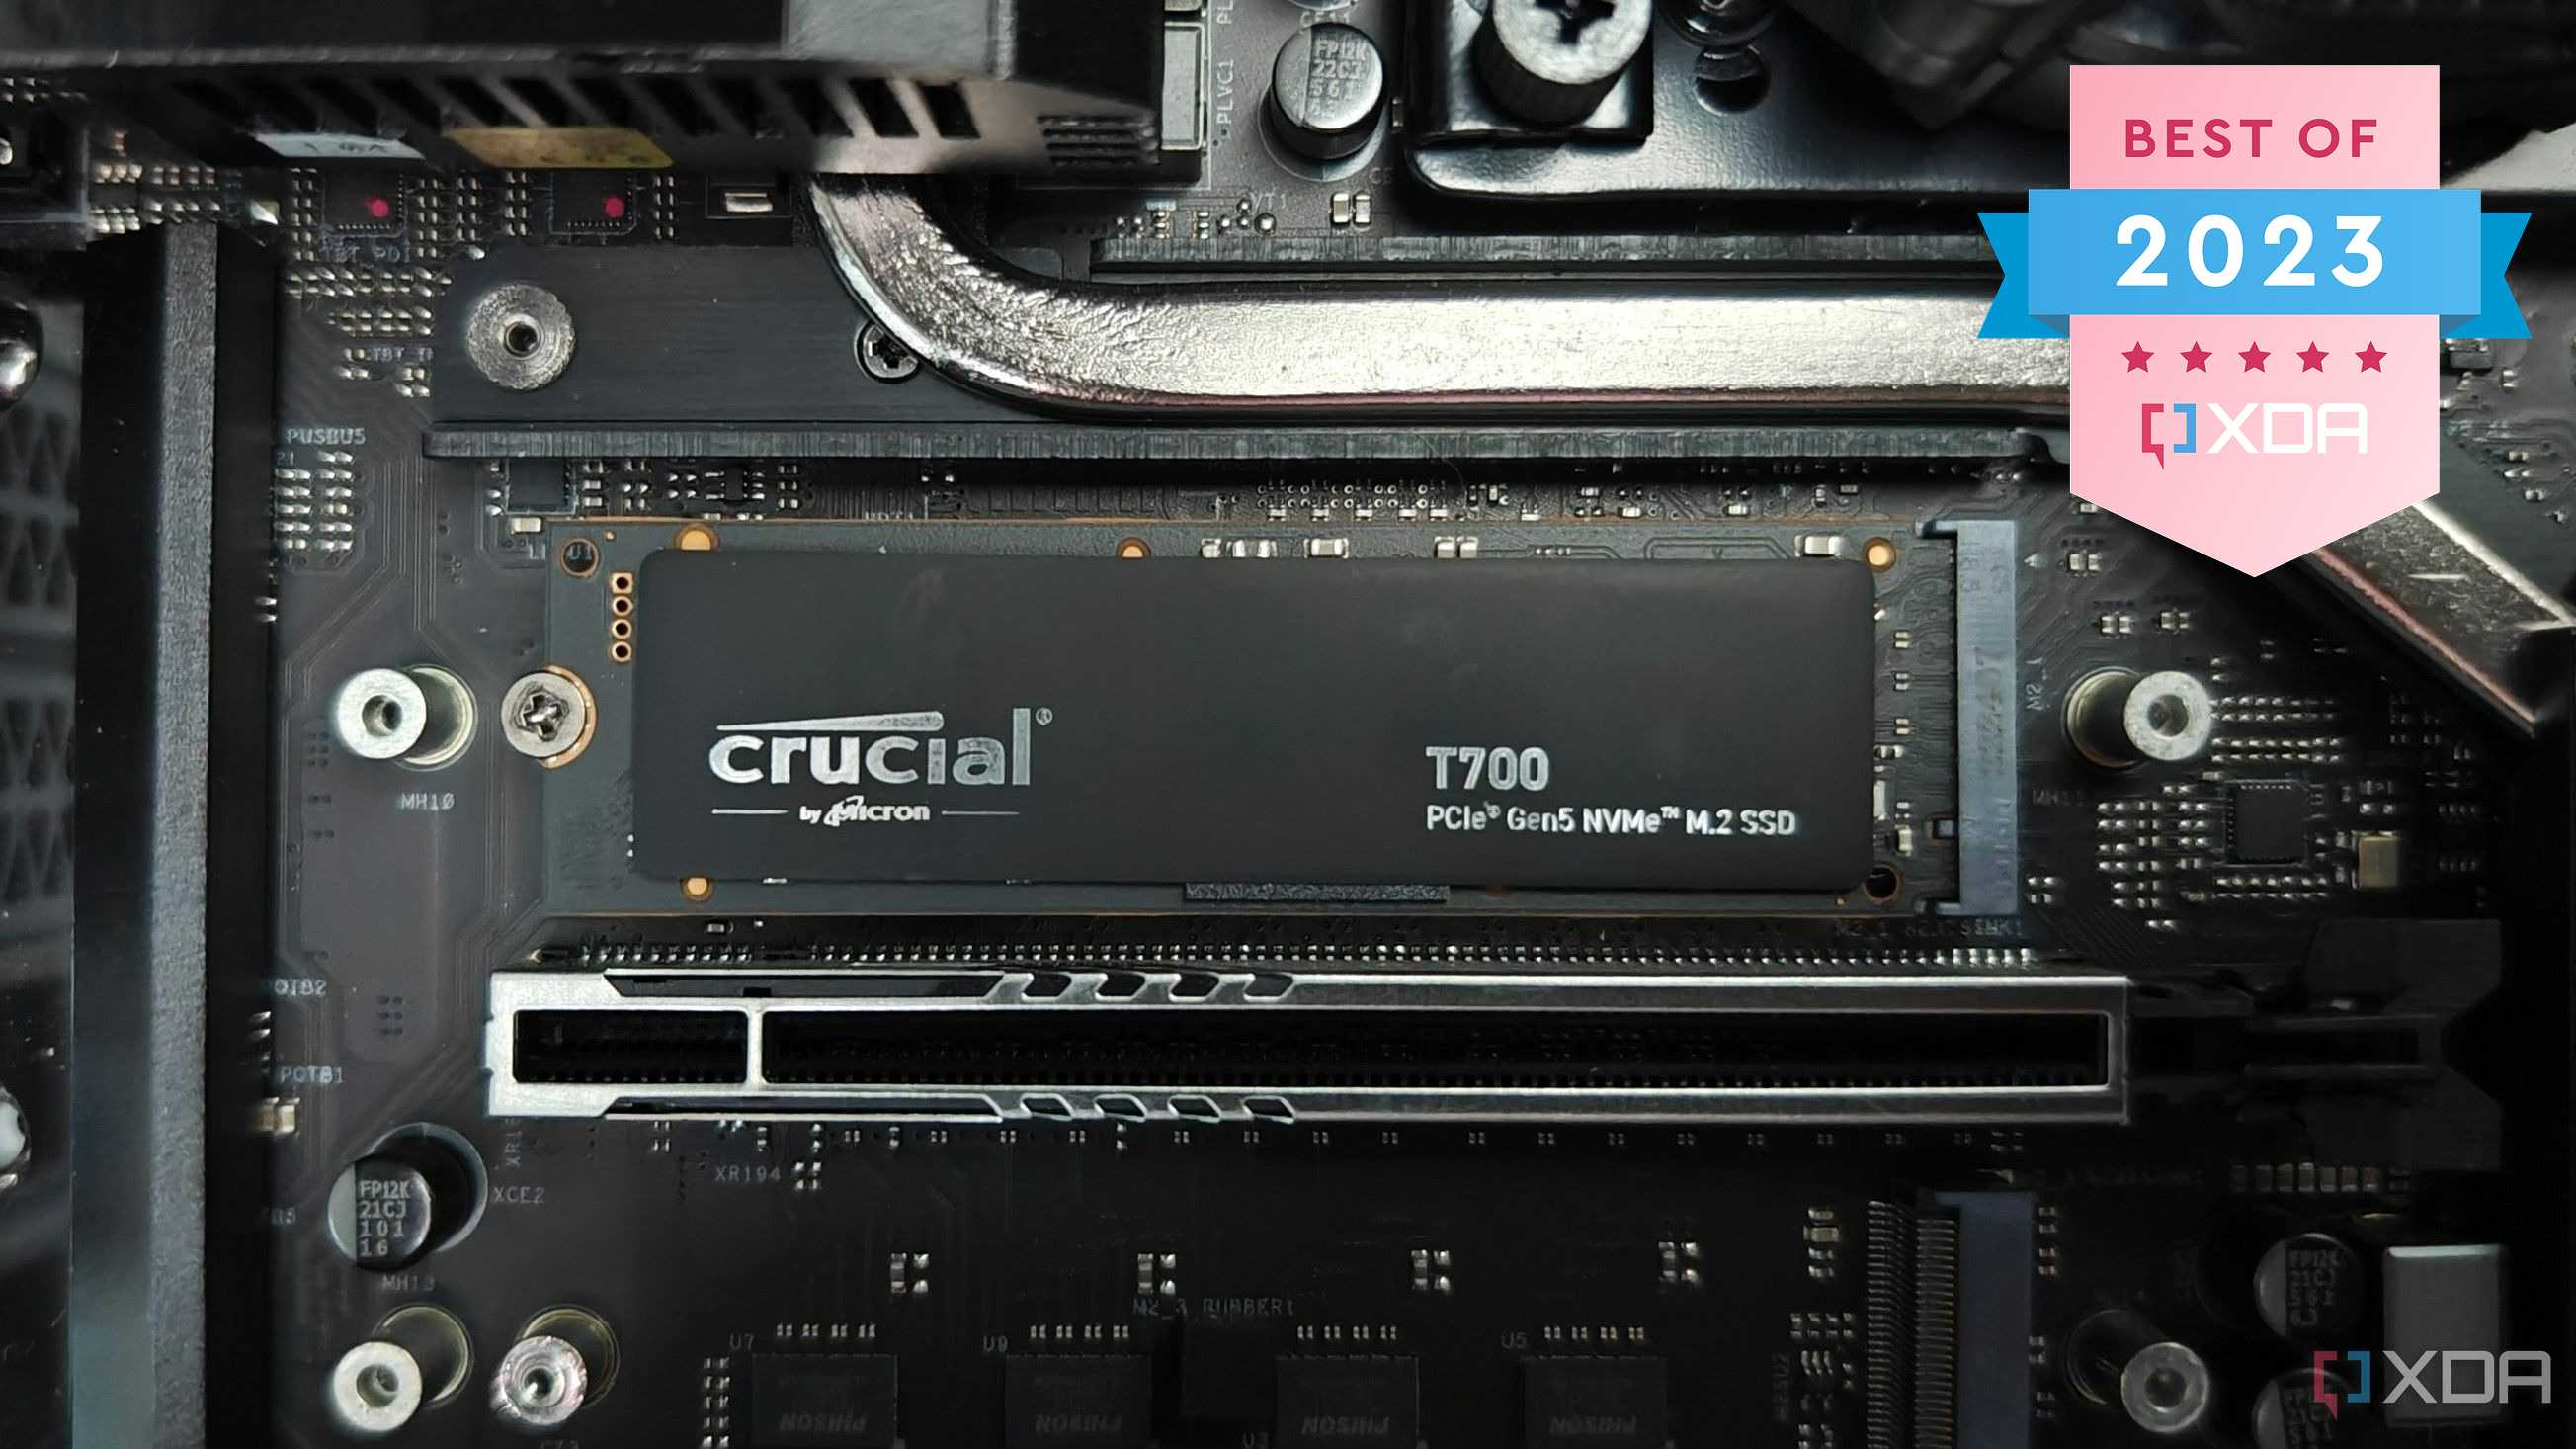
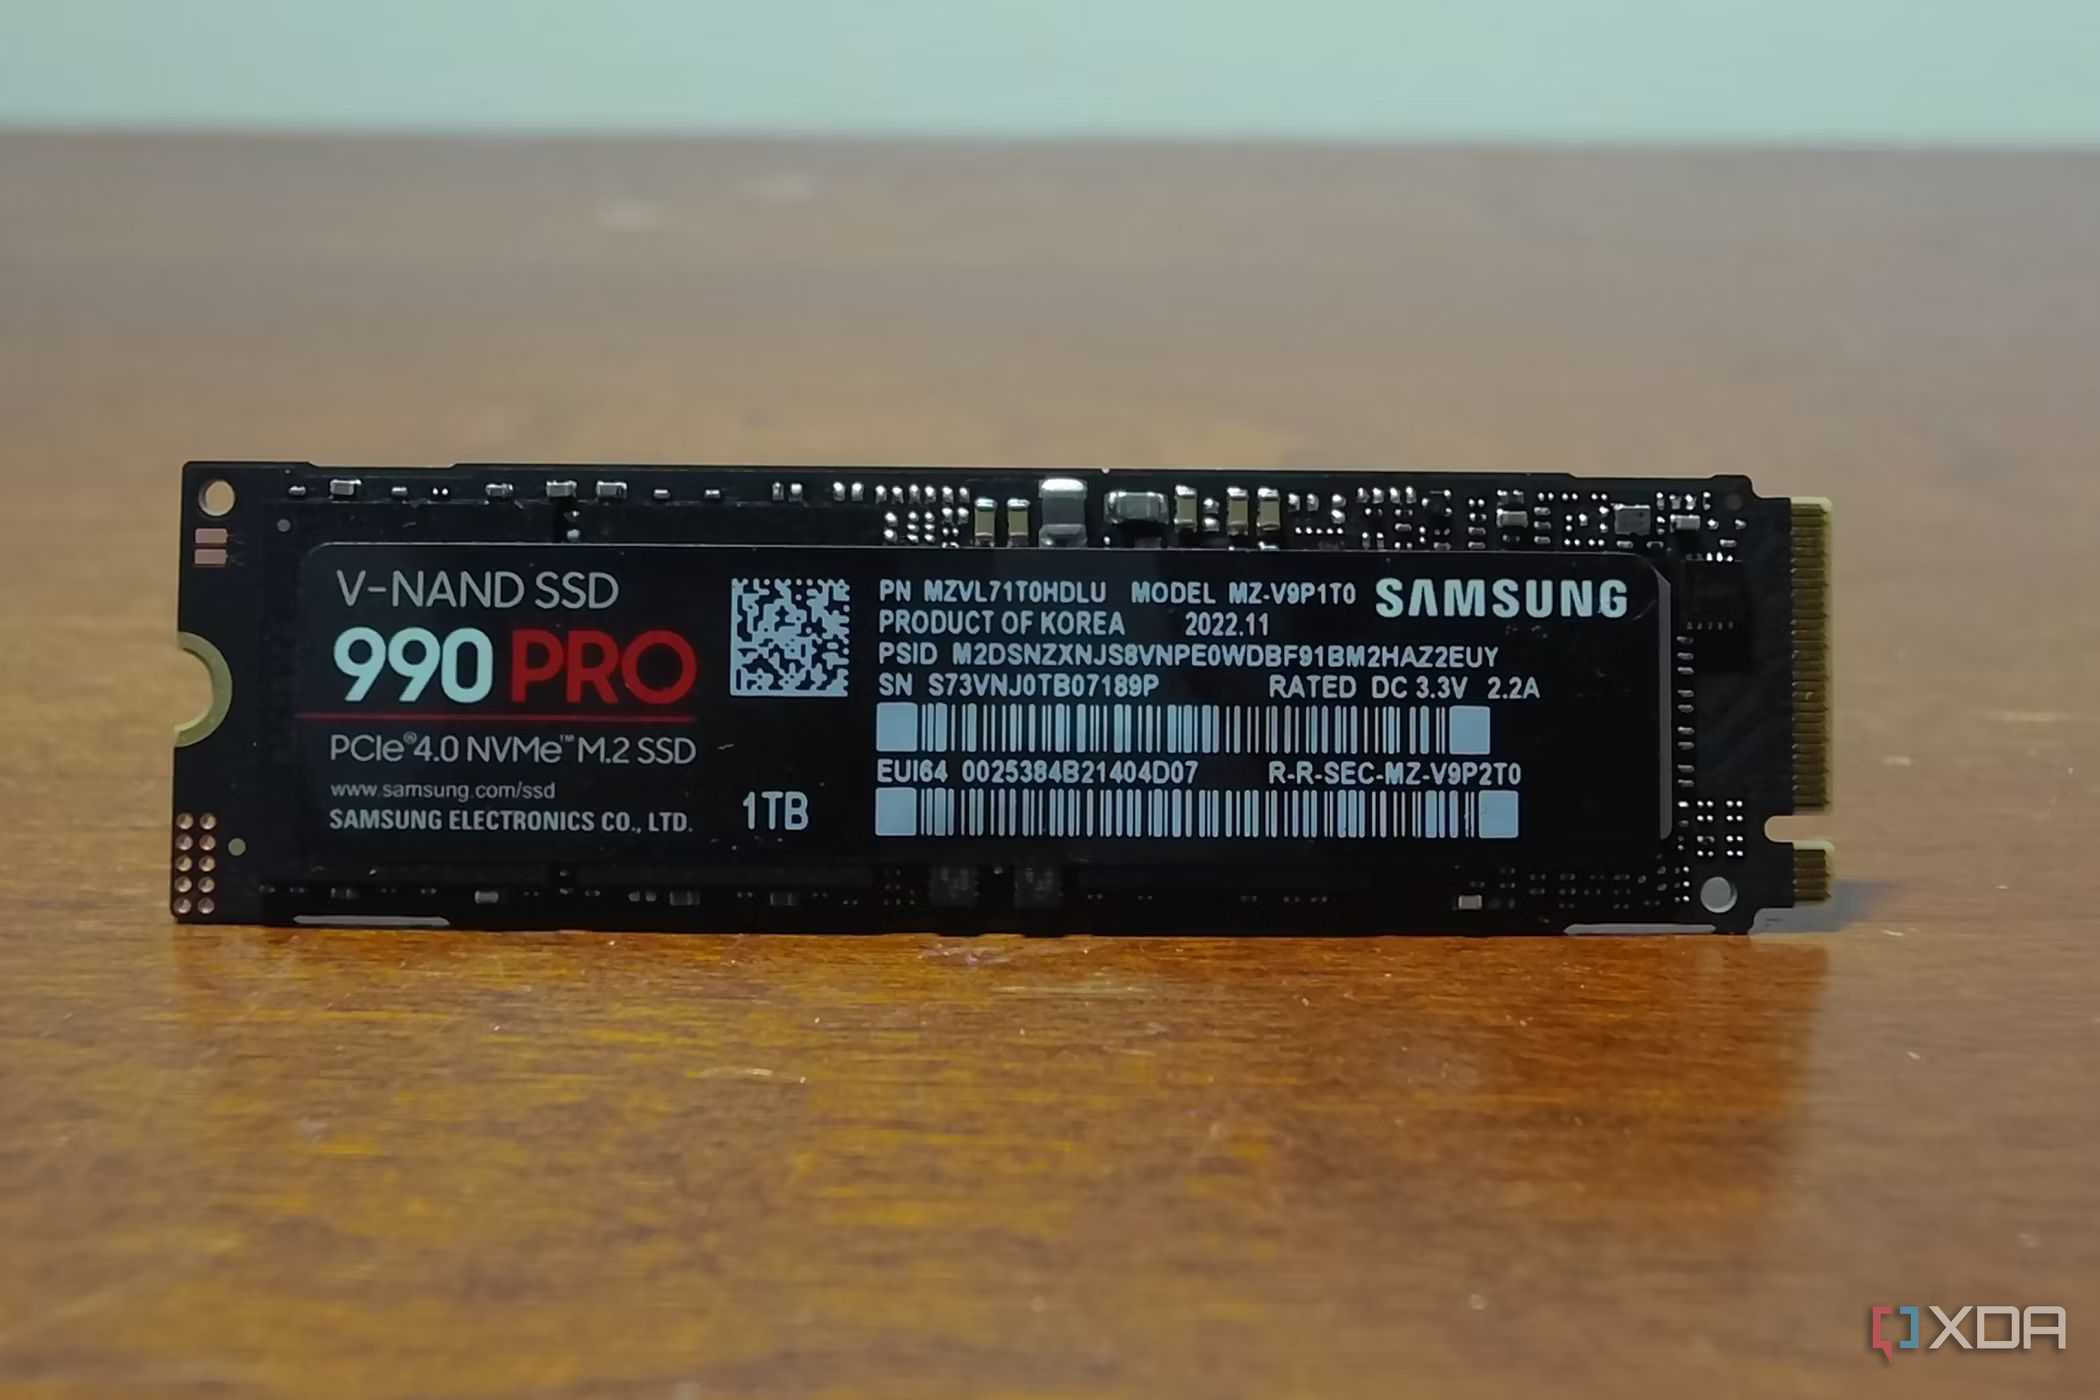
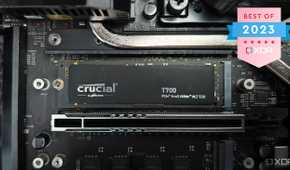
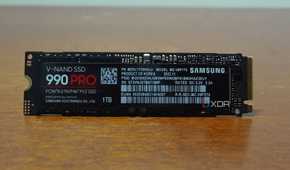
Those are some tried-and-tested ways to clean your SSD and free up space for all your new games and media files. As long as you keep the temporary file folders in check and frequently clean up your system for unwanted apps and files, you should have absolutely no issues with space. But remember that there's only so much you or these utility tools can do to free up space on your SSD. If you feel like you're constantly running out of space in your computer, it may be time to pick up a new SSD with more storage. It's never a bad time to upgrade the storage of your computer, and there are plenty of great SSDs out there right now.
