


Despite their adorable form-factor, Raspberry Pi boards are pretty versatile, and can be used for everything from building a NAS to securing your home network and capturing time-lapse videos. Sure, they aren't the best SBCs when it comes to performance, but there are some moderately taxing (at least, by SBC standards) workloads where even the Raspberry Pi family can pull its own weight.
While there are plenty of emulation-centric distros out there, it’s entirely possible to run retro games without ditching your favorite OS. So, here's a quick guide on how to turn your normal Raspberry Pi into a hybrid desktop and emulation machine using RetroArch!
What you’ll need
Although it's always better to grab a powerful Raspberry Pi, there's no need to invest in an expensive board if you just want to play games developed for ancient hardware. Next, you'll need a storage drive for the OS files and games. I recommend grabbing at least a 16 GB microSD card if you're planning to store everything on it.
Speaking of the OS, we’ll also assume that you’ve already installed an operating system on your Raspberry Pi. I went with the 32-bit version of the Raspberry Pi OS as its 64-bit variant doesn’t work with the cores available on the Libretro Core repository. You can even reduce the performance overhead of the desktop environment by switching to the CUI-based Raspberry Pi OS Lite or the ultra-optimized DietPi. If you get stuck during the OS installation procedure, feel free to refer to our beginner's guide to the Raspberry Pi.
-
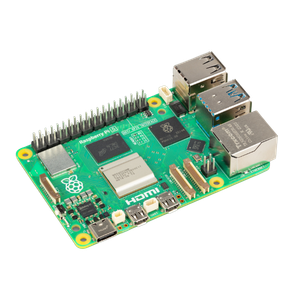
Raspberry Pi 5
- CPU
- Arm Cortex-A76 (quad-core, 2.4GHz)
- Memory
- Up to 8GB LPDDR4X SDRAM
- Operating System
- Raspberry Pi OS (official)
- Ports
- 2× USB 3.0, 2× USB 2.0, Ethernet, 2x micro HDMI, 2× 4-lane MIPI transceivers, PCIe Gen 2.0 interface, USB-C, 40-pin GPIO header
- GPU
- VideoCore VII
- Starting Price
- $60
-

Installing the essential libraries
Before you can go ahead with downloading and configuring the emulators, you’ll need to install some packages containing the libraries required for this project.
-
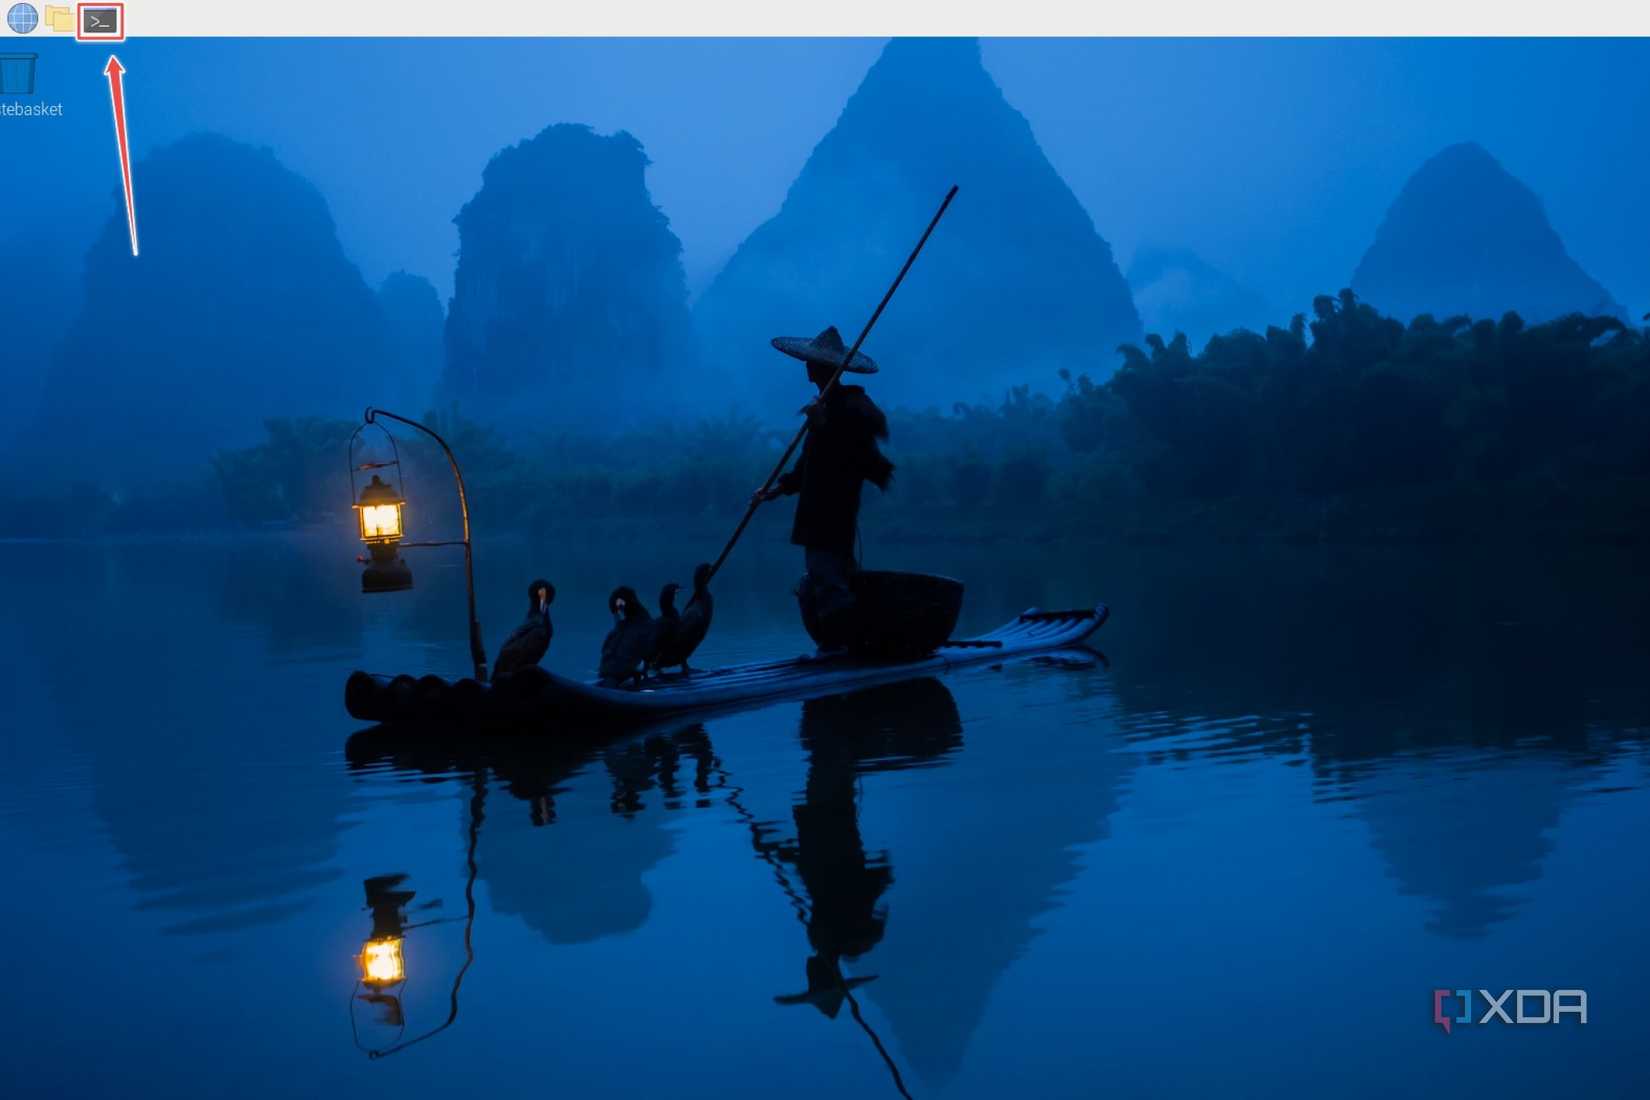
Open the Terminal app.
-
Run the following code to download the lib meta-packages.
sudo apt install build-essential libudev-dev libegl-dev libgles-dev libx11-xcb-dev -y

-
Download the remaining libraries using this command:
sudo apt install libavdevice-dev libavformat-dev libasound2-dev libdrm-common libdrm-dev libdrm2 libegl1-mesa-dev libfreetype6-dev libgbm-dev libgbm-dev libgbm1 libgles2 libgles2-mesa-dev libsdl-image1.2-dev libsdl2-dev libswresample-dev libswscale-dev libv4l-dev libxkbcommon-dev libavcodec-dev libxml2-dev yasm zlib1g-dev -y


Installing RetroArch
With the libraries up and ready, you're free to install RetroArch.
-
Inside the terminal, use the wget command to grab the latest version of RetroArch.
wget https://github.com/libretro/RetroArch/archive/v1.19.1.tar.gz

-
Use the tar -xf command to decompress the tar file.
tar -xf v1.19.1.tar.gz

-
Switch to the RetroArch directory using the cd command.
cd RetroArch-1.19.1

-
Add the -mfpu and -mtune flags to the CFLAGs environment variable and modify the configuration file by adding the parameters after ./configure.
CFLAGS='-mfpu=neon -mtune=cortex-a76' ./configure --disable-opengl1 --disable-sdl --disable-sdl2 --disable-videocore --enable-alsa --enable-egl --enable-floathard --enable-neon --enable-opengles --enable-opengles3 --enable-udev
Be sure to replace a-76 with the name of your Raspberry Pi's microprocessor.
-
Build and install the fully-configured RetroArch using the make and make install commands.
-
make
-
sudo make install

-
-
Once the installation process finishes, launch RetroArch by typing its name (in lower case) into the terminal.
retroarch


Updating RetroArch
Now that you've installed RetroArch, you'll need to configure the emulator by updating certain components, including the UI.
-
From the Main Menu, scroll down to the Online Updater tab and press Enter.

-
You'll notice the option to Update Core Info File, Databases, Overlays, Assets, and other components.
Hover the cursor over each option, and hit Enter to update it.
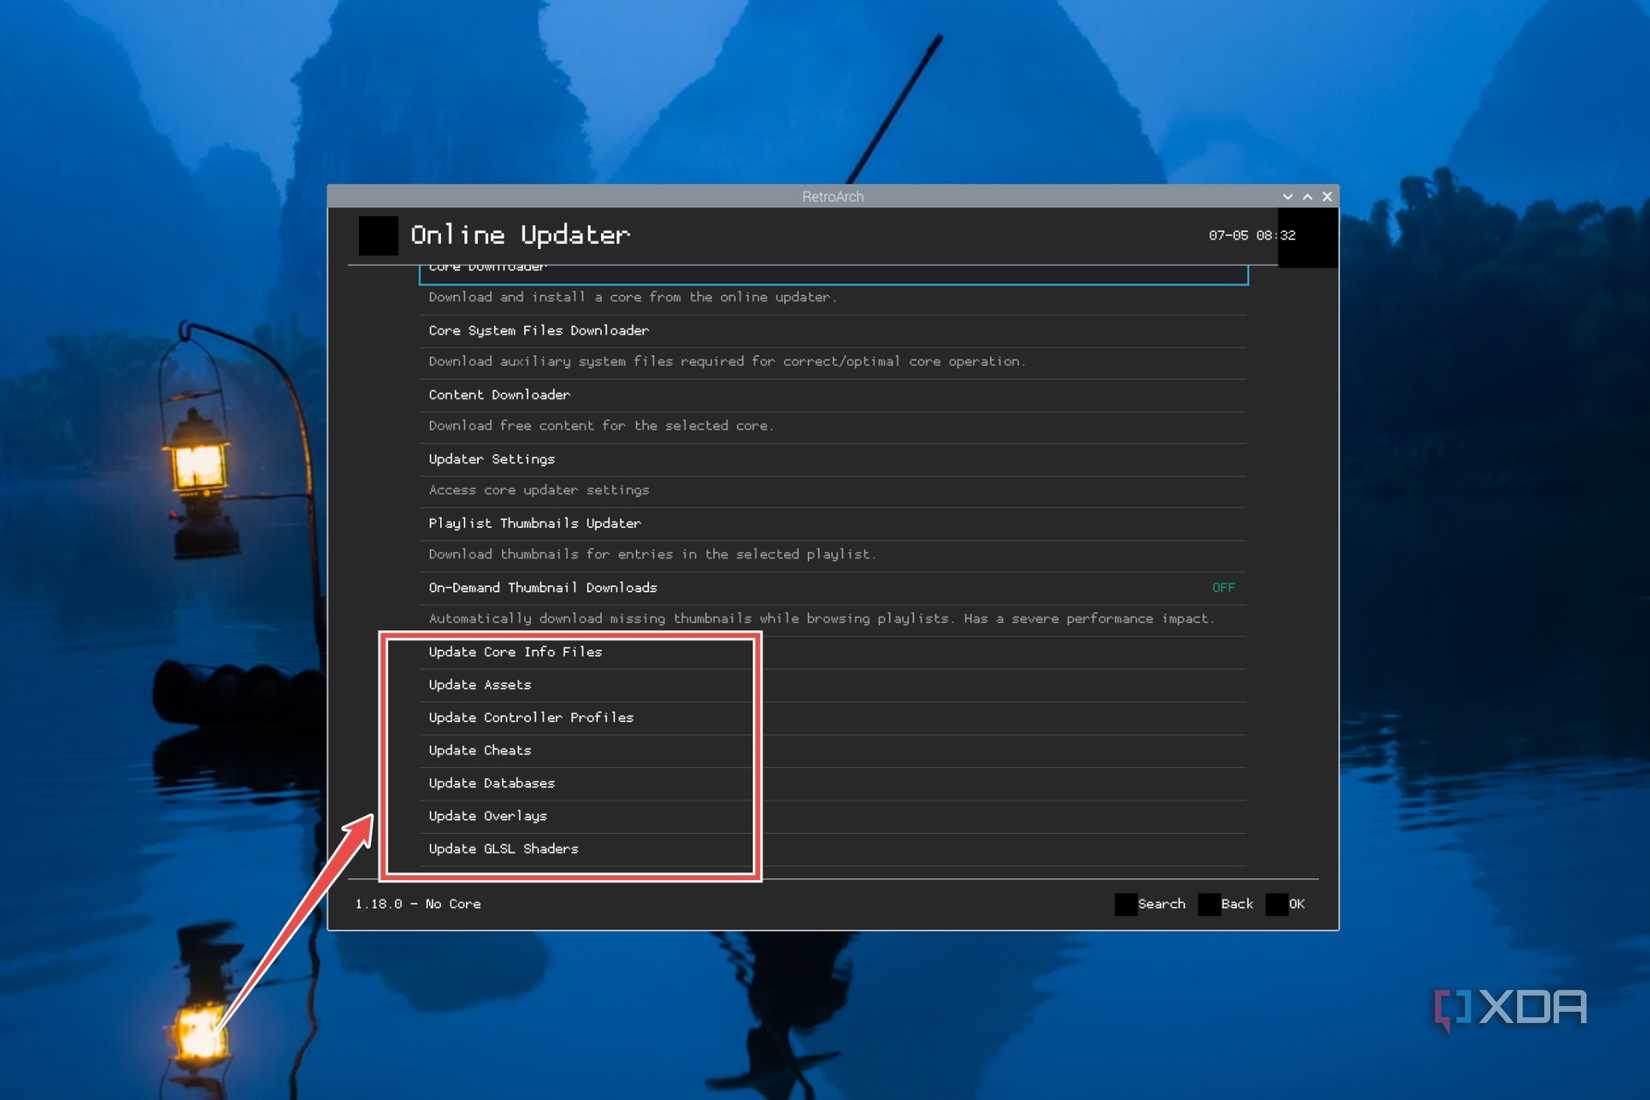


RetroArch will reboot when updating the assets. Once it reboots, the emulator will start displaying proper icons and keys.
Adding emulation cores to RetroArch
You may have noticed that, unlike its sibling project Lakka, RetroArch doesn't come with pre-installed emulator cores. In fact, since the Core Downloader URL is empty by default, attempting to download new cores will result in the No Items Found error message. So, you'll have to manually add the BuildBot URL in the settings.
-
Inside the Online Updater tab, select Updater Settings.

-
Hit Enter at BuildBot Core URL and type the following address into the text box:
http://buildbot.libretro.com/nightly/linux/armhf/latest/

- Enable the Show Experimental Cores checkbox.
-
Press Backspace once, and navigate to the Core Downloader option.


If you'd entered the URL correctly, RetroArch will display several cores. Once you've downloaded the necessary cores, you can switch between them by clicking on the Load Core option in the Main Menu.
Adding ROMs to RetroArch
Finally, it's time to add some games to your Raspberry Pi-powered RetroArch machine. Once you've ripped the physical video game CDs, you can load them onto a USB flash drive. Be sure to plug it into your Raspberry Pi afterward.
-
From the main RetroArch screen, scroll down to the Import Content section.

- Click on Scan File, head to the location of the ROM, and hit Enter.
- A new tab named after the ROM's console will appear under Explore, and tapping Enter again will display all the ROMs associated with said console.
-
Alternatively, you can head back to the Online Updater and click on Content Downloader to browse the free ROMs and apps you can download in RetroArch.


RetroArch emulation: A blast from the past, wrapped inside a small Raspberry Pi

Now that you've configured RetroArch, you can try tinkering with the Video Scaling options under the Settings tab if you want to enjoy your favorite classic games at higher resolutions. That said, RetroArch is a bit lacking on the emulation cores, especially when it comes to the (relatively) modern gaming consoles. So, you can try looking into a dedicated OS like Lakka, Recalbox, or the all-powerful Batocera if you don't require a full-fledged desktop operating system in your emulation box.
But if gaming isn't your forte, then there's a lot more you can do with the tiny SBC than running old games. Whether you're a novice SBC user looking for easy project ideas or a seasoned maestro looking to challenge yourself, you're bound to find a project or two you'll enjoy building with the Raspberry Pi.
