


Linux is a fantastic open-source operating system that's designed to run on all kinds of hardware. What we also love about Linux is that it comes in many different flavors and distributions, like Ubuntu and Linux Mint, which can be run alongside Windows 11. Setting up a dual boot with Linux and Windows is fairly simple, and the overall process only takes a few minutes. Removing Linux from dual boot, however, can be a bit of a challenge, as there's no easy way to do it.
There's no uninstaller out there to remove Linux from a dual boot configuration, and your only option is to perform a few tedious steps and rebuild your bootloader to go back to running just Windows on your PC. Here is a step-by-step guide detailing how to remove Linux from a dual boot.
Backup all of your files from your Linux installation before proceeding. Removing Linux from dual boot will result in data loss. You'll also need a Windows recovery drive, or create one for later to rebuild your bootloader.
Step 1: Create a Windows 11 recovery drive
An important prerequisite
Before doing anything, you'll want to boot into Windows 11 or earlier and create a recovery drive that you can boot from later on. Windows 11 has a built-in tool to create a recovery driver and installer. We'll need this later once you remove your Linux partitions. Here's how to do it:
- Plug a USB drive you want to use for recovery into your PC.
- Open the Windows 11 Start Menu.
-
Search for Recovery Drive.

- Click the top result for Create a recovery drive.
-
Choose your USB drive.

- Check the box for Back up system files to the recovery drive.
- Allow Windows to load the files needed. Choose the USB drive and click Next.
- Click Create and wait for the installation to complete.


Step 2: Move Windows up to the boot order in your BIOS
A crucial step
This next step is vital. You're going to reprioritize Windows in your boot order. Linux also adds its own bootloader, known as GRUB. We'll want to change a few settings to restore Windows in the boot order. If you can't get to these settings, don't worry, your Windows install is still safe, skip to the final section!
- Boot into Windows 11 like you normally would.
- Log out of your account and get to the lock screen.
-
Press the power button, and hold the Shift key, then select Restart.

-
On the recovery screen, go to Troubleshoot > Advanced Options: UEFI Firmware Settings.


- Navigate to the Authentication, Boot, or Security tab in your BIOS.
- Once in the BIOS, under the Boot menu, drag, and move drive Windows Boot Manager up to be the first boot option. This will make your PC boot right back into Windows, avoiding GRUB and Linux.


If you're still having issues booting into Windows, you can skip to the fix any issues with the Windows bootloader section.
Step 3: Delete the Linux partitions
Removing Linux
Next, you can delete any Linux partitions from your Windows PC. You'll know which partitions are Linux, as they might be labeled as Other under the Disk Management tool. Pay attention to the partition size, too, so you're not accidentally deleting a Windows partition. Linux partitions typically won't have a file system and drive letter, and they'll just be labeled as NTFS or FAT.
- Open the Windows 11 Start Menu.
-
Search for disk partition.

- Choose the option to create and format hard disk partitions.
- Find your active Linux partitions using the steps we mentioned above. There will usually be three; one for swap, root, and home. You'll know which is which based on the size you set up during initial installation.
-
Right-click on each one and choose Delete volume.

- Click Yes.


Once all Linux partitions are deleted, right-click on the newly created free space. Click on your main volume and choose Extend so you can extend your storage and absorb the newly freed space. You can now reboot your Windows PC as we're going to have to head into the BIOS to change a few settings next.
Step 4: Fix any issues with the Windows bootloader
Ensuring everything is in order
Are you still having issues getting into Windows after deleting Linux? The Windows recovery drive we installed earlier will help.
- Insert the USB drive you created into your computer.
-
Some PCs might show a prompt to Select Boot Device or boot from a USB drive. If you see this prompt, press the corresponding key (Esc in our case) to be booted straight into the Windows installer on your USB drive. If not, skip ahead to the next step.
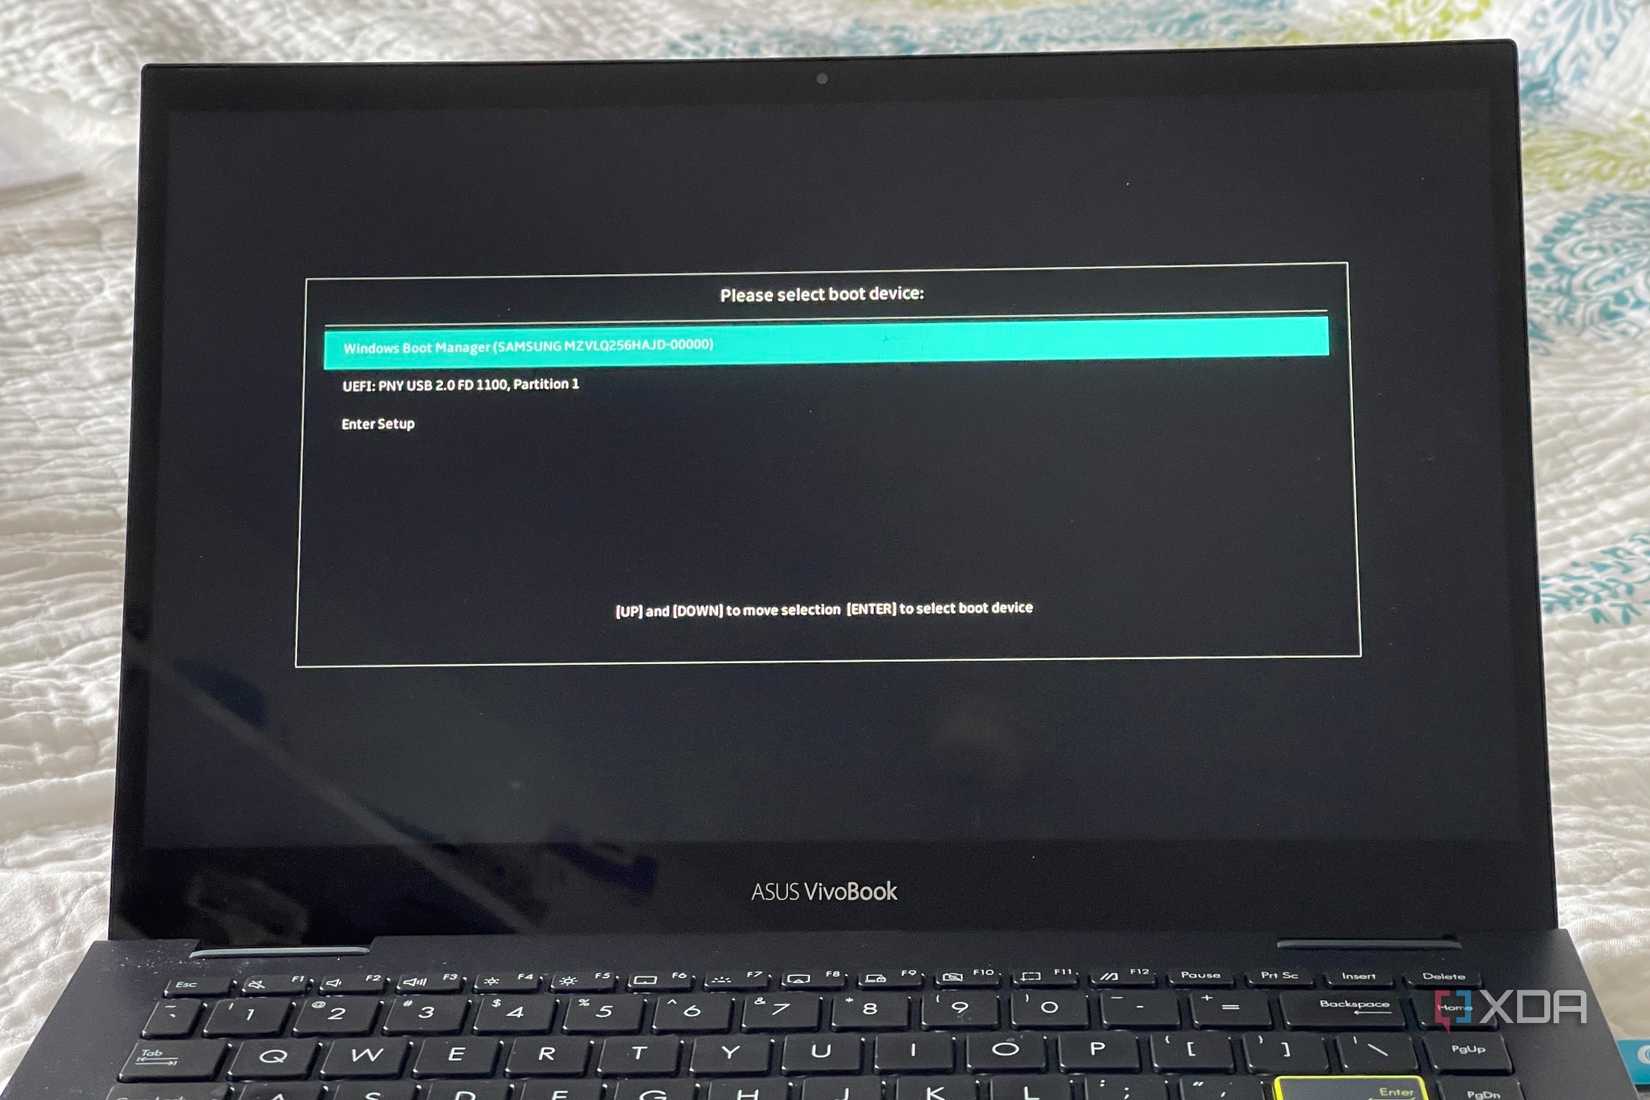
- While your PC is booting, press the key to boot into the BIOS loading screen. On most PCs, it can be Escape, F1, F2, F8, F10, F11, F12, or Delete. Check with your PC maker to see which key to press. For our example, it's F2.
-
Once in the BIOS, under the Boot menu, drag, or move your USB drive up to be the first boot option. This will make your PC boot from the USB drive right away. Don't worry, you won't need to change this later on, as this is just a USB installer.
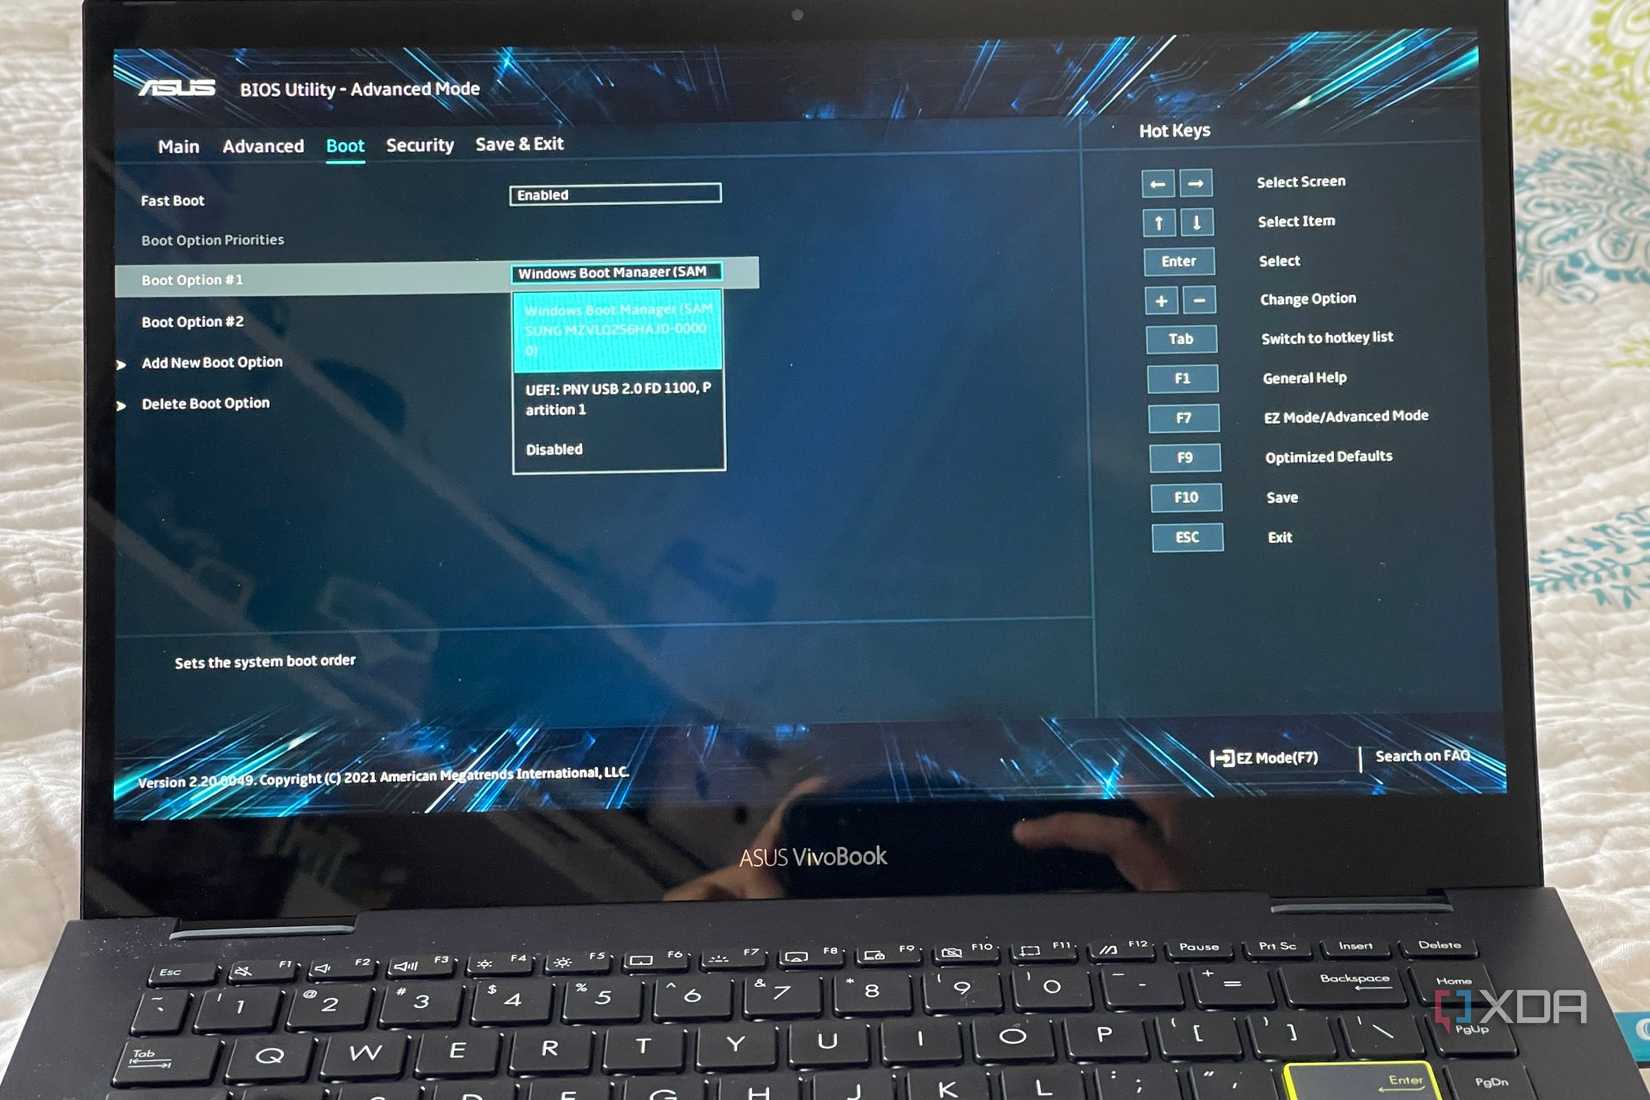
- Click Save and Exit.
- Reboot from the USB drive.
- Choose Repair your computer.
-
Choose Troubleshoot.

-
Choose Advanced Options.

- Choose Command Prompt.
-
Enter the following command and press enter:
bootrec.exe /fixmbr


Once the prompt is entered, close the open Command Prompt Window. You can choose Turn off your PC and then remove the connected USB drive from your laptop.
Your PC is now free of Linux





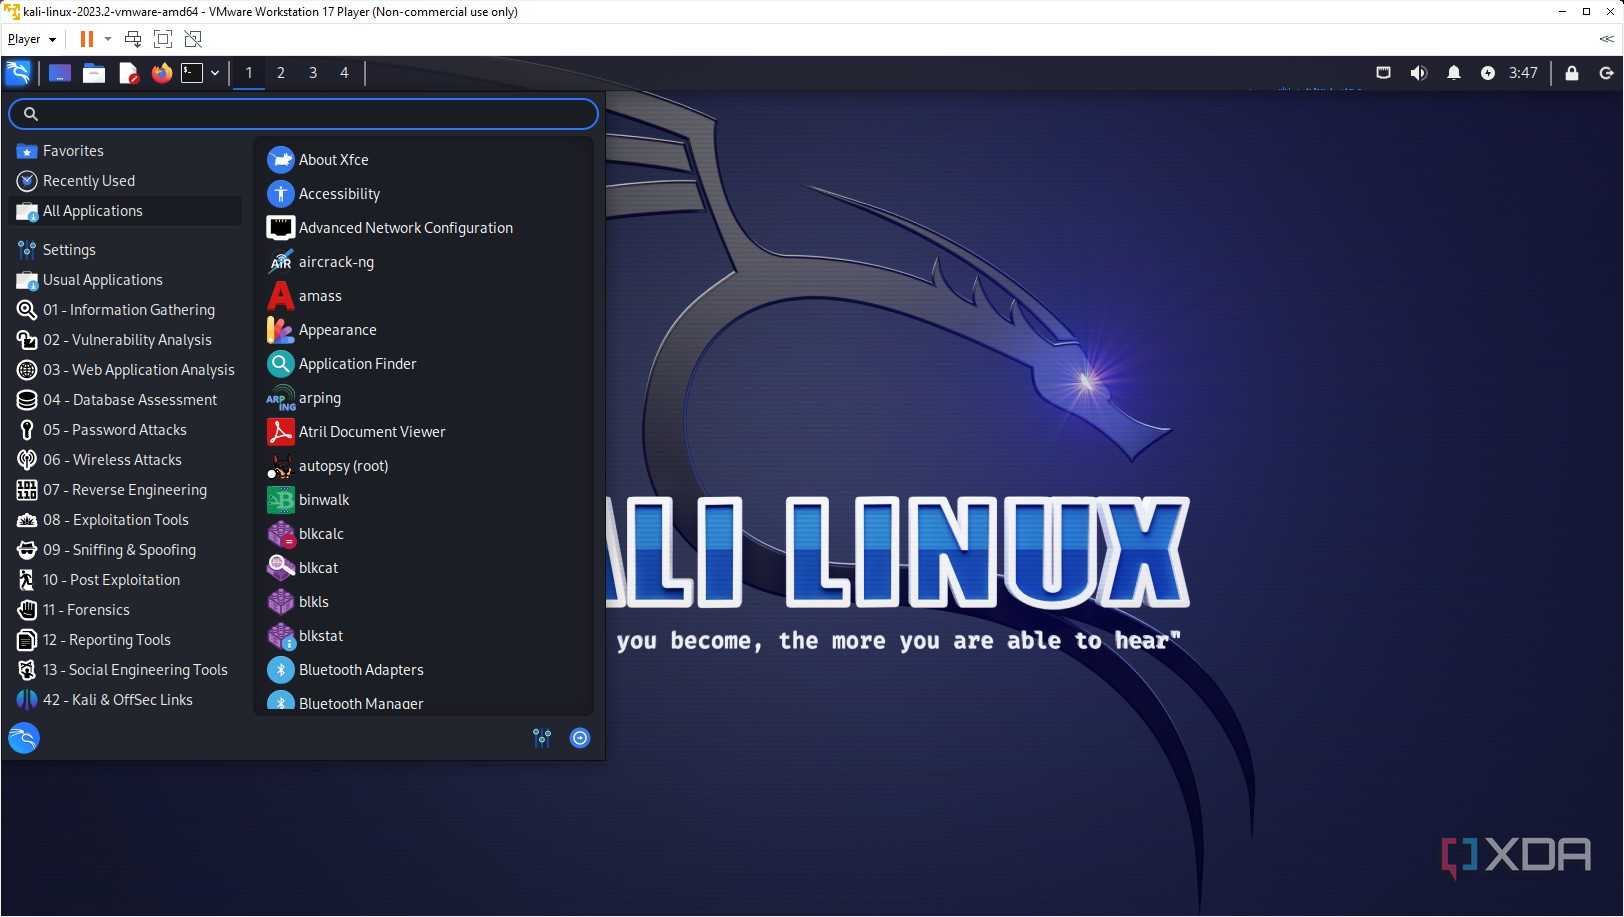
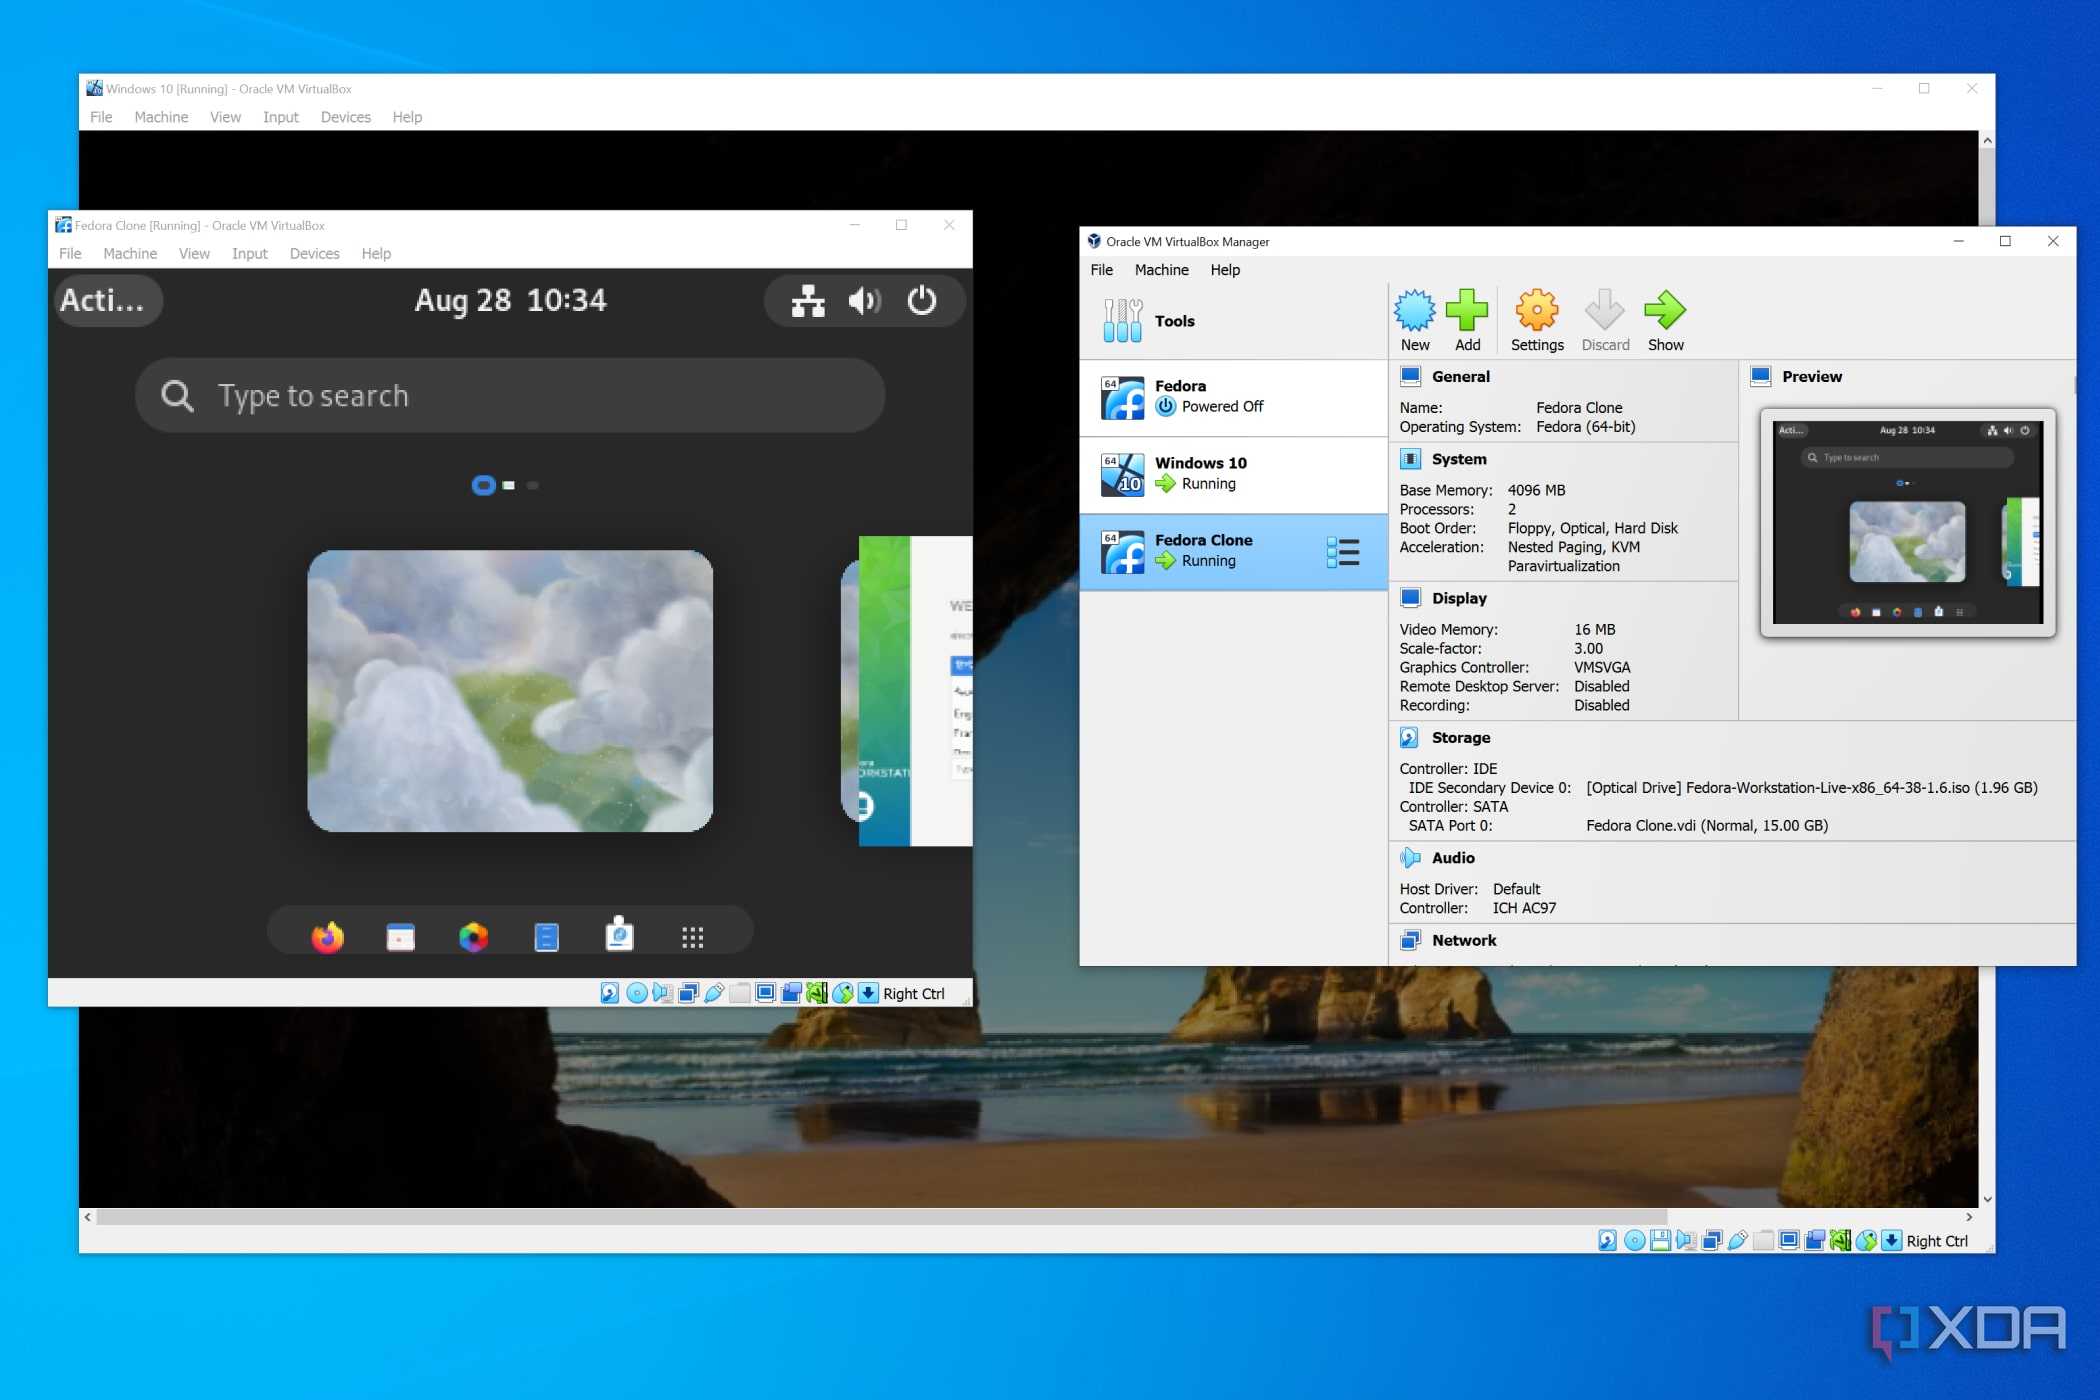


And that's it! You've successfully removed Linux from a dual boot if you followed all the steps highlighted above carefully. Installing Linux or dual-booting it alongside your Windows operating system is fairly simple, so feel free to get it up and running again in the future if you need. That being said, if you simply want to try Linux without affecting your Windows 11 or Windows 10 installation and don't want to go through the hassle of removing it later, then you might want to run Linux on a virtual machine instead. Not only is it easier to set up and use any time you want, but you can also get rid of it fairly easily without having to go through the tedious steps highlighted above in this tutorial.
