


Installing Proxmox on your old PC is a great way to build a home lab without shelling out money on new hardware. If you’re short on cash, used server rigs and budget-friendly mini-PCs make for solid home lab systems.
But what about running on a cheap ARM system – like the Raspberry Pi? If you’re willing to spend some extra time setting everything up, it’s possible to get Proxmox up and running on these credit card-sized boards.
What you’ll need
With a Raspberry Pi serving as the heart of your makeshift Proxmox machine, you’ll want to use the newer boards like the Raspberry Pi 5 for maximum performance, though an RPi 3 should technically work with the procedure we’re following. Speaking of which, we’ll use the custom Raspberry Pi UEFI image to boot into a Proxmox variant optimized for ARM64 devices.
Therefore, you’ll need at least three storage devices for the project: a microSD card with at least 1GB of storage capacity for the UEFI files, a bootable USB drive flashed with the Proxmox image, and another external storage drive (preferably an HDD/SSD) where you’ll install the virtualization environment.
If you’re following this tutorial on the Raspberry Pi 5, you’ll need an extra USB-to-Ethernet adapter as the network interface. That’s because the UEFI firmware for the latest and greatest RPi board is incompatible with the built-in RJ45 port.
-
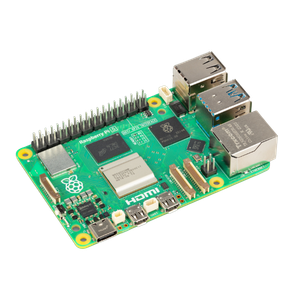
Raspberry Pi 5
- CPU
- Arm Cortex-A76 (quad-core, 2.4GHz)
- Memory
- Up to 8GB LPDDR4X SDRAM
- Operating System
- Raspberry Pi OS (official)
- Ports
- 2× USB 3.0, 2× USB 2.0, Ethernet, 2x micro HDMI, 2× 4-lane MIPI transceivers, PCIe Gen 2.0 interface, USB-C, 40-pin GPIO header
- GPU
- VideoCore VII
- Starting Price
- $60
-
-
-


Copying the UEFI files to a microSD card
Once you’ve gathered all the necessary components, you can begin this project by copying the UEFI files onto the microSD card. If the name Raspberry Pi UEFI seems familiar to you, that’s because it’s the same set of files we used when installing Windows 11 on the Raspberry Pi. Although the RPi boards use separate UEFI repos, the overall procedure is the same regardless of whether you’re using a Raspberry Pi 3, 4, or 5 for this project.
- Download the latest version of the UEFI.zip file from the GitHub link on your PC and extract it at your preferred location.
- Insert the microSD card into your system.
-
If the card uses a different file system, open the File Explorer and right-click on the microSD card before clicking on Format...

-
Set FAT32 as the File system and hit Start.

- Copy the extracted UEFI files and paste them on the newly formatted microSD card.


Creating a bootable Proxmox USB drive
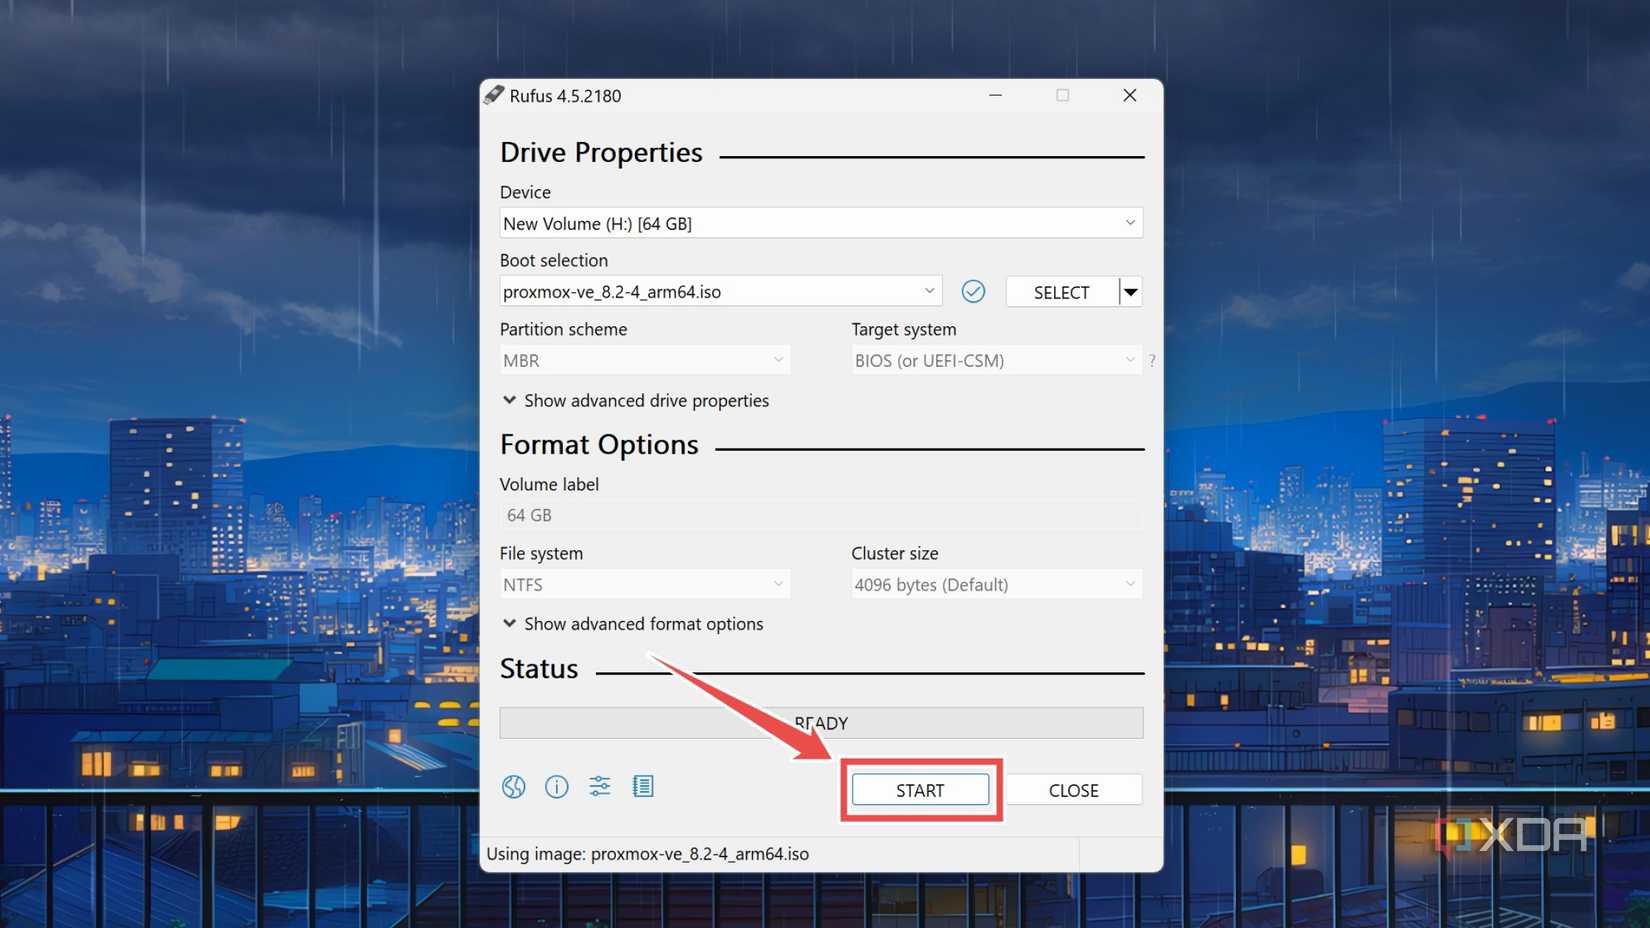
With the microSD card ready, the next step is to flash the Proxmox ISO on another USB drive. We’ll use Rufus in this tutorial, but you’re free to go with Balena Etcher and other tools.
- Download the latest version of the ARM64 port of Proxmox ISO from this GitHub link.
- Download the portable version of Rufus and run it with administrator privileges.
-
Plug a USB drive into your system and set it as the Device inside Rufus.

-
Press the Select button next to Boot selection and choose the Proxmox ISO you downloaded earlier.

-
Hit Start and wait for Rufus to finish writing the Proxmox files onto the USB drive.


Installing Proxmox on the Raspberry Pi
Now that you have both the microSD card and the bootable drive, it’s time to set up Proxmox on the SBC. Once you’re ready, slot the microSD card into the Raspberry Pi before plugging in the bootable disk, HDMI cable keyboard, and storage drive. Again, if you’re using the RPi5, attach a USB-to-Ethernet adapter to the SBC.
- Hit Esc on the Raspberry Pi UEFI to enter the firmware menu.
-
Enter the Boot Manager and pick the Bootable USB drive.

-
Choose the Install Proxmox VE With Kernel 6.1 option at the Proxmox splash screen.

-
Select I agree at the EULA.

- Carefully select the Drive where you plan to install the Proxmox.
-
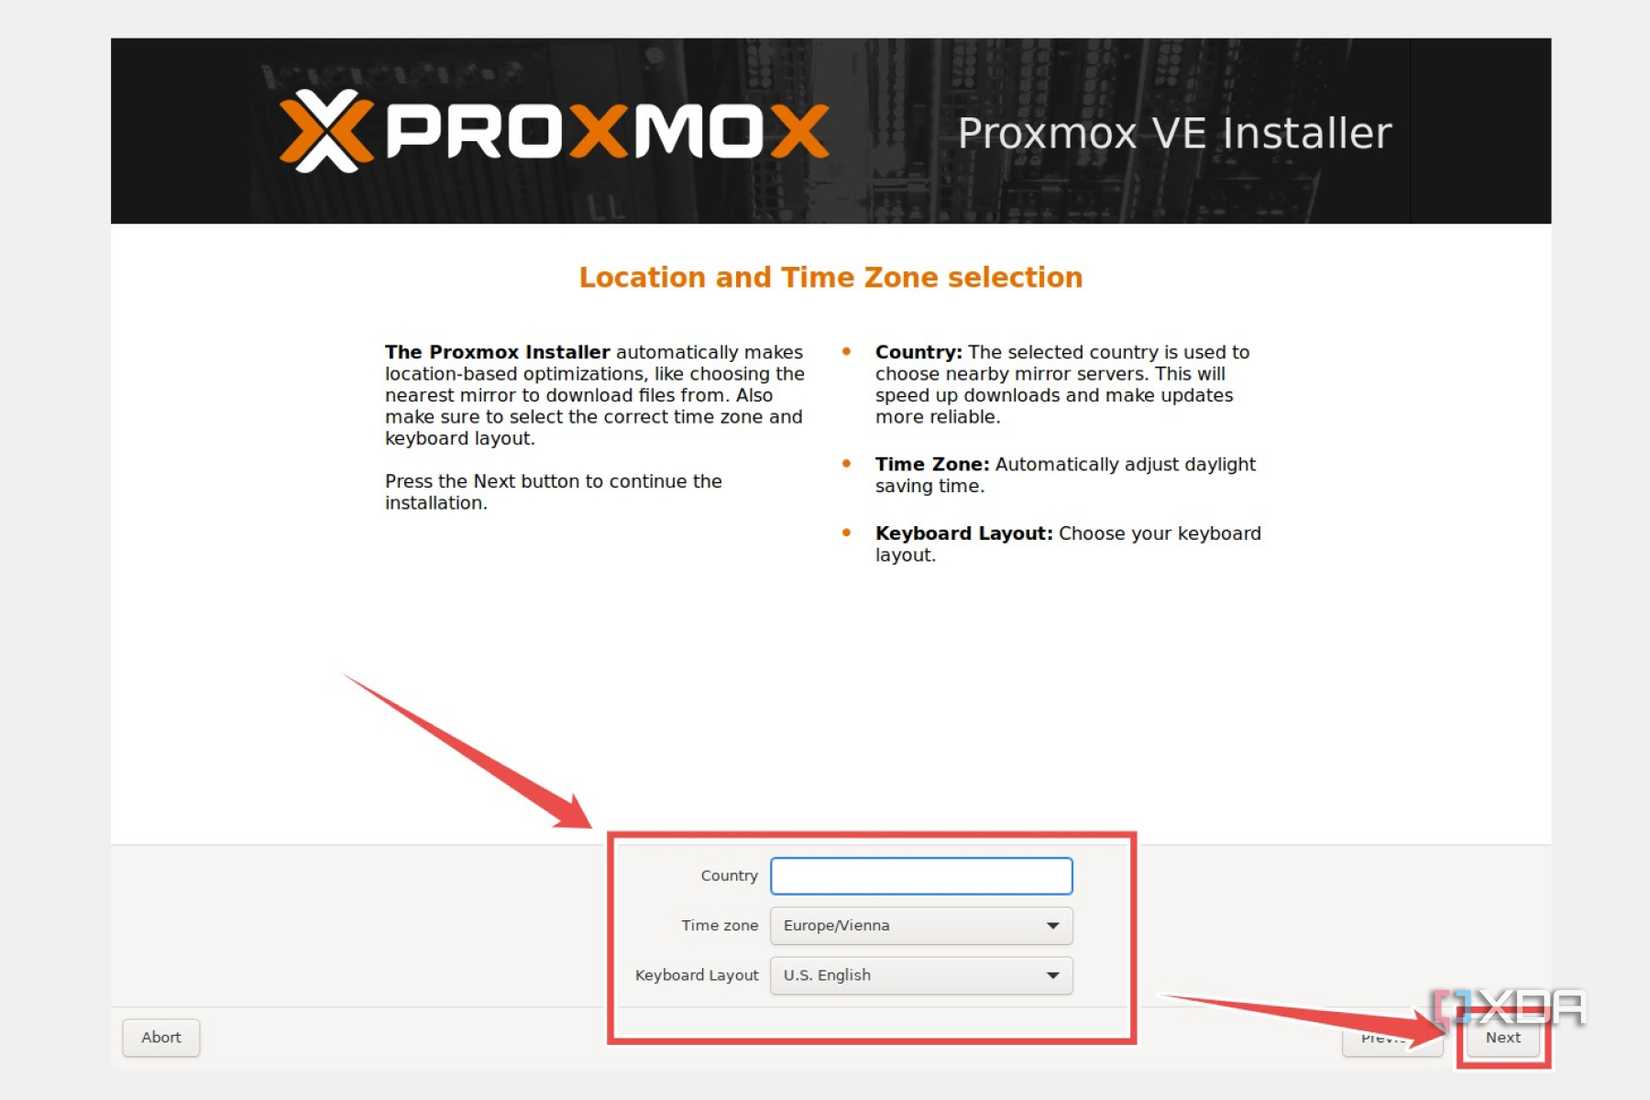
Enter the Password and Email address before tapping Next.
-
Ensure the correct Network adapter is connected in the Management Device option and enter the Hostname (FQDN) for your Raspberry Pi Proxmox server.

- Click Install and wait for the setup wizard to finish installing Proxmox on your storage drive.


Building a miniature home lab powered by a Raspberry Pi

If you followed all the steps correctly, your Proxmox server should be accessible from the IP address you set inside the installation wizard. With that, you’re free to embark on your home lab adventures. Well, at least until you stumble upon the Display not initialized error message when you try to check the console output on your VMs. Thankfully, the fix is as simple as switching the BIOS to UEFI, adding a new Serial Port(0) inside the Hardware tab of your VM, and modifying the Display setting to use Serial Terminal (0) instead of the Default setting.
Besides performance issues, you’ll also run into issues if you try to initialize non-ARM containers or virtual machines inside the server. So, I wouldn’t recommend buying a Raspberry Pi if building a powerful home lab is your primary intent. But if you’ve got one of the newer RPi boards lying around, you can use it to familiarize yourself with the Proxmox UI.
