


When sharing a network drive with their computing setup, most NAS owners tend to use the SMB protocol. While it’s not a bad choice by any means, there are times when you might want to switch to another method to transfer files to and from your NAS.
The iSCSI is one such protocol, though its functionality and use cases differ quite a bit from SMB. So, I’ve put together a detailed guide covering everything you need to know about this high-speed protocol.
What is iSCSI?
And when should you use it?

In technical terms, iSCSI, or Internet Small Computer System Interface, is a protocol that grants block-level access to storage devices over a network. As a more evolved form of the SCSI standard, iSCSI converts SCSI commands into TCP/IP packets and sends them to a storage solution via Ethernet. This allows you to access the block storage like a drive connected physically to your PC.
To put it simply, iSCSI provides an easy way to set up a hard drive or an SSD connected to a NAS/SAN server as a local drive on your system. Unlike your average network share protocol like SMB, once you’ve created a virtual drive for your PC using iSCSI, you can’t transfer data to this drive from another device (unless you set up a way for the other systems to access the drives on said PC).

As such, the iSCSI service isn’t for those who want a simple way to share files between multiple devices connected to their home network. Instead, iSCSI is useful when you want to allocate more storage to a specific device on your local network without compromising the read/write speeds of a storage drive.
For example, I recently used iSCSI to transfer my Steam library to my NAS devices, as SMB just wasn’t good enough to run large games off a NAS. Although the iSCSI hard drive had slightly longer load times in large open-world games, it worked really well for the most part. In fact, assuming there aren’t any bandwidth-related bottlenecks on your Ethernet connection, an iSCSI drive can provide similar (realistically, slightly lower) transfer speeds than a local drive connected to your PC.
How to set up an iSCSI drive on your NAS?
With the basics out of the way, it’s time to create an iSCSI share and connect it to your PC. We’ll go with TrueNAS Scale for this tutorial, but the overall procedure is the same for TrueNAS Core and first-party operating systems you’ll find in pre-built NAS.
Creating (and optimizing) a Zvol volume for iSCSI
Before you can enable the iSCSI service for a drive, you’ll need to create a Zvol block on it using these steps:
- Launch the TrueNAS web UI and log into your account.
-
Assuming you’ve already configured a dataset on your NAS, head to the Datasets tab and tap the Add Zvol button.

-
Enter the Zvol name and Size of the block.

-
Set the Sync option to Standard, Compression to lz4, and ZFS Deduplication to Off.

-
With the Read-only mode disabled and Snapdev set to hidden, change the Block size to 128 kb if you want maximum speed at the expense of efficiency.
Alternatively, you can decrease this value if speed isn't your primary concern.

-
Finally, press Save to create your Zvol block.


Configuring the iSCSI service
With the Zvol storage block ready, it’s time to set up an iSCSI share on your NAS.
-
Navigate to the Shares tab and hit the Wizard button under the Block (iSCSI) Shares Targets header.

-
Enter the Name of iSCSI share before picking Device as the Extent Type and selecting the Zvol block you created earlier as the Device.

-
Pick Modern OS as the Sharing Platform, leave the Target setting to Create New, and press Next.

-
If you’re the only person accessing the NAS, select None as the Discovery Authentication Method and leave Discovery Authentication Group as is.

-
Click on the Add button next to IP Address before choosing 0.0.0.0 from the drop-down list and selecting Next.

-
Press Save under the Initiator section.

-
Back on the Shares tab, click on the three dots and select Turn On Service.


Initializing the iSCSI drive on Windows
After you’ve started the iSCSI service, you’ll need to set up the virtual disk on your PC before you can put the storage drive to good use. First, you have to utilize the built-in iSCSI Initiator Properties utility to connect to the iSCSI target.
- Right-click on the Start button and choose Run.
-
Type iscsicpl into the Open bar and press OK.

-
Navigate to the Discovery tab and click on Discover Portal.

-
Enter the IP address of your NAS device and hit OK.
You can use a network scanner app like Fing to detect your NAS' IP address.

-
Head to the Targets tab, click on the Connect button, and hit OK in the pop-up window.


Once you’ve paired the iSCSI target with your PC, you’re free to add the block storage as a local disk using the Disk Management tool:
- Right-click on the Start button and select Disk Management.
-
With the GPT selected as the partition style, hit OK to initialize the new drive.

-
Once you've located the iSCSI drive, right click on it and select New Simple Volume.

-
Hit Next at the Welcome screen and enter the Simple volume size.
Be sure to hit Next after each step.

-
Next, assign a Drive Letter to the iSCSI volume.

-
Select the option to Format the drive and leave the rest of the settings at their default values.

-
Press Finish after double-checking all the options.


If you followed all steps correctly, the drive should show up in the File Manager, and you can start storing all your files in it.
How to extend the iSCSI drive?
Sometimes, you may end up requiring more storage than what you initially allocated to the iSCSI drive. The only problem is that if you try to extend the drive space without following the proper procedure, you may end up corrupting the storage volume, and in the worst-case scenario, it’s possible to lose some or all of your stored data.
As such, the preliminary step is to shut down the PC that’s paired with the iSCSI volume. This is because leaving the system powered on while tinkering with the Zvol settings can lead to issues later down the line. So, you’ll have to switch to another system, or even a smartphone, for this section.
-
Inside the TrueNAS Scale web UI, open the Shares tab, click on the triple dots, and choose Turn Off Service.

-
Switch to the Datasets tab and click on Edit Zvol.

-
Enter the new Zvol size and press Save.

- Head back to the Shares tab and Turn on the iSCSI service.
- Reboot the other PC connected to the iSCSI drive and open the Drive Management utility.
-
Right-click on the primary partition of the drive and pick Extend volume…

-
Make sure the amount of space you wish to add to the drive appears under the Selected section and hit Next.

- Tap the Finish button to save the changes made to the storage volume.


Fulfilling all your local storage requirements with iSCSI
Source: XDA


Source: XDA

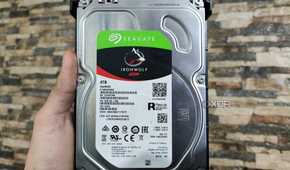
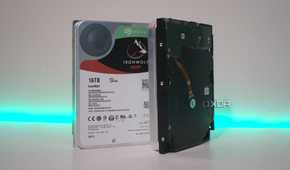
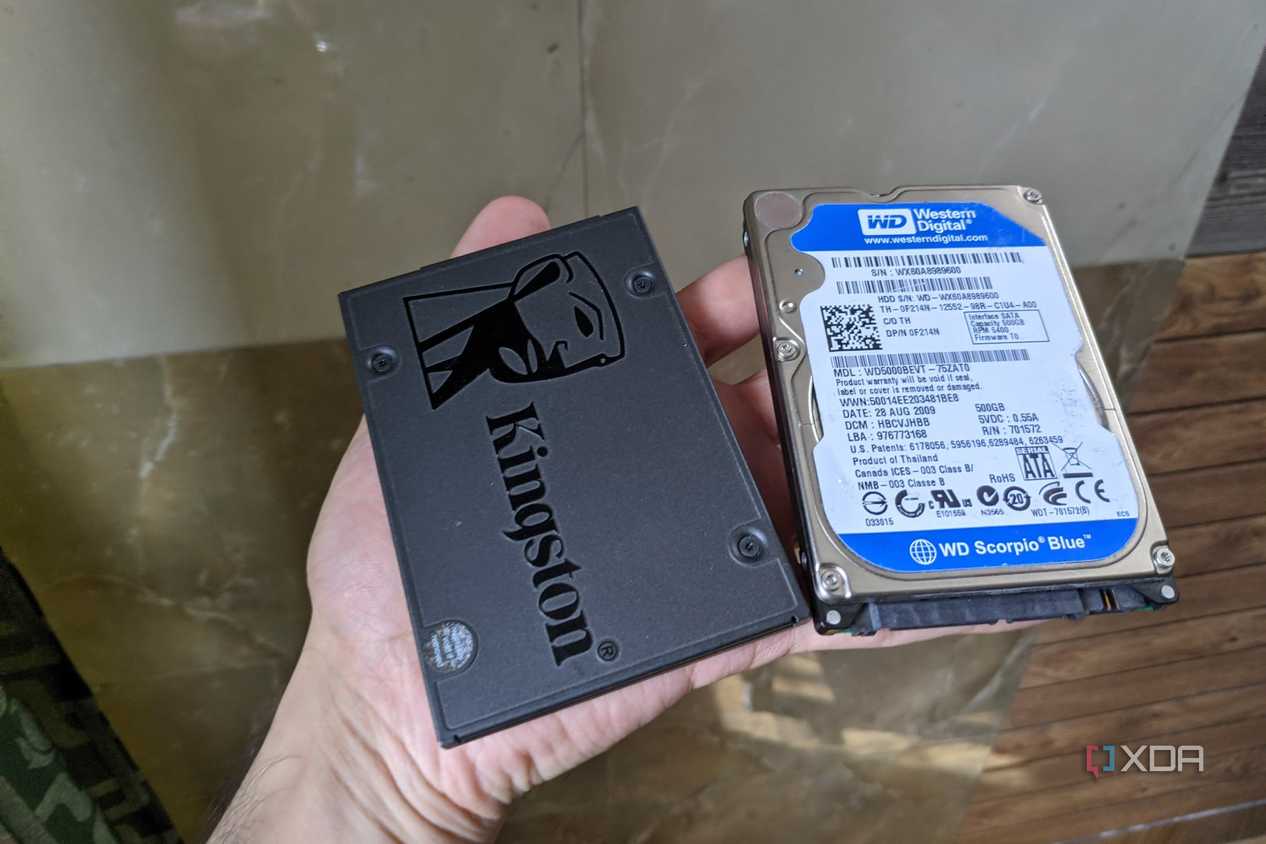
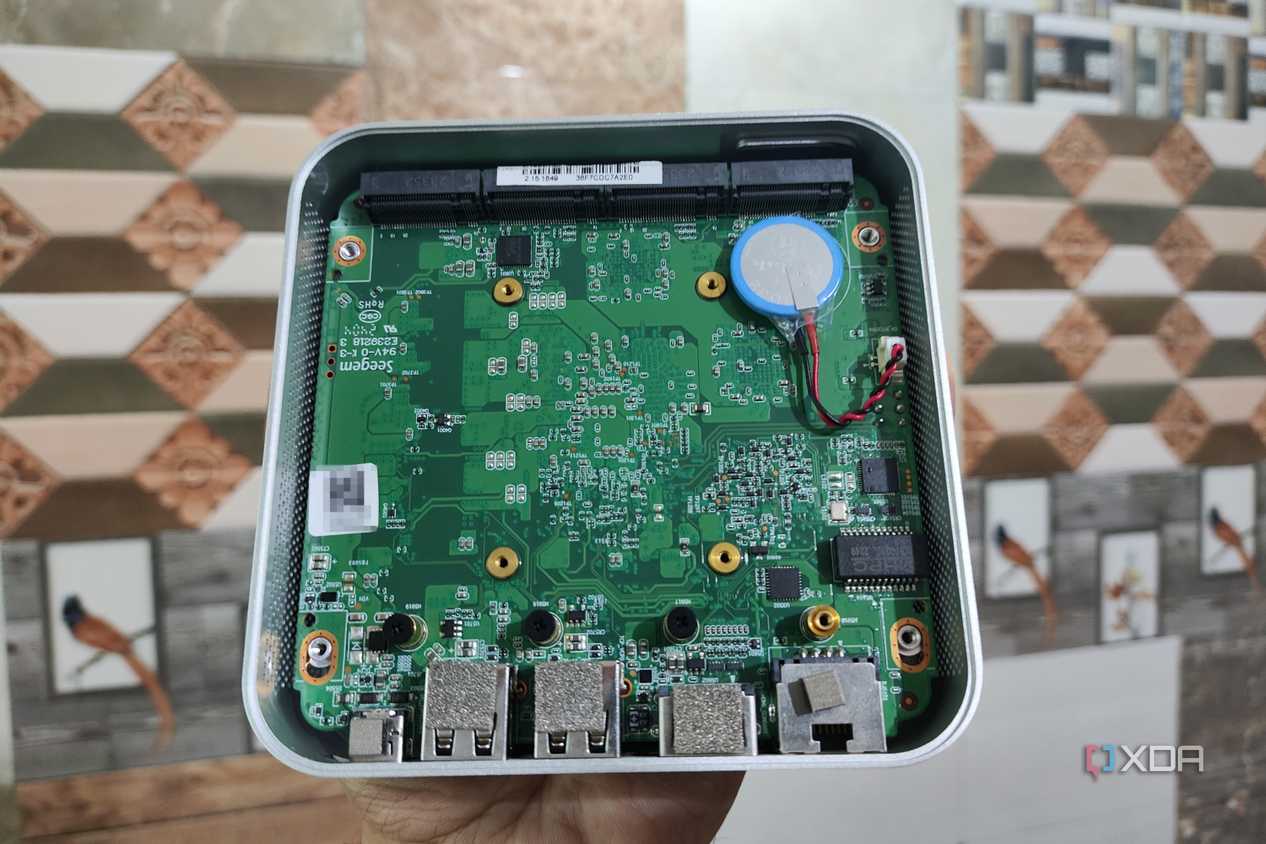
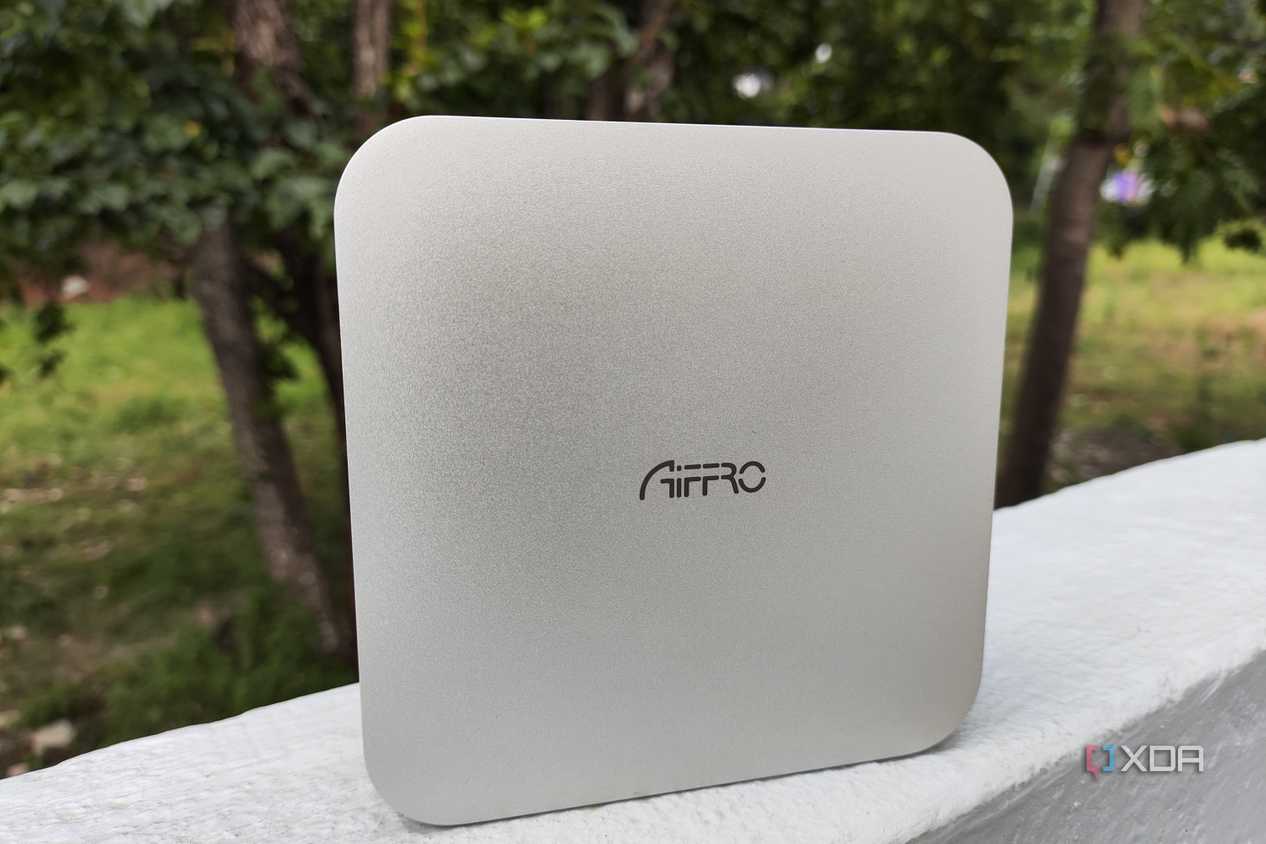
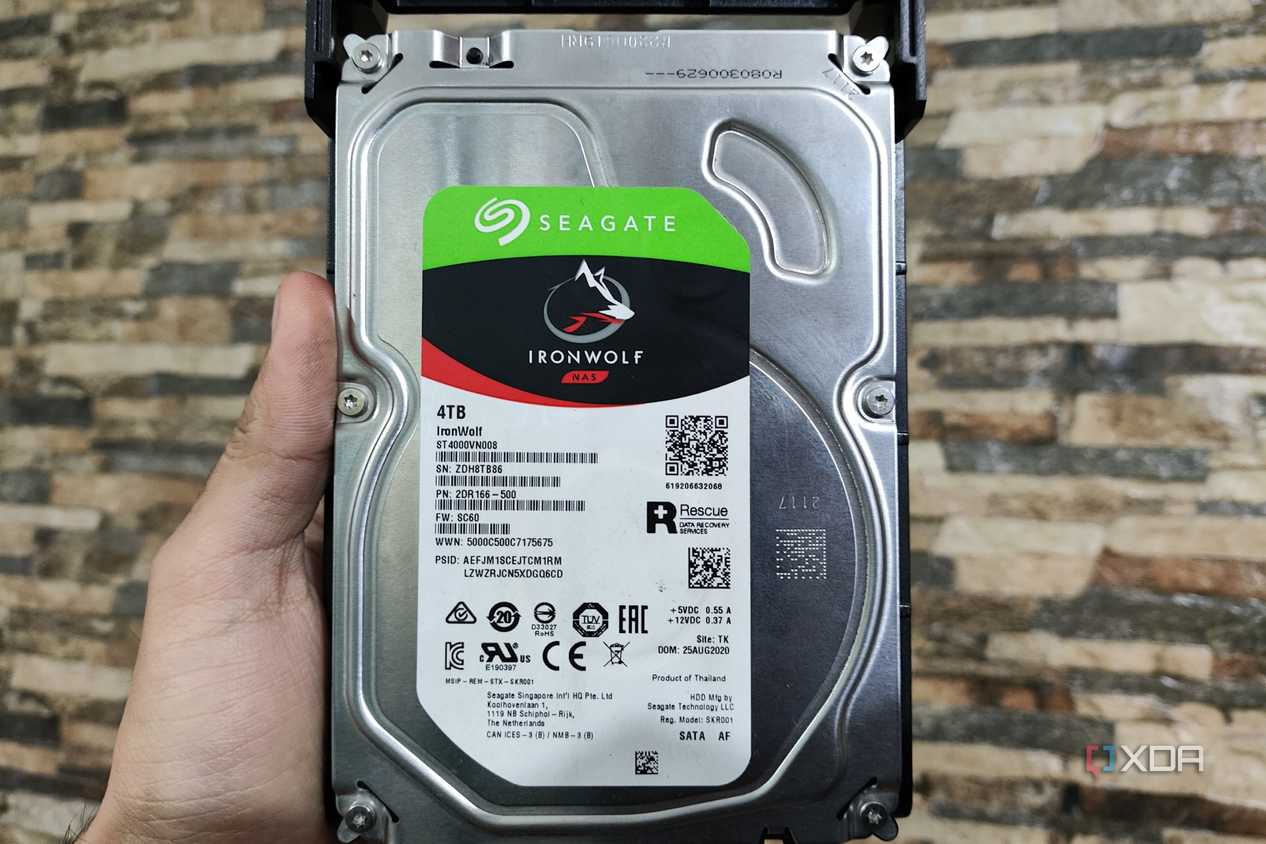
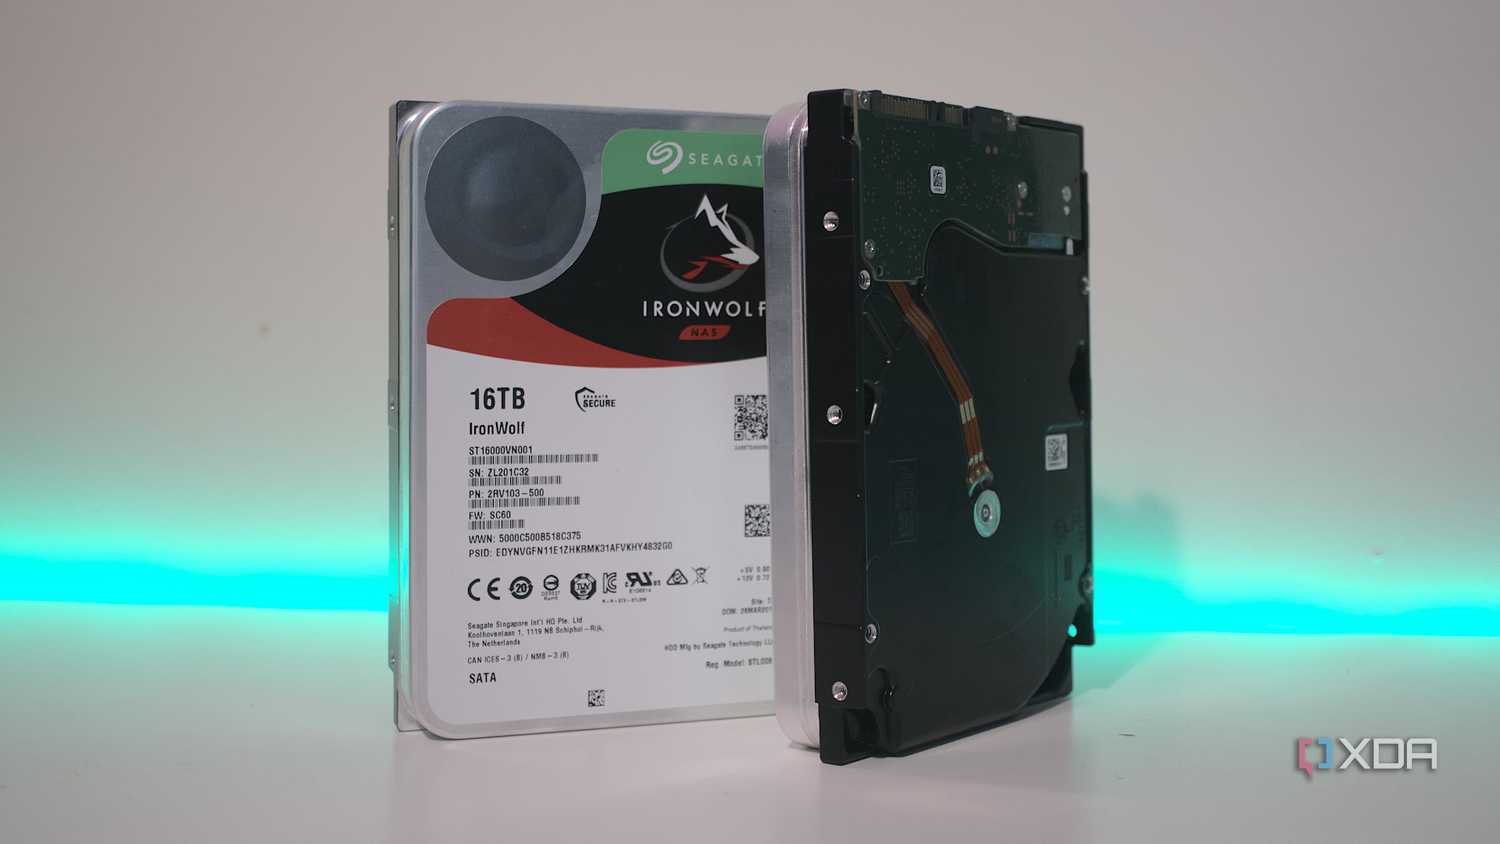
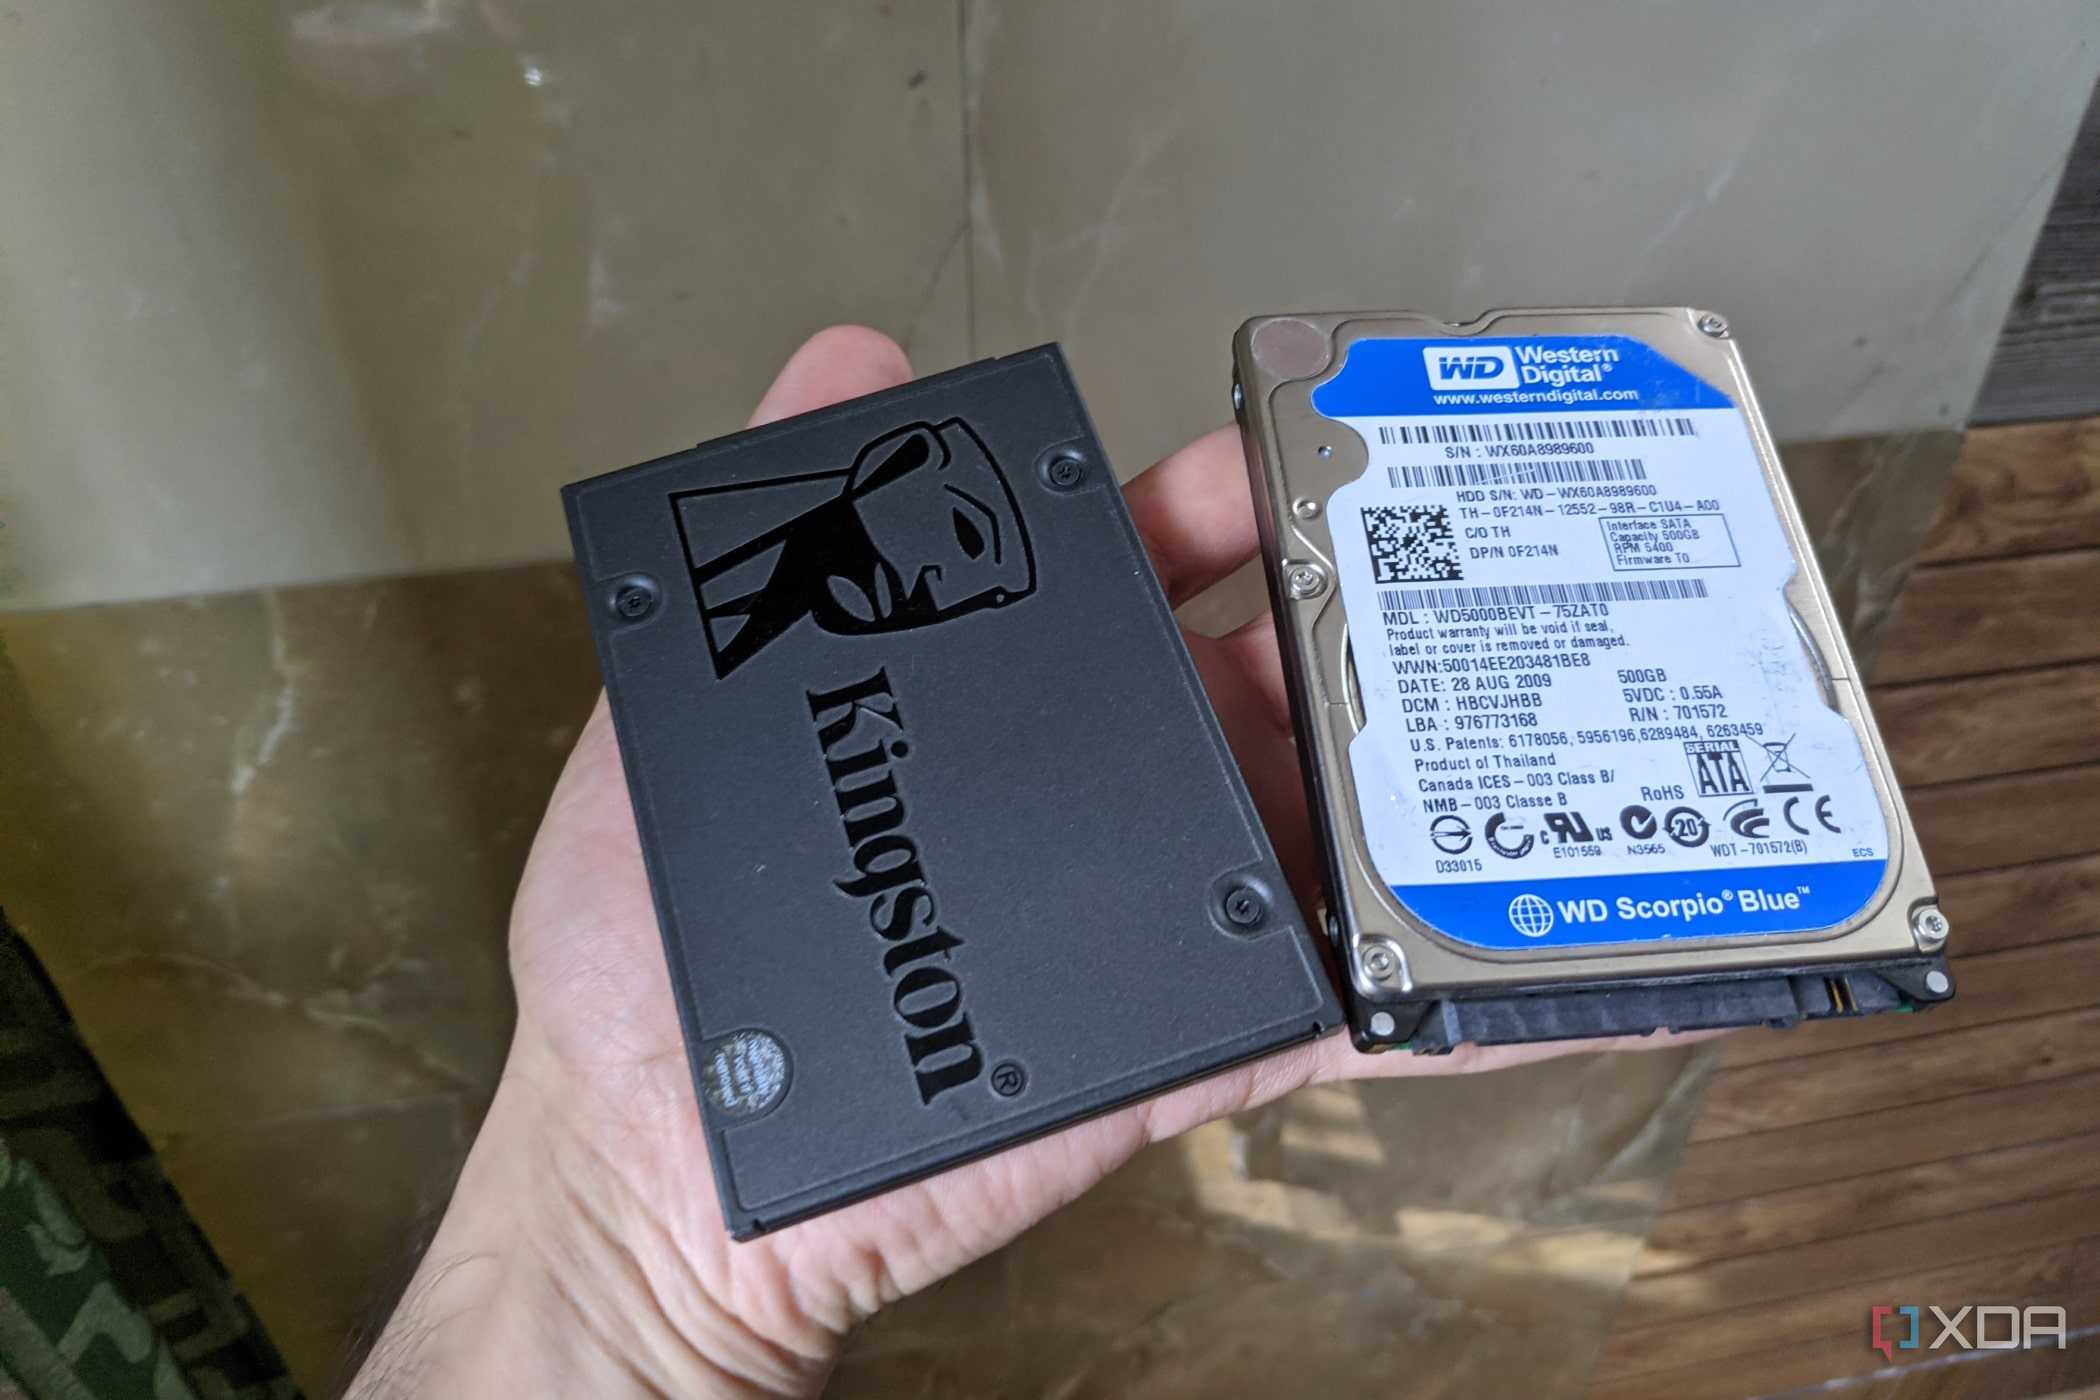
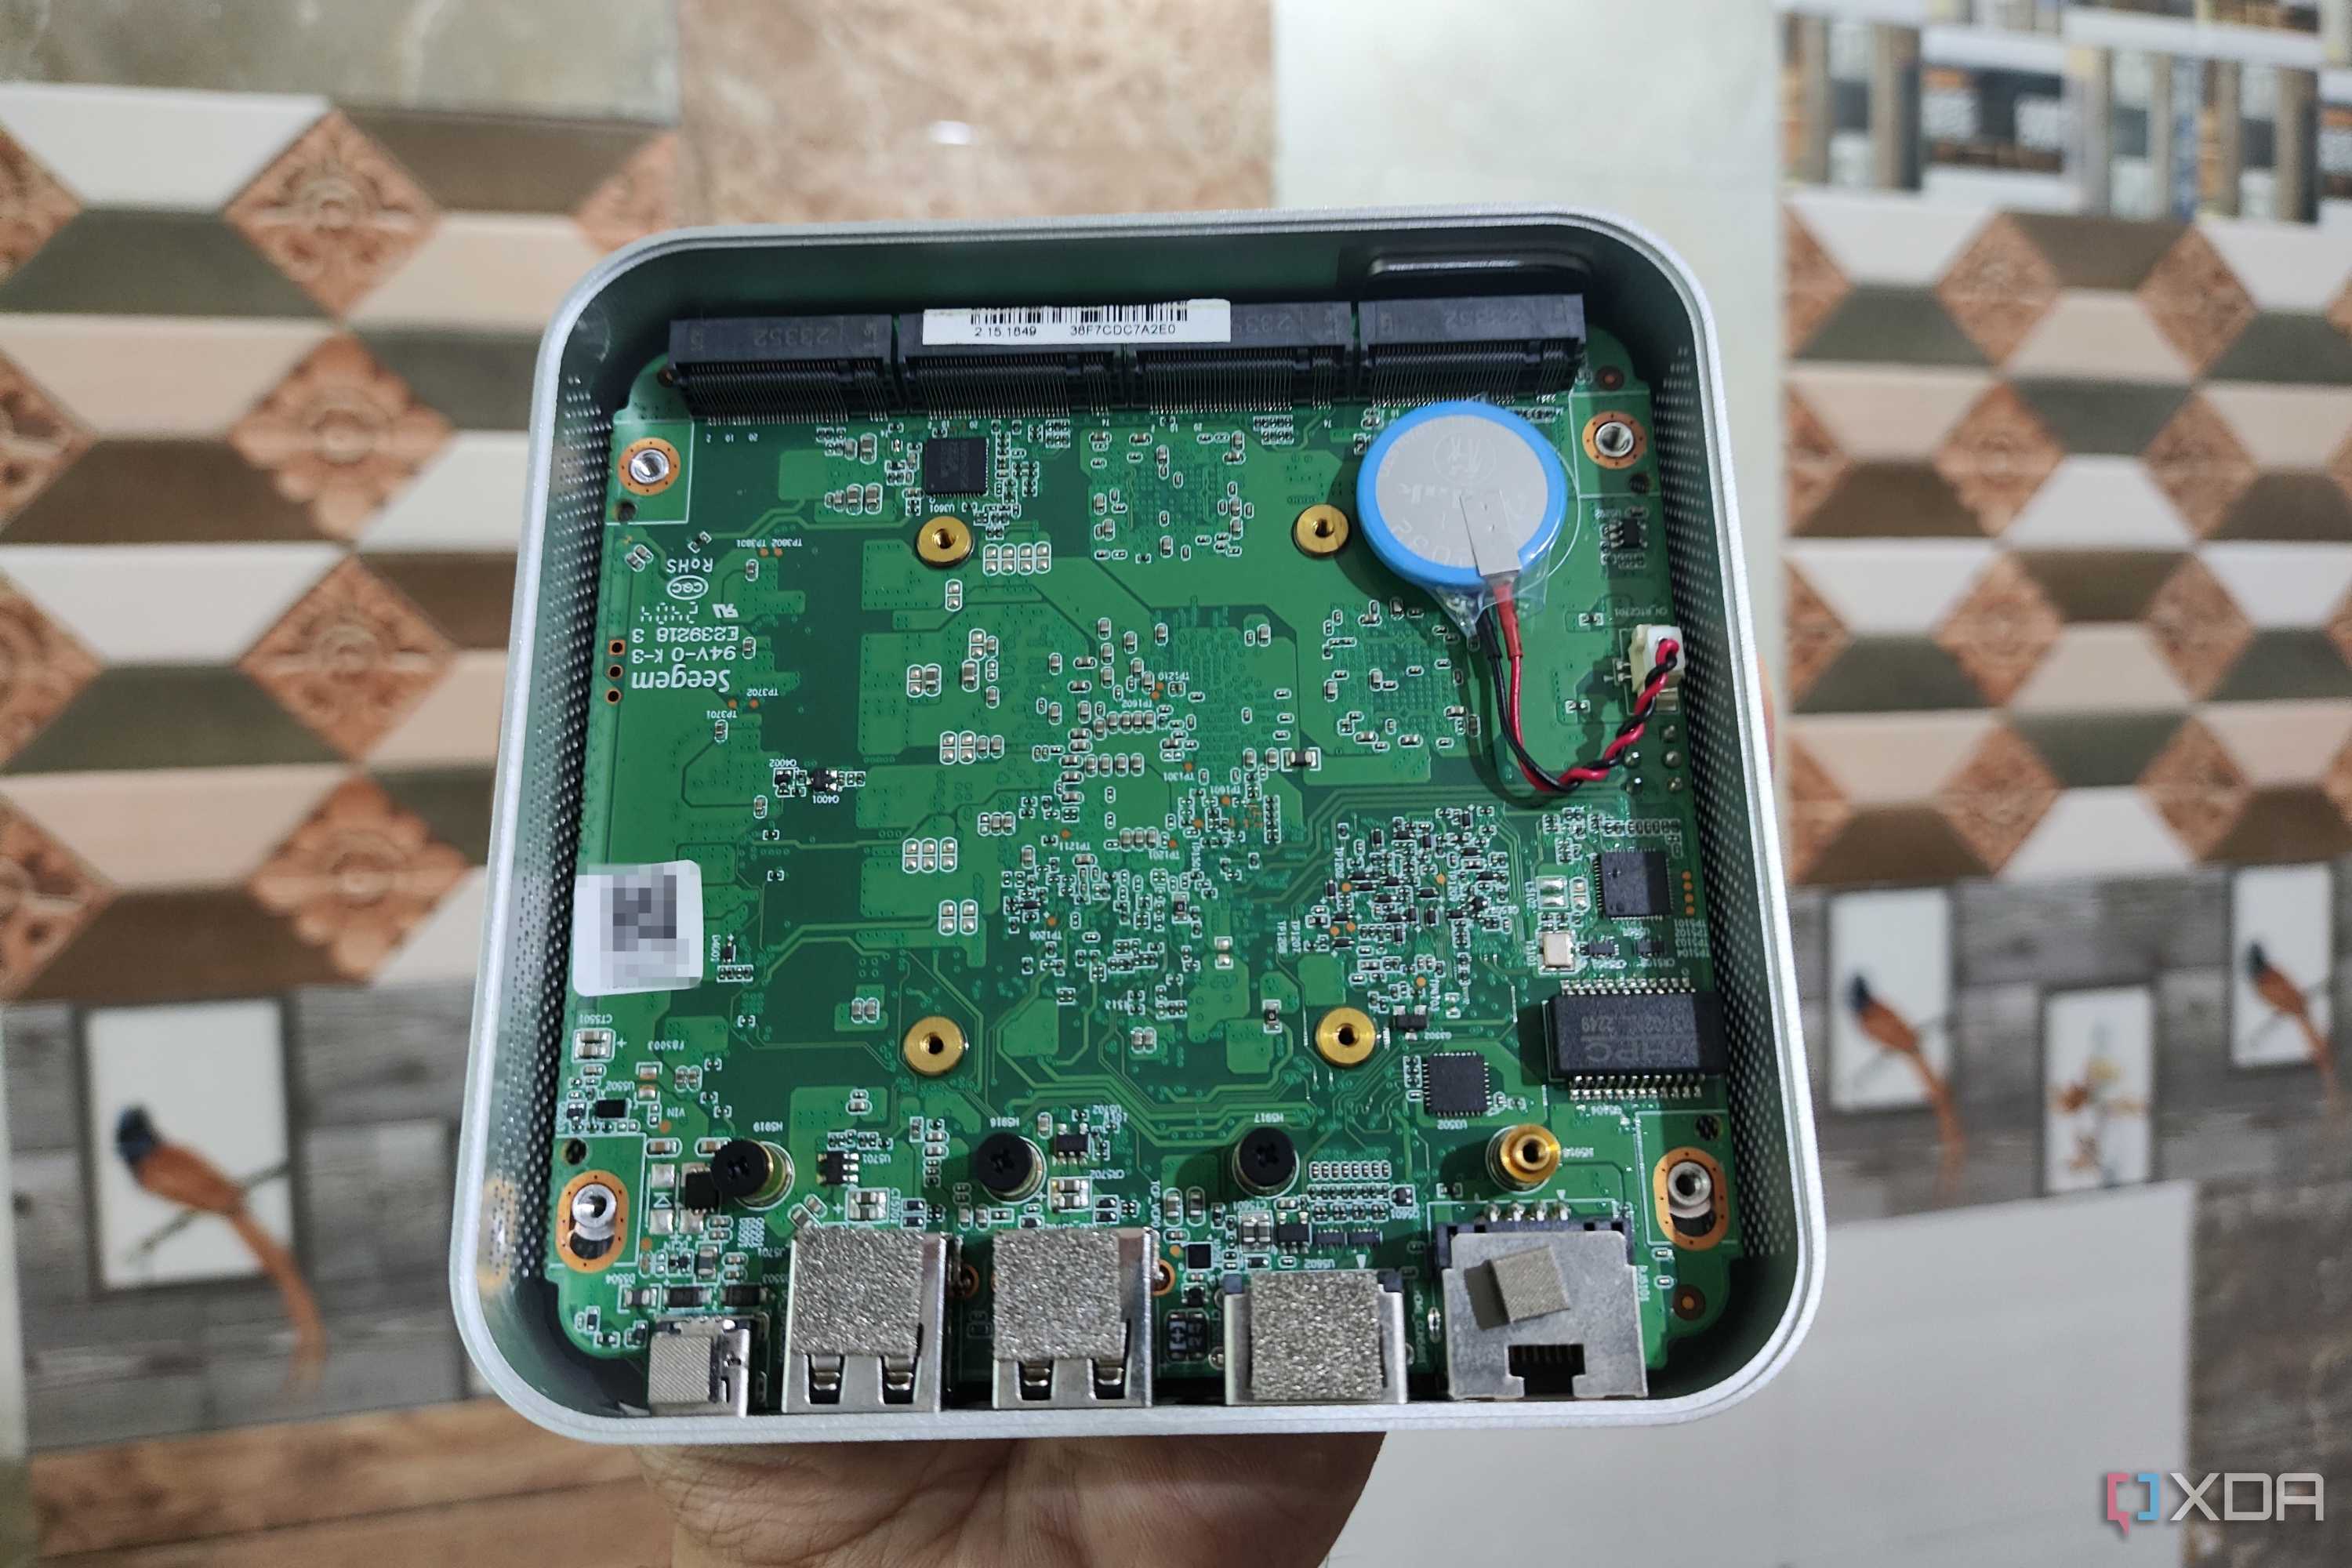
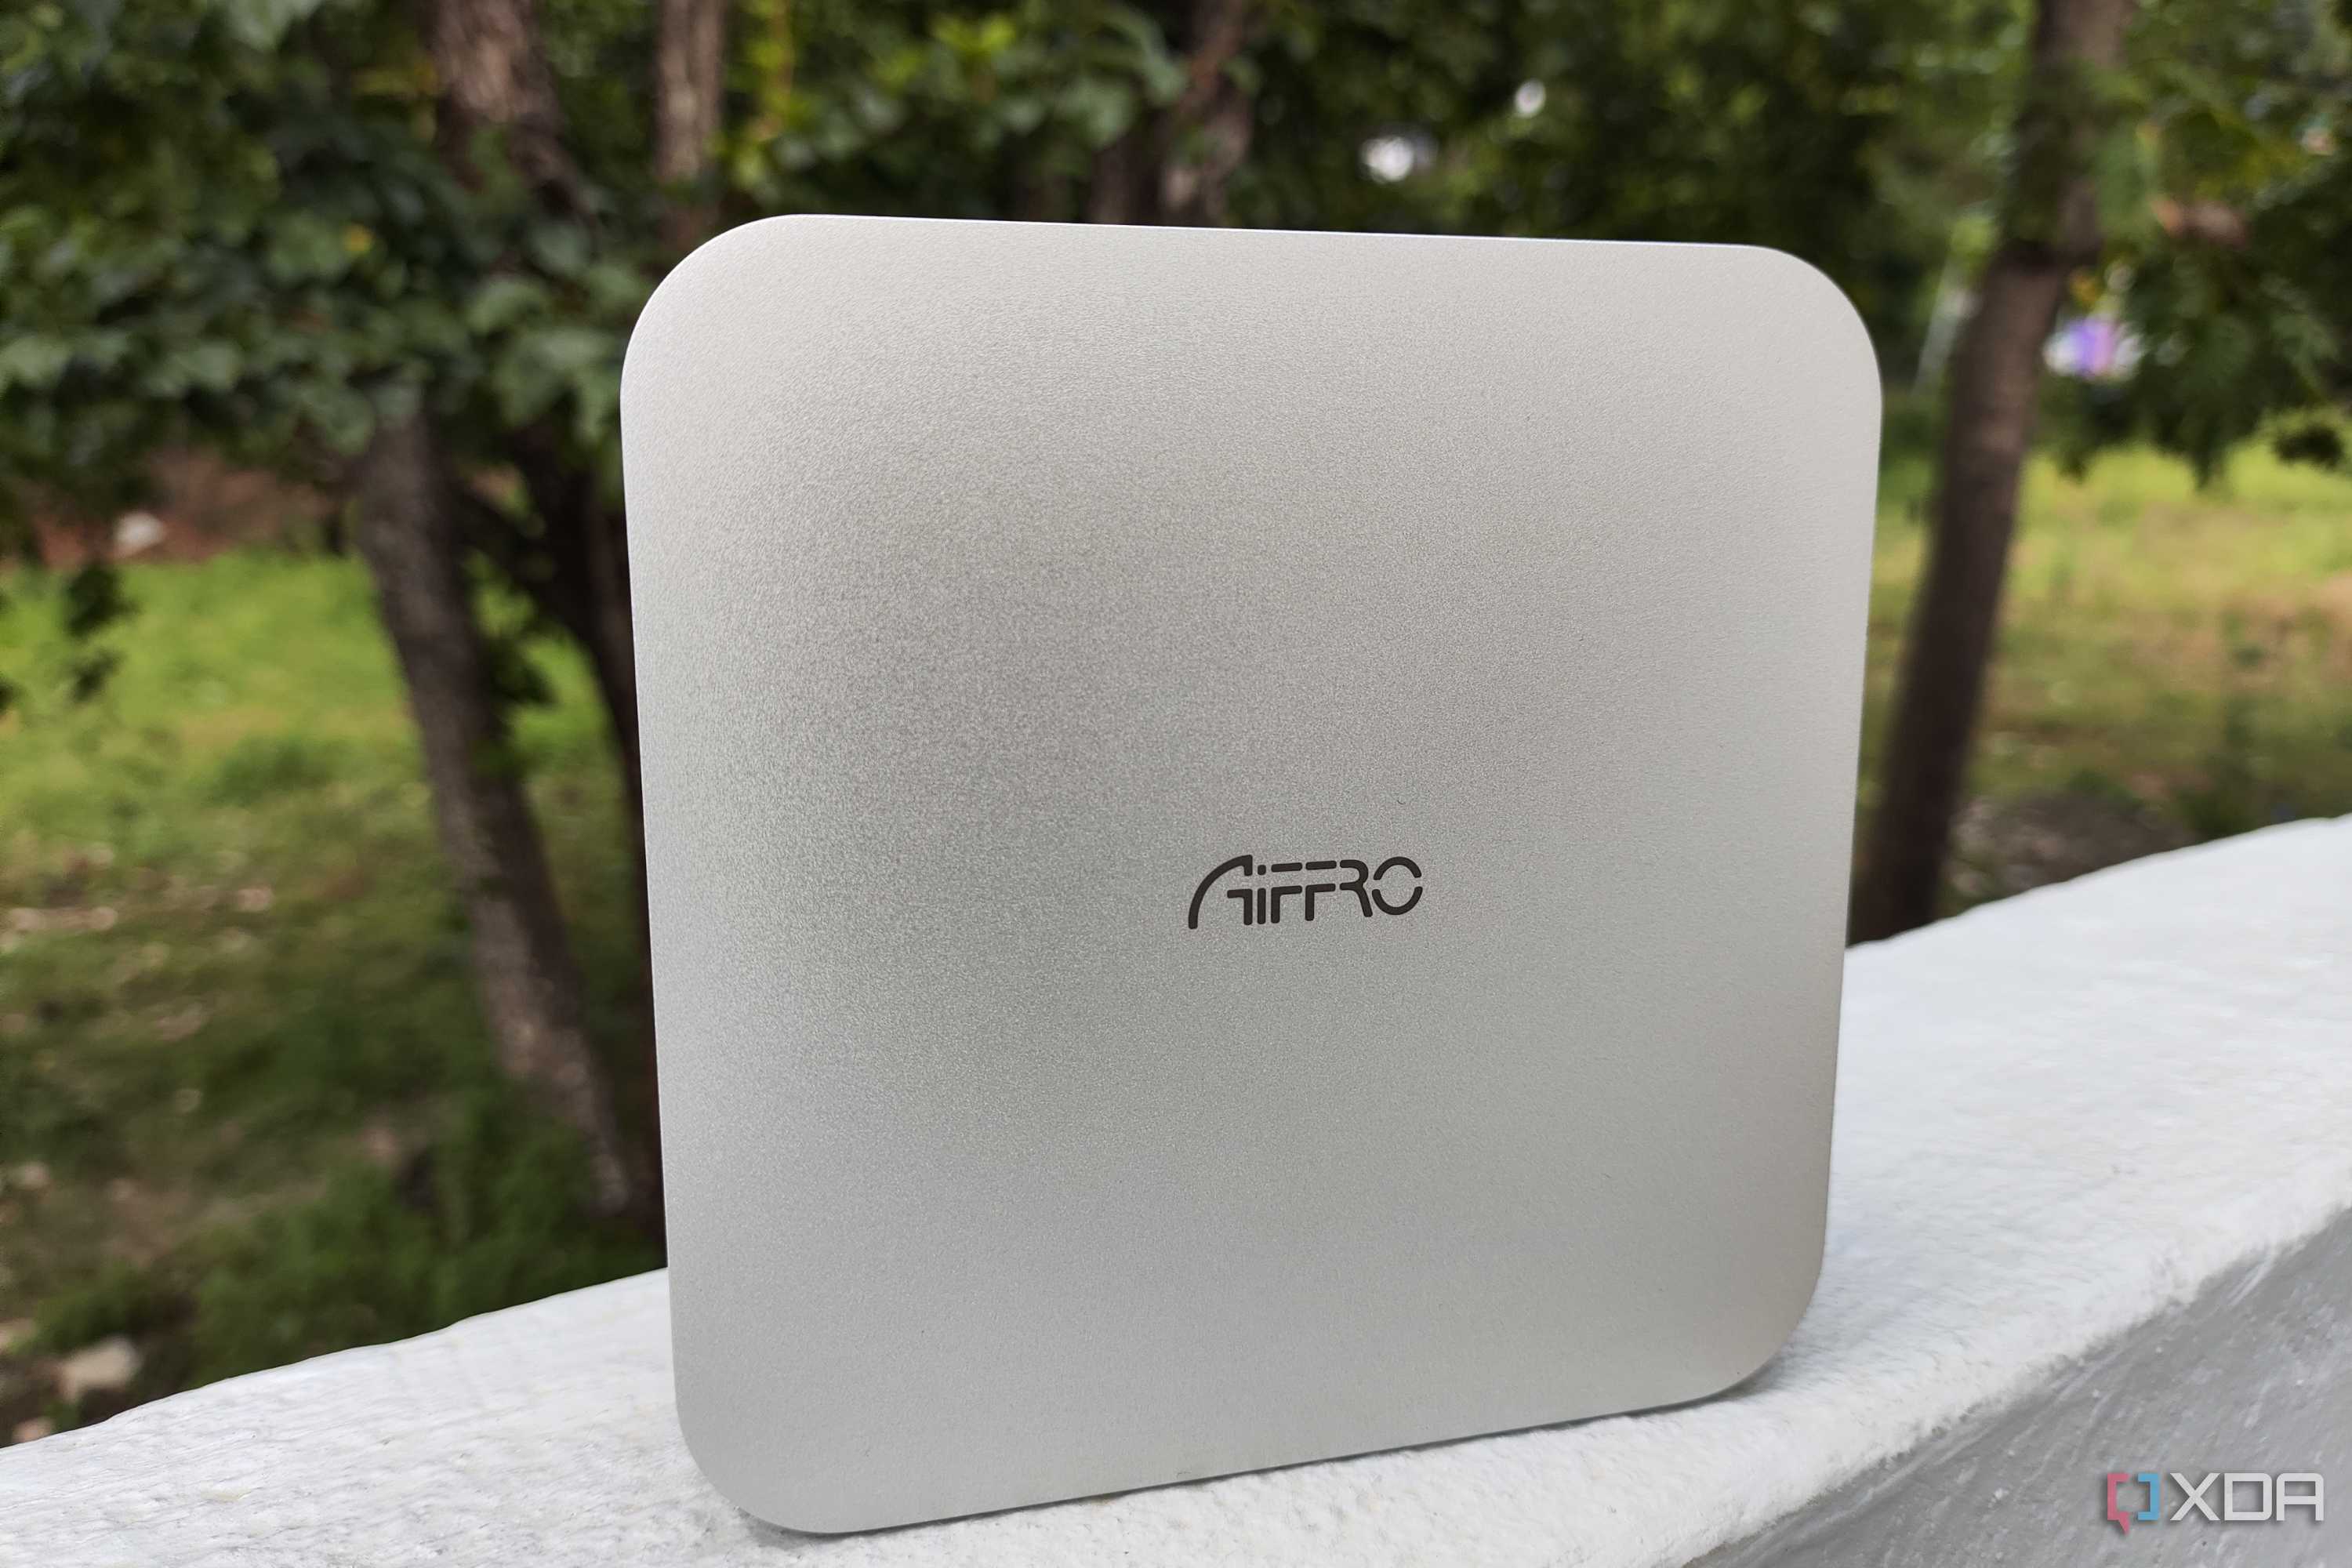
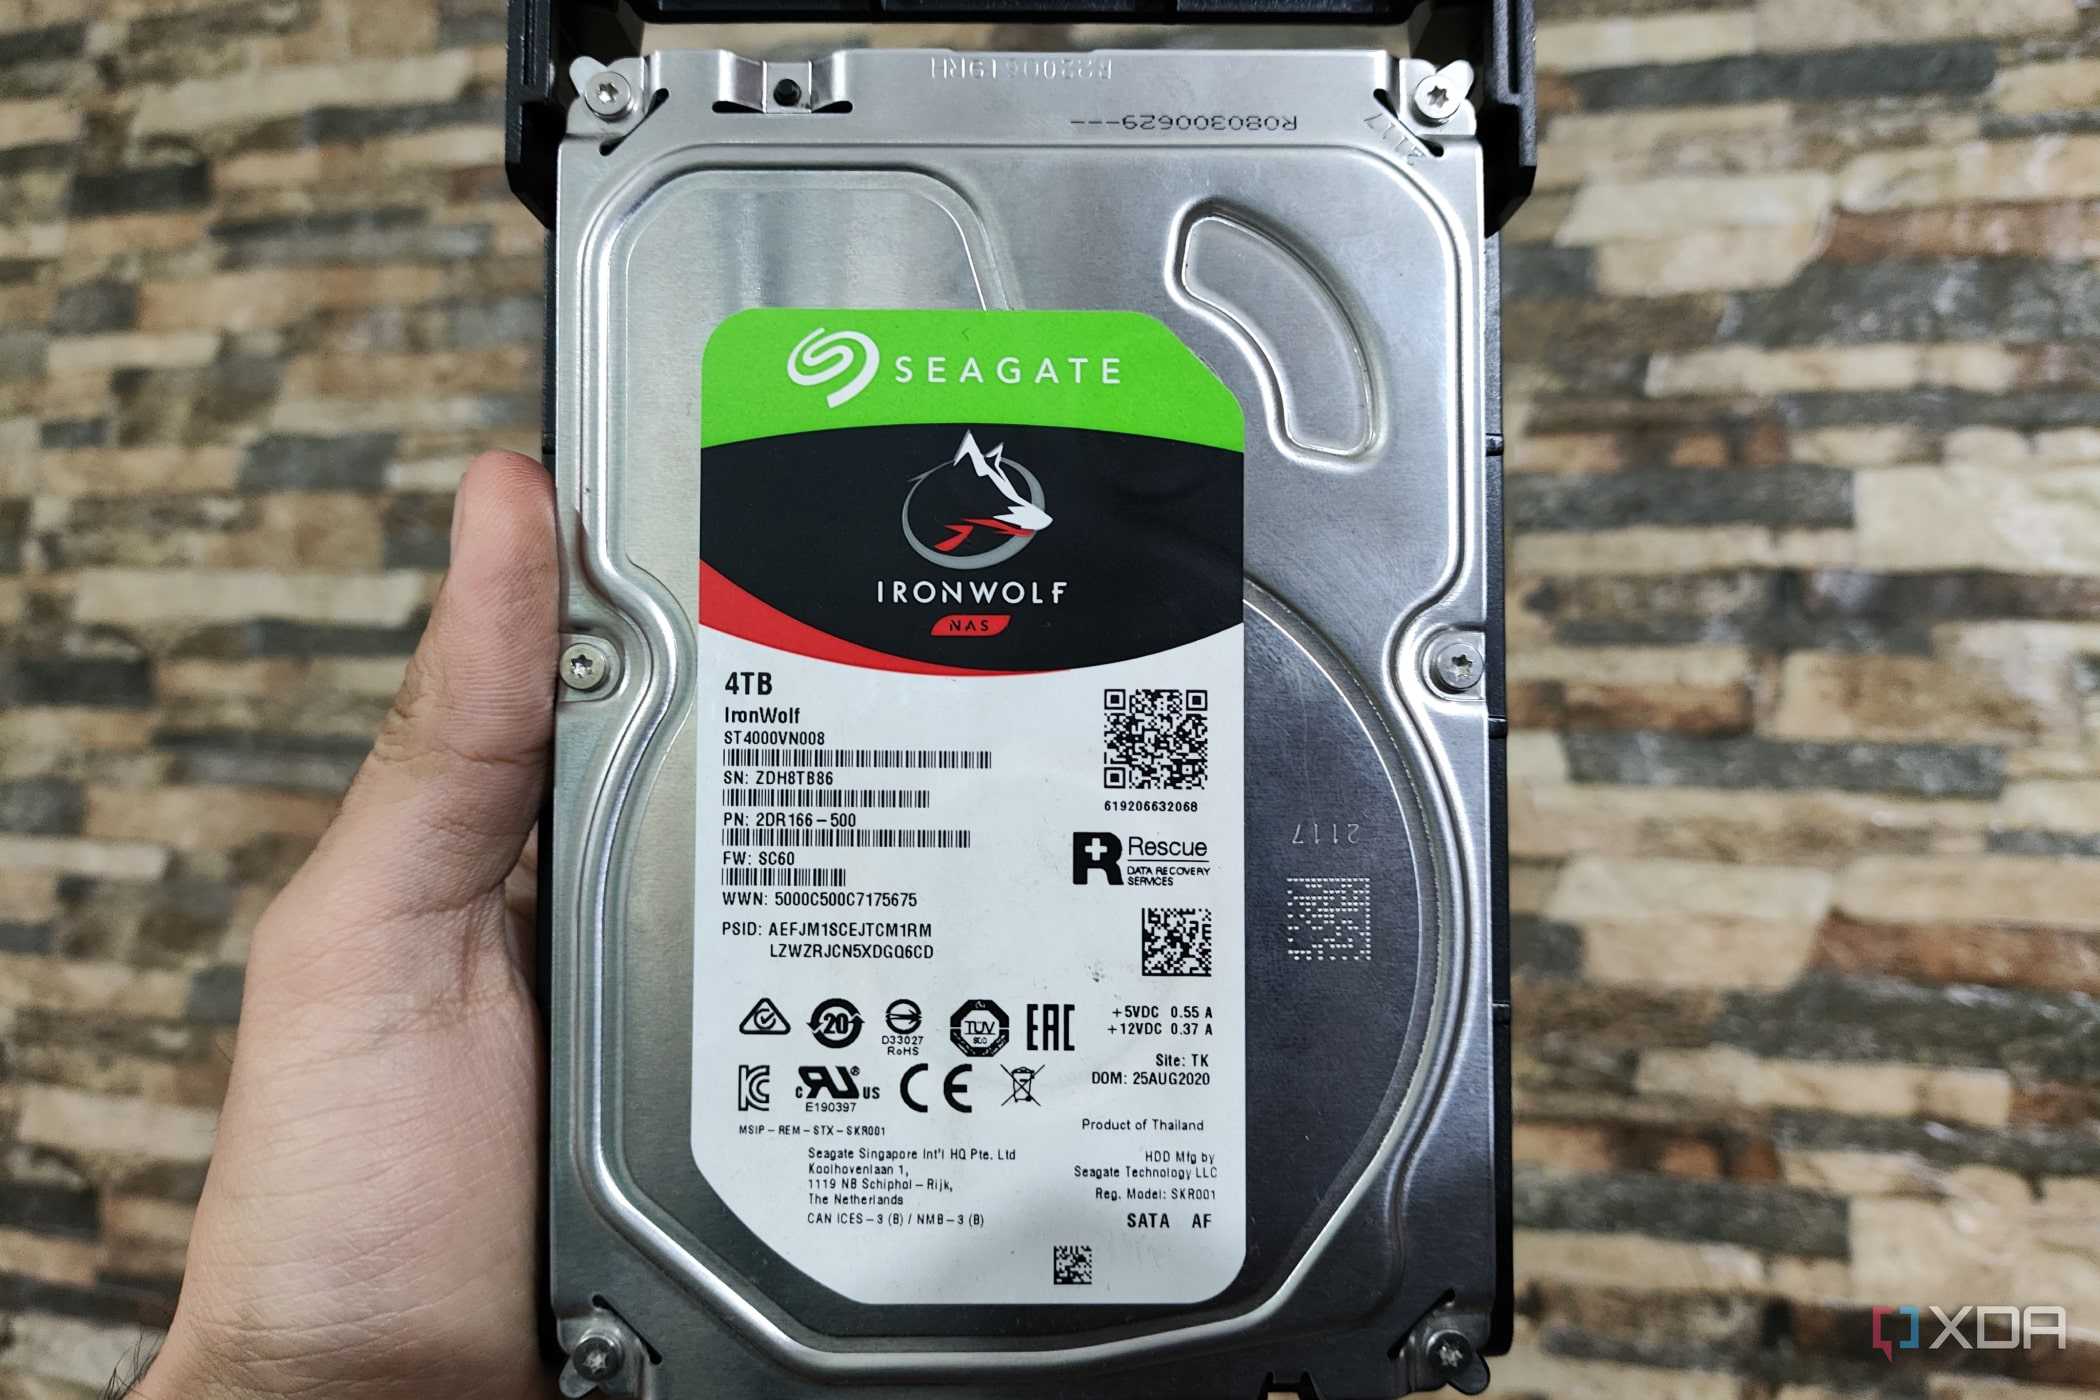
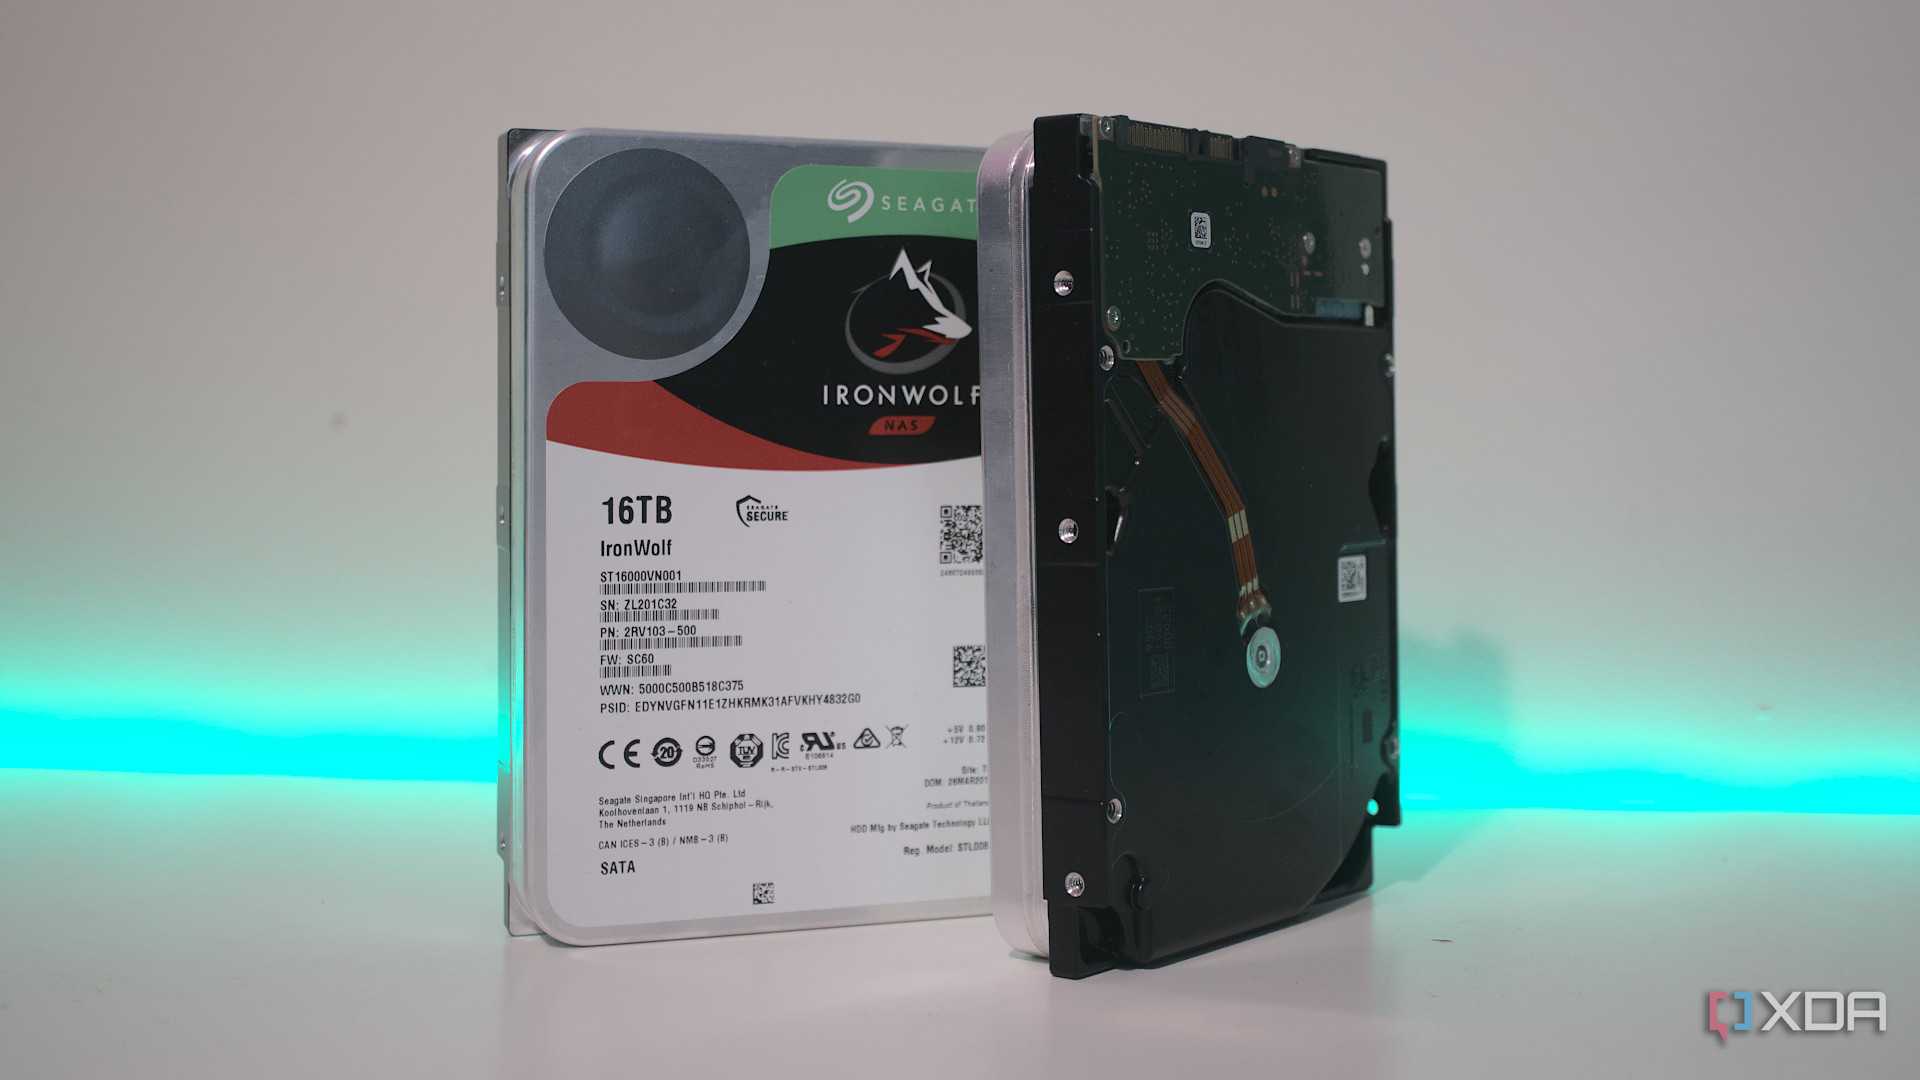
Although it’s accessible over a network, an iSCSI drive delivers surprisingly robust performance. When I ran the games off my makeshift HDD NAS and the Aiffro K100, I didn’t encounter any input latency or lag due to the iSCSI protocol. Sure, the boot times weren’t the very best, especially in open-world titles. But in retrospect, I could’ve shortened the time it took to load the assets if I had 10GbE network cards installed on both NAS devices and my PC.
Heck, there are quite a few use cases for this high-speed protocol besides gaming. If you’re into shooting high-resolution videos and have already choked all your internal drives with footage, iSCSI is worth trying out as long as you aren’t limited by Ethernet bandwidth. Likewise, you should consider giving this protocol a shot if you want to set up block storage for all the virtual machines and containers on your Proxmox home server.
