


With its solid performance, zero-clutter design, and suite of useful plugins, Jellyfin is easily one of the best utilities for organizing and streaming your media collection to any device in your household. It’s also fairly easy to deploy, and you’ve got the option to host it inside Docker, Podman, or LXC containers.
Speaking of LXC services, Jellyfin pairs exceedingly well with Proxmox, provided you’re willing to put in some extra effort to configure the container. So, here’s a detailed guide to help you self-host Jellyfin on your Proxmox workstation.
Deploying the Jellyfin server
The first step to turning your Proxmox system into a media-streaming war machine involves creating a Jellyfin container inside a runtime environment. Since we’re going the LXC route, you can use the Jellyfin image available on the community-managed Proxmox VE-Helper Scripts repository to quickly deploy the container.
-
Select your preferred Proxmox node and open its Shell tab.

-
Paste the following command into the terminal interface and hit Enter:
bash -c "$(wget -qLO - https://github.com/community-scripts/ProxmoxVE/raw/main/ct/jellyfin.sh)"

-
Hit Yes when Proxmox asks for your approval before choosing Advanced Settings.

-
Use your arrow keys to hover the cursor over the Privileged option, press Spacebar to select it, and hit Enter to proceed to the next step.

-
Be sure to type a Root Password for the Jellyfin LXC.

-
Choose the ideal Storage, CPU, Memory, and Network settings for your Jellyfin container.

-
Hit Yes when the script asks you to enable Root access and wait for Proxmox to finish creating and deploying the container.

-
Soon, Proxmox will generate an IP address for your Jellyfin server, and you can use it to access the container’s web UI.


Configuring the Jellyfin web UI
Now that your Jellyfin server is online, it’s time to go through its initial setup wizard.
-
Choose the Display Language and hit Next on the Welcome screen.
Remember to choose Next after each step in this section.

-
Pick a Username and Password for your Jellyfin container.

-
Leave the Media Libraries tab as is and pick your Language and Country/Region settings.

-
Agree to Allow remote SSH connections to the Jellyfin server.

-
Tap Finish to finish the configuration process and enter the Jellyfin dashboard.


Mounting an SMB share to Proxmox
Although you’ve successfully deployed the Jellyfin server, you may have noticed that its web UI is extremely barren, with zero media files as far as the eye can see. That’s because you’ll need to link your media library with the Jellyfin instance. Assuming you’ve already stored your movies, TV shows, and podcasts on a NAS and have an SMB share set up beforehand, you’ll have to mount the SMB drive to the Proxmox host first. To do so,
-
Navigate to the Datacenter tab on the Proxmox web UI and pick the Storage tab.

-
Click on Add and select SMB/CIFS from the drop-down menu.

-
Create an ID for the share, type the IP address of your NAS into the Server field, enter the Username and Password of the SMB share, and use the Share tab to select the folder where you’ve stored the media files on your NAS before hitting the Add button.


Connecting the SMB share to your Jellyfin server
With the SMB share connected to your Proxmox host, you’ll have to mount it on your Jellyfin LXC before you can access your media files from its dashboard. To do so,
-
Switch to the Console tab of your Jellyfin server and enter root as the Username followed by the Password you’d set earlier.

-
Execute the mkdir command to create a new directory on your Jellyfin container.
mkdir /new-directory-for-media-files

-
Head back to the Shell tab of your Proxmox node and open the config file that corresponds to the number of your Jellyfin LXC.
nano /etc/pve/lxc/container-number.conf

-
Append the mpo (the path to the SMB share on your Proxmox host) and mp (the directory you created on your Jellyfin LXC) path variables into the file.
mp0: /mnt/pve/smb-location,mp=/new-directory-for-media-files

- Tap Ctrl+X, Y, and Enter to save and exit the config file and restart the Jellyfin LXC container.
-
Head back to the Jellyfin server's web UI and click on the Dashboard option.

-
Switch to the Libraries tab and select the Add Media Library option.

-
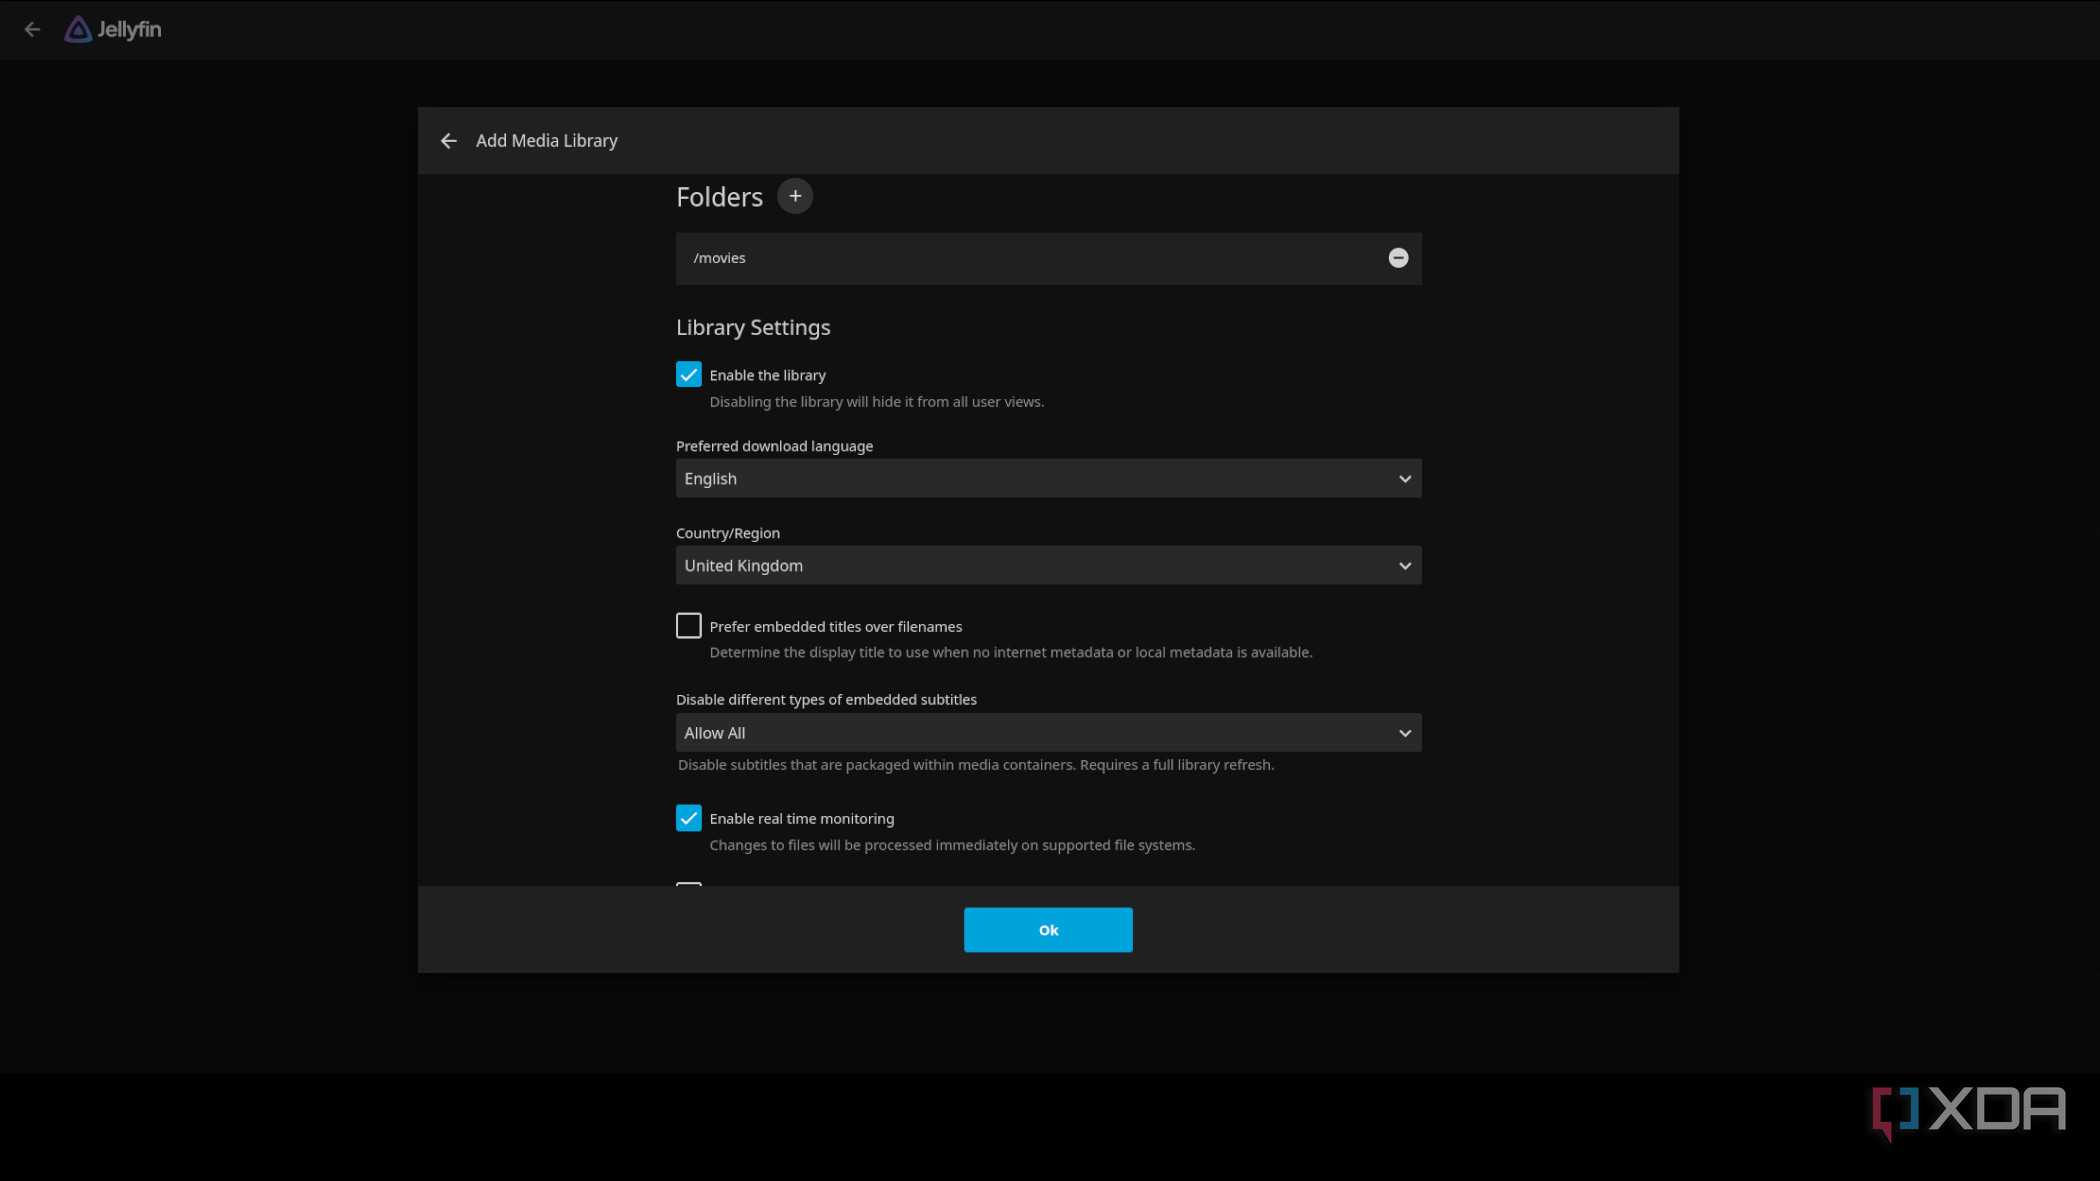
Choose the Content Type of your media library, use the + button to select the folder where you mounted the SMB share, and hit OK.


Turn your PVE server into a media-streaming powerhouse


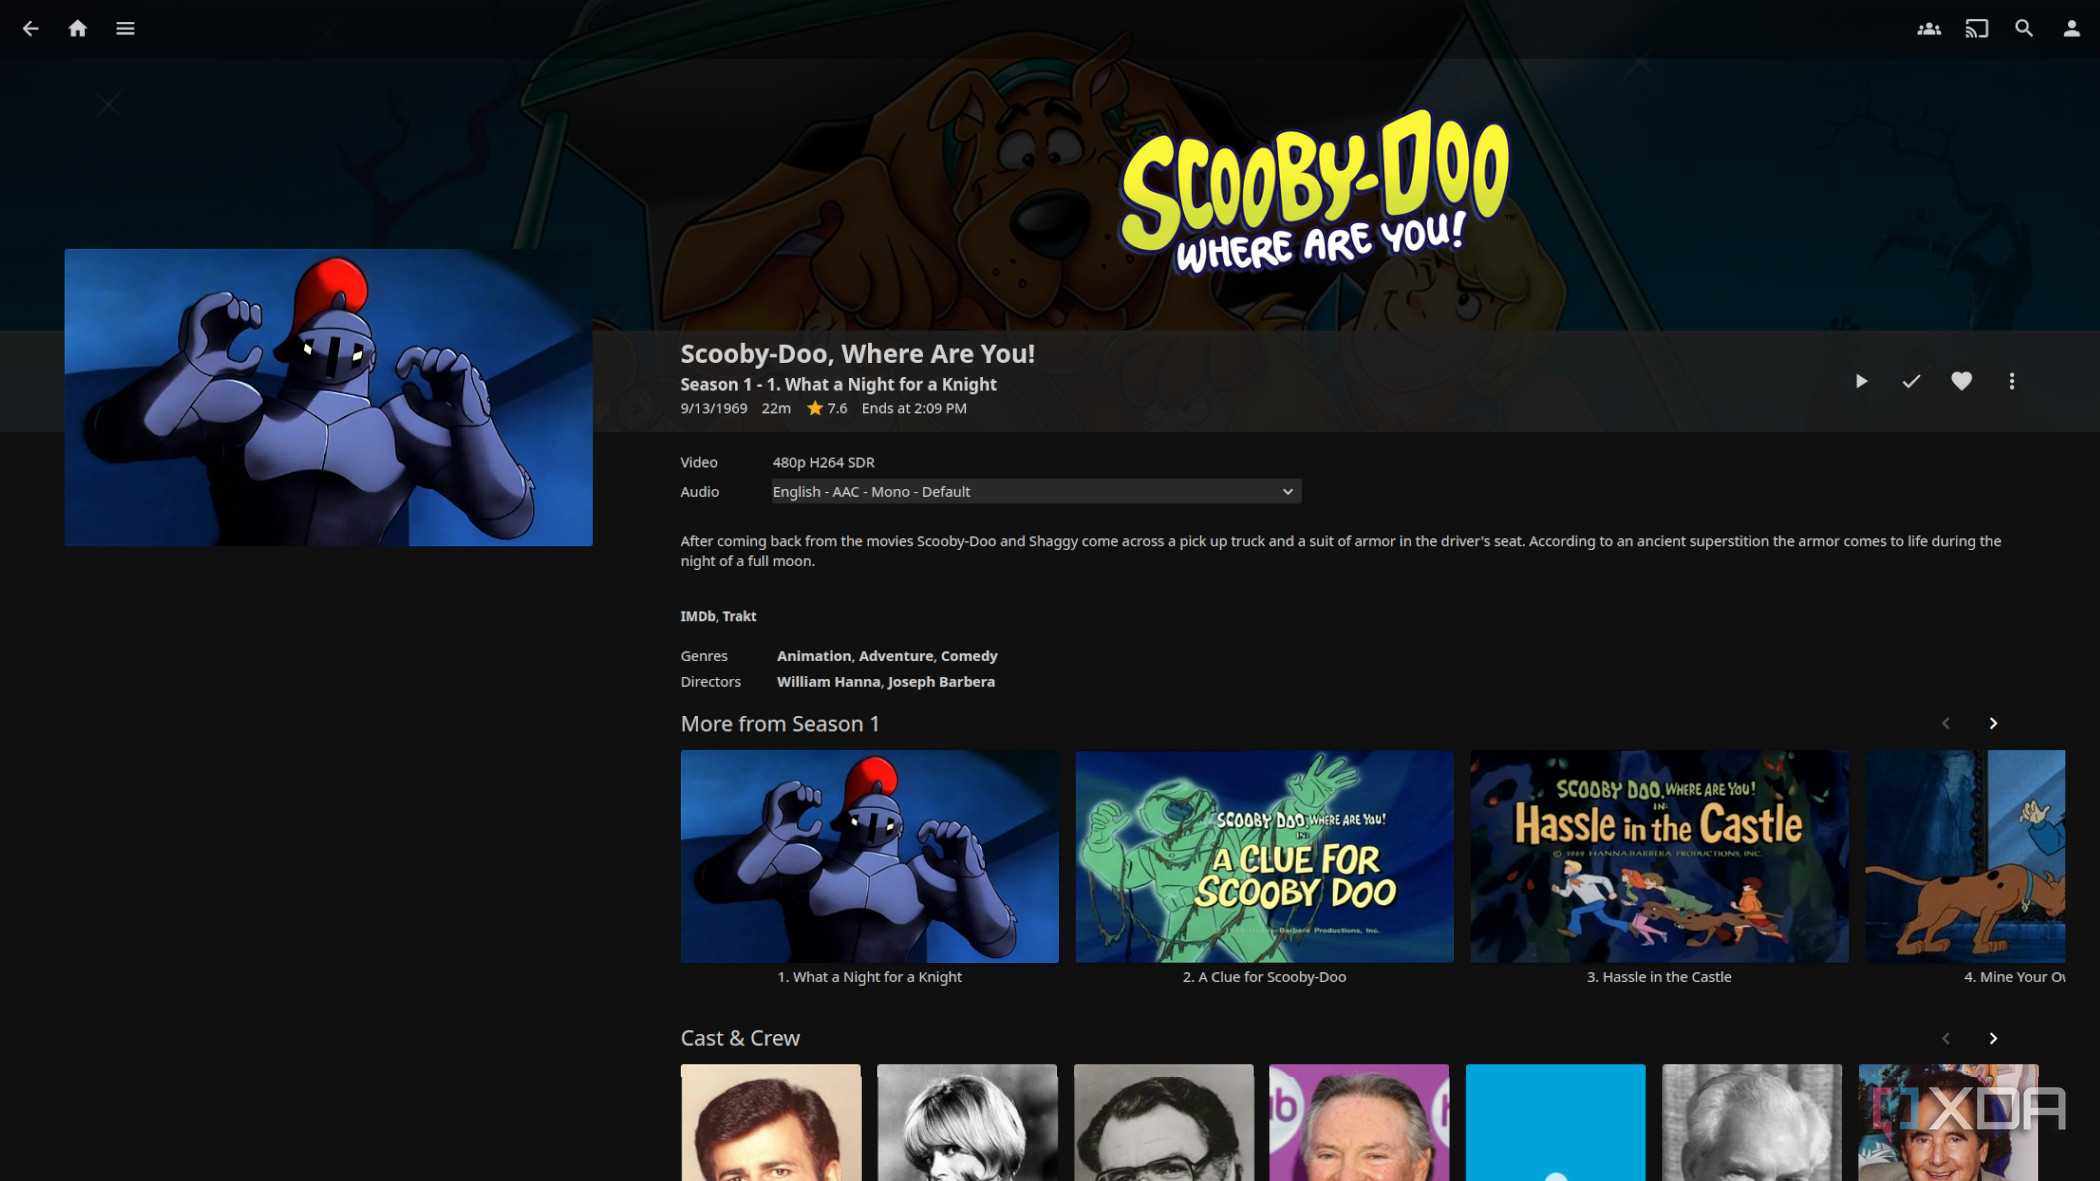
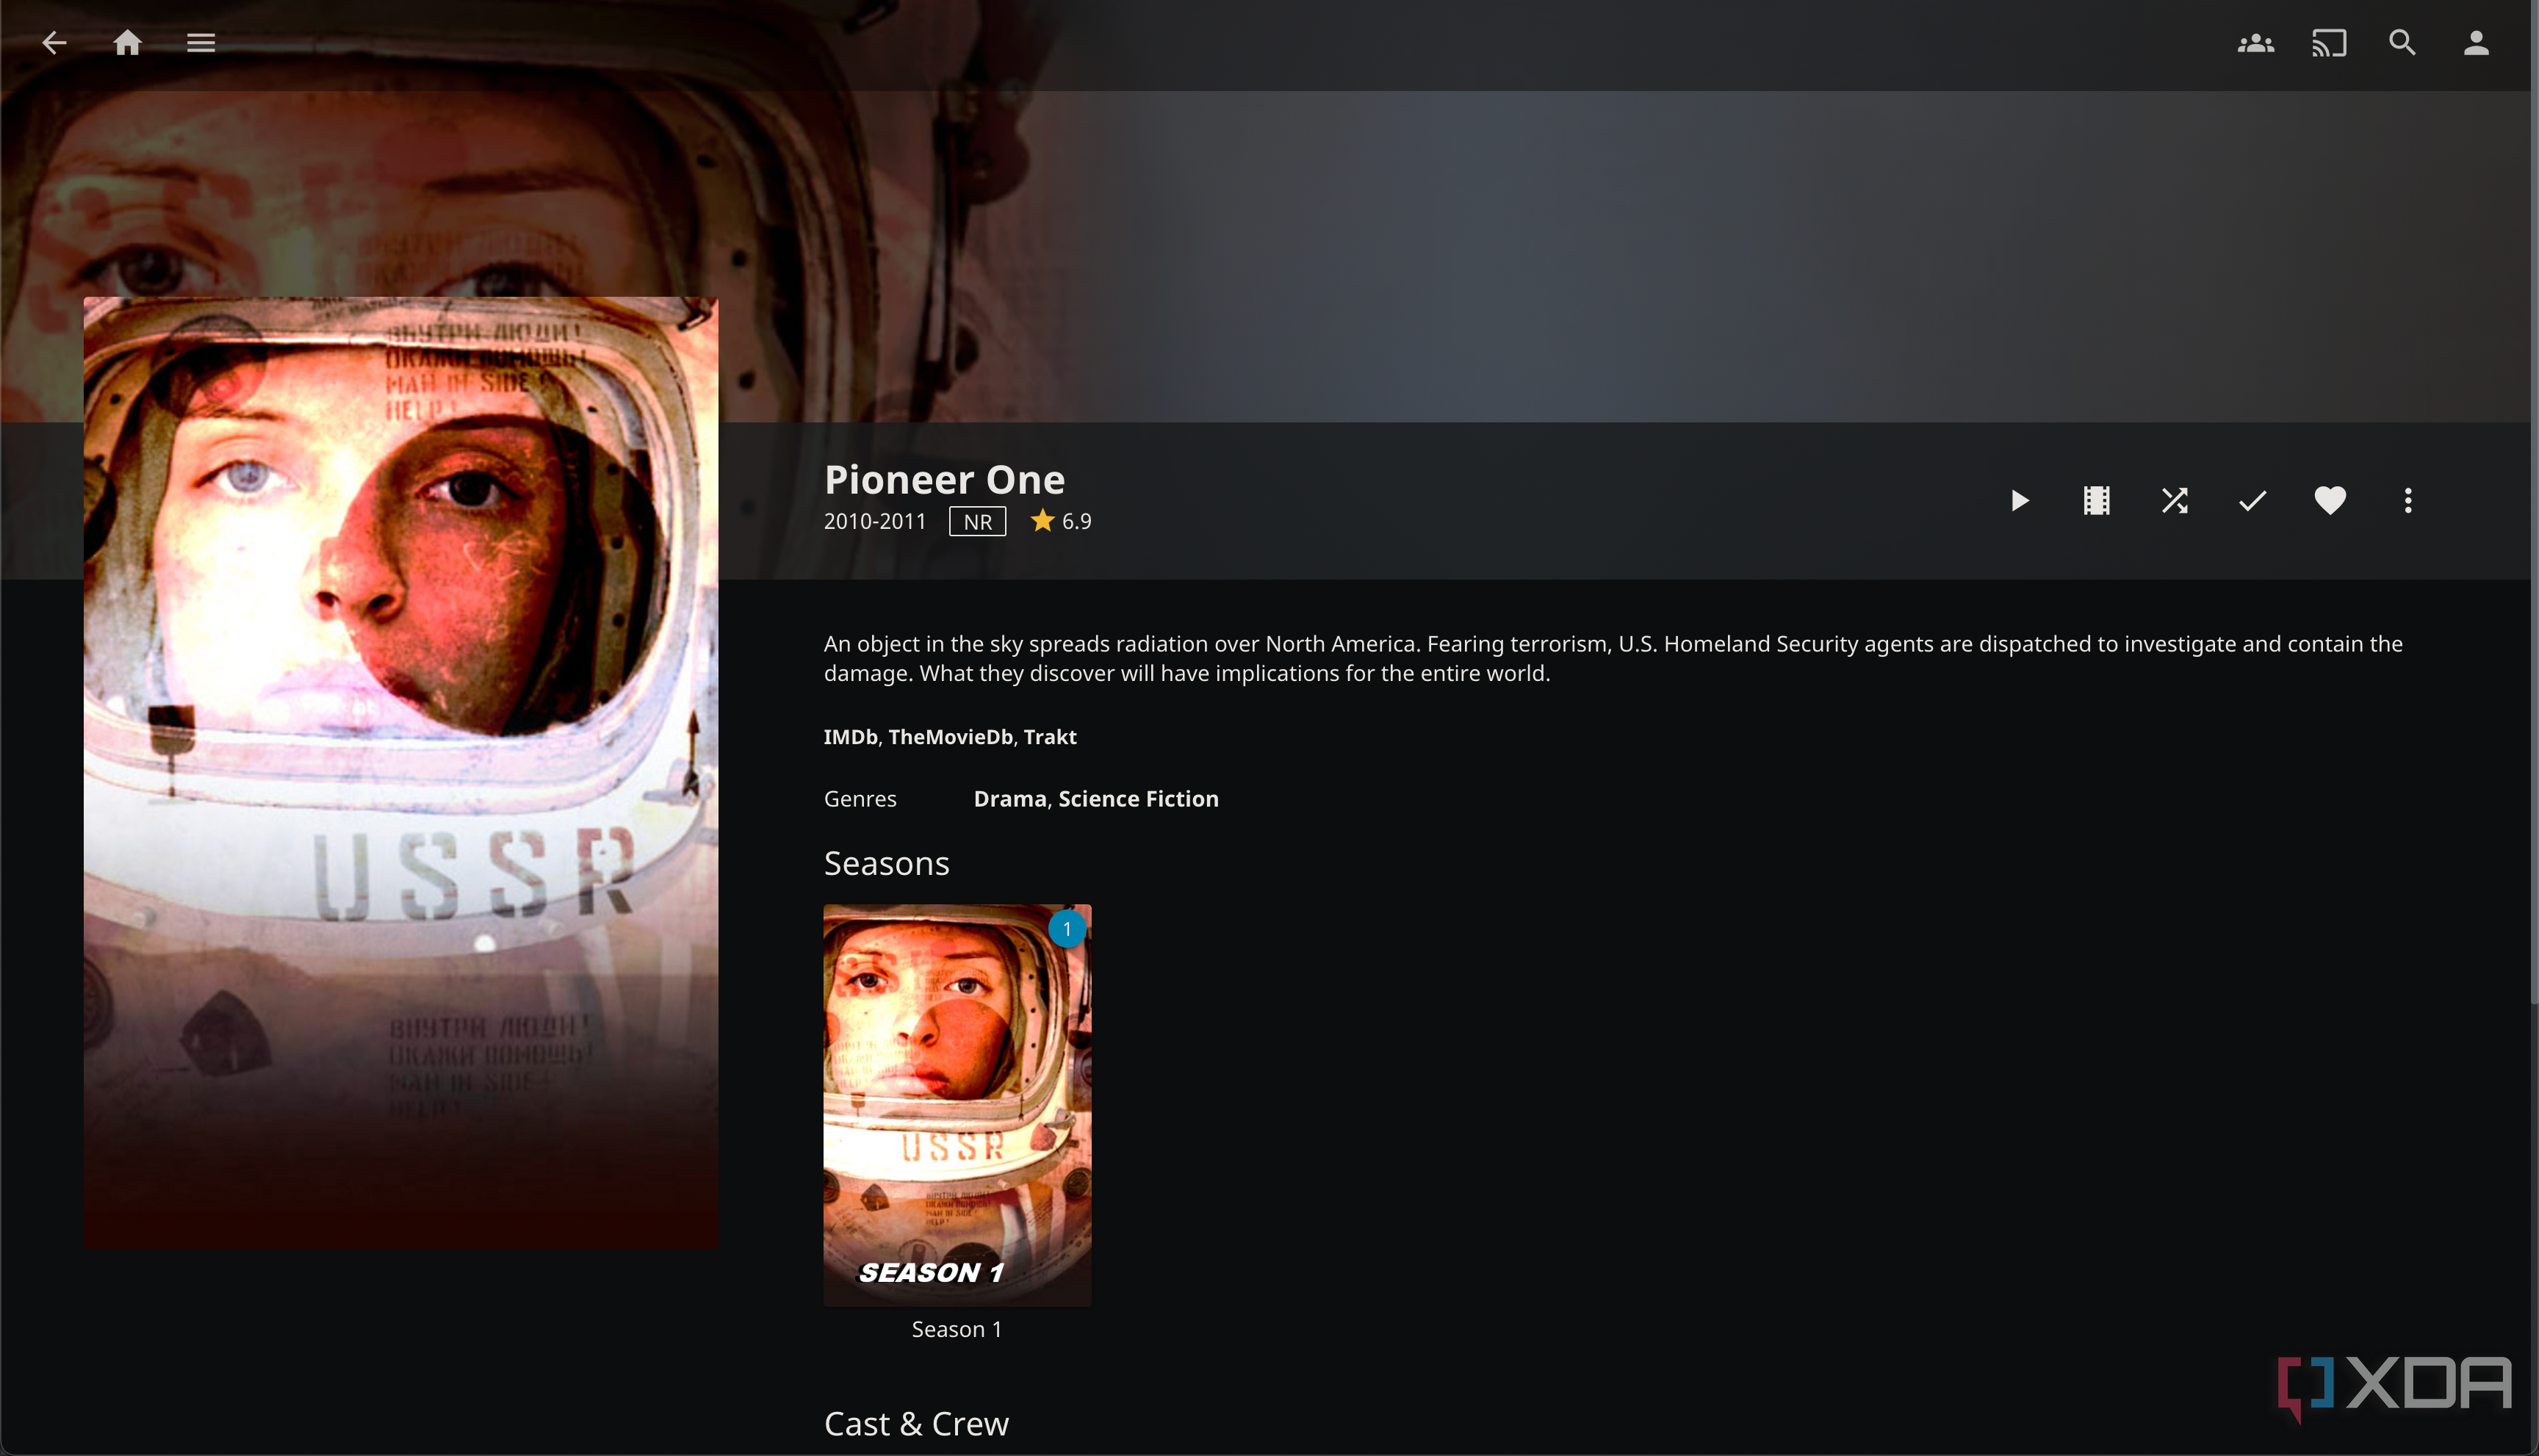
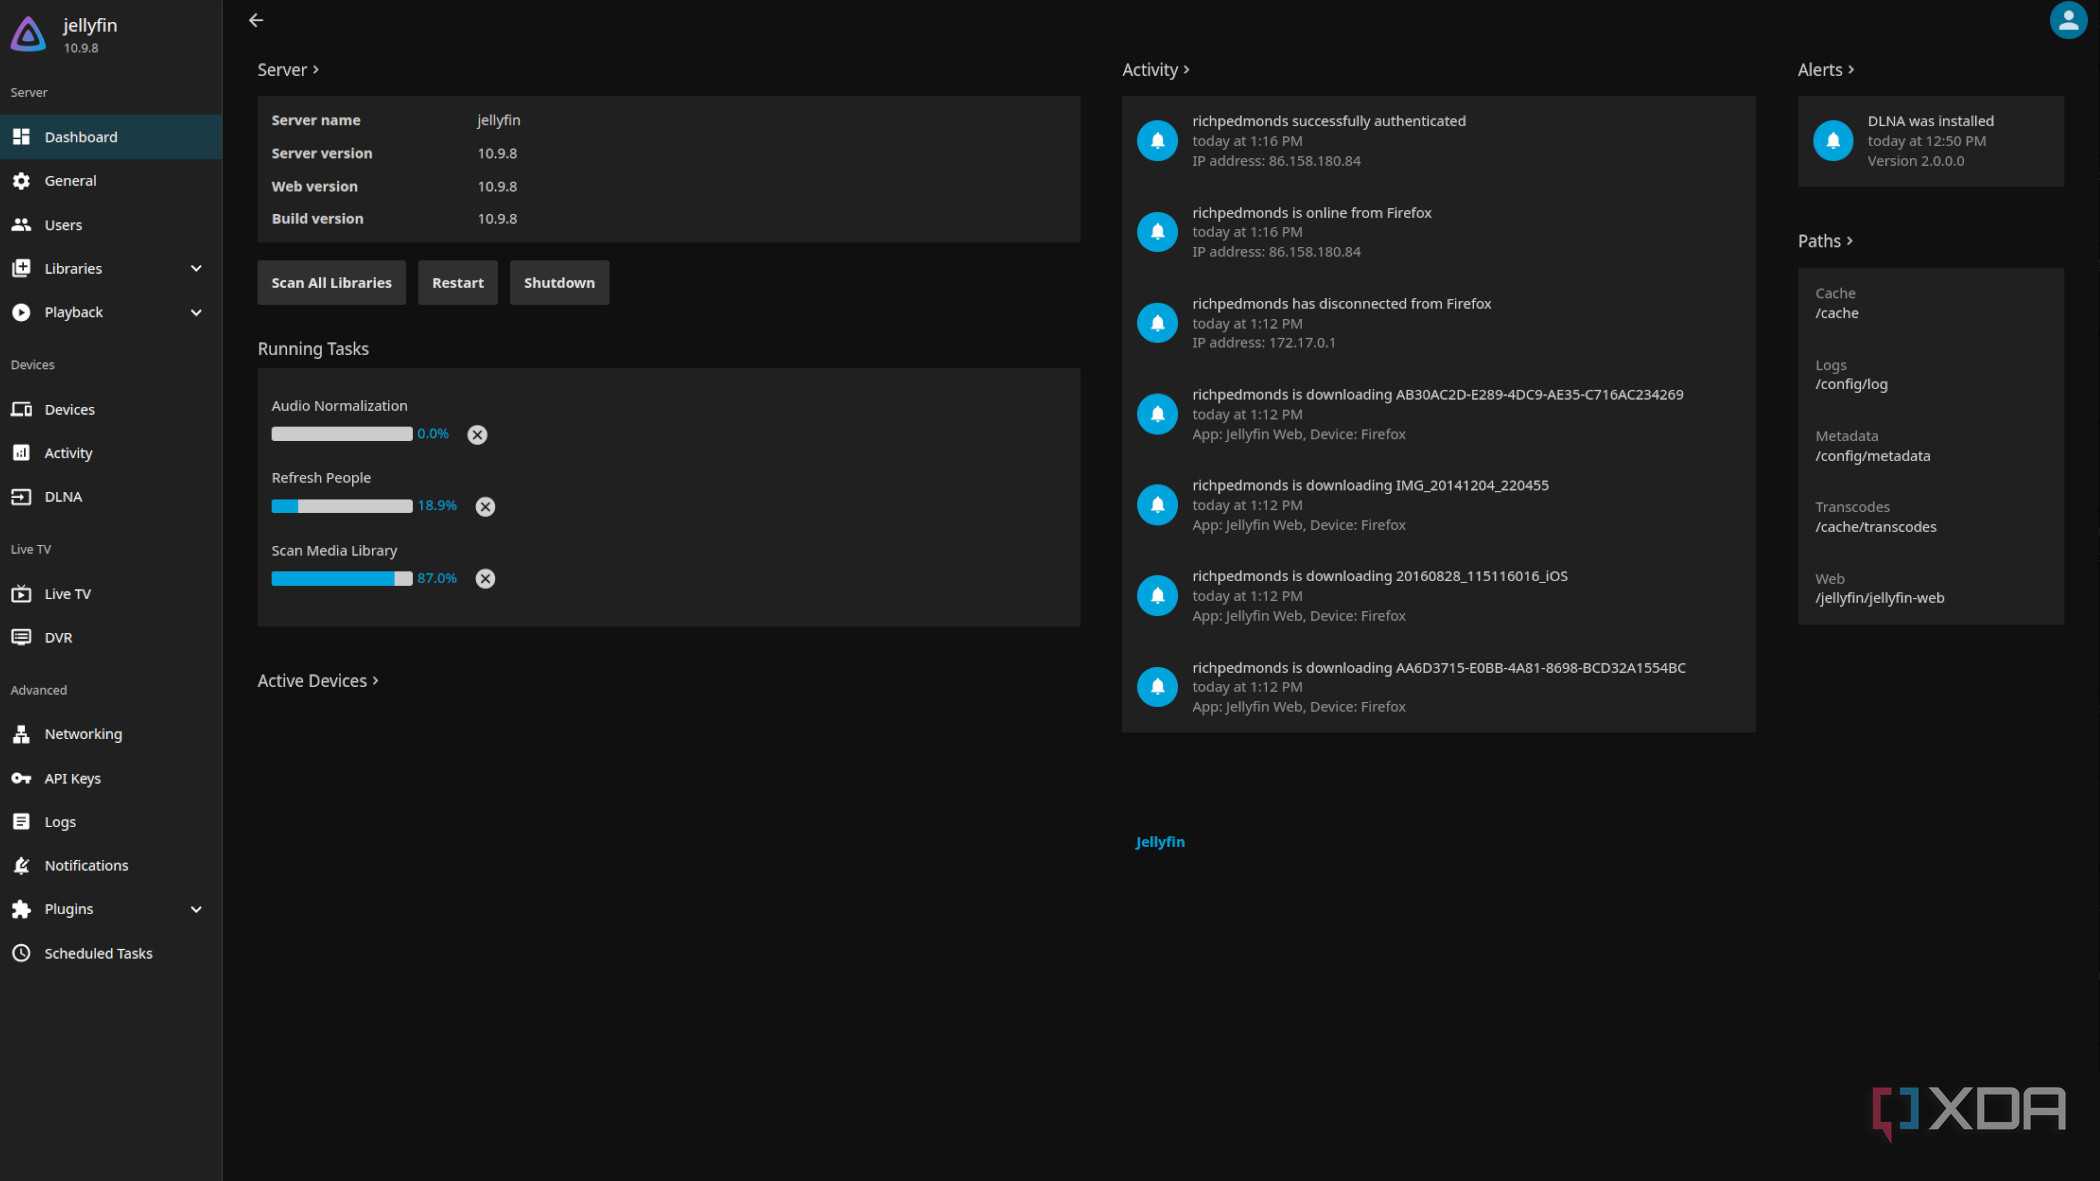


Assuming you’ve followed all the steps correctly, your media files will appear inside the Jellyfin dashboard and the app will pull the metadata for your videos from its sources. If it doesn’t, you can create local .nfo files inside the SMB share and fill in the right parameters. I also recommend installing some plugins to boost the functionality of your Jellyfin server even further.
