


Despite how much some of my XDA colleagues have written about NAS and home labs, I didn't think I would ever get into these topics. But, after many articles, and one in particular from Adam Conway (which I've linked below), I recently bit the bullet and finally set up a home lab and NAS for myself.
I imagine many people might be like me, afraid to jump into this kind of setup out of nowhere, so I wanted to share my experience as a complete newbie to the space and why I think it's worth doing. It can be scary at first, but with the right guidance, it's a fun and rewarding project.
First, there was Proxmox
And migrating my Home Assistant machine

Most of this article is going to focus on the NAS side of things, but it all starts with the home lab that powers it all. In addition to what I've already mentioned, another big reason I wanted to switch to a homelab setup was because my bare-metal Home Assistant machine was getting annoyingly loud. I had set it up using a Zotac mini PC I reviewed a while back, and I thought the solid-state cooling system would be quieter, but my wife and I have been noticing that it produced a very high-pitched sound that was extremely grating. So I wanted to swap it for a PC that had more typical fan cooling and more power to handle a proper home lab setup.
That, of course, required Proxmox, which was to replace Windows on the PC that powers my home lab. I had already set up Proxmox recently for an article about running Windows on Proxmox, so this part was actually fairly easy as I had already made all the mistakes before. I still checked out this article by my colleague Ayush Pande, which does a wonderful job explaining the initial setup process for Proxmox. The only thing that stood out to me during my experience was that the Proxmox setup would detect an IPv6 address for the host, but the gateway used an IPv4 address, so I couldn't proceed. I had to set an IPv4 host address instead, but otherwise, this was a pretty easy process.

With Proxmox running, I just had to access the web UI and get things started by creating a virtual machine for Home Assistant. Frankly, the UI for Proxmox is very easy to understand, so there's nothing overly crazy here. I wanted to use a VM because it could fully replicate the features I was used to from using the bare metal installation, and I assumed it would also make it easy to restore my existing config. Setting up Home Assistant on Proxmox was a breeze, again thanks to my colleague Ayush Pande, which let me know there's an easy shell command that sets it all up in a flash, no need for ISOs and complicated installs.

The most troublesome part of this was actually backing up Home Assistant on my original machine. Home Assistant performs automatic local backups, but I couldn't figure out how to move them out of that machine. Thankfully, Google Drive and OneDrive integrations exist, too. I went with OneDrive because it has the more straightforward integration. The problem was it seemed completely random whether it would work or not. Multiple attempts at installing the OneDrive integration just resulted in errors, but removing the integration and reinstalling it eventually seemed to fix it after a few tries, and I backed up the config just fine.

Then, I booted up the Home Assistant VM on Proxmox, accessed the web configuration, and simply restored the backup. To my surprise, nothing was really broken. Everything that had worked before just kept working the same way. All I had to do was reset the Home Assistant app on my phone so it could detect the server on the new host IP, and I was off to the races as if nothing had changed.
The NAS was more complicated
There was a lot I had to learn
After Home Assistant, I had to set up the NAS, which I was doing for the first time, and here I relied on a lot of help from the aforementioned Adam Conway. Creating the VM itself was relatively easy. You can point Proxmox to an ISO link on the internet, so I did that to quickly download a TrueNAS Scale ISO into the Proxmox machine, and then I created a virtual machine for it by following this guide, which was also fairly easy to find and understand.

The big thing here was understanding to how to pass through a physical hard drive to the virtual machine. The mini PC I'm using for this setup has an SSD as the boot drive (where Proxmox is installed), but there's also an HDD that I wanted to use for NAS storage, so I had to make that HDD accessible to the TrueNAS. This takes a few steps and shell commands to get fully working, but it's frankly not too hard by following the guide I linked to above.
Once I got into the NAS itself, I started running into some challenges. Going into this, I was hoping I could somehow use part of the primary SSD along with the HDD on the mini PC to create some kind of redundancy for my NAS, but that's not really possible with the SSD being the boot drive for Proxmox and housing the TrueNAS VM itself. This is when I learned that my backups would have to rely on a service like Backblaze, but for the time being, I focused on setting up the NAS to at least be functional for what I wanted, which was mainly setting up Nextcloud and Immich to store my personal documents and photos.

For this, I first had to create a storage pool, which is taking up the entire HDD You can mostly leave the settings untouched, though it depends on how many HDDs you have. Then, it was a matter of installing the apps themselves and setting them up, which you can find in the Apps tab inside TrueNAS. This, too, is a relatively straightforward process, with only a few things you should pay attention to during setup:
- Host: This should be the same as the the IP for your TrueNAS server
- Port: which is filled in by default and shouldn't need to be changed
- Automatic permissions: This should be enabled for the app to be installed properly
- Storage: I recommend manually creating datasets for each portion of Nextcloud and Immich data as you can more easily point to where the information is to set up backups and to restore the data when you eventually need it. For each section (such as Config, Postgres, and User data), you can use the dropdown menu to select Host Path and then use the navigation tree to create a main dataset for each app, and then child datasets for each data type.

From there, it was fairly easy to get things going. Accessing your installed apps becomes a simple matter of entering the IP address of your TrueNAS instance followed by the port you set up, and you're good to go for the most part. Immich was really easy to use, so I uploaded a handful of test photos to it and created some albums to get started. For Nextcloud, I messed around with the included files and installed some apps (which are separate from TrueNAS apps), including Nextcloud Office and the Collabora Office built-in server to make things work. You can also set up a separate Collabora app in TrueNAS that acts as a server, but I wanted the easier method. The only problem I noticed here was that I wasn't able to use the Nextcloud Passwords app due to it requiring HTTPS, which I'll get to in a bit.
Setting up a backup
Backblaze is also relatively easy


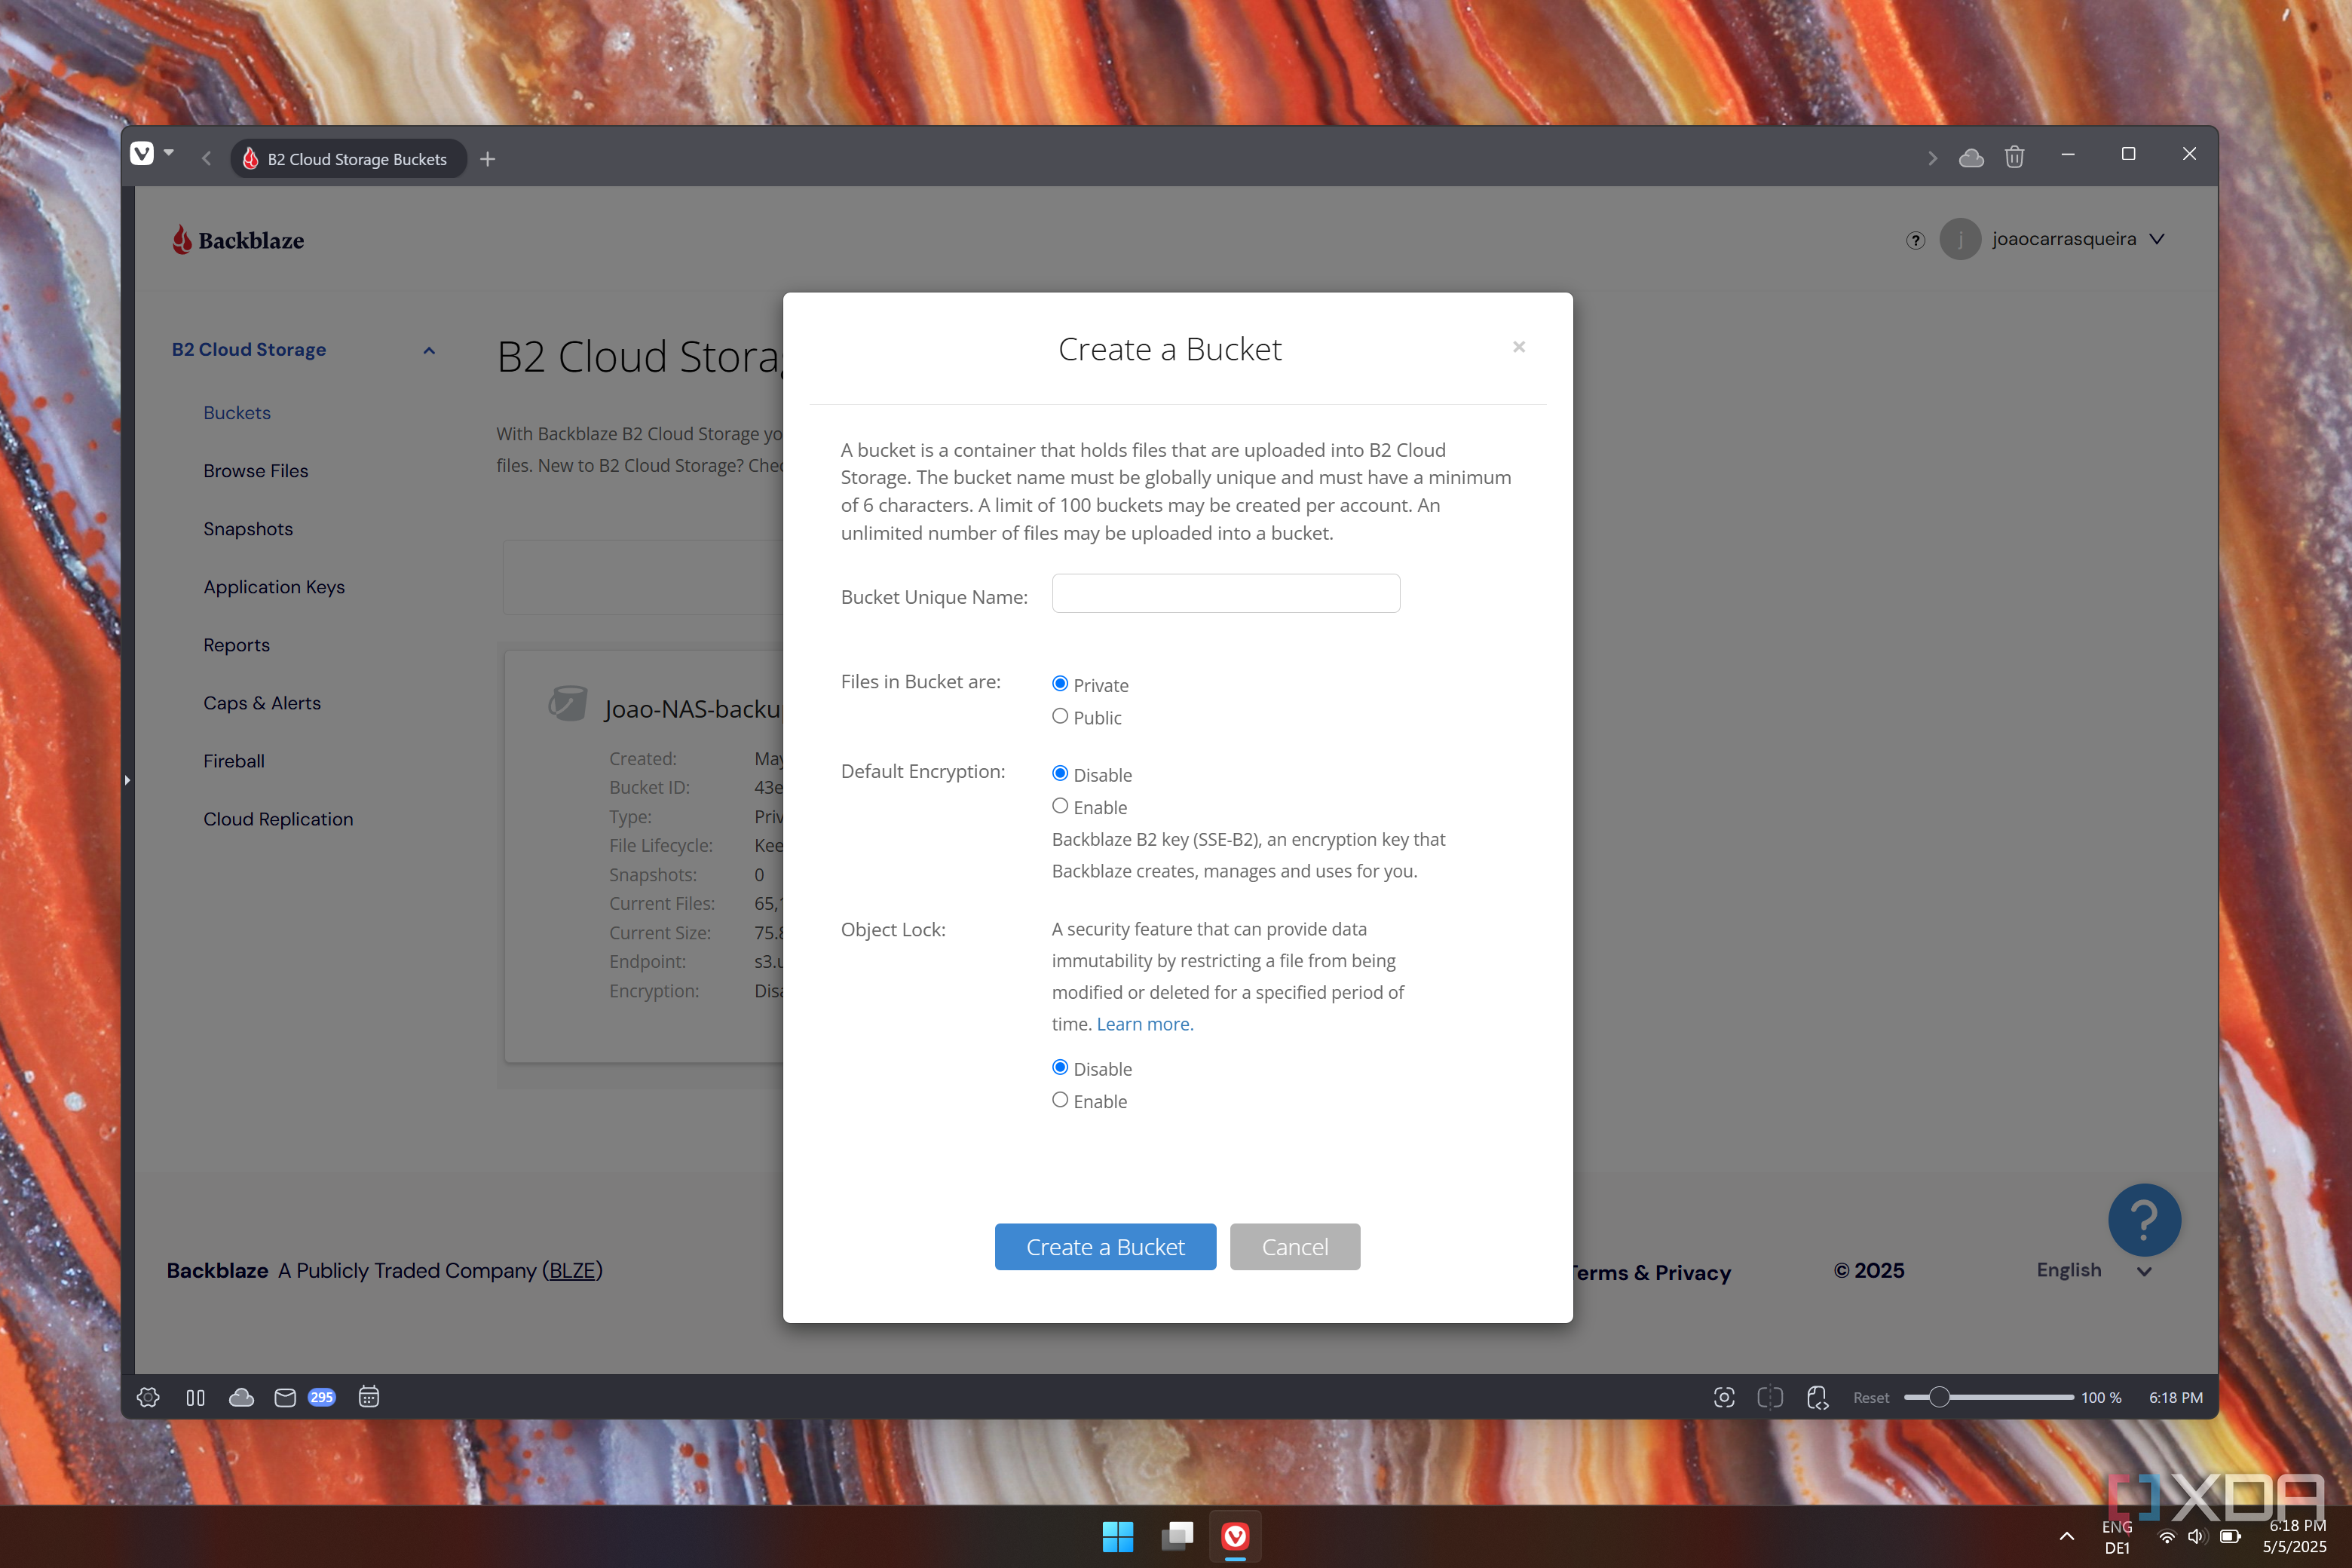
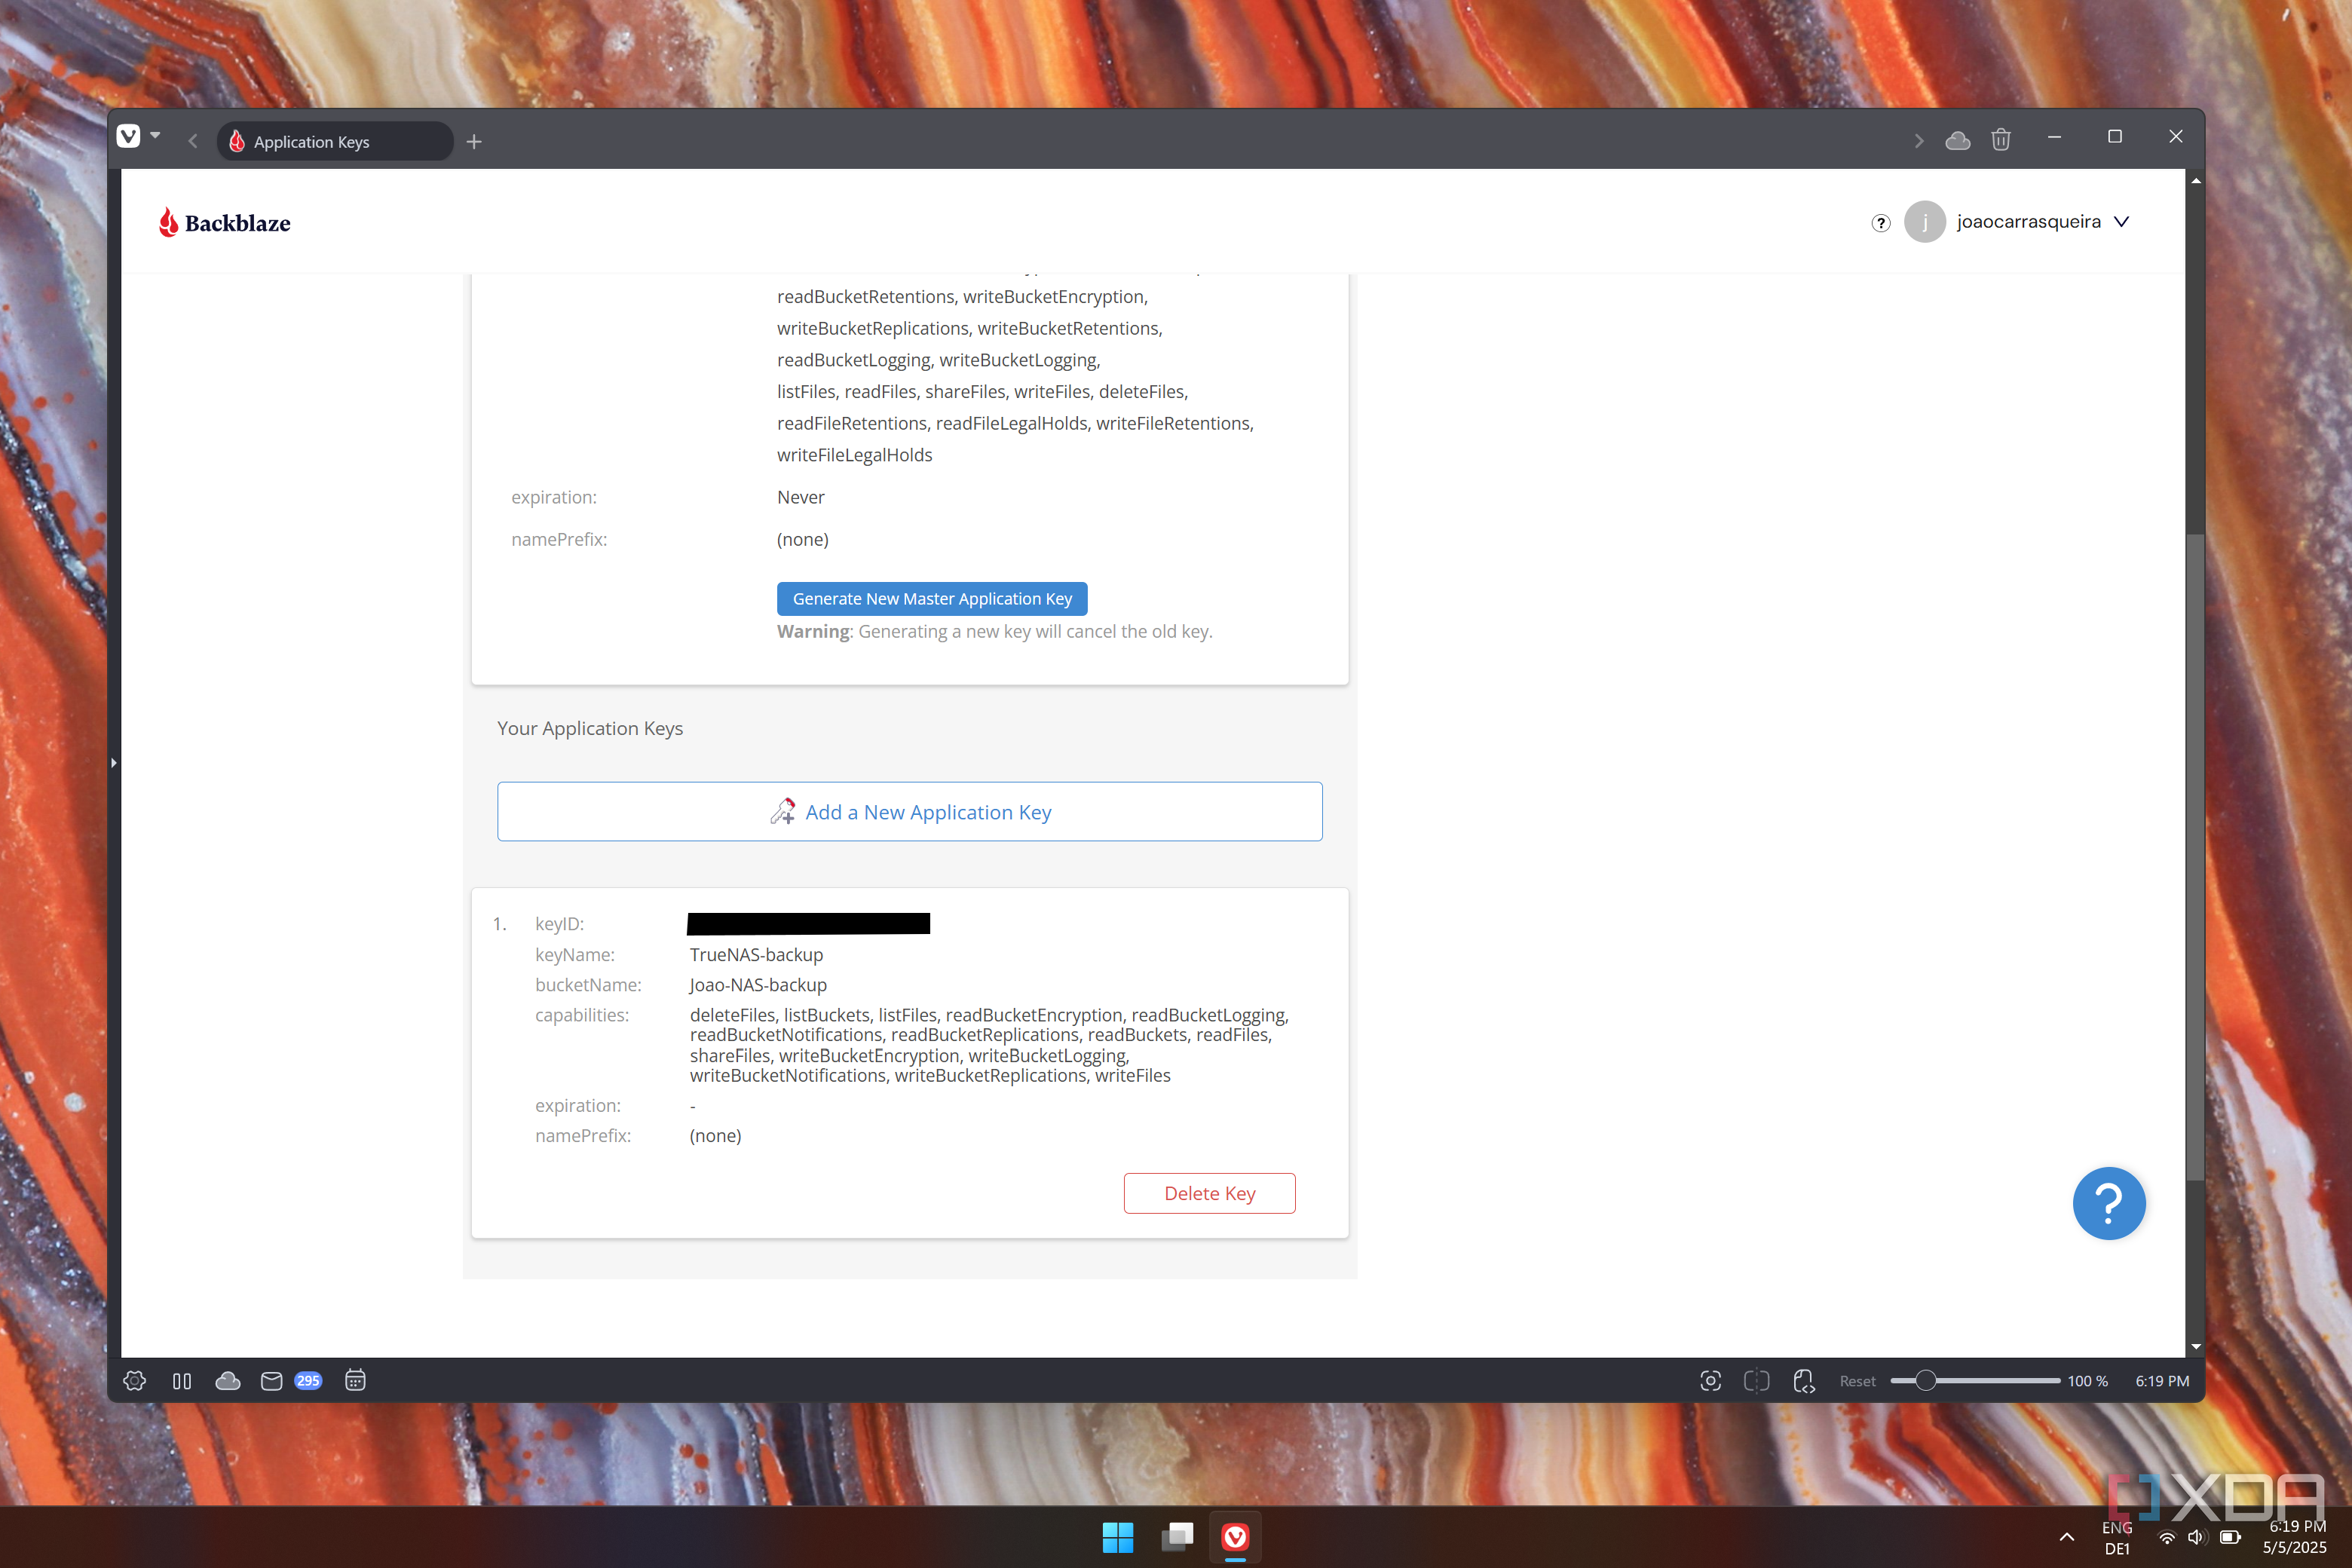
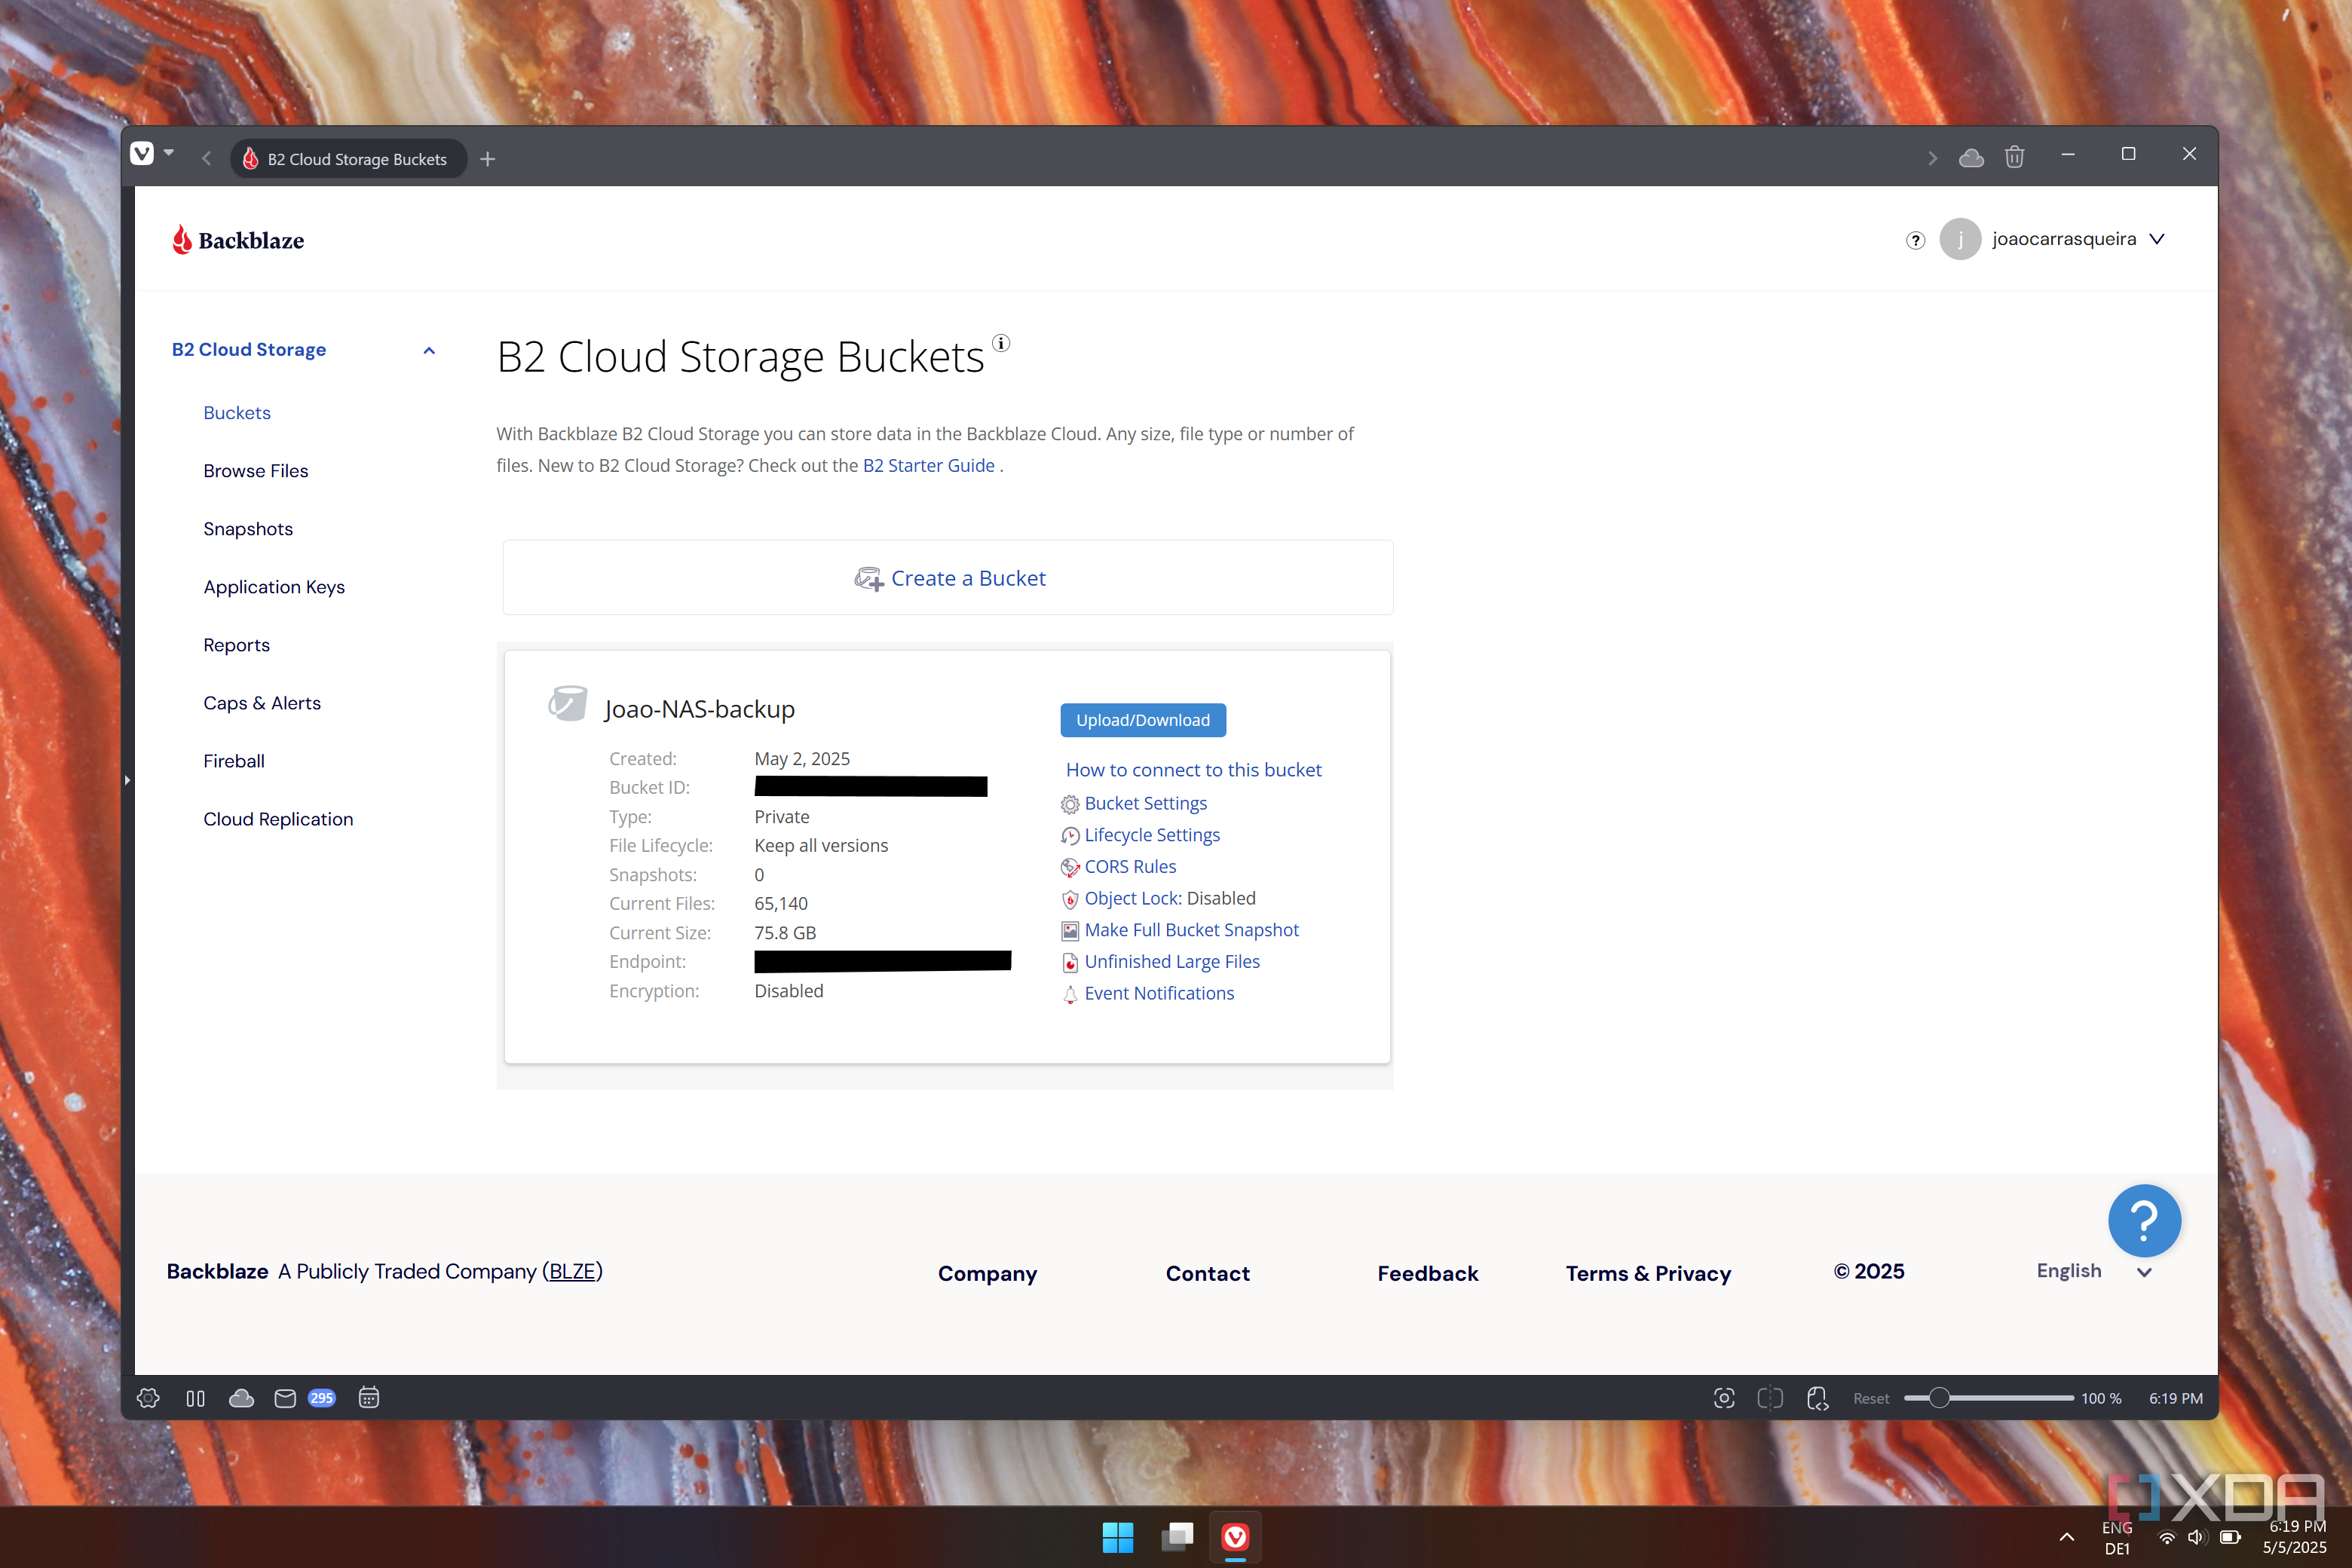
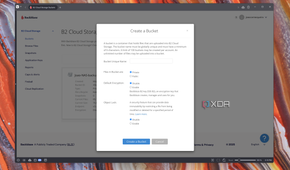
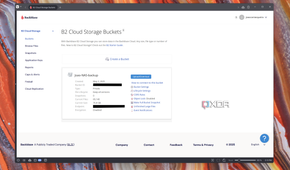
With my NAS apps working, it was time to make sure I could recover my data in case my HDD fails, which is likely to happen because this particular HDD was in one of my laptops nine years ago. In the article by Adam which I mentioned above, he had talked about Backblaze, so that was where I went right away. A Backblaze B2 bucket, which anyone can sign up for, costs about $6 per TB per month, which initially had me worried as it wasn't much cheaper than a typical cloud service. However, it's a pay-as-you-go service, so you only pay for what you use; plus, the first 10GB were free, so it was perfect for a test.
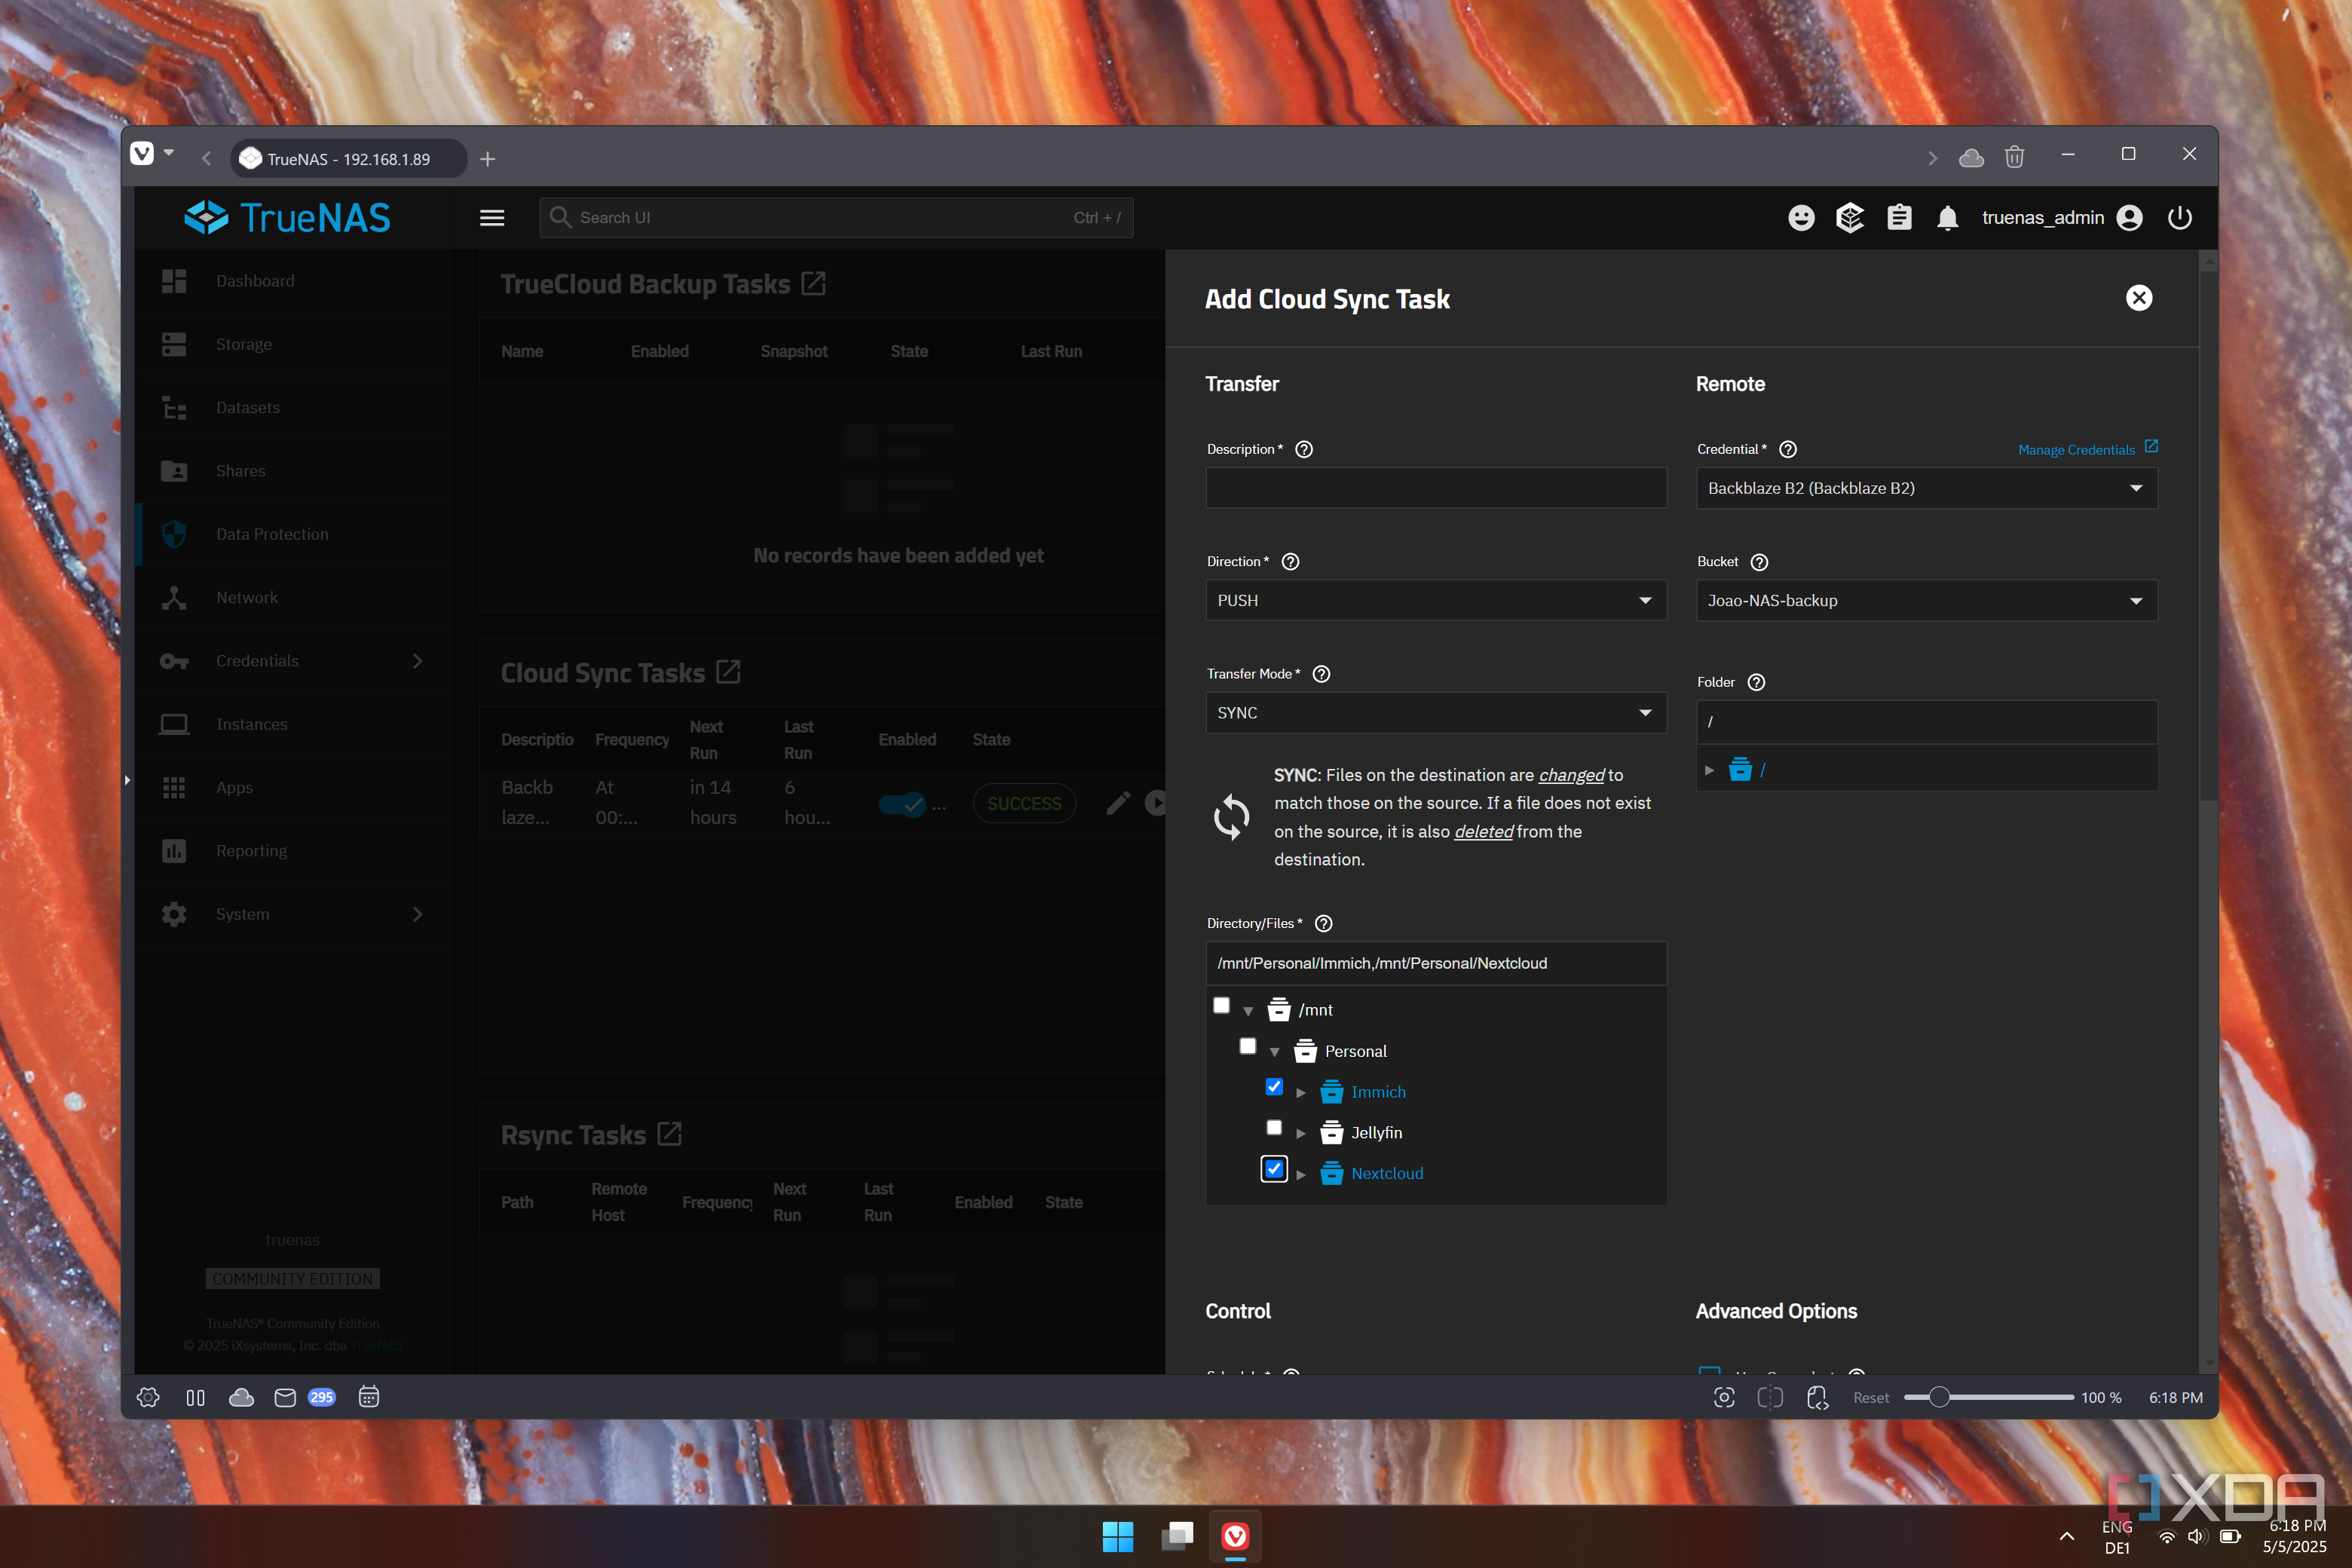
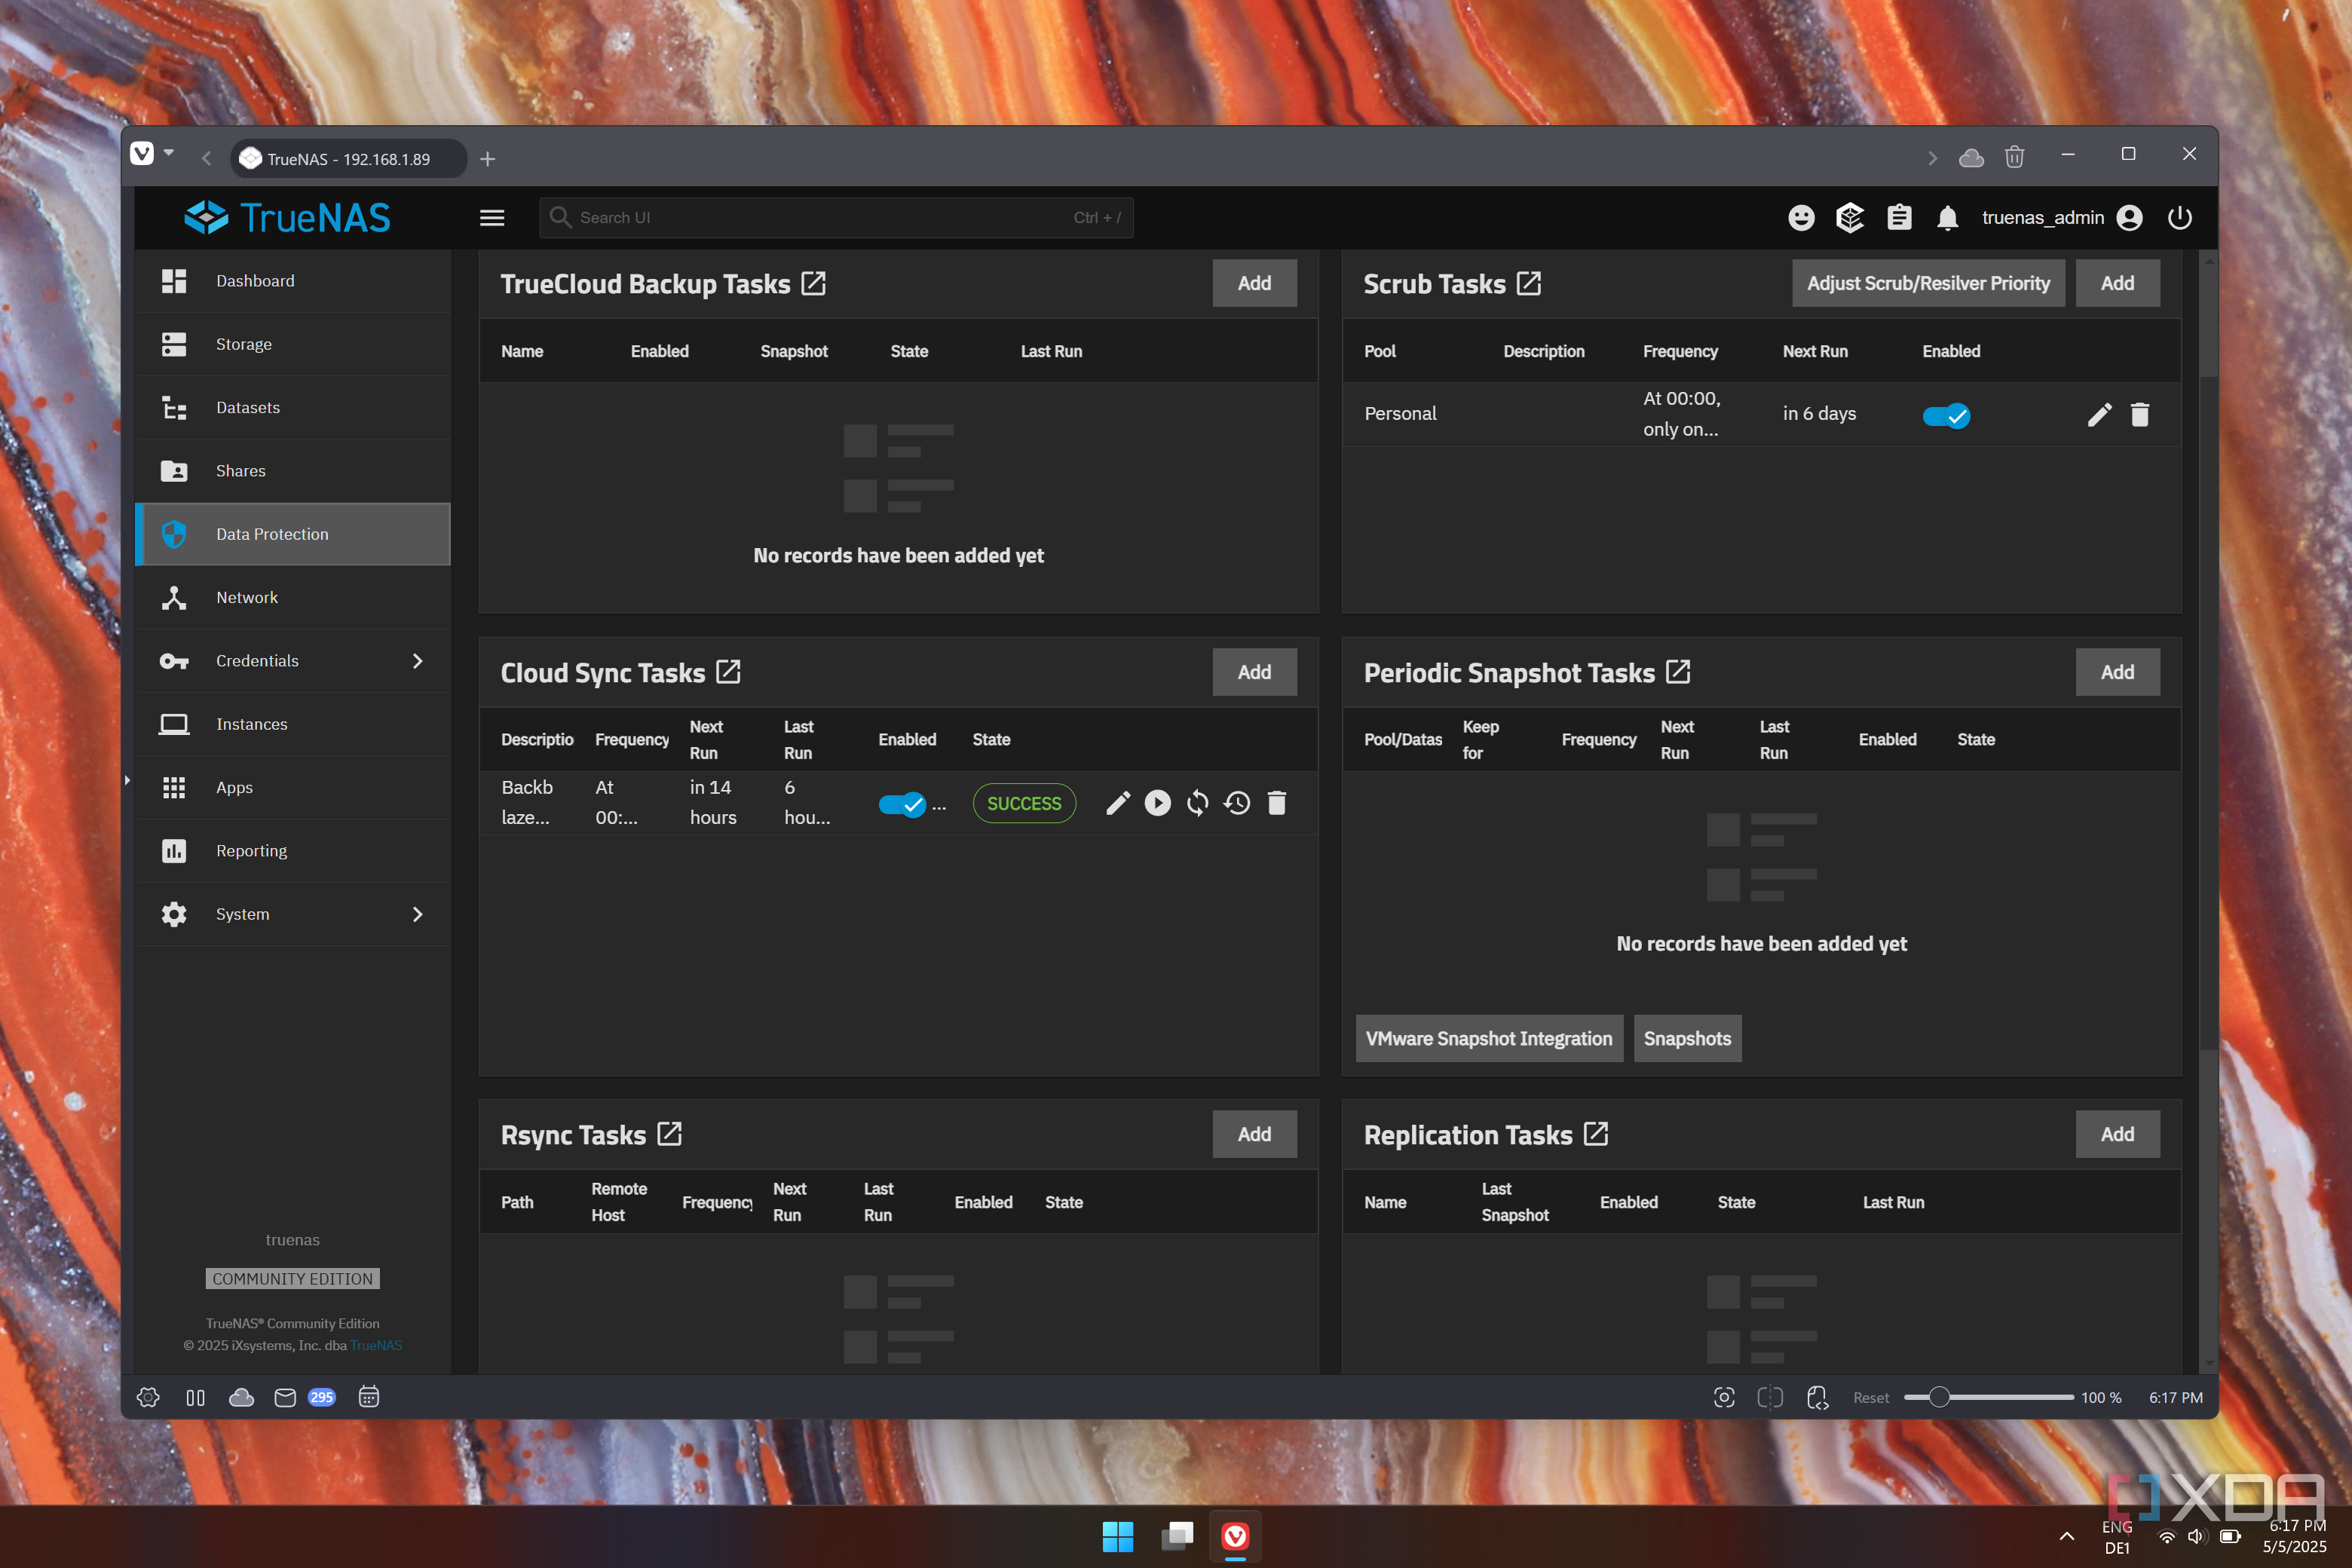
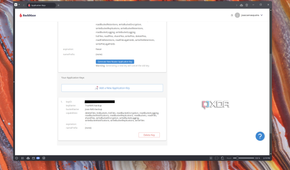
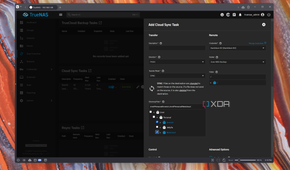
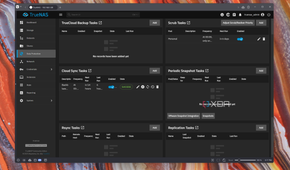
Setting up Backblaze was very easy. I just created my account (no payment info is needed until you hit the free threshold), created a storage bucket, and then created an API key, which I needed to insert in TrueNAS. Cloud backups can be easily set up in TrueNAS under the Data Protection tab, labeled Cloud Sync Tasks. You just choose the correct information, use the keys provided by Backblaze, and you're golden. You can choose specific datasets to back up, so I specifically selected Nextcloud and Immich, because even if I eventually set up something like Jellyfin, I don't feel a need to drastically increase my spending just to back up commercial movies. After a quick test run, I knew I was good to go, so I entered my payment information and started preparing to move all my important data to the NAS.
Setting up HTTPS and remote access
A lengthy, but still doable process

The final major step for me was making sure I could access my NAS remotely (but still securely), and also enable HTTPS so I could fully use things like the password manager in Nextcloud. Remote access by itself would be pretty easy thanks to Tailscale, which I was already familiar with thanks to Home Assistant. I just needed to install Tailscale in TrueNAS and set it up as an exit node, which is not as hard as it may sound for a beginner. Once you've set it up, you just need the Tailscale app on your phone or laptop to create a tunneled VPN connection directly to your TrueNAS server, so you can access your home files as if you were there.
Enabling HTTPS is what made this tricky, and by Adam's suggestion, I thought I'd make things easier for myself and buy a custom domain I could use. I bought a cheap domain for 99 cents (for the first year), and I set it up in Cloudflare to route DNS traffic through it. Then, I linked the custom domain to the IP address in Tailscale. In addition to the primary domain, I could create any subdomain I wanted, and then I paired this with the Nginx Proxy Manager app in TrueNAS, which would take all the custom domains I set up and route them to the appropriate IP address and port that would allow me to use each service I installed on my NAS, plus it can generate an SSL certificate for them so the connection is secure. I set up domains for Nextcloud and Immich (I should probably set one for TrueNAS itself, but I've been too lazy) and linked them to the appropriate ports, and that was... almost it.

As it turns out, Nginx wasn't able to handle routing the connections because any URL that went through Cloudflare would immediately load up TrueNAS instead. This is beause when your browser queries Tailscale for the proper IP address, it does so though port 80, which is used by TrueNAS by default, meaning it encountered TrueNAS before even getting to Nginx, so the traffic couldn't be routed properly. So I had to change the default ports for TrueNAS and then set the ports for Nginx to use the newly available ports, which got everything working.
This definitely felt like the longest part of the setup process, but once it was done, I was very happy to be able to use a custom URL to access my home server from anywhere while still being on a secure connection.
I love this setup

All in all, this has been a very time-consuming journey for someone as inexperienced as I am, but I have to say, I've also fallen in love with this project. It's been hard to do anything else that isn't just setting it up because I'm so excited to have all my media and documents on a totally private server without relying on companies like Google and Microsoft. It even got my wife and me to come together on a storage solution, as she had a more Google-oriented life whereas I've always been more of a Microsoft person. Now we have a platform that works perfectly for both of us.
I did get lucky to have someone like Adam to help me out with every step of the process, as I feel like online guidance for these things often assumes a level of expertise I don't have, so some tutorials can still be hard to follow. Still, with the right help, this didn't feel nearly as daunting as it could have been, and I would happily do it again. The next step for now is to set up Jellyfin, which I've tried to get started, but I'm still struggling to figure out how to move files to it. Either way, I'm extremely happy to have set this up, and I'm looking forward to learn more and more about how these things work. If you have an old computer lying around, I highly recommend trying something similar for yourself.
