


Considering how easy it is to permanently lose access to your precious data, backing up your documents is an important maintenance task for every PC owner. However, full backups are infamous for occupying a lot of storage space. Syncing them between your on-site and off-site storage servers can also take quite a while, making frequent full-backups inefficient for the casual user.
Thanks to their incremental backup support, quick rollback facility, and low storage consumption, snapshots are a solid option in this case. Having used a variety of backup tools over the years, Kopia remains one of my favorite tools for creating snapshots of my local directories, and here’s how you can self-host it on your machine.
Setting up Kopia
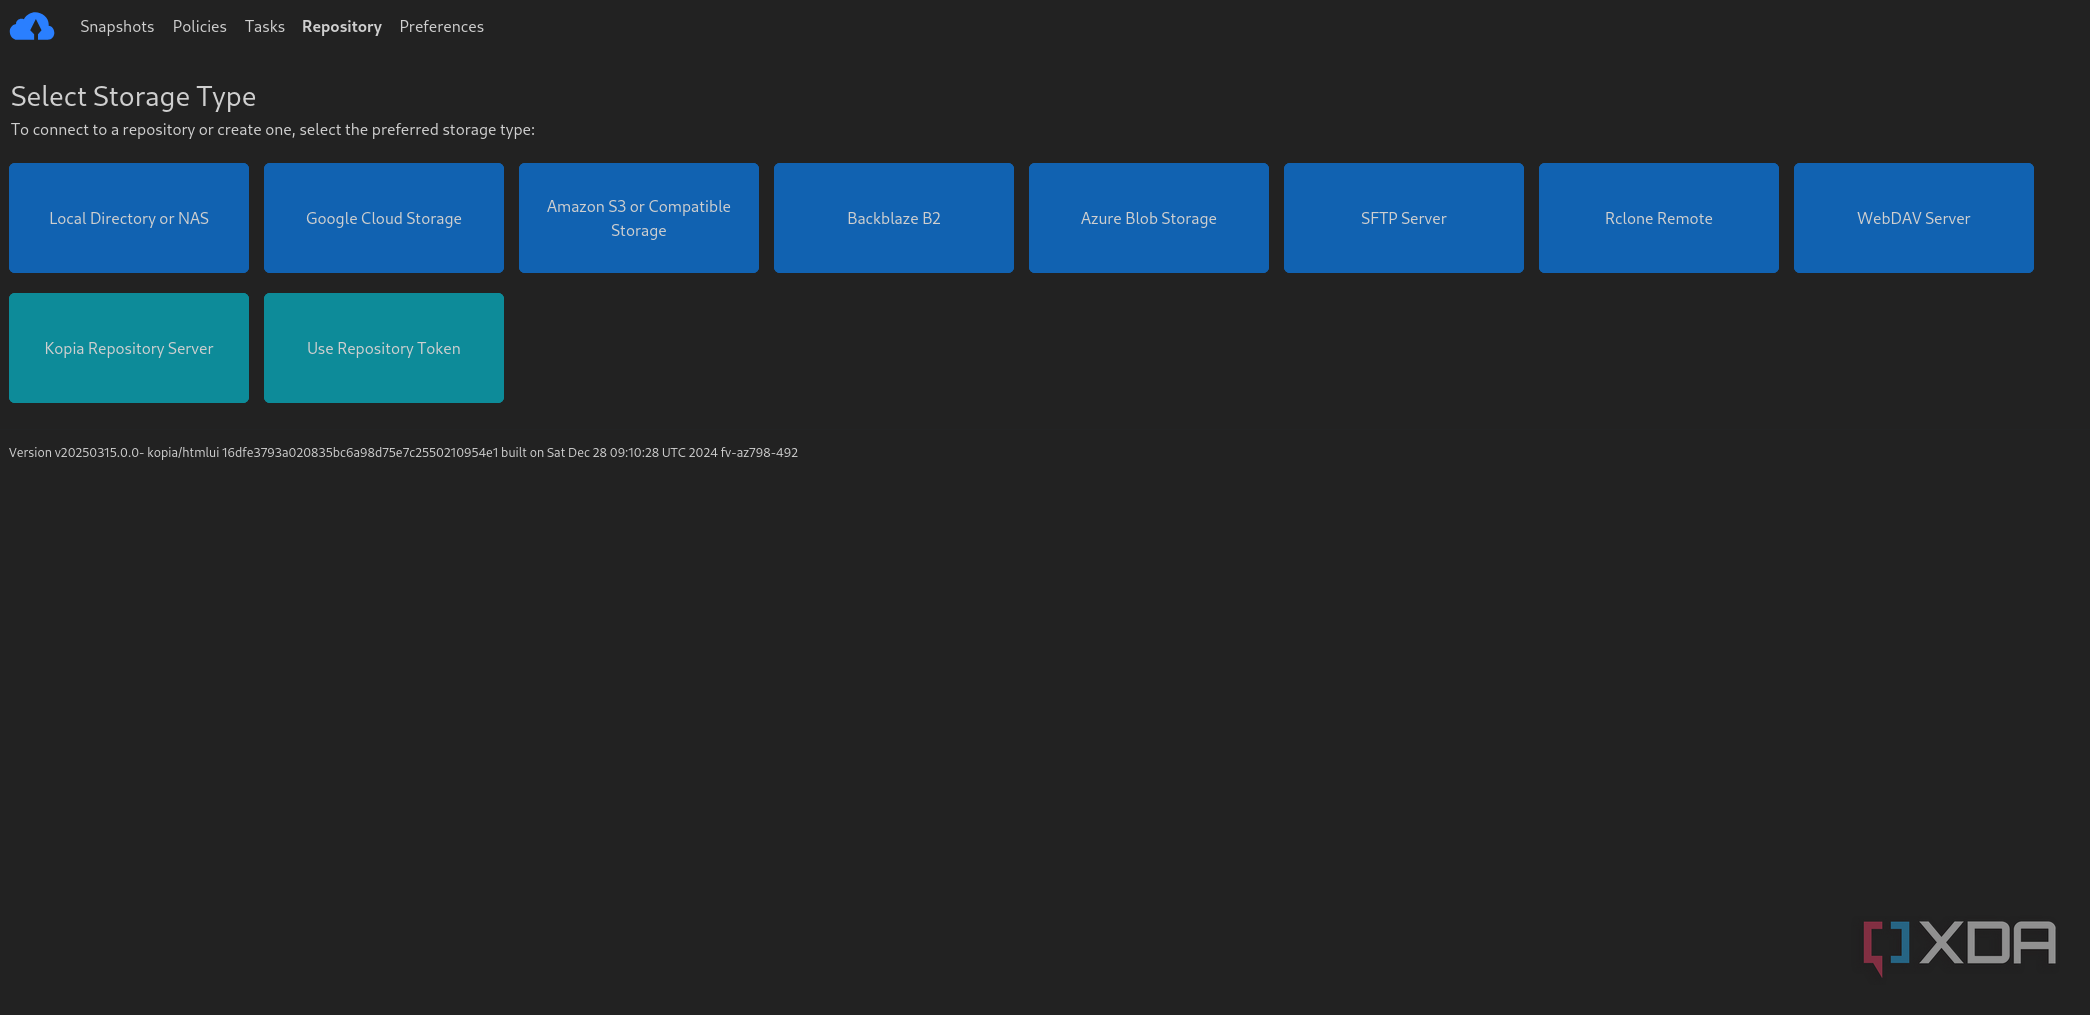
Like most FOSS utilities, Kopia is compatible with the big three operating systems, so you can set it up on Windows, macOS, or Linux. On top of that, it supports a plethora of repository options. For context, a Kopia repository is the place where you store your snapshots, and this can range from a local directory or a NAS share to Amazon S3, Backblaze B2, Azure Blob Storage or other cloud platforms. Heck, you can even deploy a Kopia server on a VPS and use its registry token to pair your local client with it. But I’ll keep things simple and stick to a simple Windows 11 Kopia client that backs up my snapshots to a local NAS server.
- Head to Kopia's official website and, depending on your operating system, grab Kopia-UI using your package manager or download and run its setup executable file.
-
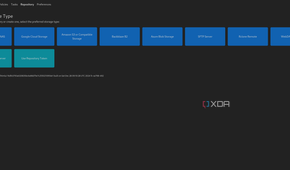
Launch the app once it has finished installing and choose Local directory or NAS as the Storage Type for your Kopia repository.

-
Tap the Folder icon, select the (local or network share) folder you wish to use as the backup repo, and hit Next.

-
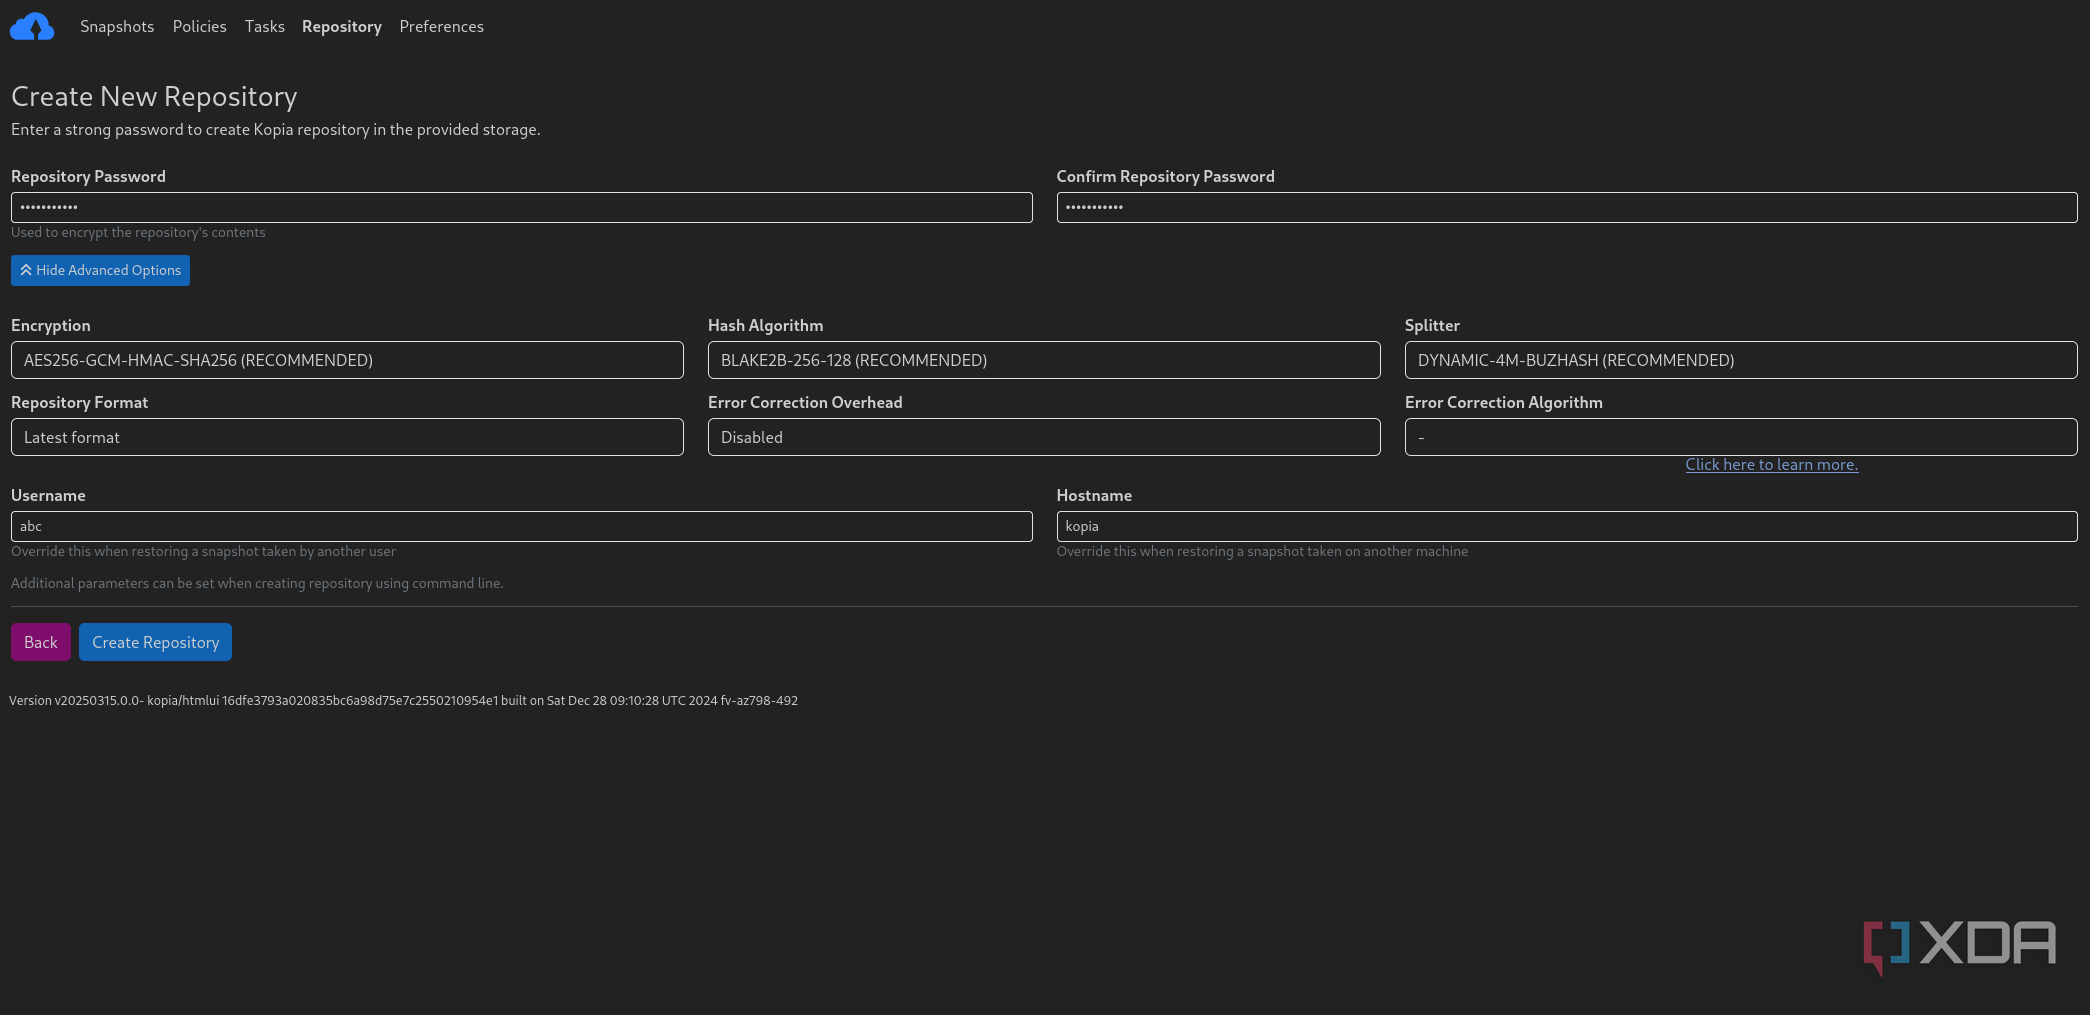
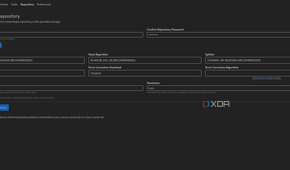
Create a strong Repository Password and press Connect to Repository.


Creating a snapshot in Kopia
Once you’ve configured a Kopia repository, it’s time to create your first snapshot in the app. To do so,
-
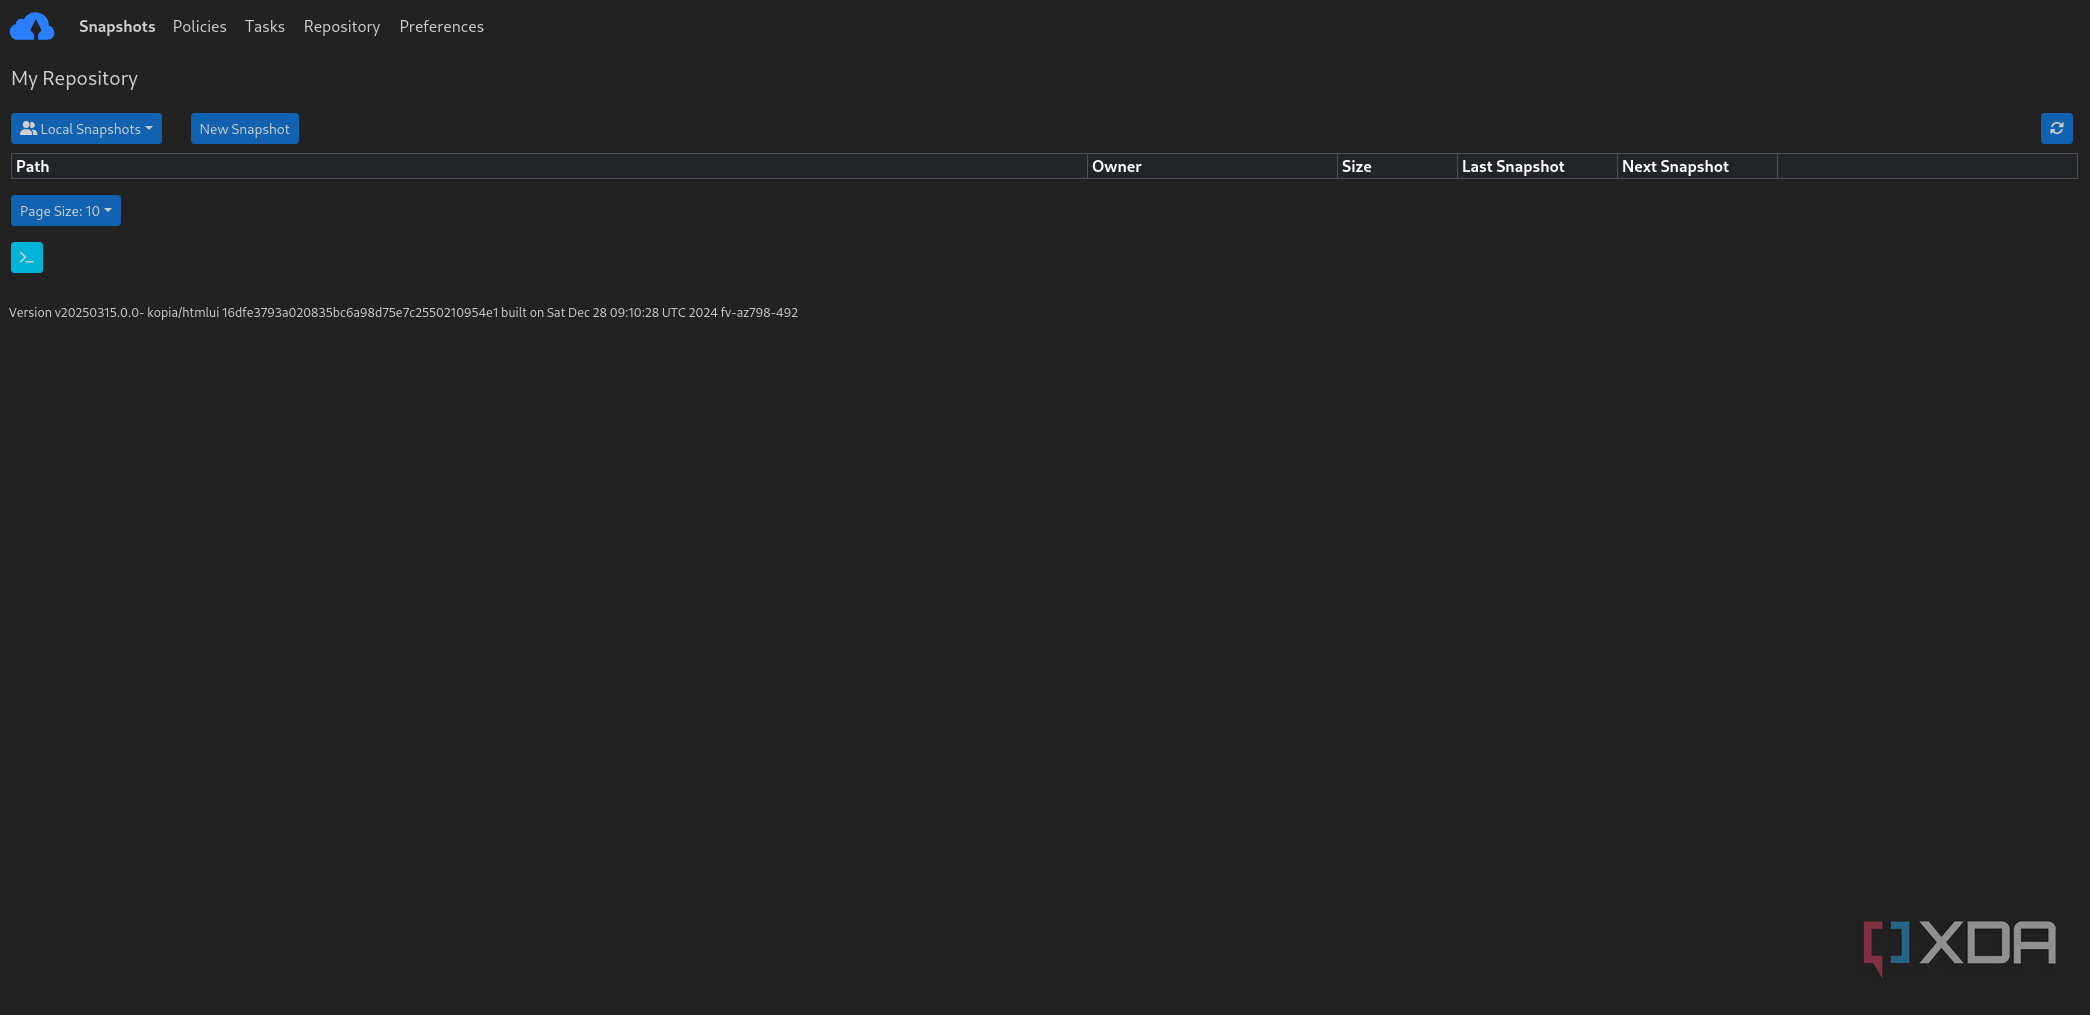
Head to the Snapshots tab and choose New Snapshot.

-
Click on the Folder icon, use the File Explorer pop-up to navigate to the directory you wish to back up, and hit Select Folder.

-
Double-check the Snapshot Retention options before pressing the Snapshot Now button.


Restoring a snapshot in Kopia
With the Kopia snapshot ready, you’re free to restore individual files or the entire directory. If you want to test it out,
-
Click on your newly created Snapshot Path.

-
Select the Snapshot you wish to restore.

-
To restore individual files, you can click on them and press Save after selecting your preferred directory inside the File Explorer pop-up.

-
Alternatively, you can click on the Restore Files & Directories button to recover all the files inside the snapshot.

-
Enter the path to the folder where you wish to store the recovered files as the Destination and press Begin Restore.


Build a powerful snapshot server with Kopia


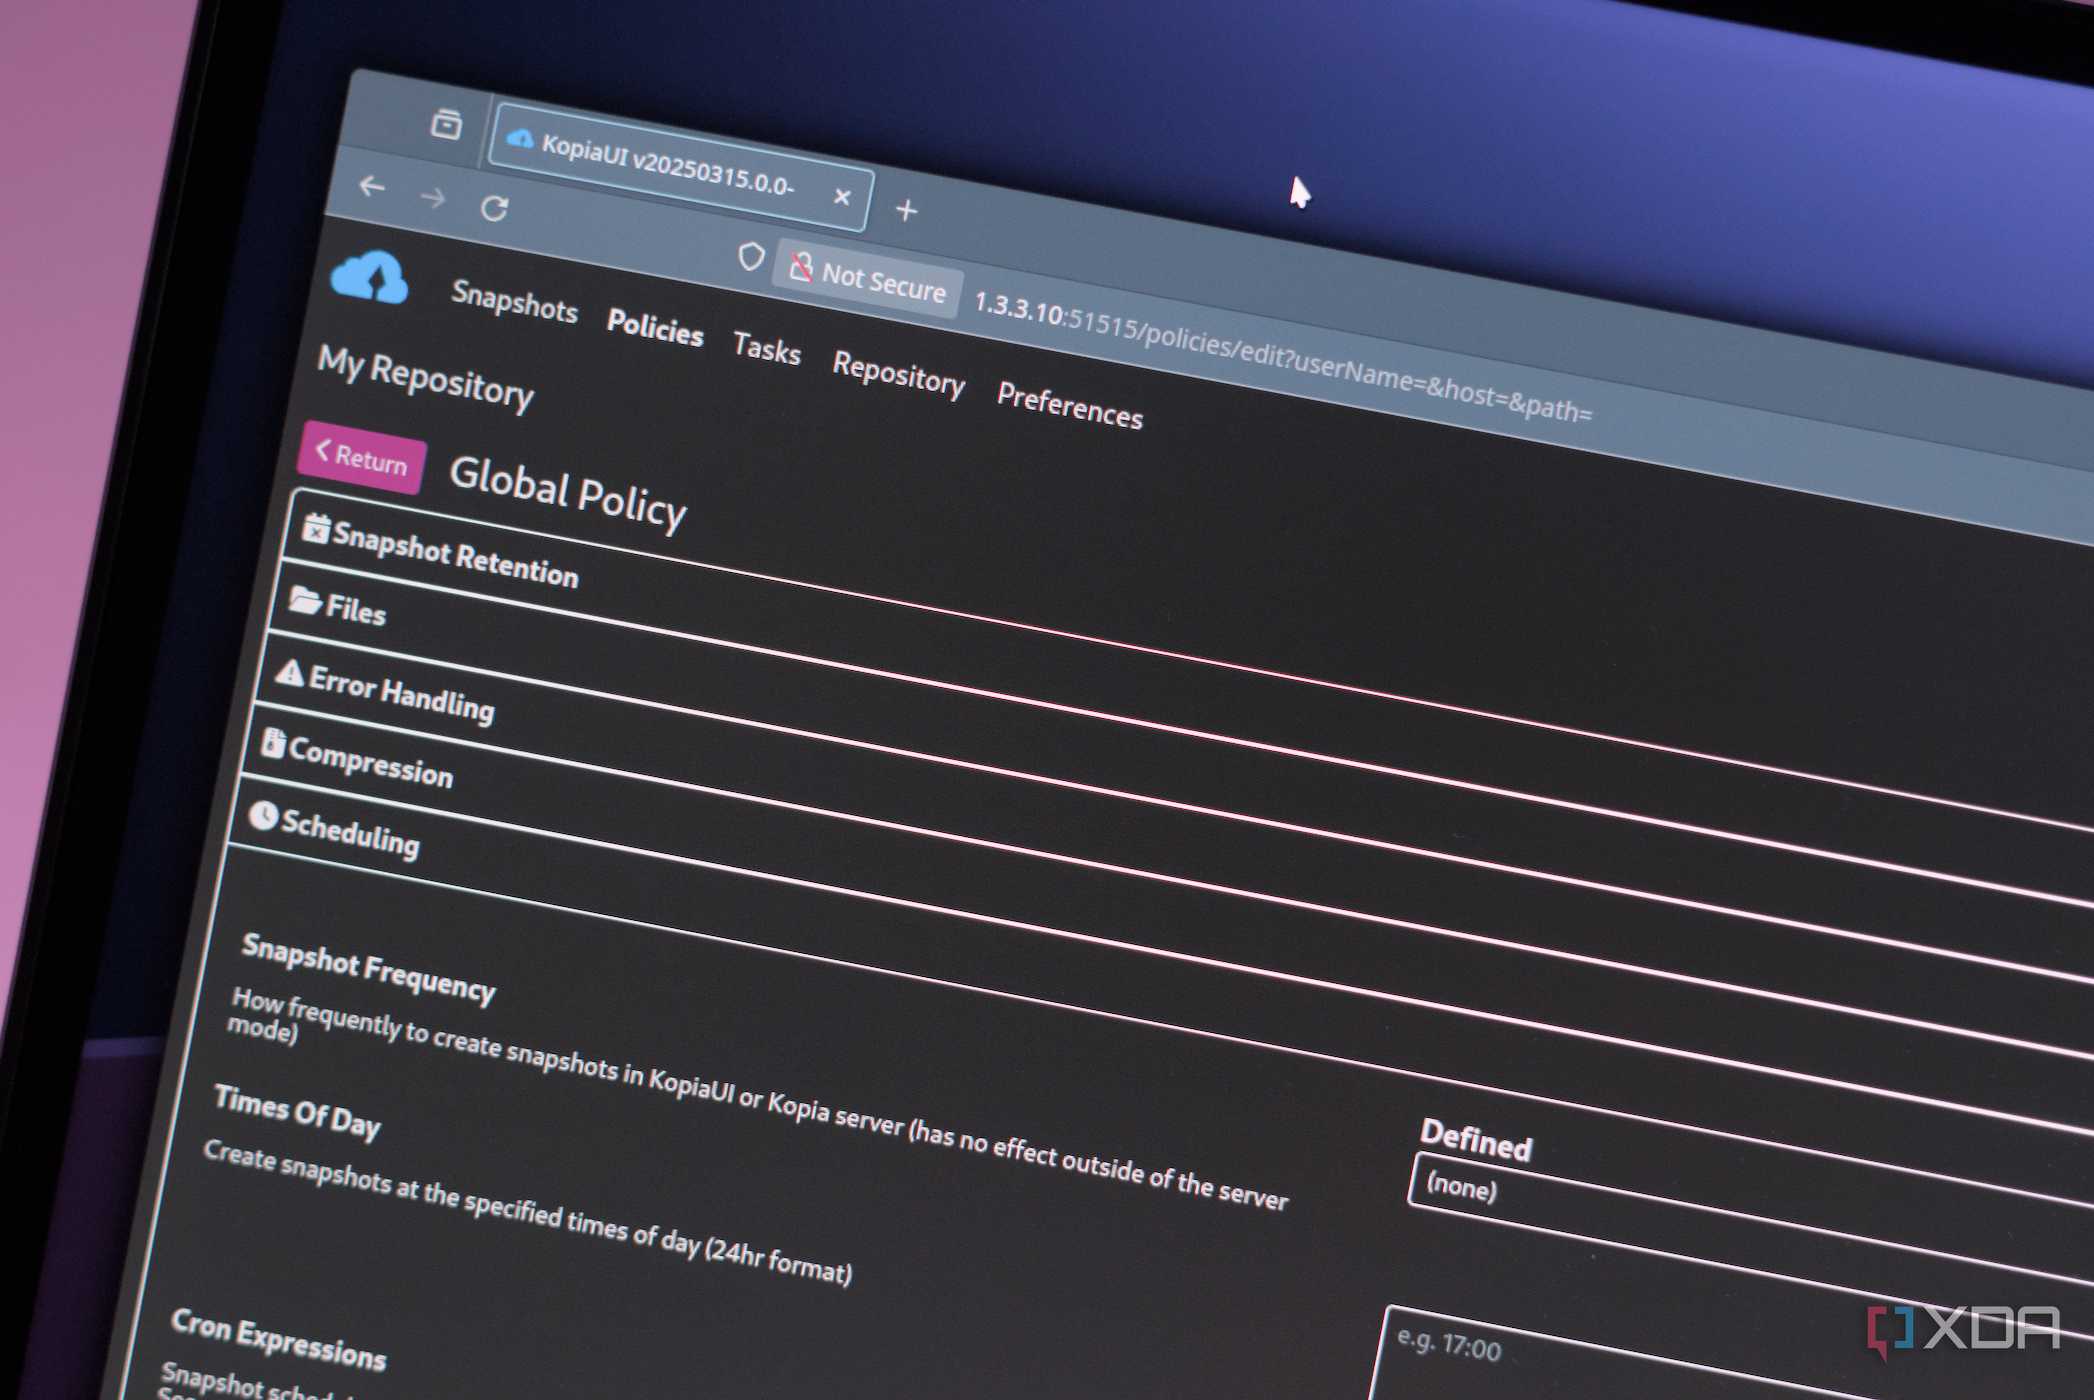
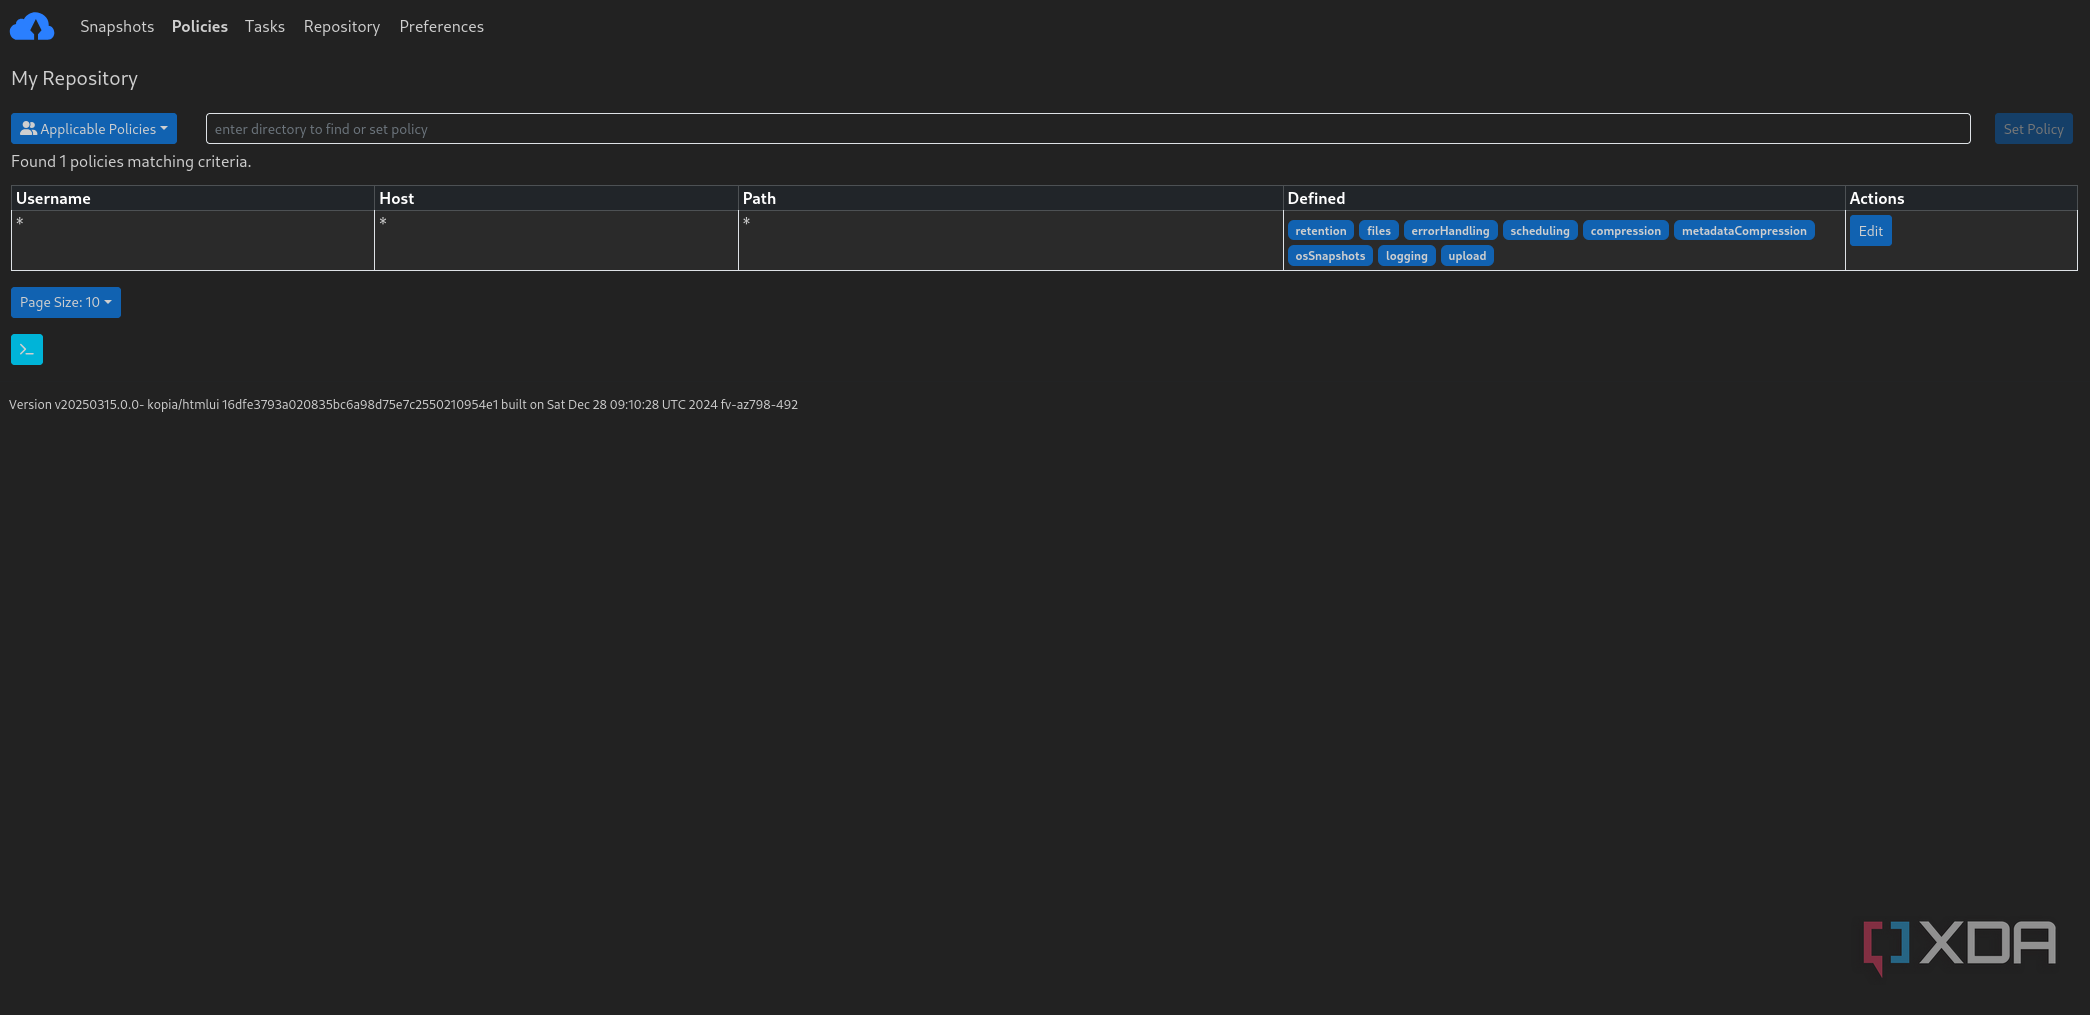
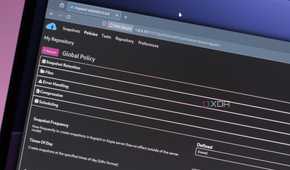
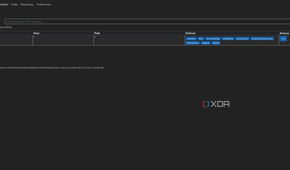
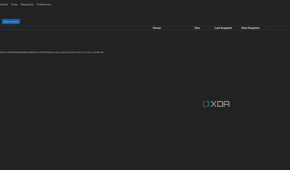
Assuming you’ve followed all the steps correctly, Kopia will restore the files from the snapshot to the directory. Kopia also lets you automate the snapshot creation process, and you can specify the frequency, time, and other parameters inside the Policy tab of your snapshot. The Snapshot Retention sub-header is just as important, as that’s where you can set the precise number of snapshots maintained in the Kopia repository.
