


Network-Attached Storage devices may be associated with backup, data archival, and file-sharing workloads, but they’re just as useful for DIY projects and self-hosting dozens of containers. A Network Video Recorder setup, for example, pairs exceedingly well with NAS systems thanks to their expandable storage.
With the self-hosting ecosystem full of surveillance apps, there are plenty of ways to build an NVR system on your NAS. But having tinkered with almost all of them, I’ll have to admit that Frigate is one of the best for the job, and here’s a quick guide to help you configure a security system by hosting the app on your storage server.
What you’ll need for this project

It goes without saying that a NAS will be the centerpiece of this project, though you’re free to choose between a pre-built enclosure or a self-assembled server. I’ve used TrueNAS Scale as the NAS OS in this article, though you’re free to go with other operating systems as well. Certain proprietary operating systems like TerraMaster’s TOS and Synology’s DiskStation Master include Frigate packages in their app stores, so the overall process is more-or-less the same regardless of your NAS hardware or OS.
To keep your files organized, I recommend setting up a new dataset for your camera footage. Speaking of footage, Surveillance HDDs are great for storing your recordings thanks to their ability to handle long sequential writes, though you’re free to go with normal hard drives. Just ensure they’re CMR drives, as their SMR counterparts will result in painfully slow write times. Finally, you’ll need a couple of IP cameras for the Frigate NVR setup, but you can also configure webcams to capture footage over RTSP streams.
-

TerraMaster F4-424 Max
- CPU
- Intel Core i5-1235U
- Memory
- 8GB DDR5 non-ECC SODIMM (up to 64GB)
- Drive Bays
- 4 HDD bays + 2 NVMe SSD slots
- Ports
- 2x USB Type-A (10Gbps), 1x USB Type-C (10Gbps), 1x HDMI 2.0, 2x 10GbE RJ45
- OS
- TOS 6
- Price
- $900
-

LincPlus LincStation N2
- CPU
- Intel N100
- Memory
- 16GB DDR5 (soldered)
- Drive Bays
- 4x M.2 SSD, 2x SATA drives (2.5-inch)
- Ports
- 1x USB 3.2 Gen 2 Type-A, 1x USB 3.2 Gen 2 Type-C, 2x USB 2.0 Type-A
- OS
- Unraid
- Dimensions
- 210x152x39.8 mm
-
-
-


Installing Frigate on the NAS OS
Once you’ve arranged the necessary equipment and created a new dataset (or even a pool) for your camera footage, it’s time to deploy the Frigate container. On TrueNAS Scale,
-
Switch to the Apps section and click on Discover Apps.

-
Scroll down or use the Search bar to find the Frigate package.

-
Tap the Setup Pool To Install button before selecting the Data Pool for the container files.

-
Enable the Confirm checkbox and press Agree when TrueNAS Scale asks for confirmation.

-
Toggle the Enable No Auth checkbox under the Network Configuration section of the Frigate Settings page, pick the ideal ACL rules for your drives, make sure the container has enough CPU and Memory resources, and hit Install.

- Wait for TrueNAS Scale to pull the Frigate image and deploy the container.


Accessing the Frigate web UI
With the Frigate instance up and running, it’s time to configure the web UI and add your cameras. To do so,
-
Click on the Frigate container and select Web UI (No Auth) under the App Info section.

-
Inside the pop-up window, press the Cog icon in the bottom left corner of the Frigate web UI and choose Configuration Editor.

-
Add the Name of the IP camera under the Cameras header and replace the default Path variable with the correct RTSP address of your camera.
You can duplicate all the code under the Cameras header and use it to connect multiple cameras with your Frigate setup, provided you assign them different Names and modify their Path variables.

-
Click on the Cog icon once again and choose the Settings option.

-
Switch to the Users tab and click on Update Password under the admin user.

-
Choose the appropriate password before tapping Save.


Build a robust NVR setup on your NAS with Frigate


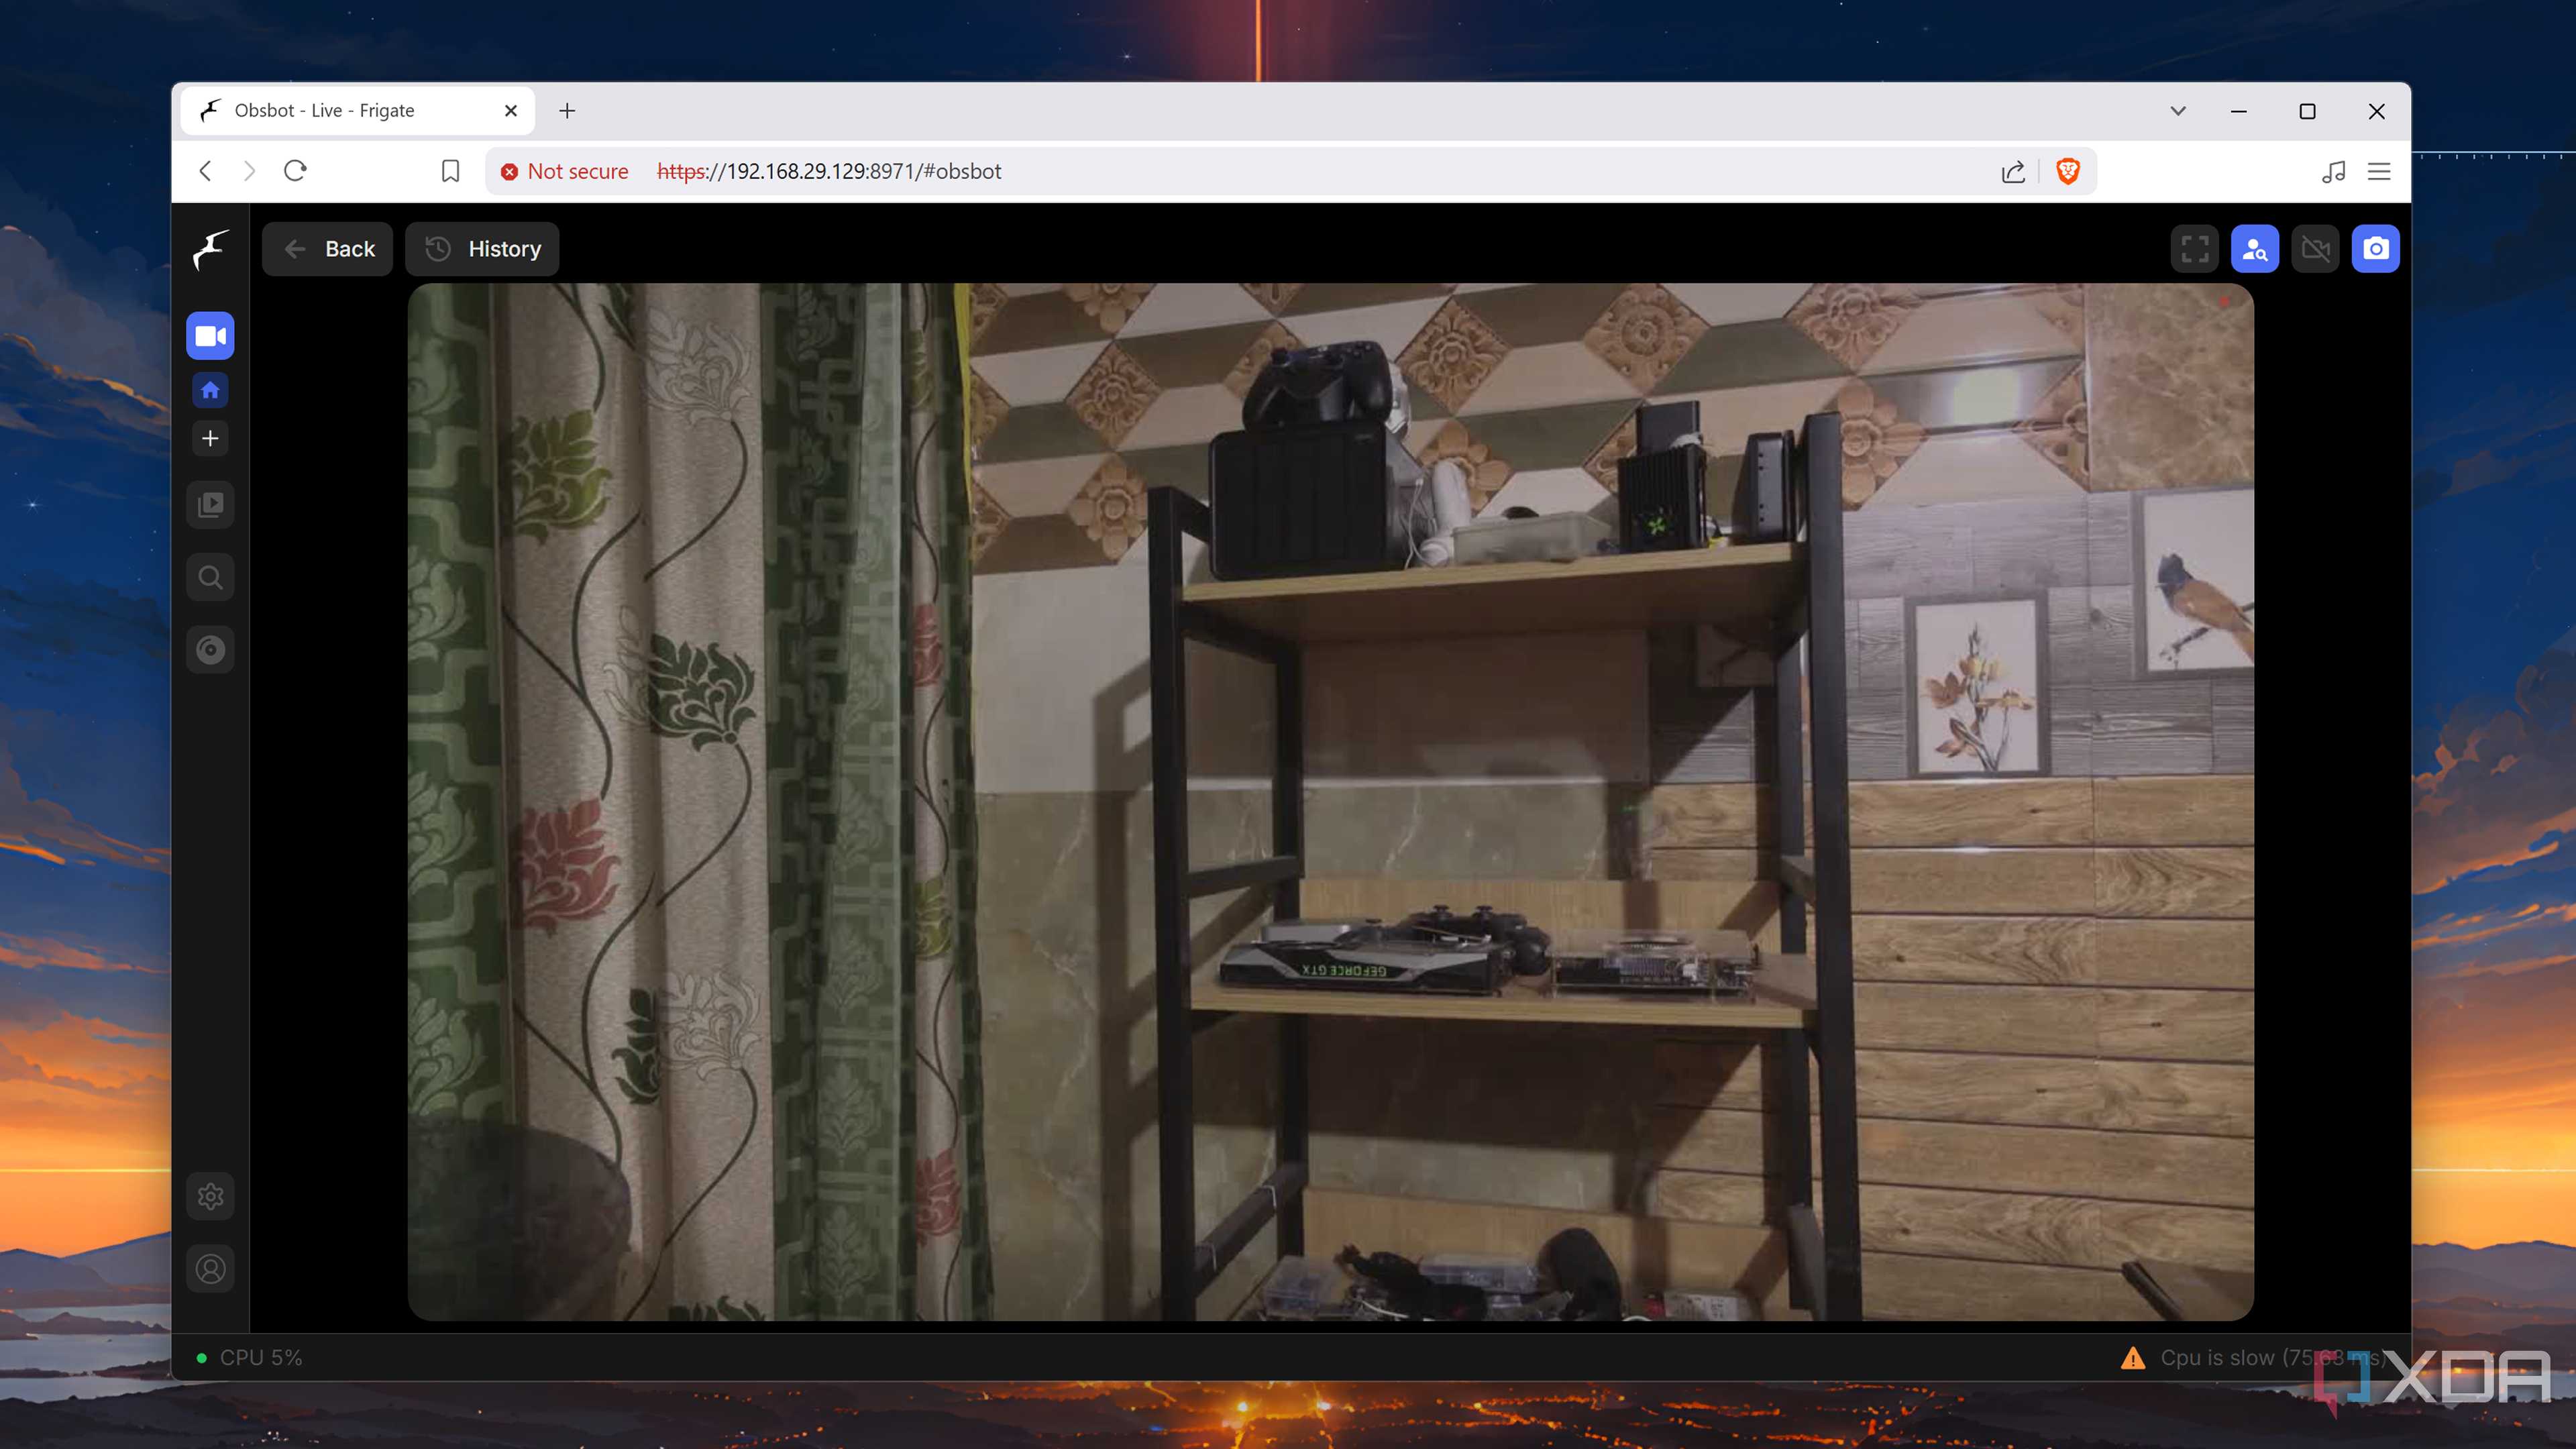
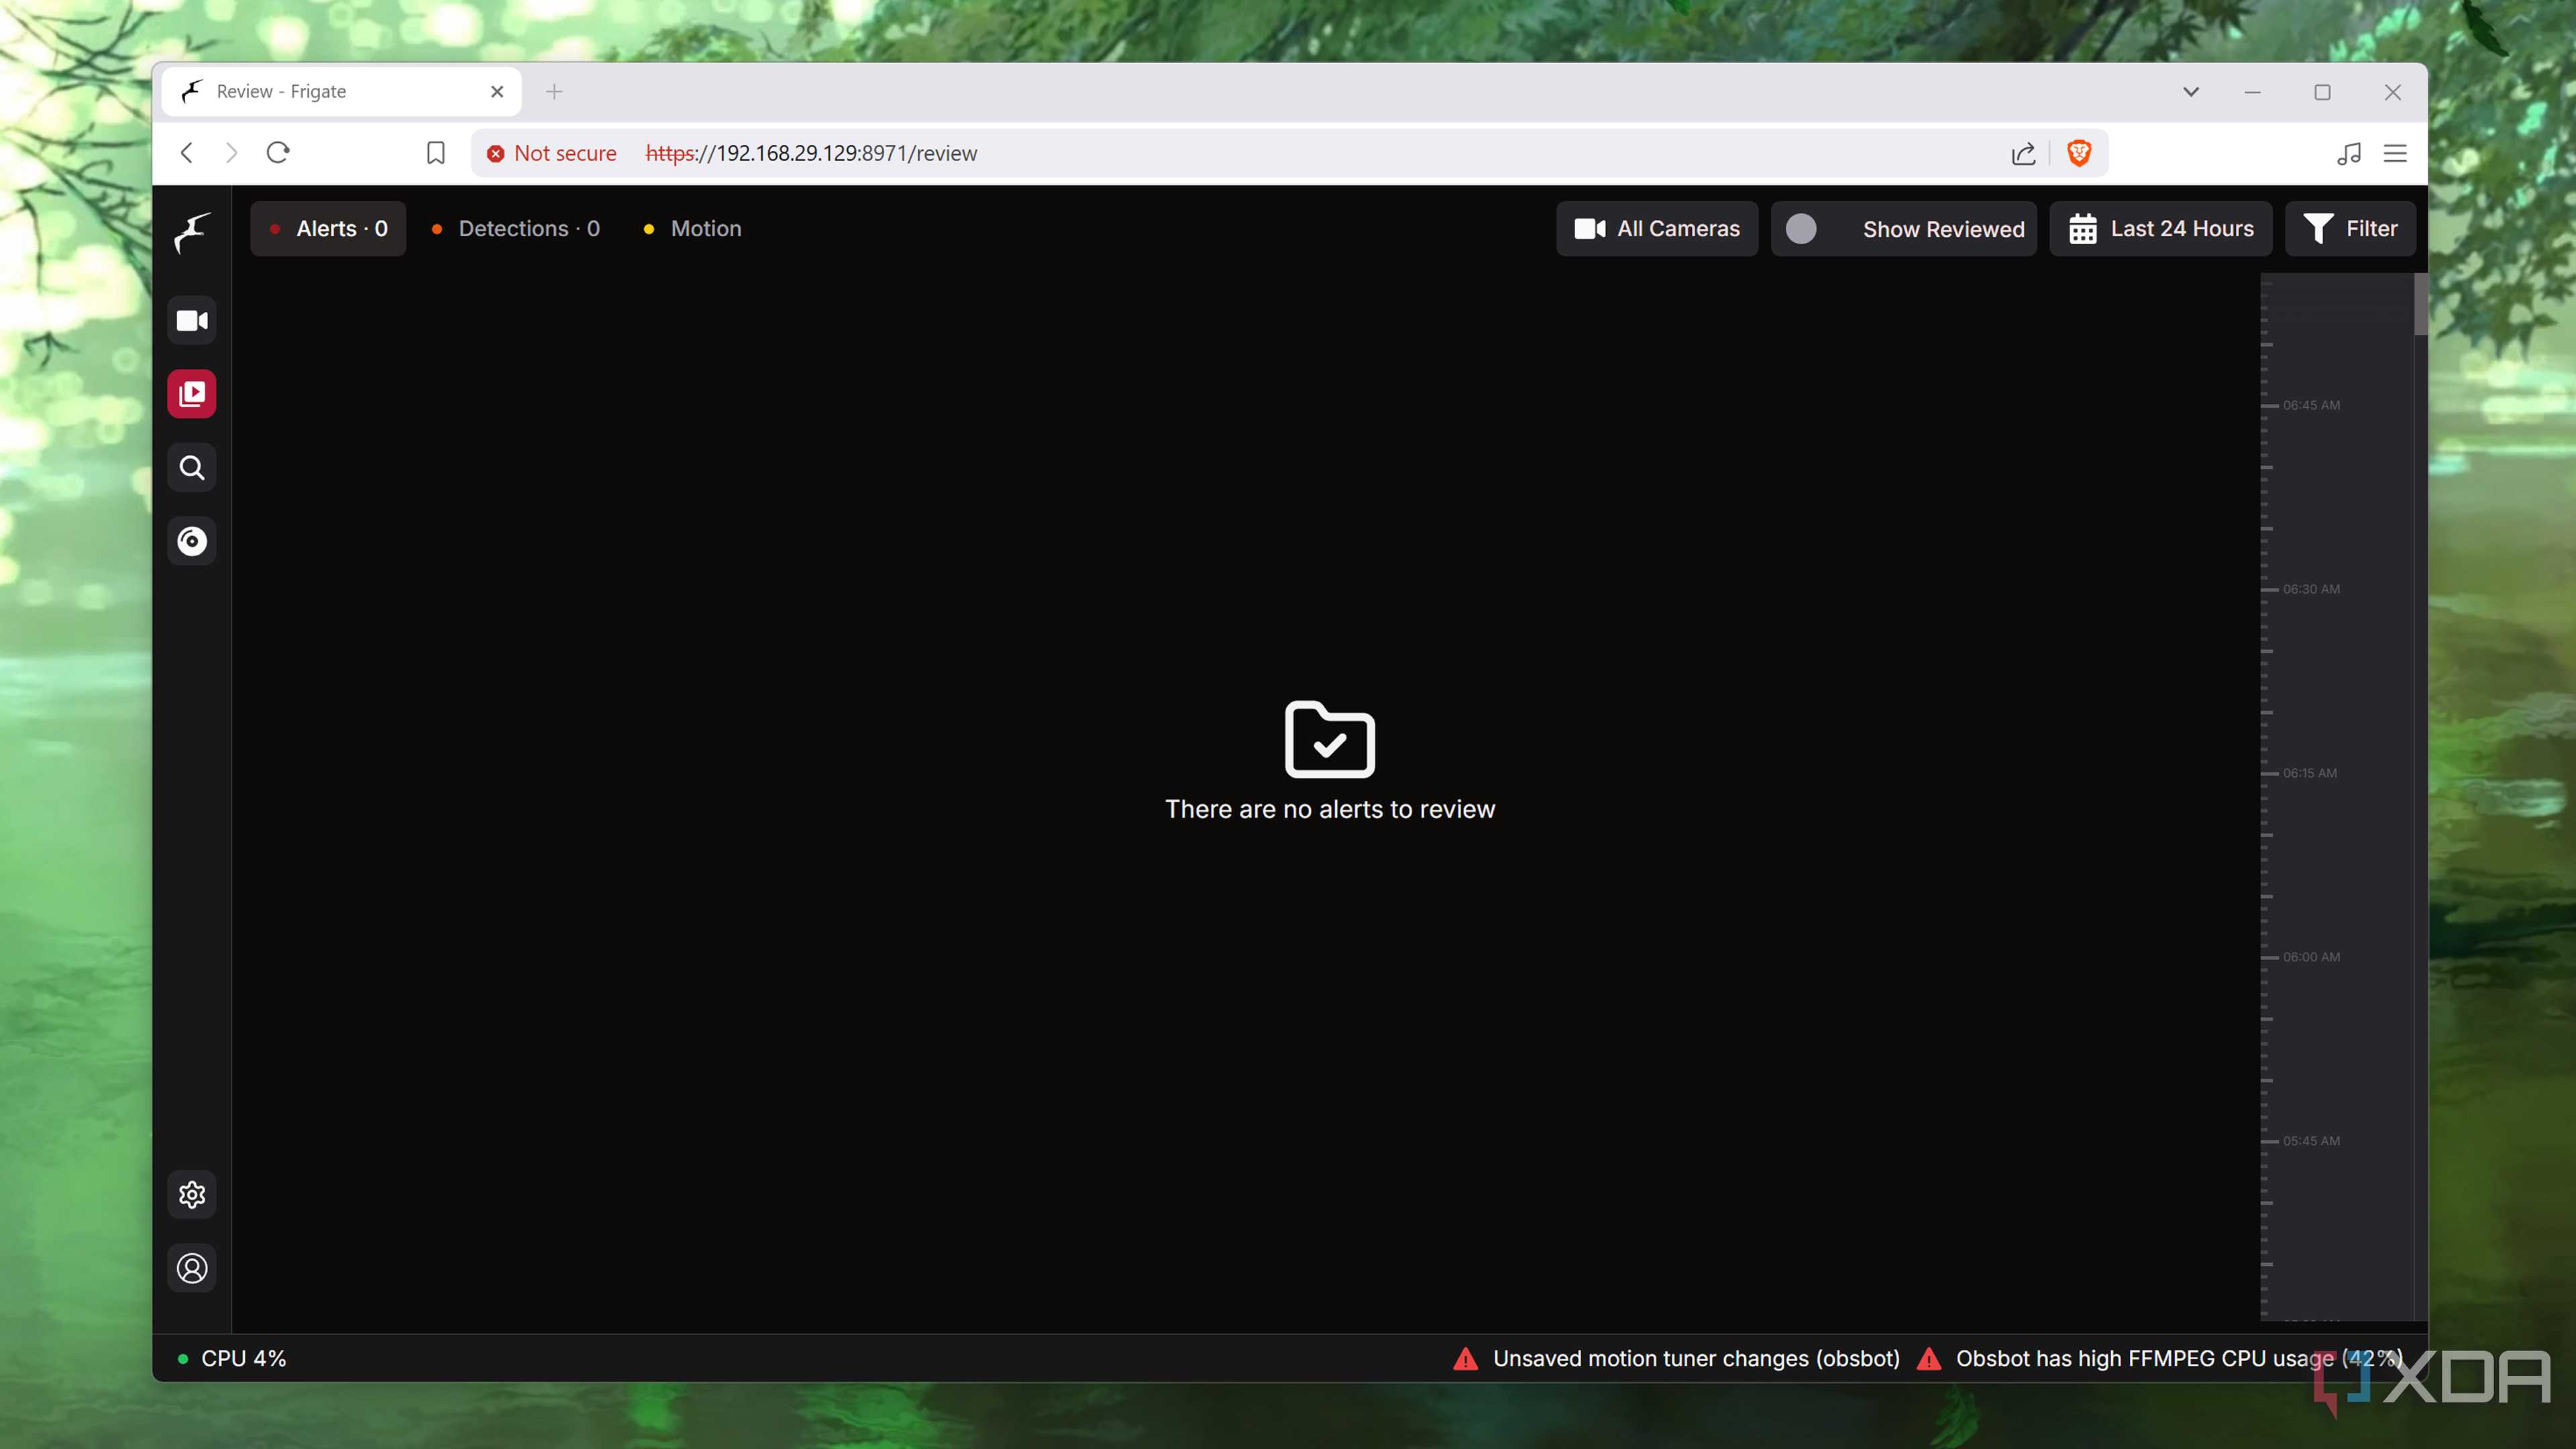
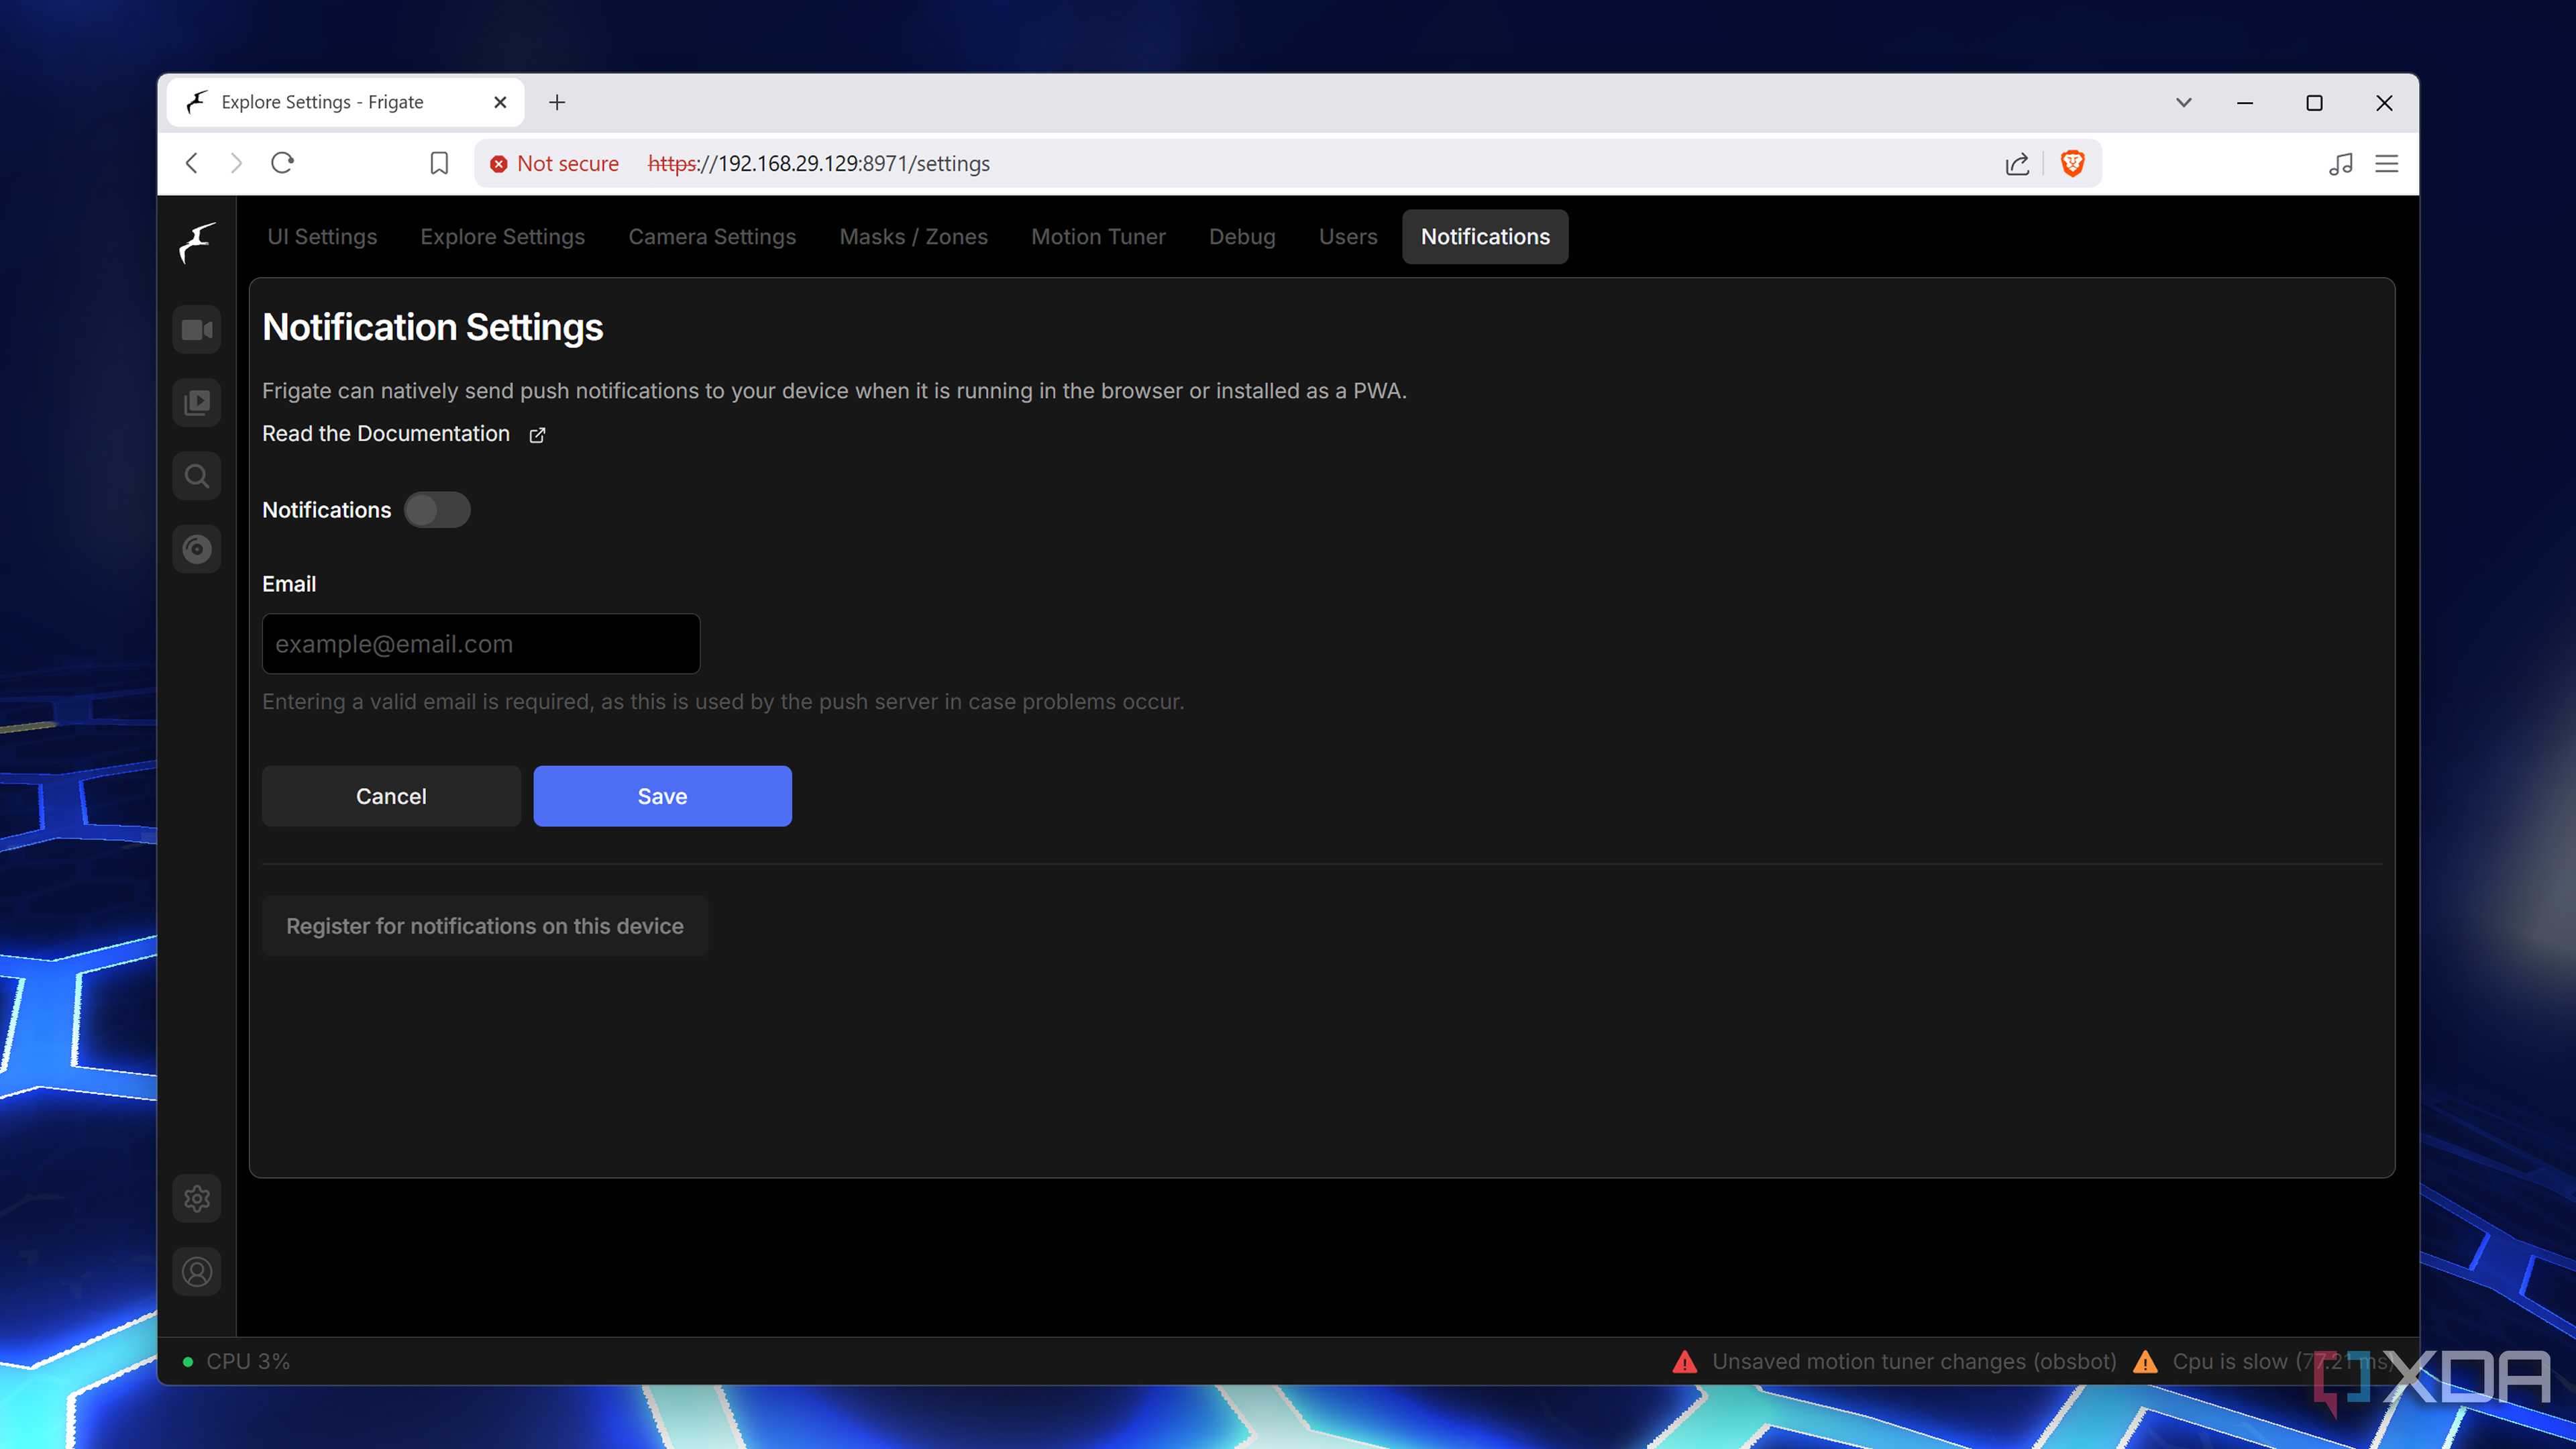
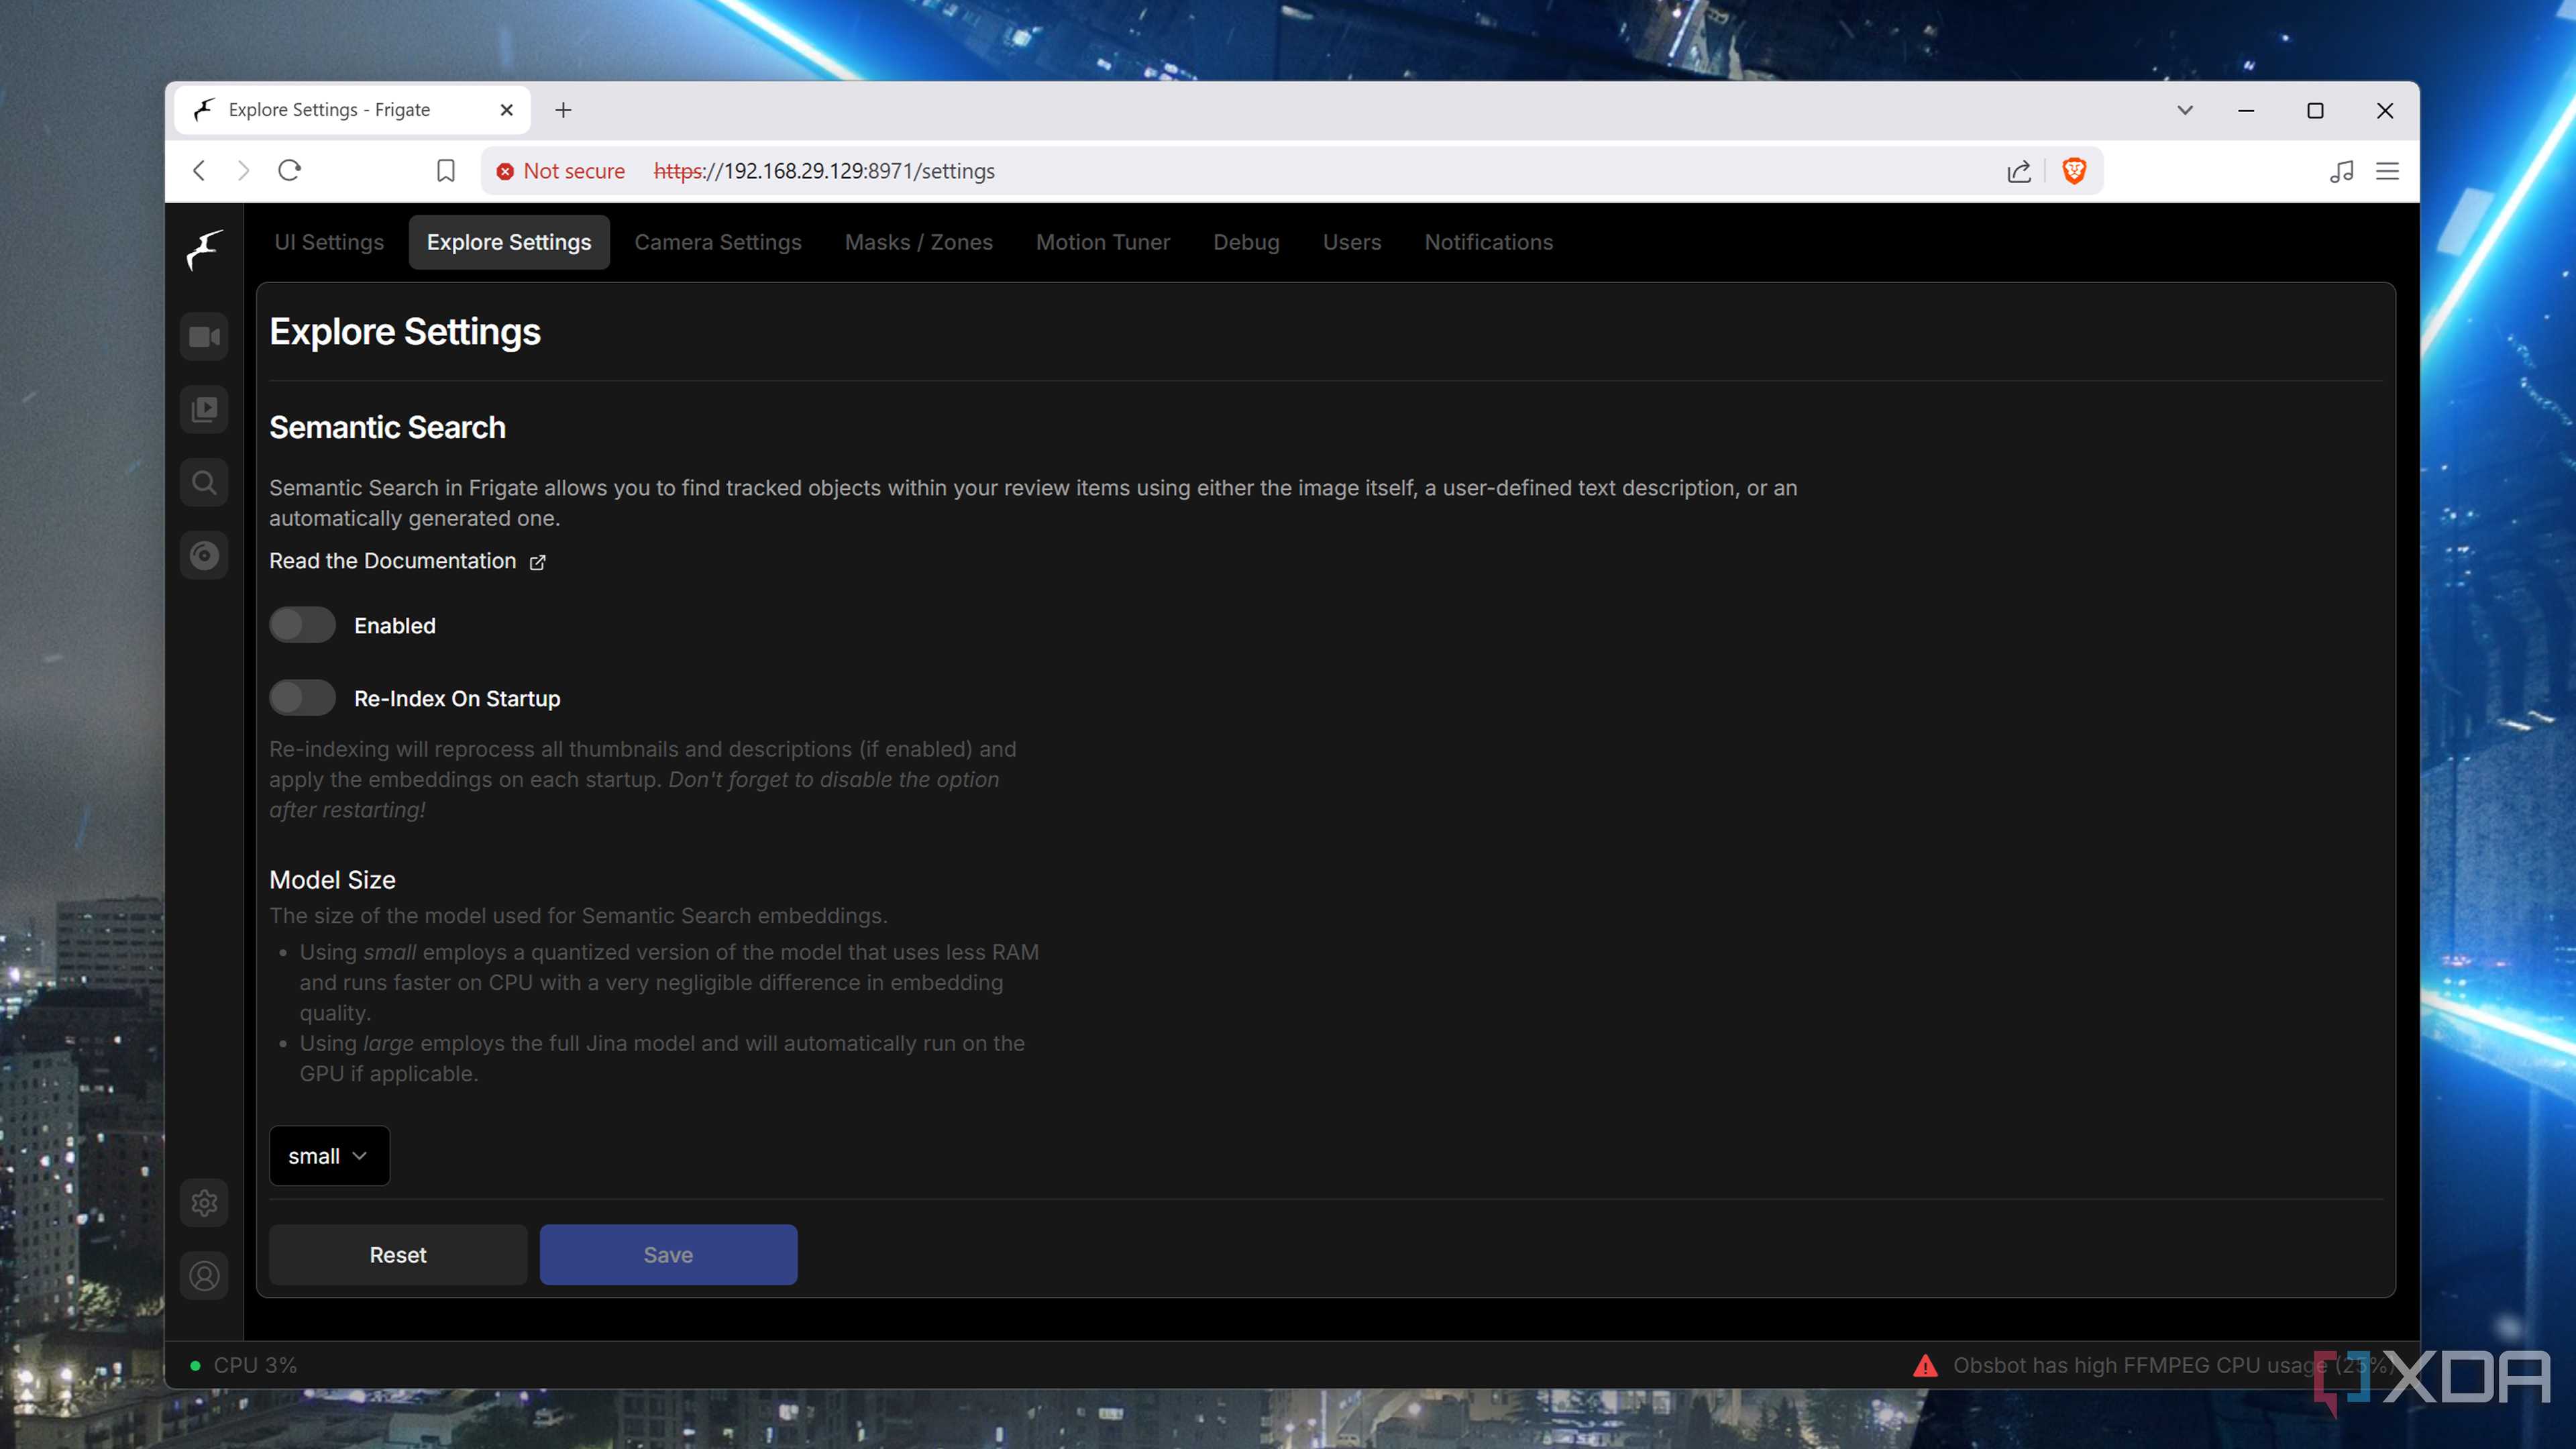
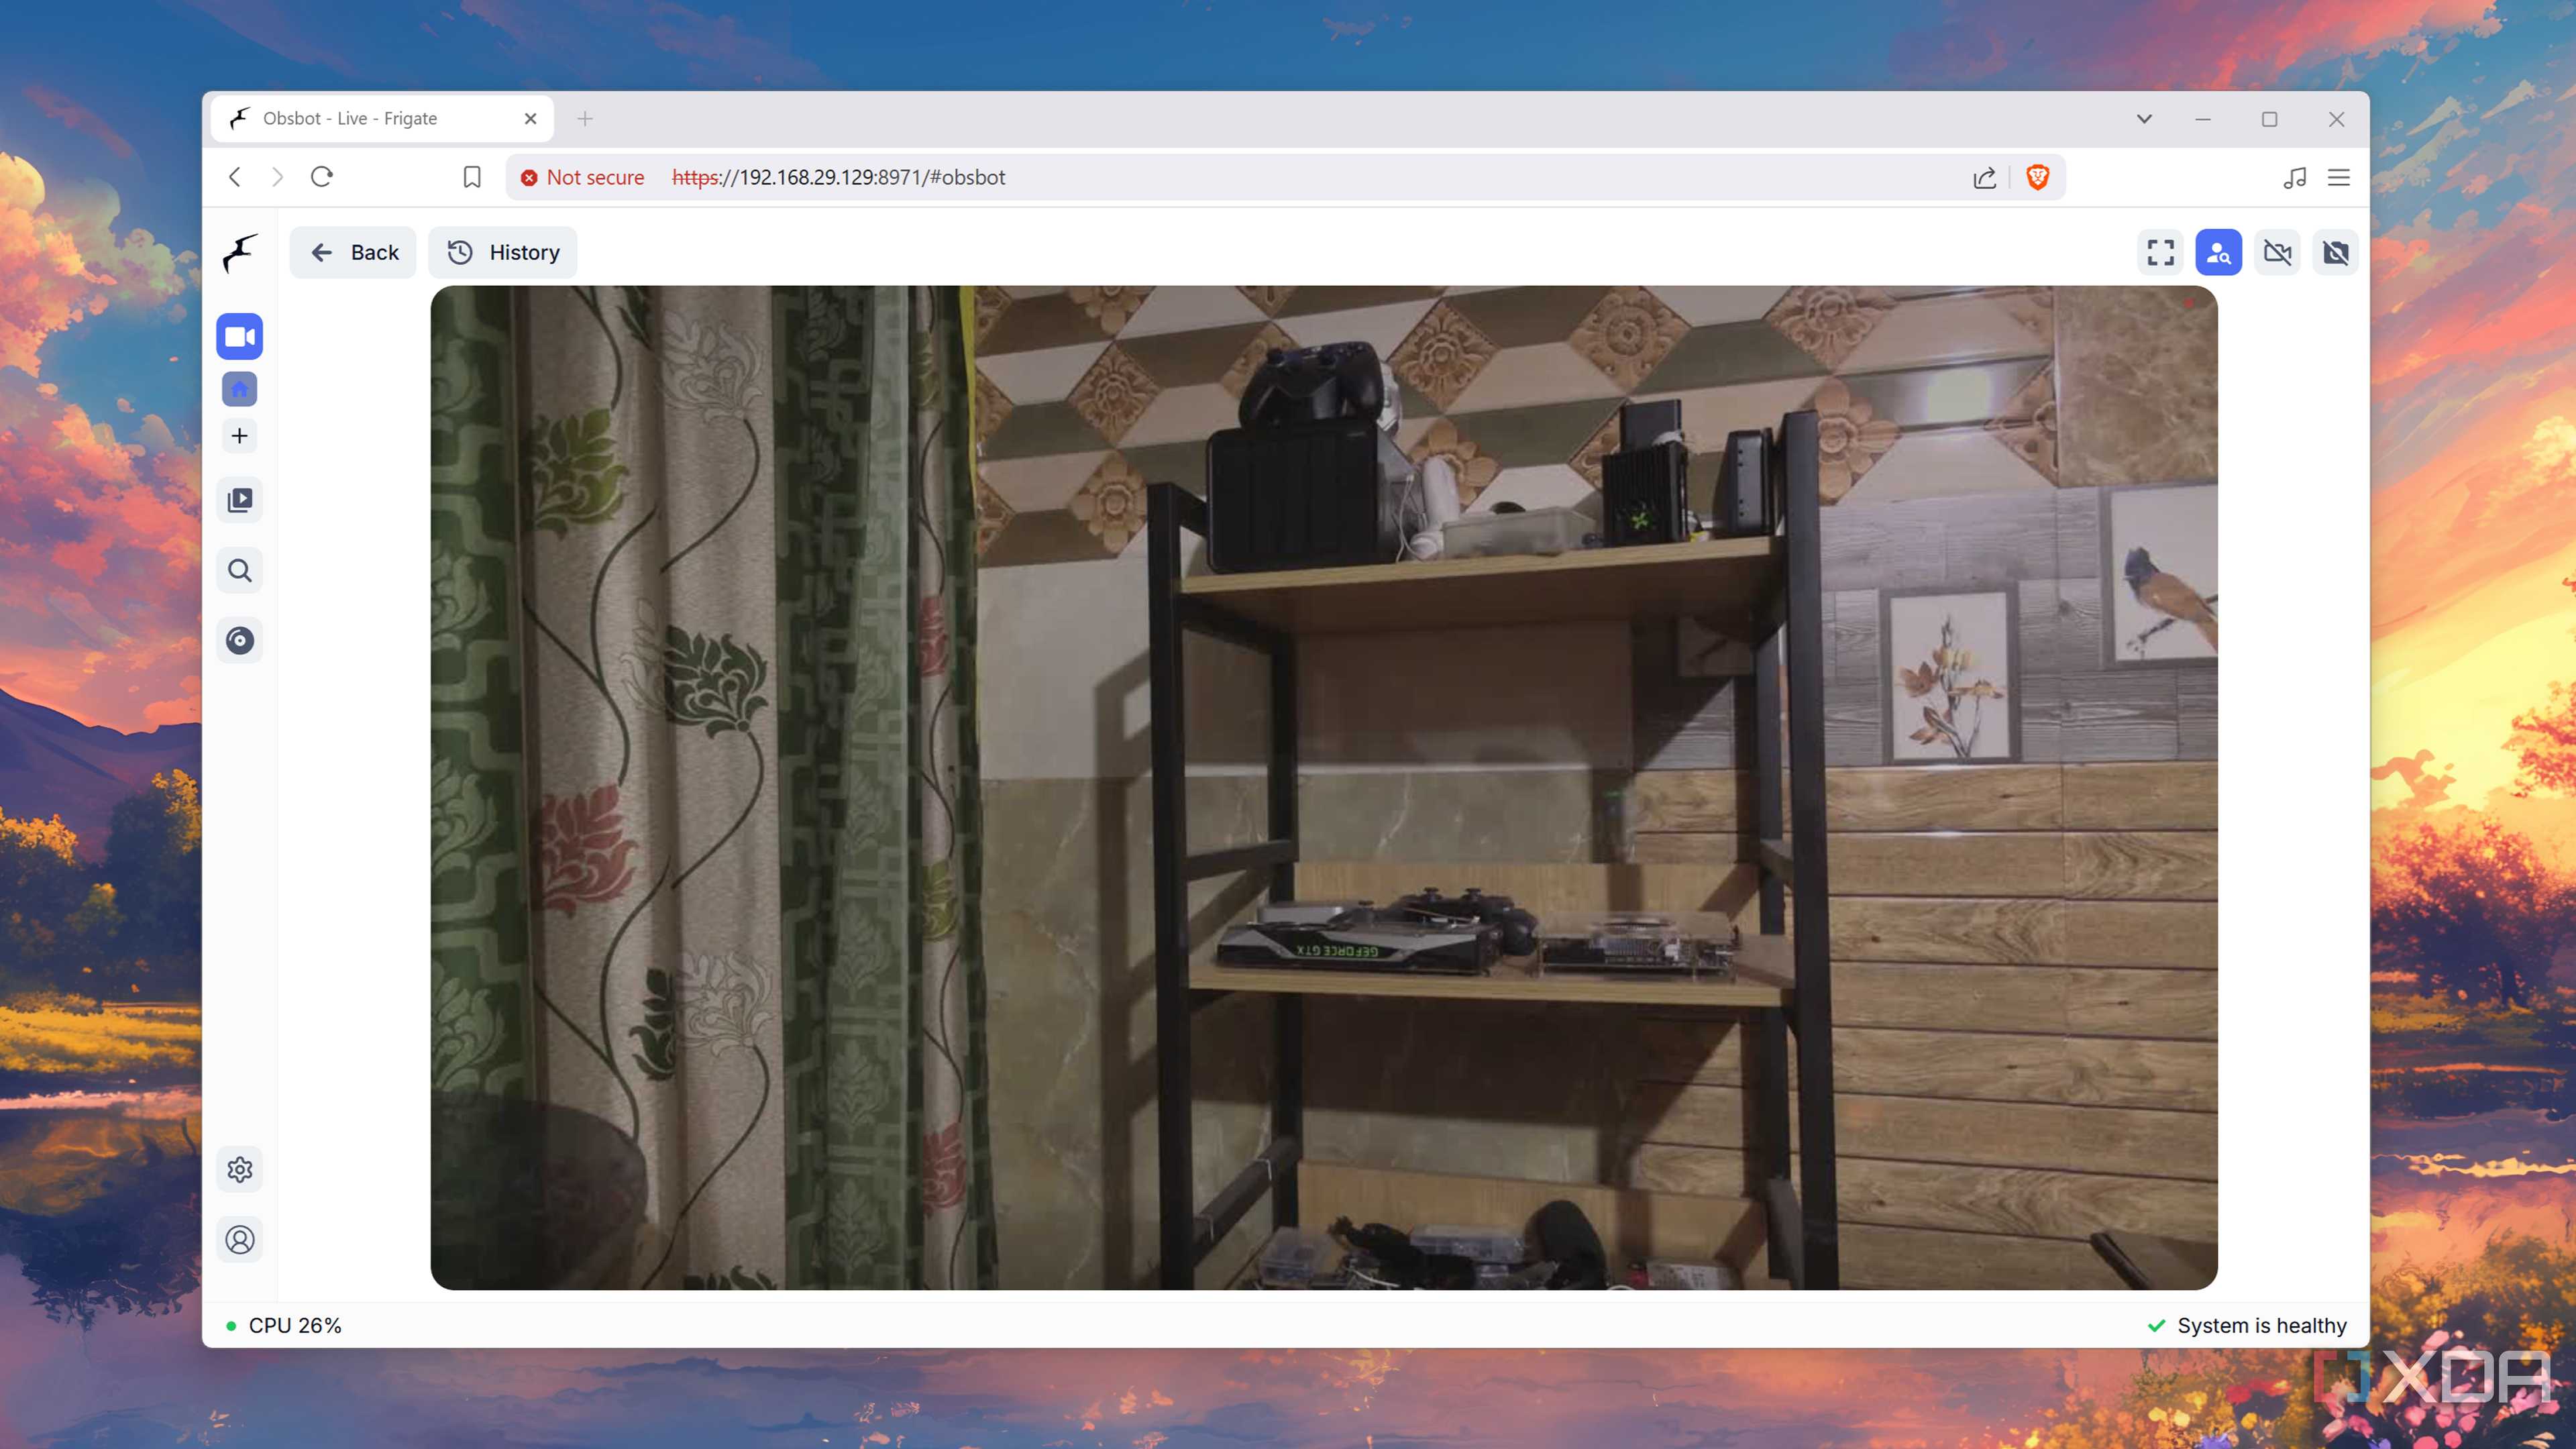
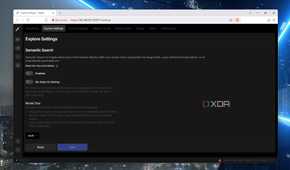
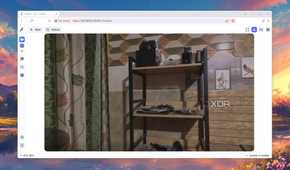
If you’ve followed all the steps carefully, your camera streams should appear under the Live section of the Frigate UI. Likewise, you’ll be able to log in to the Frigate interface with your password, and I recommend unchecking the Enable No Auth option inside the container settings on the host NAS OS to prevent unauthorized users from accessing the Frigate interface.
In case your video streams consume too much storage space, you can set a specific height and width for your camera with the record keyword inside the Configuration Editor. For a surveillance system with high-end motion tracking capabilities, I suggest pairing a GPU or an AI accelerator with your NAS and passing it to the Frigate container.
