


AI-powered chatbots may have blown up in popularity in recent times, but image-generation models aren't lagging behind either. Thanks to major developments in the AI sector, generative models powered by Stable Diffusion are capable of generating hyper-realistic images from mere text prompts.
Unfortunately, most of these online-only models hand out a limited number of credits before you have to pay the service provider to generate more images. Plus, since the pictures are generated on company servers, privacy is always an issue. But if you have a spare PC lying around, you can easily convert it into a local AI image-generating machine!
What you’ll need


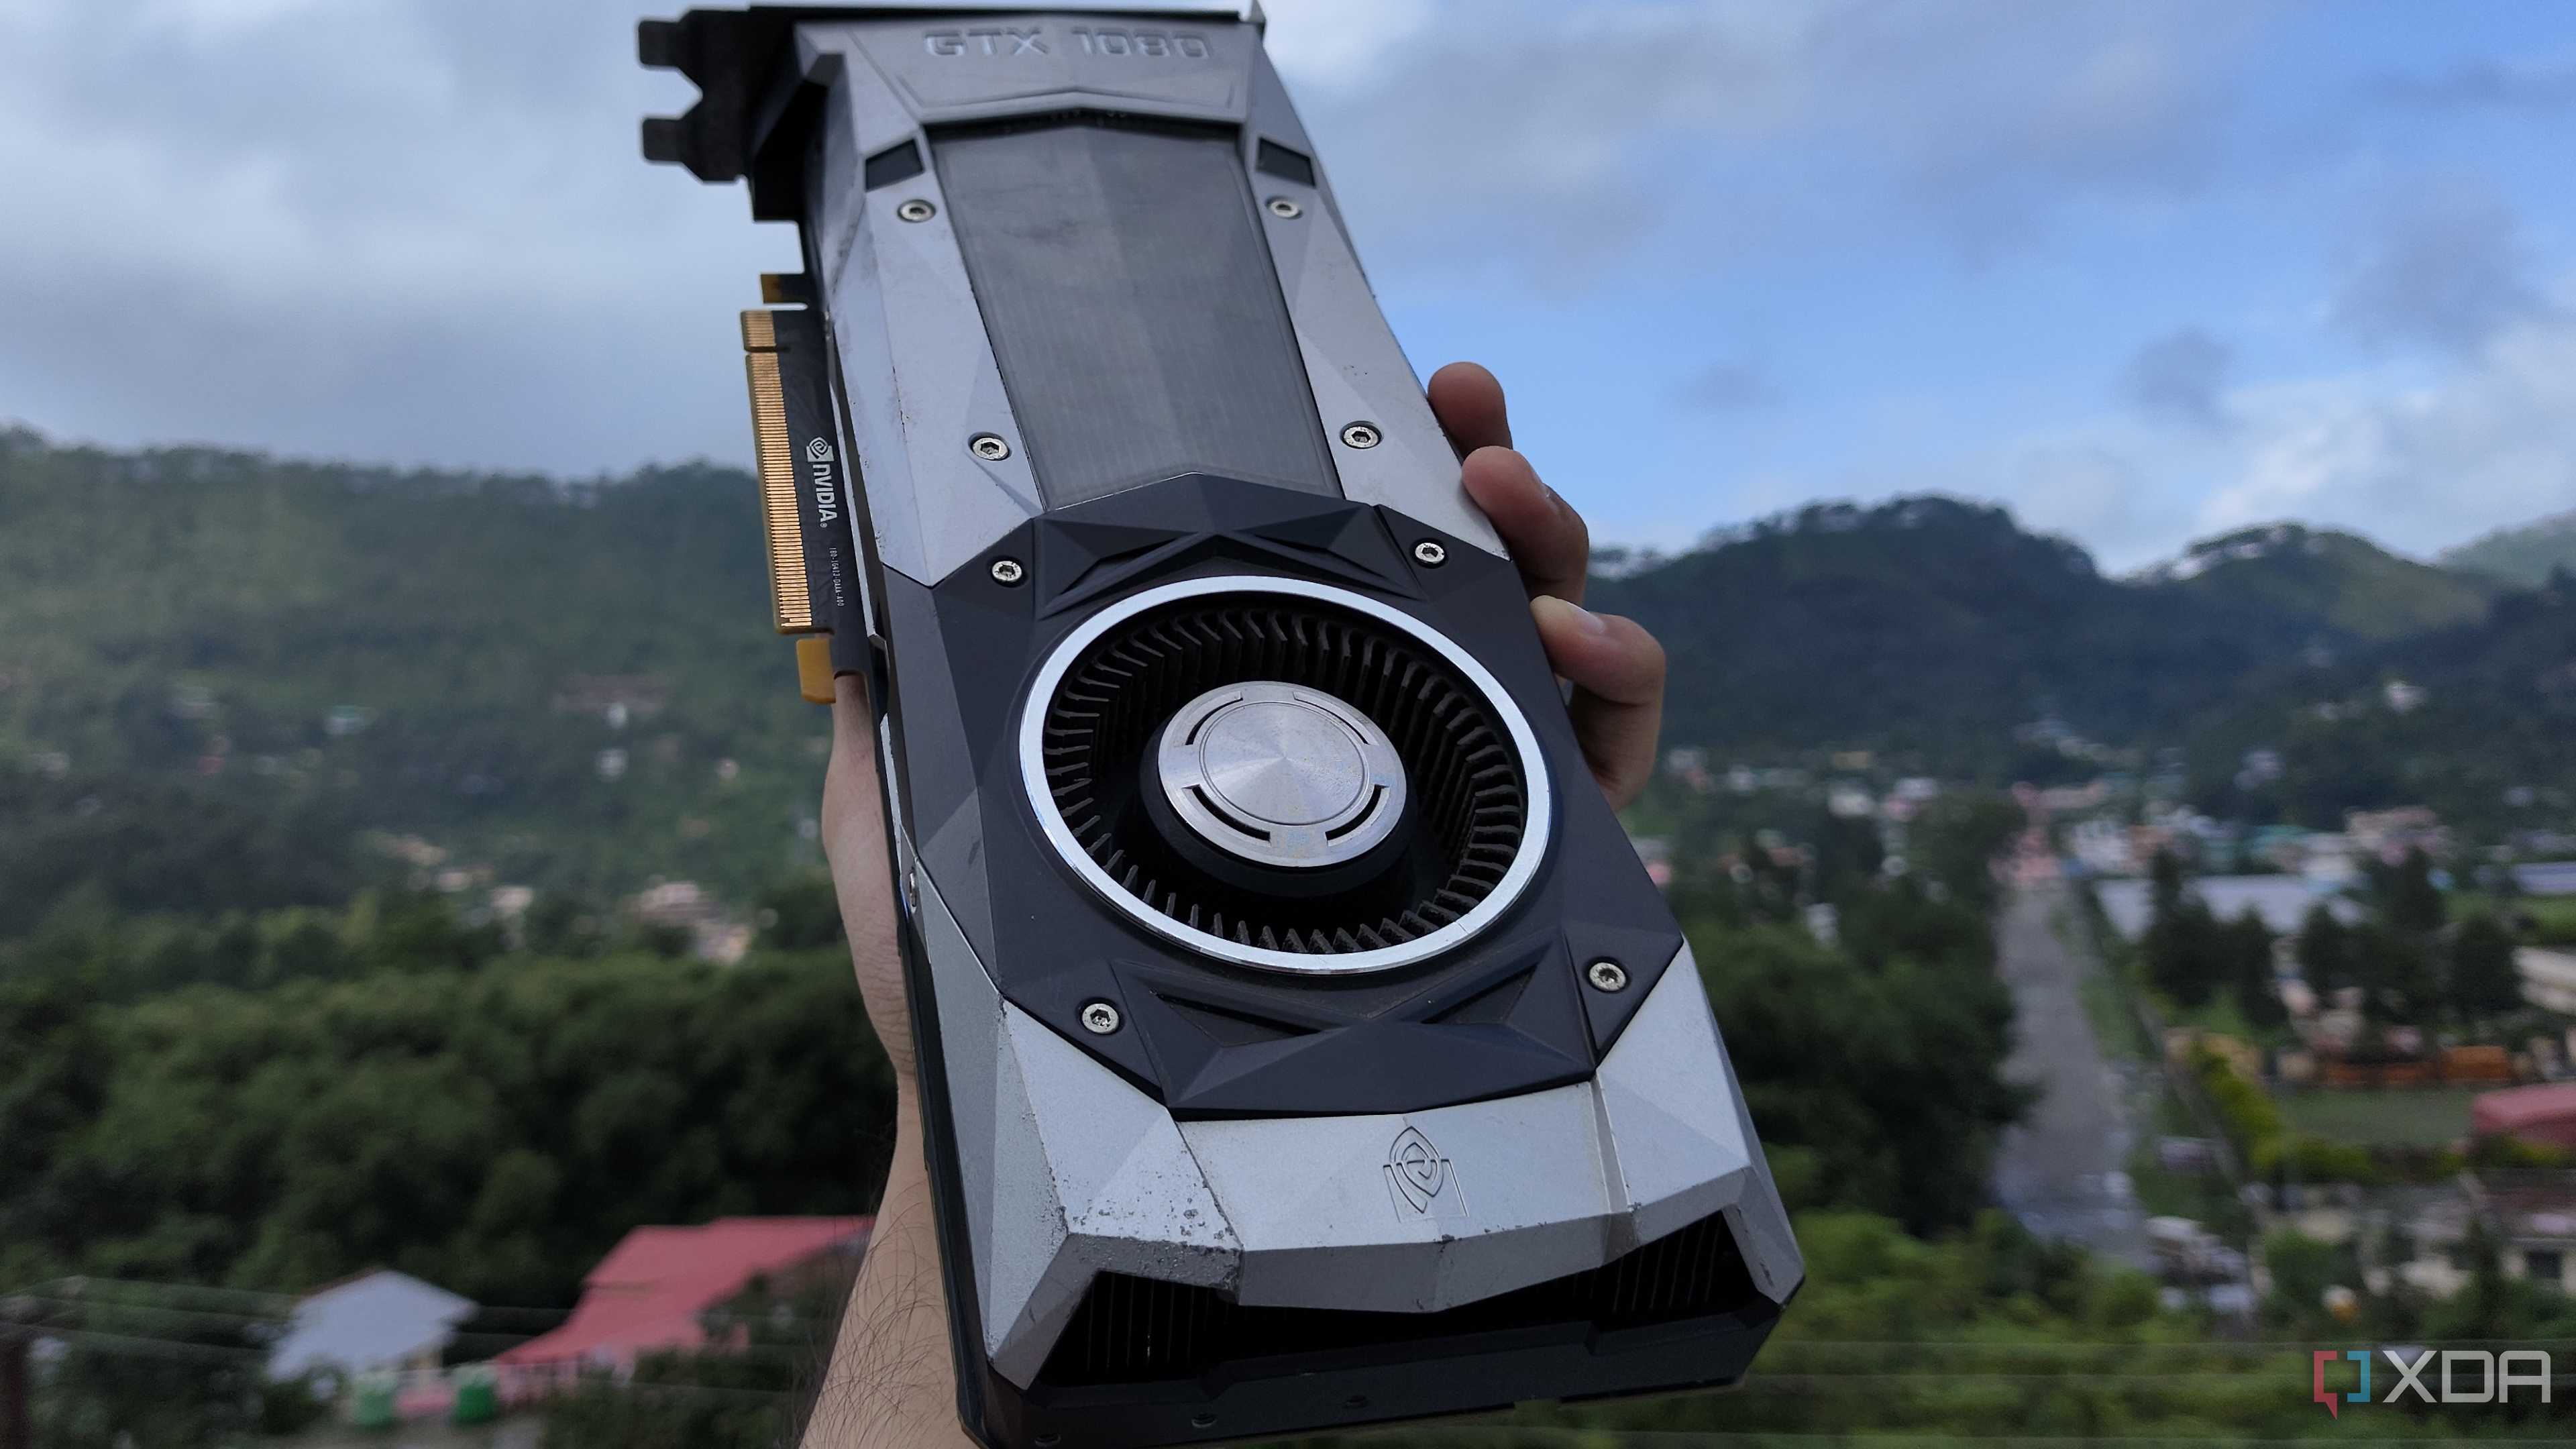
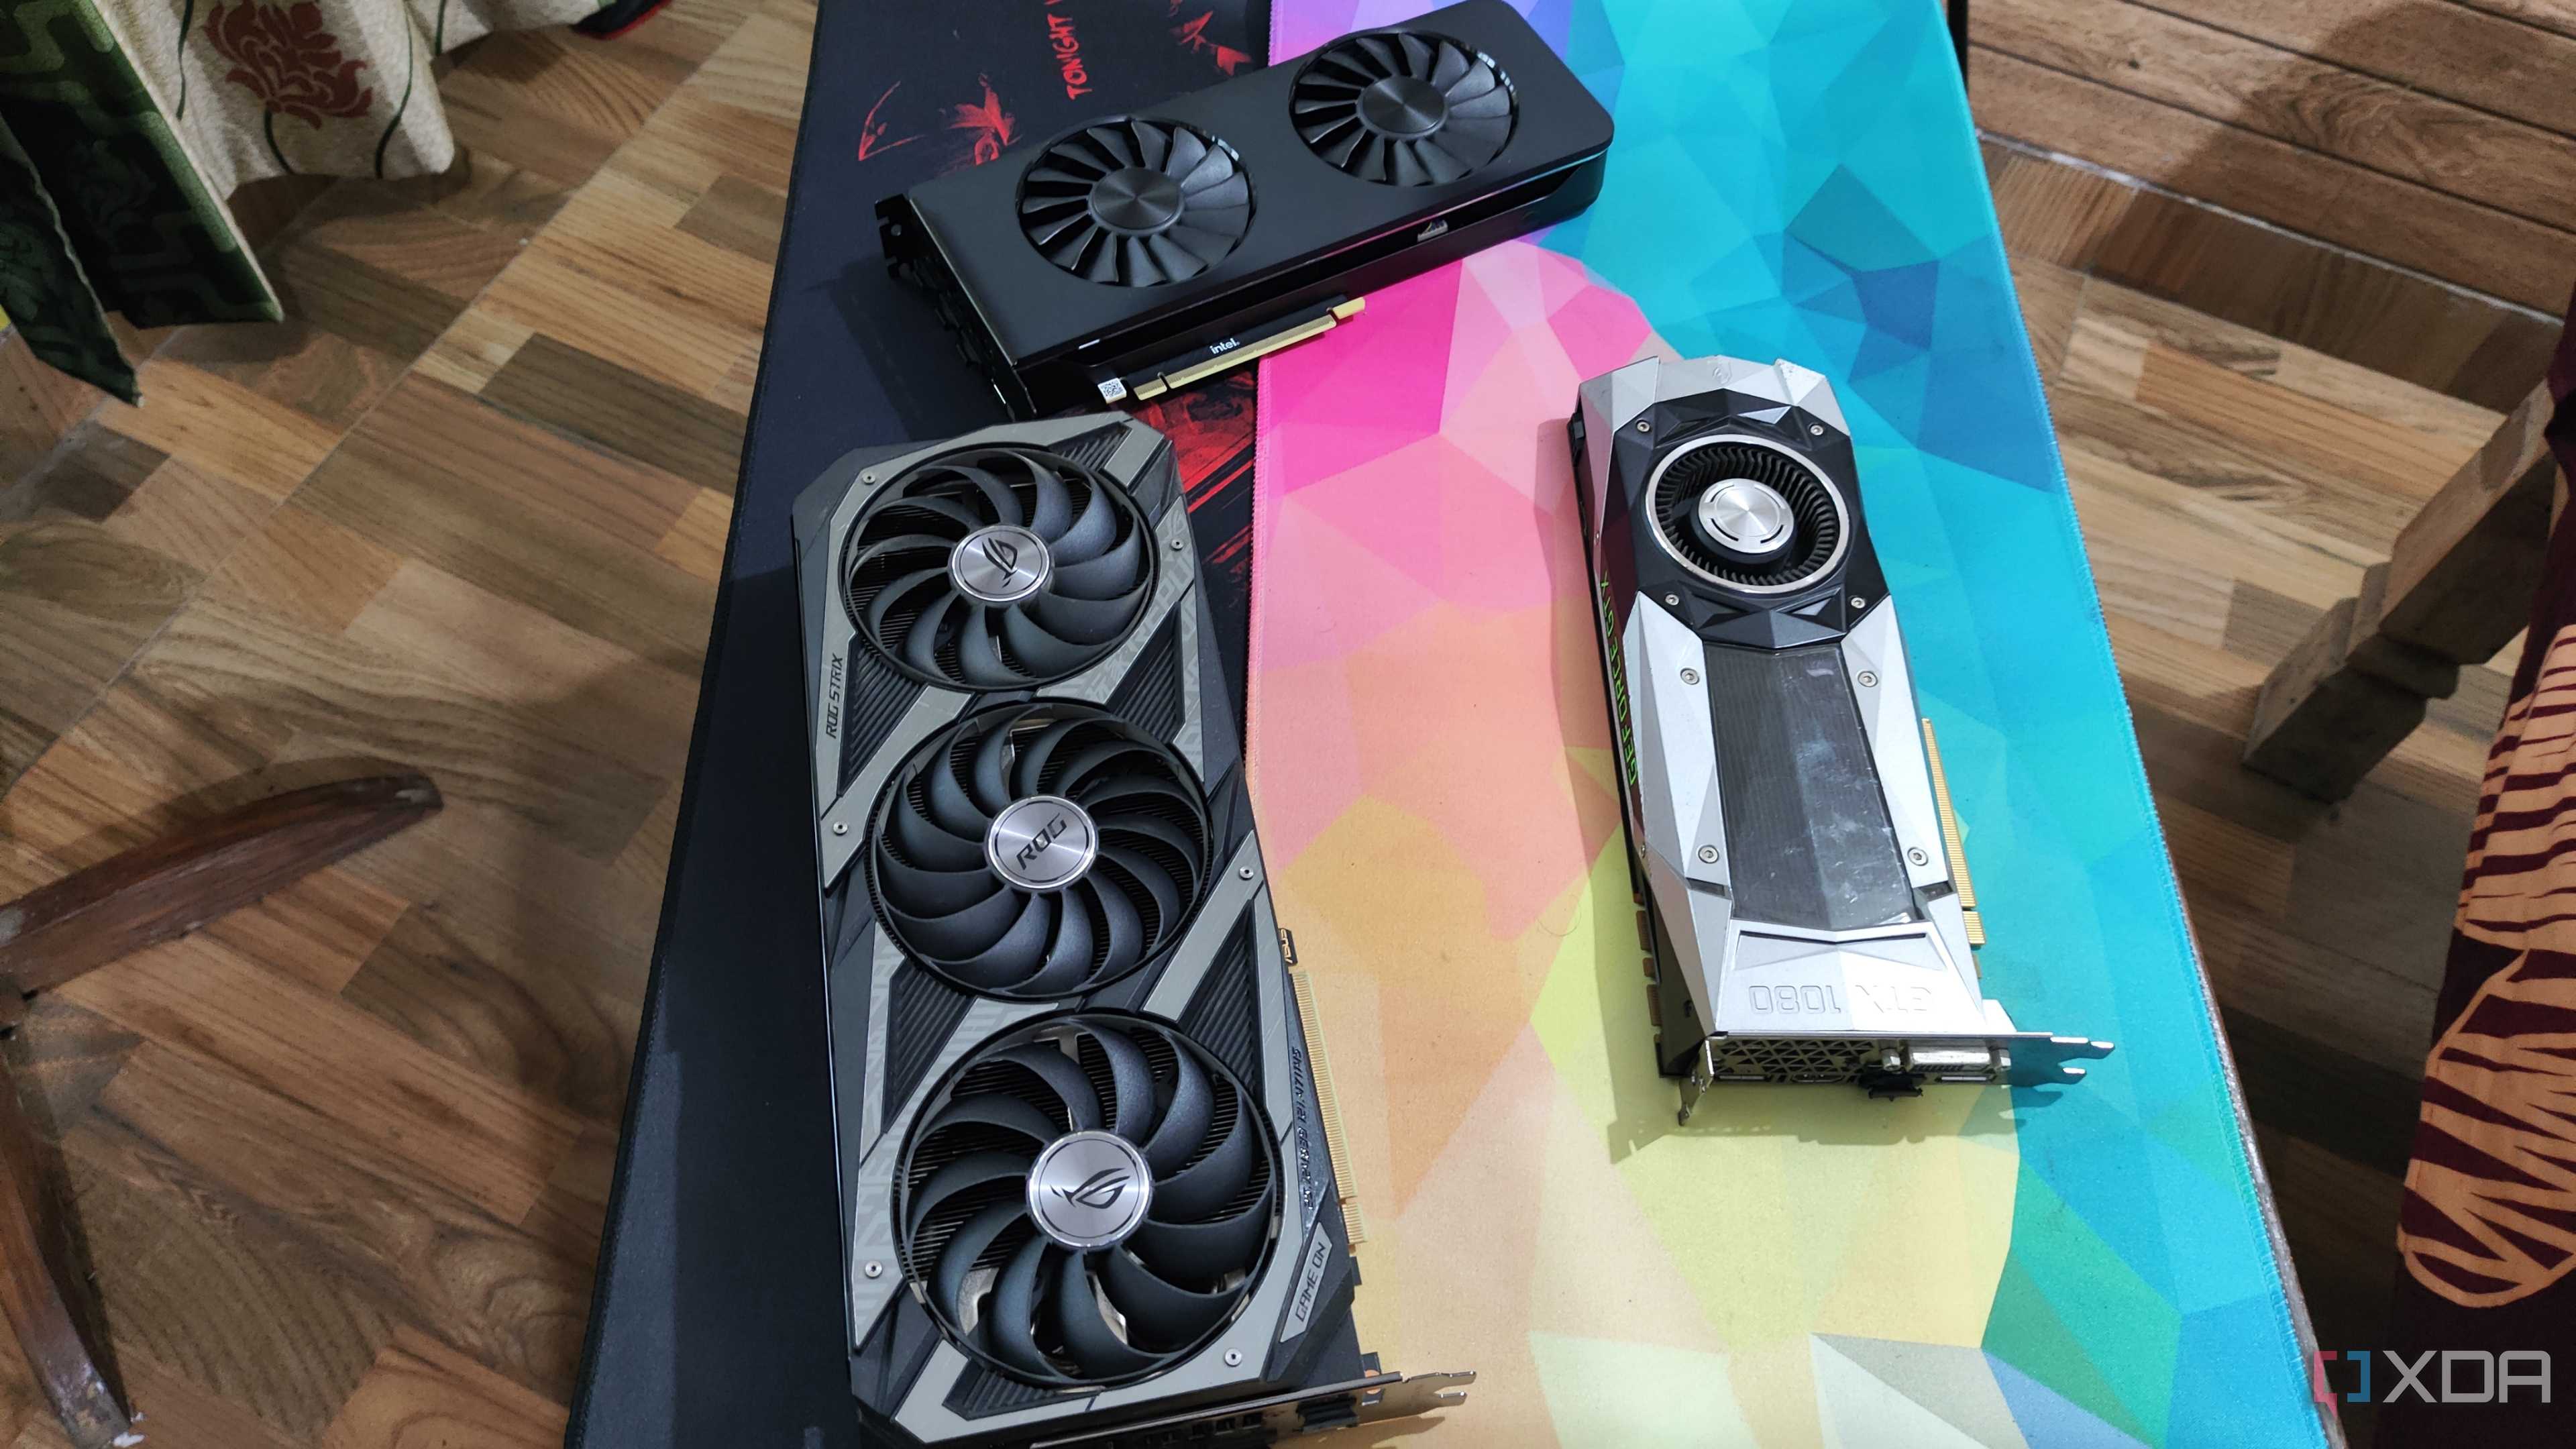
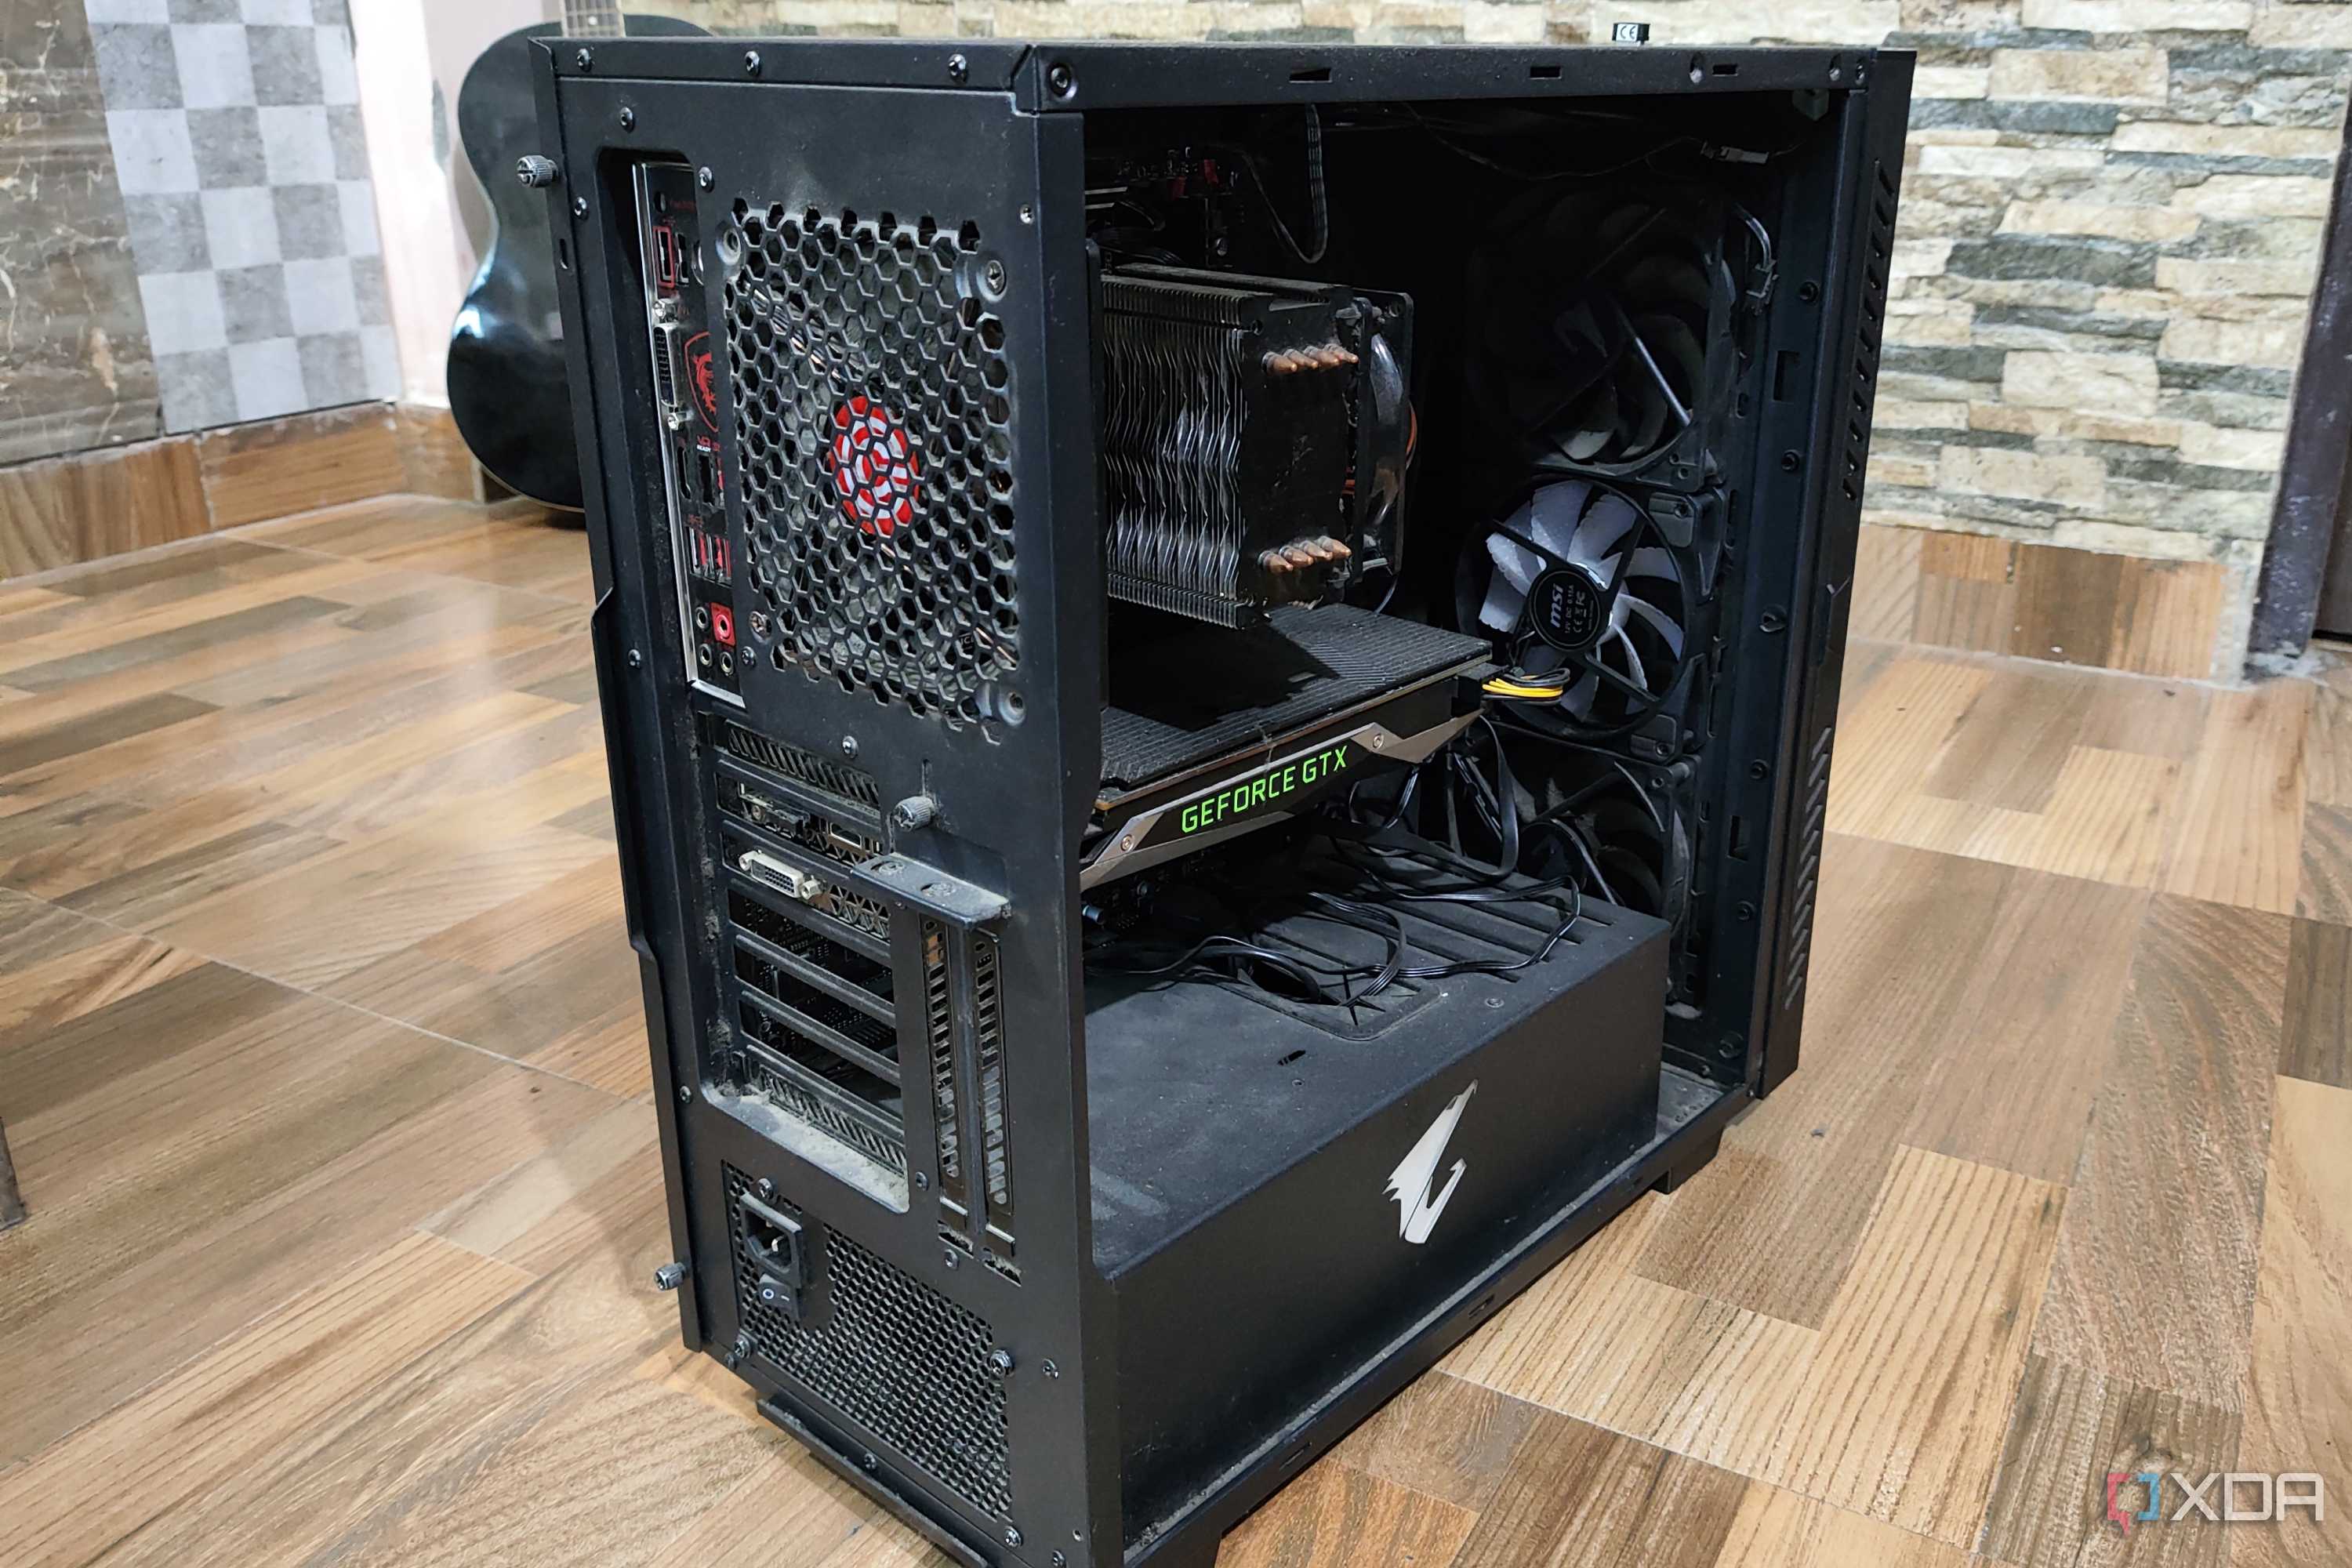
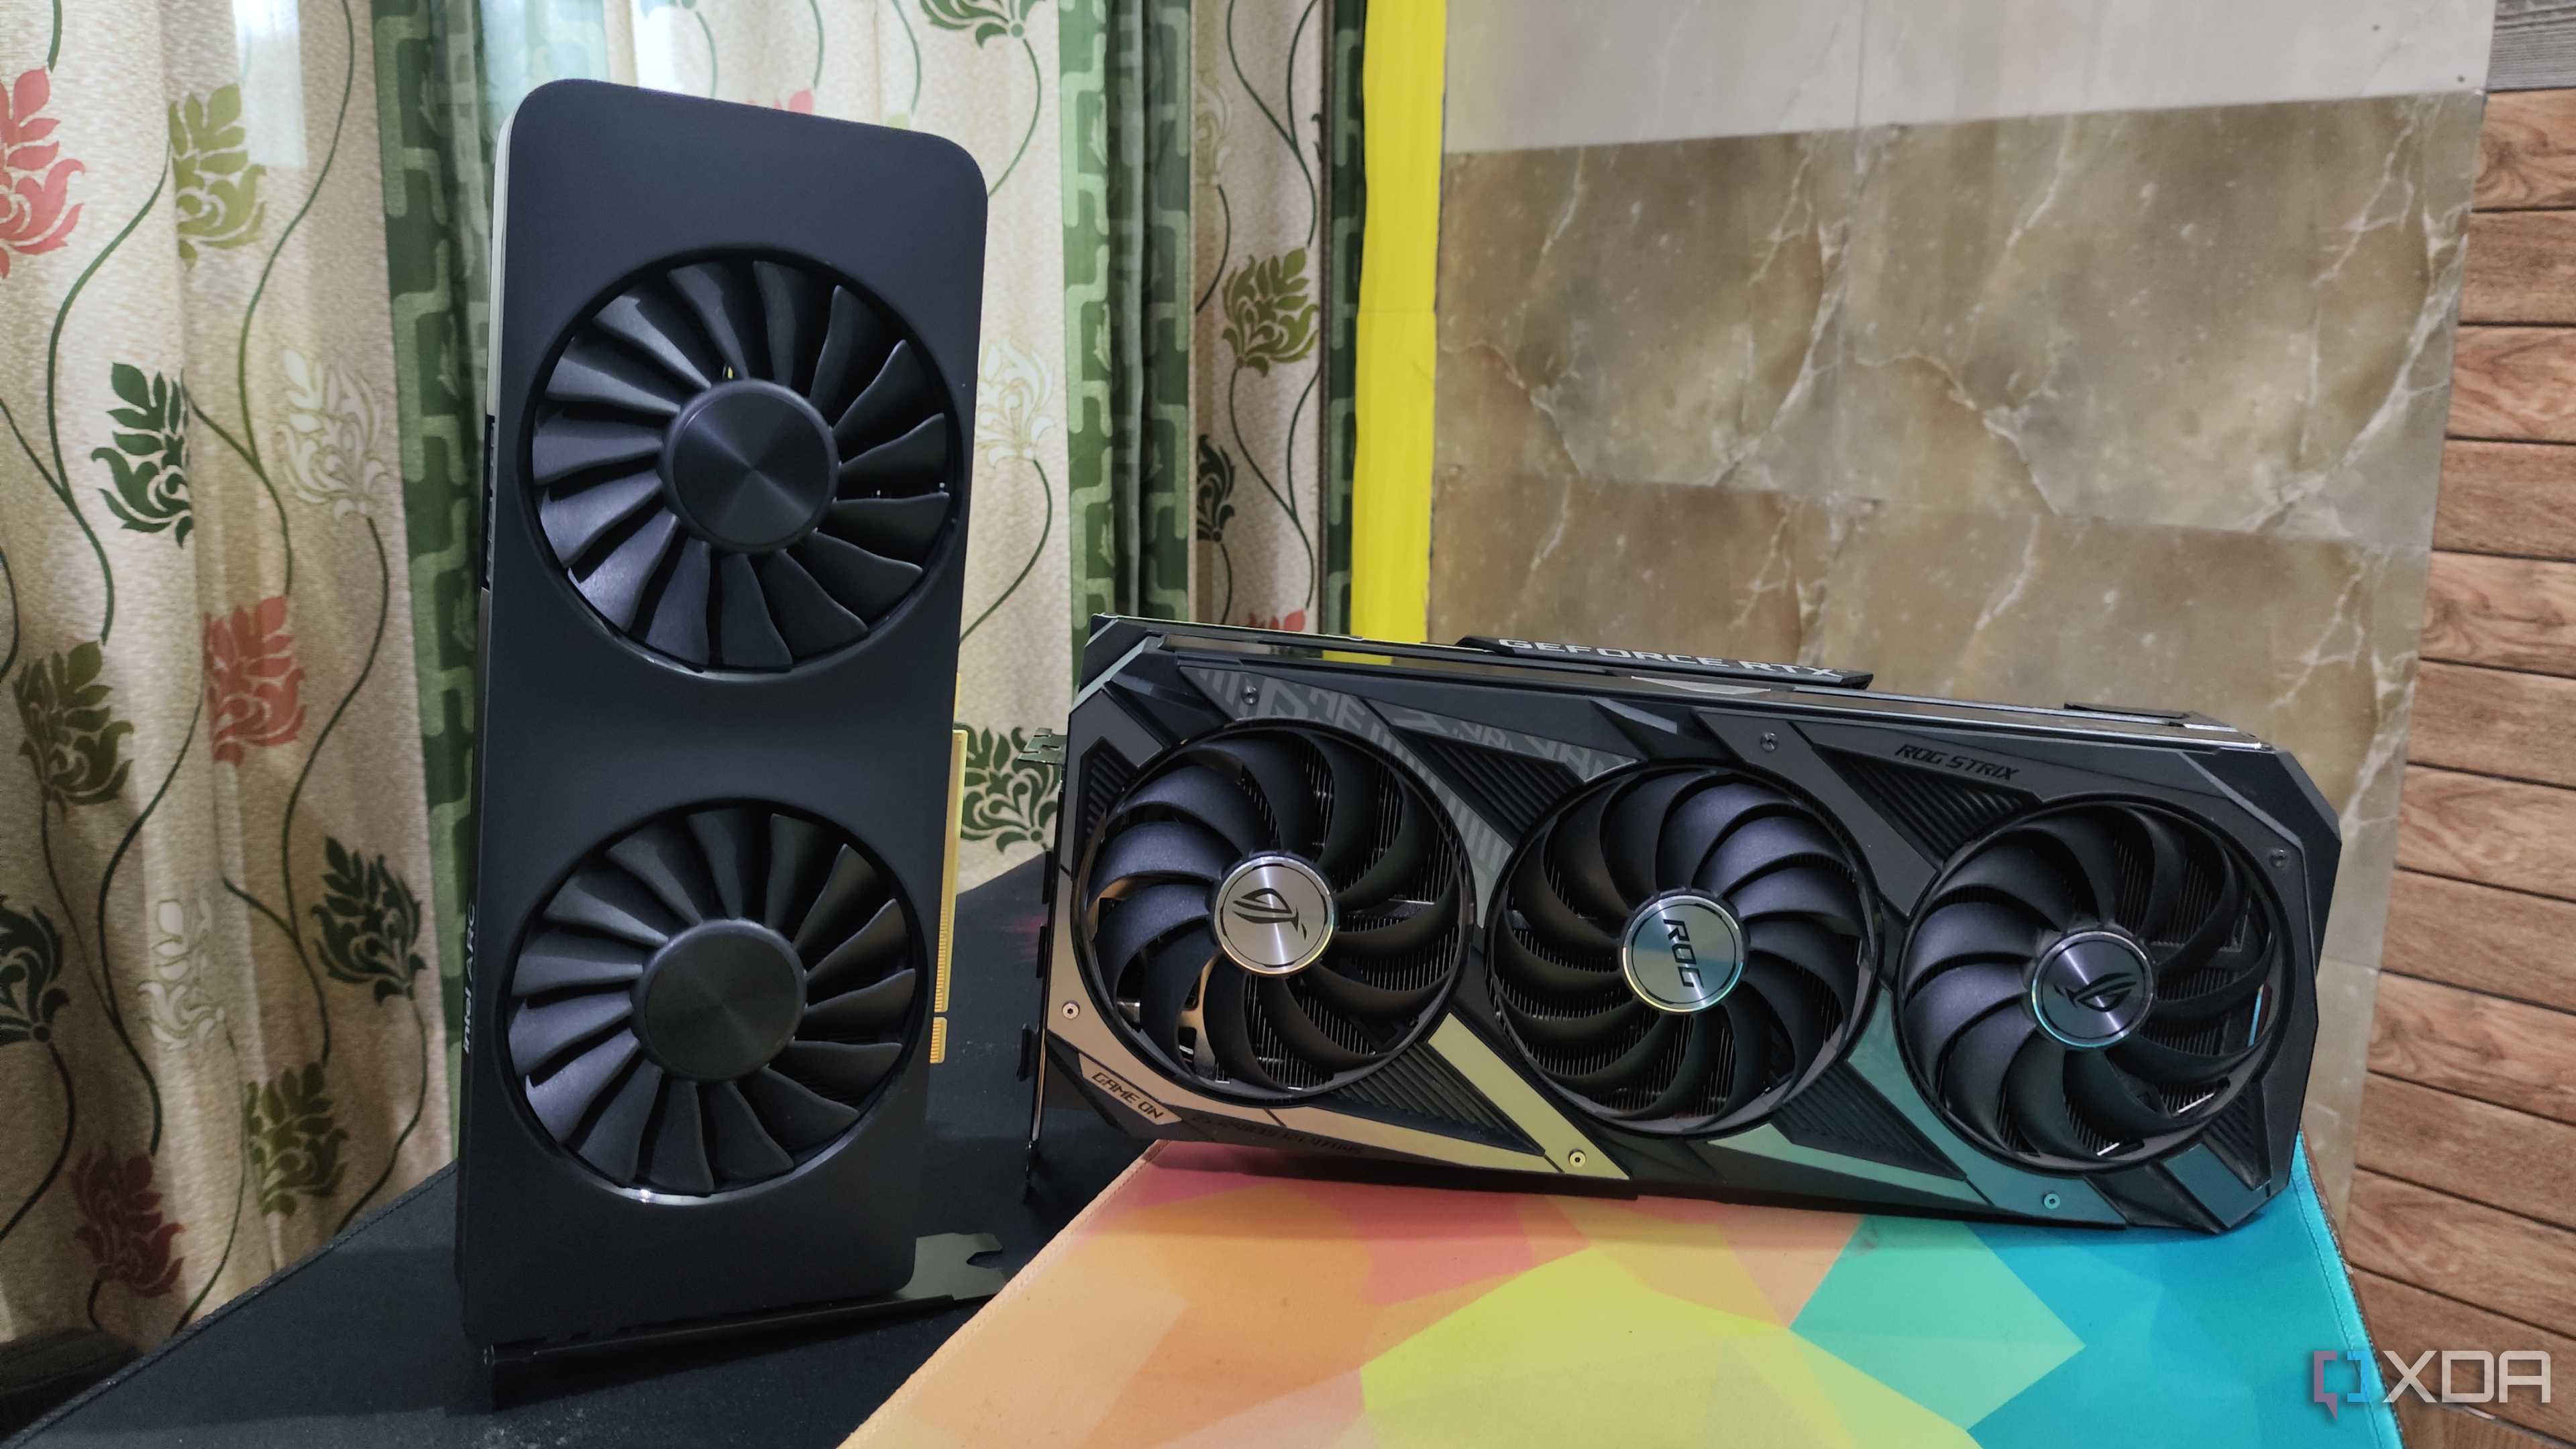
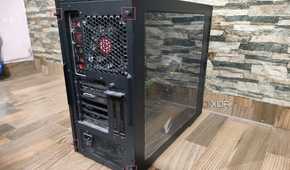
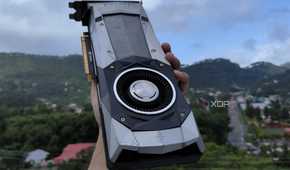
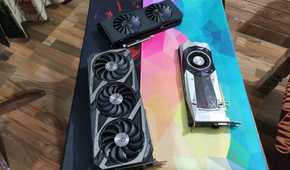
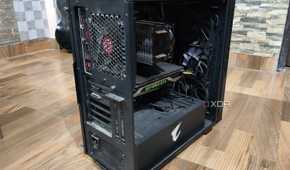
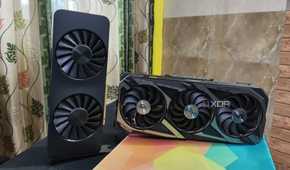
Although you can technically use any old PC for this project, your graphics card’s VRAM is the most important factor that determines the performance of your AI server. That’s because most AI art generators hog VRAM like there’s no tomorrow and can easily toss memory-laden GPUs around like ragdolls once you turn up the resolution of the images.
Of course, you can still build this project on an outdated rig, but you’ll want at least 4GB of virtual memory on your GPU if you don’t want to spend hours waiting for an image to pop out. For reference, I used my outdated Ryzen 5 1600 system that’s equipped with a GTX 1080 (8GB VRAM) and 16GB DDR4 memory for this project, and the PC usually takes a couple of minutes to generate images. To reduce the resource consumption, I installed everything on Ubuntu instead of Windows 11, though it’s possible to replicate this project on Microsoft’s current flagship OS. Finally, I went with the Fooocus model (yup, that's the name) by developer lllyasviel, as it had the simplest installation procedure out of everything else I tried on my PC.
Installing the necessary packages
And modifying certain settings
Since we’re dealing with a Linux distro, there are a couple of dependencies you’ll have to install before proceeding to the meat of the article.
- Press Ctrl+Alt+T to open the terminal.
-
Enter the following command to install the important packages:
sudo apt install build essential zlib1g-dev libncurses5-dev libgdbm-dev libnss3-dev libssl-dev libreadline-dev libffi-dev lzma liblzma-dev libbz2-dev wget git -y

-
Click on the Launch apps button and open the Software & Updates application.

-
Head to the Additional Drivers tab, switch to the latest metapackage version of the official GPU drivers inside the pop-up window, and tap Apply changes.


Configuring Python 3.10
If you’re a bit confused by the header, then yes, the current version of Python is 3.12, but Fooocus (and many other models) don't run on anything higher than Python 3.11. So, we’ll go with Python 3.10.15, just to be safe.
- Download the tar.gz file for Python 3.10 from the official website before extracting it at your desired location.
-
Head inside the extracted folder, right-click anywhere, and choose Open in terminal.

-
Execute the configure script with the enable optimizations flag.
./configure --enable-optimizations

-
Run the make build command to finish installing Python on your system.
sudo make build

-
Install Pip3 with the help of Python:
sudo apt install python3-pip


Setting up Fooocus
With the essential dependencies and Python packages ready, it’s time to install Fooocus on your PC.
-
Clone the GitHub repository of Fooocus on your system by executing this command in the terminal:
git clone https://github.com/lllyasviel/Fooocus.git

-
Switch to the Fooocus directory with the help of the cd command:
cd Fooocus

-
Use Pip to install Fooocus:
pip3 install -r requirements_versions.txt
Since Pip will download the necessary files for Fooocus, this step may take a long time.
-
Launch Fooocus with the help of this command:
python3 entry_with_update.py --listen


You can access the web UI from another device on your local network by typing the IP address of the PC followed by a colon (:) and the port number 7865.
Putting your old PC to good use as an AI image generator

Assuming you followed all the steps correctly, Fooocus should be up and running, and you’ll be able to generate AI images by entering your desired prompts on the web UI. That said, if you’re running Fooocus on a GPU that’s lacking in VRAM, it might take more than a few minutes for the tool to create images. As such, you might want to upgrade to a cutting-edge graphics card if you don’t want to wait an eternity for Fooocus to generate images.
