


If you're running a home lab, one of the toughest challenges is balancing performance and security. While everyone wants the freedom to securely reach a NAS, Home Assistant dashboard, or Docker stack remotely from anywhere in the world, you do not want to slow down your entire network either. However, tools like WireGuard default to pushing every packet of your smartphone's network activity through your WireGuard server — including Netflix, YouTube, Spotify, and more. That's a bit unnecessary. This is where WireGuard's split tunneling function comes in. This surprisingly underutilized function is simple, efficient, and exactly what you need for the task.
What is WireGuard and Split Tunneling?
Full tunnel vs. split tunnel: here's how it differs

If you're new to WireGuard, here's everything you need to know about it. WireGuard is a modern VPN protocol that creates a secure, encrypted tunnel between two devices. In a home lab environment, WireGuard is commonly used to connect back to your home network from the outside world thanks to its lean, fast, and easy setup. As I mentioned earlier, by default, WireGuard uses a full tunnel configuration. This means that all your internet connectivity from a remote device, from a quick Google search or Instagram scroll to video streaming and video calls, gets routed through your home server before reaching the internet. That can be a good thing, but not always what you need. You've got bandwidth limits, latency to consider. All your video calls, downloads, and video streams eat into your home server's upload bandwidth. The added latency can cause stutters and lags in video calls. There's an added delay which can be acutely noticeable when uploading or downloading files. Basically, it is safe but usually overkill.
That's where split tunneling comes in. Instead of sending all your traffic through a home lab, it lets you define rules to decide which part of your internet traffic will take the tunnel to your home, and which part will have direct access to the internet. For example, you can route only traffic that is destined to your NAS or Docker server's IP range through WireGuard while letting you use Netflix or Spotify directly without being routed through the server.
How to configure split tunneling in WireGuard
The easy way to route only the essentials


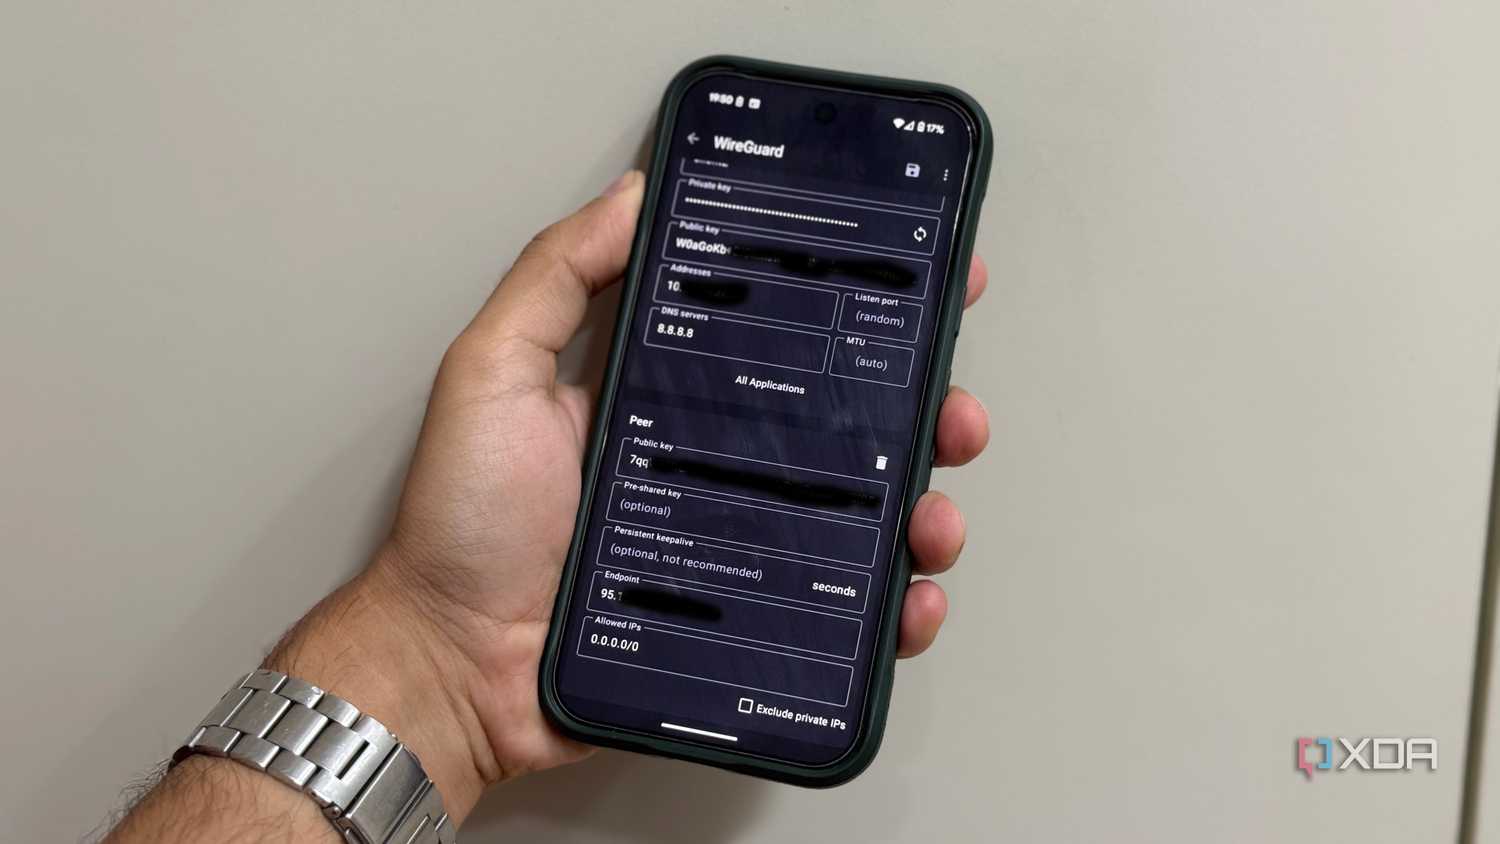


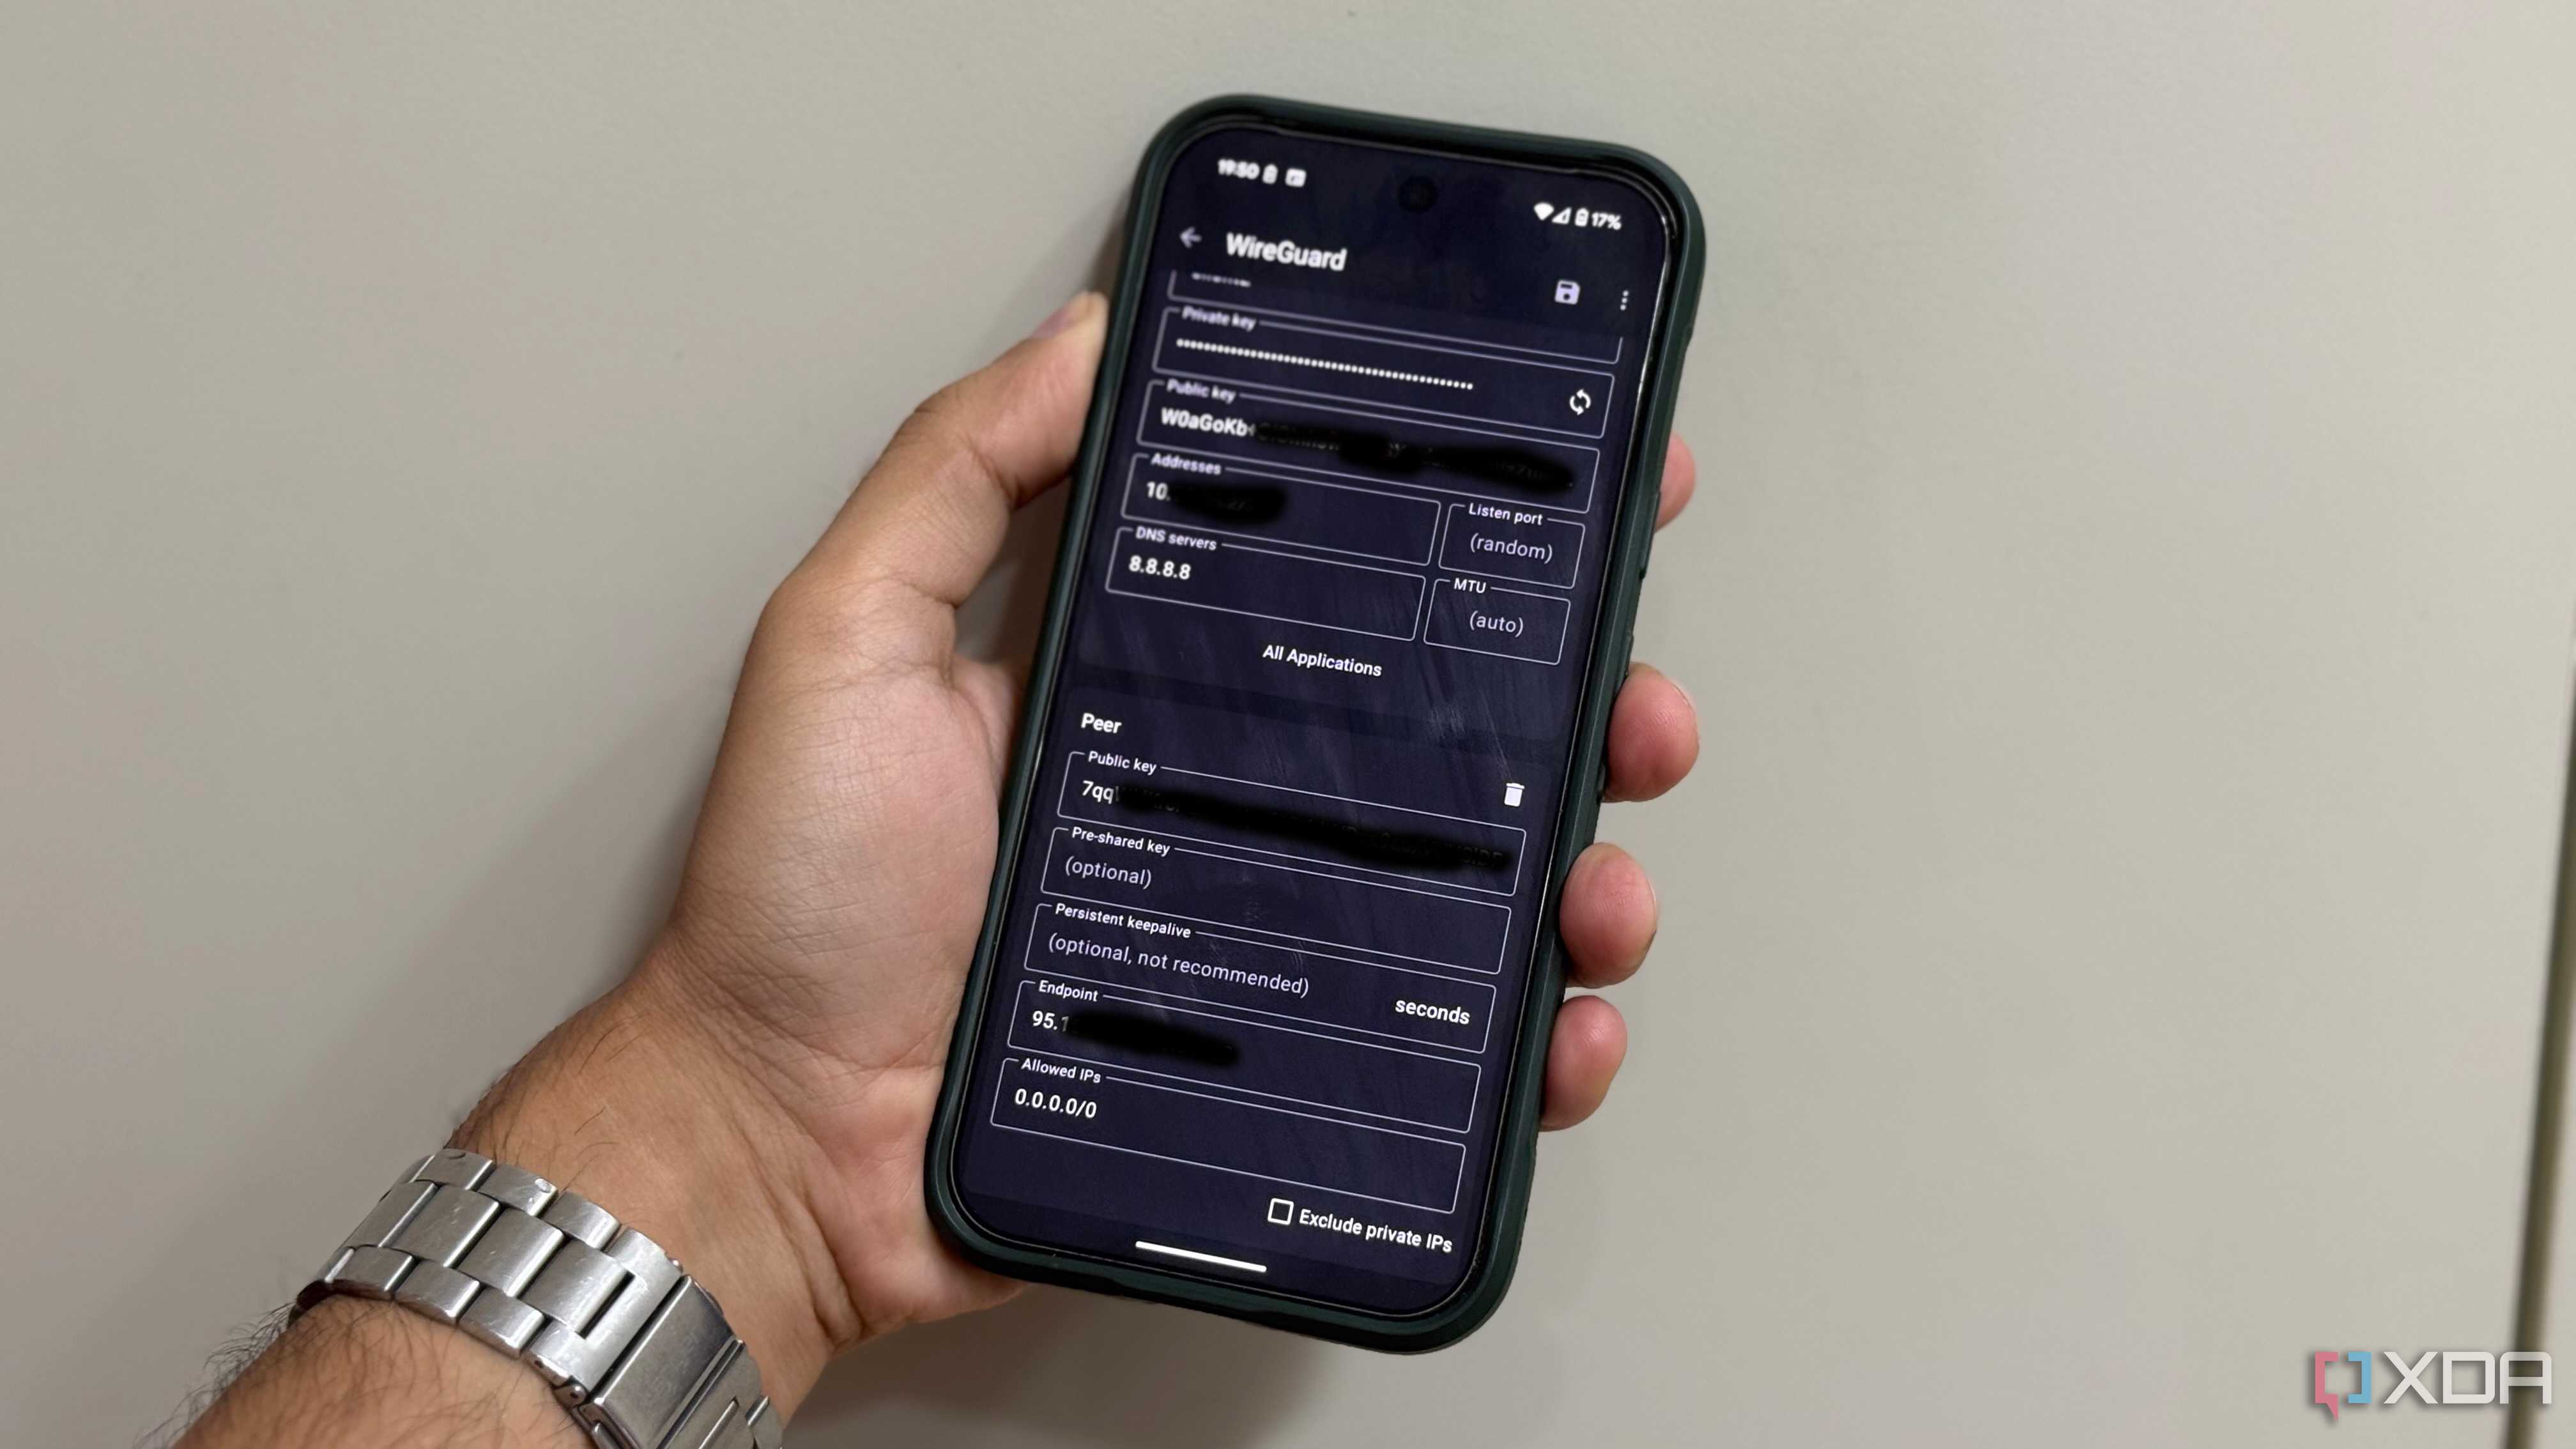



If it's not the default, it must be complicated, right? Not quite. You see, setting up split tunneling is pretty straightforward once you understand the basics. All you've really got to do is define the allowed IP address range in your WireGuard configuration file. This field is what defines which IP ranges get routed through the tunnel.
So, for example, a full tunnel configuration might be set to 0.0.0.0, which routes everything through the VPN. In a split tunnel configuration, you'd set your home or server's IP address alongside the subnet, ensuring that only traffic destined for your home network goes through the VPN. Your Docker stack, NAS, and Home Assistant would all be within your home subnet, and this configuration would allow you to access them remotely. You can even get more granular by giving a specific IP address. For example, the IP address for your NAS.
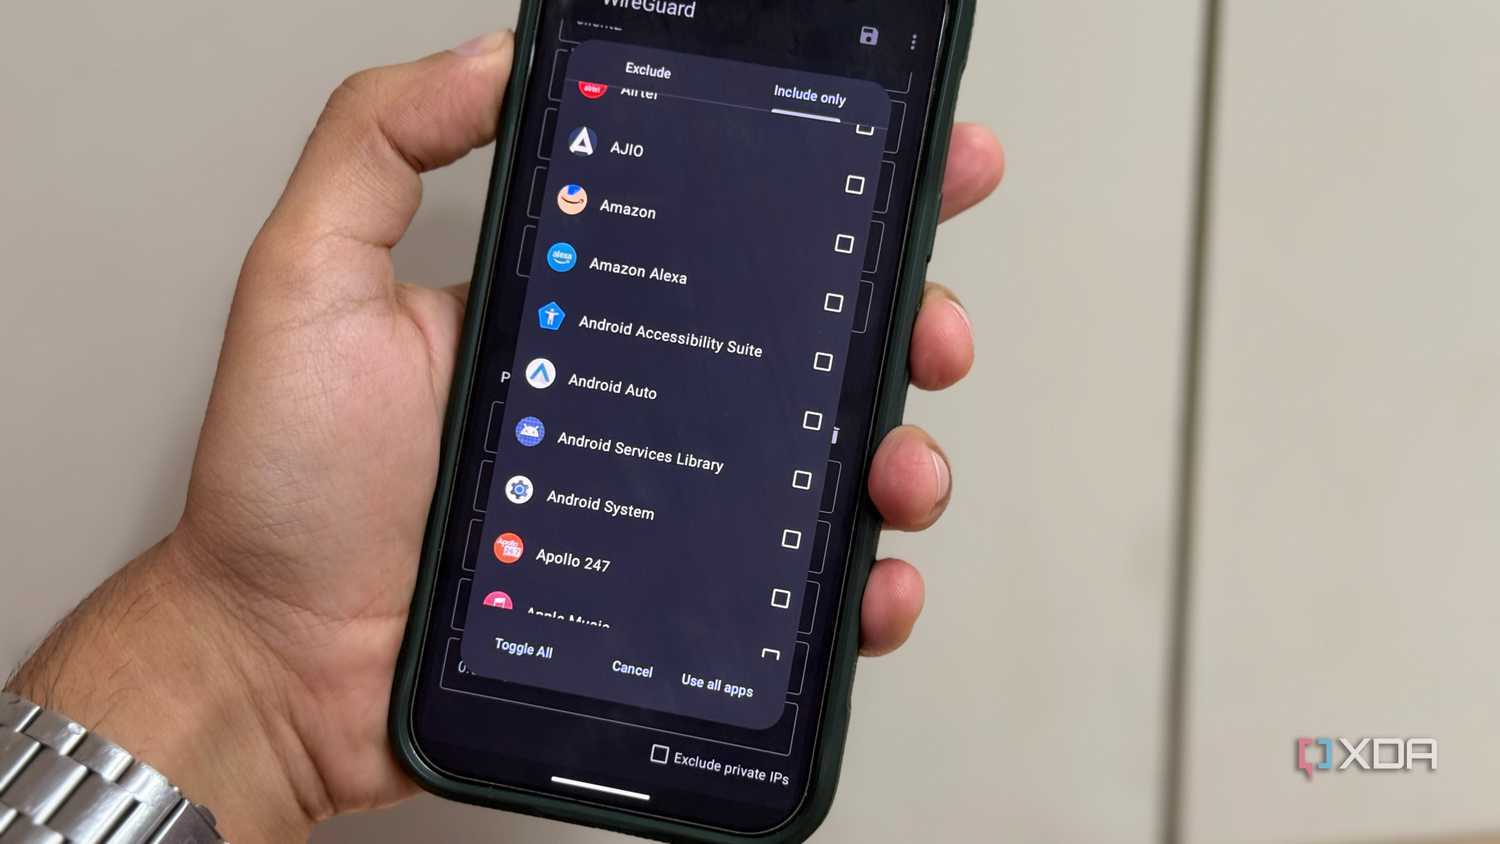
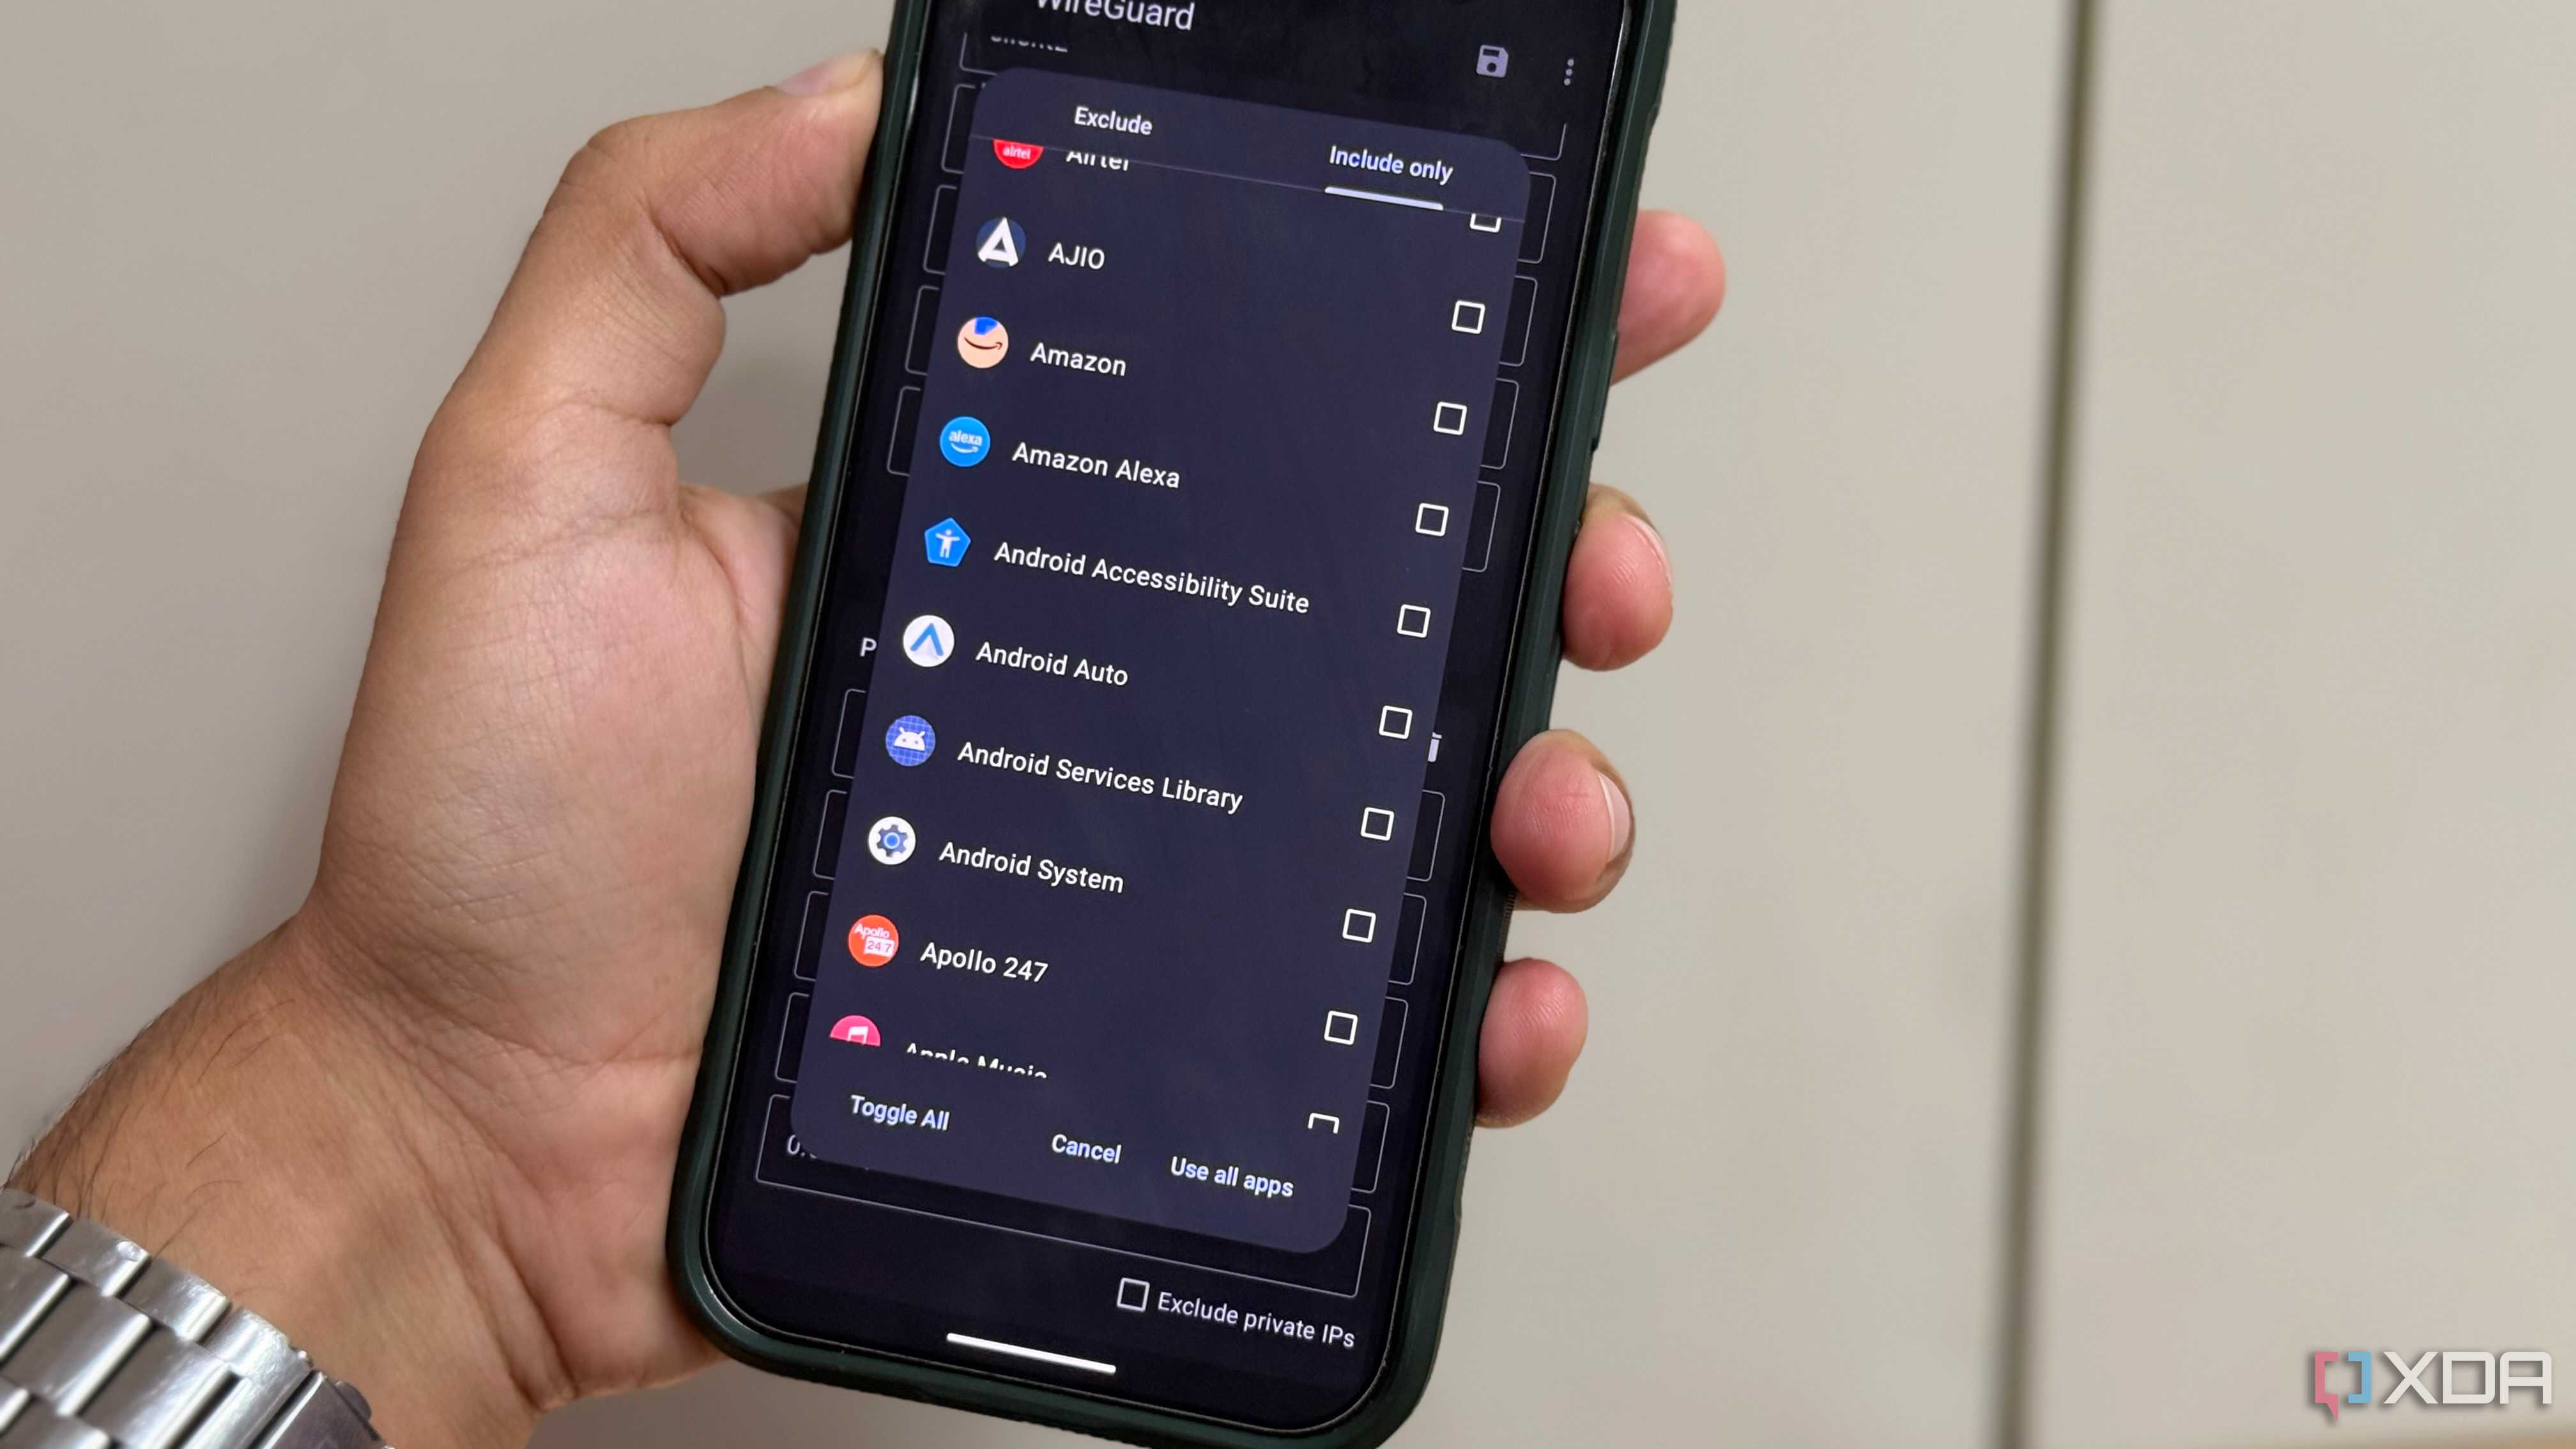
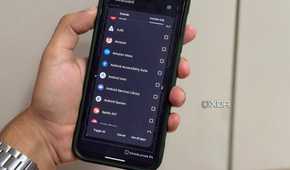
When using a smartphone, especially an Android smartphone, things get much easier. The app gives you an option to exclude specific apps or, even better, include only specific ones. So, you can restrict WireGuard access to, say, the Home Assistant app to connect back to your home server without having to route the rest of your traffic through the VPN. It's an incredibly flexible way to ensure that only home lab-specific apps consume your VPN bandwidth while the rest connect directly to the open internet.
It's also worth highlighting that split tunneling makes your home lab more scalable in the long run. As you add more services like Plex, NextCloud, or additional Docker containers, you do not want every single one of those connections through the tunnel at all times. Using WireGuard allows you to segment these apps, like say entertainment tools, or mission-critical apps like Home Assistant and NextCloud, through the tunnel. This gives you more flexibility in managing bandwidth, and also future-proofs your home lab for expansion. It's a smarter approach that balances growth, performance, and security without requiring constant reconfiguration of your VPN configuration.
Split tunneling unlocks WireGuard's full potential
Once configured, split tunneling is mostly a set-and-forget solution. It guarantees that your Google Meet video calls or WhatsApp voice calls won't suffer from lag, while you can still access your home lab remotely with full security and ease of access.
I'd go as far as saying that WireGuard is one of the best tools you can set up for secure access to your home lab, but tucked-away features like split tunneling are what unlock its full functionality. It solves latency and bandwidth concerns while maintaining all the security you need for critical services. It's the smarter way to use WireGuard for anyone running a home lab.
