


starfm4py使用教程
1. 安装Anaconda3,我用的版本是Anaconda3-2024.10-1-Windows-x86_64.exe
2. 以管理员方式,打开anaconda prompt

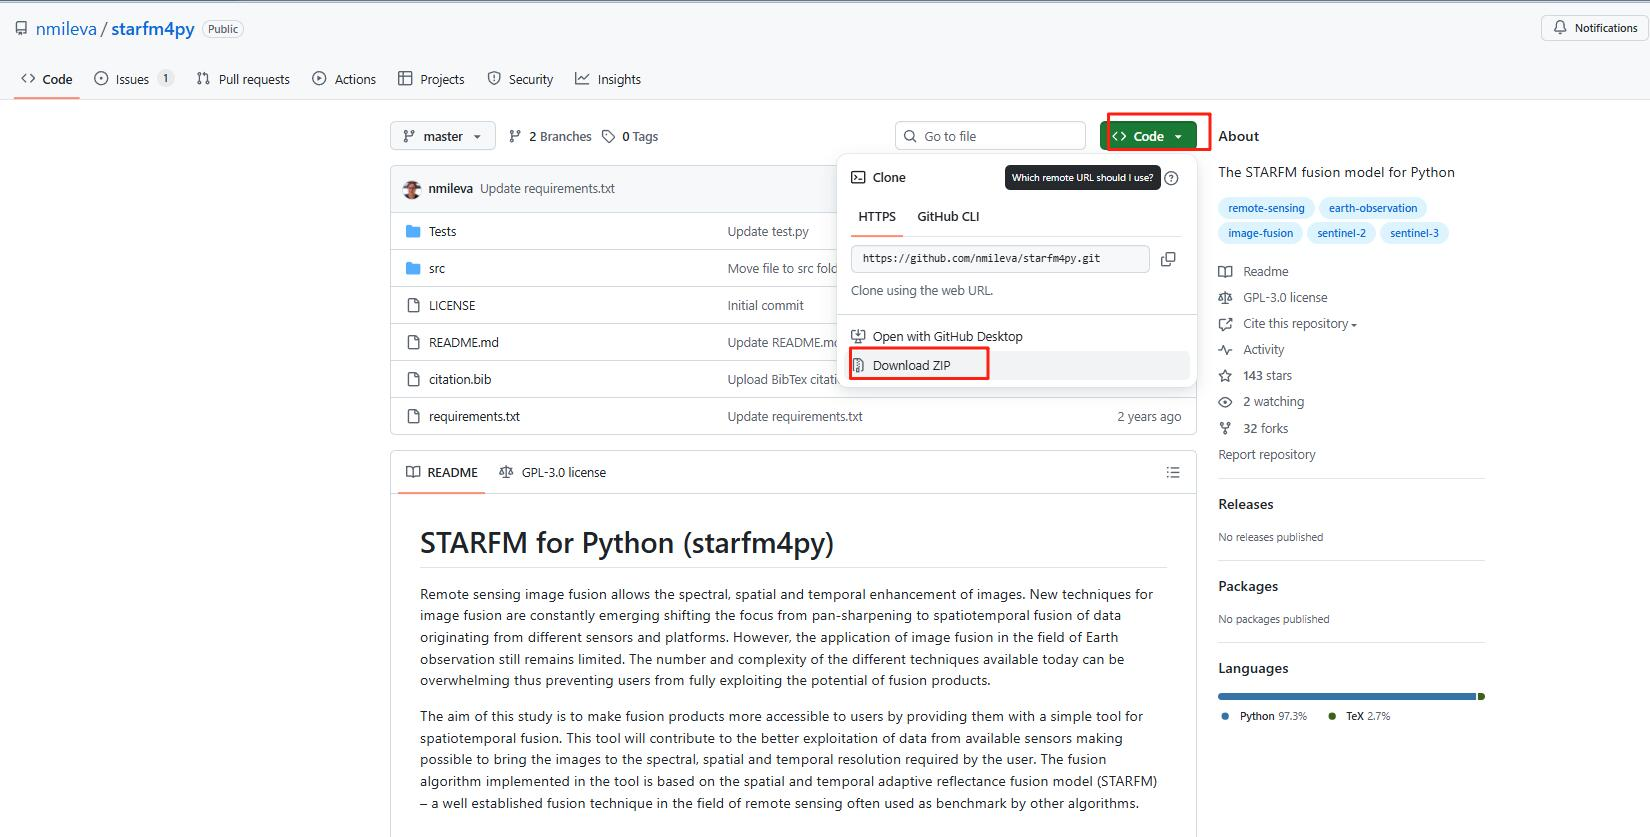
3. 下载 starfm4py-master.zip,网址如下。不方便科学上网的,我也会在后的网盘中提供:
https://github.com/nmileva/starfm4py?tab=GPL-3.0-1-ov-file
4.解压,然后可以看到 requirements.txt 文件,以下是我的绝对路径(D:\Parper01\starfm4py-master\requirements.txt),然后在anaconda prompt中运行:
# requirements.txt 包含了需要的所有包
conda create --name starfm_v2 --file D:\Parper01\starfm4py-master\requirements.txt python=3.11.0
创建虚拟环境完成,然后激活
# 激活环境,可以安装自己需要的包。但是上述步骤后, starfm4py需要的环境就已经好了
conda activate starfm_v2
# 如果你使用 Vs Code,可能需要安装 ipykernel
conda install -n starfm_v2 ipykernel --update-deps --force-reinstall
# 退出环境
conda deactivate
5. 把D:\Parper01\starfm4py-master\src中的parameters.py和starfm4py.py复制到D:\ProgramData\anaconda3\envs\starfm_v2\Lib目录中。否则from parameters import (path, sizeSlices)
import starfm4py as stp 两行代码会出问题。我就在这里死磕了好长时间。
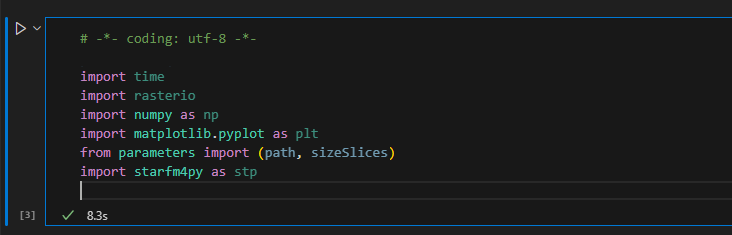
# 以下代码运行通后,说明环境已经没问题了
import time
import rasterio
import numpy as np
import matplotlib.pyplot as plt
from parameters import (path, sizeSlices)
import starfm4py as stp
# import starfm4py,starfm4py.py 是作者Nikolina Mileva 完成的,不需要 pip install 的方式安装。
6. 以下是运行的代码:
start = time.time()
#Set the path where the images are stored
product = rasterio.open(r'D:\Parper01\starfm4py-master\Tests\Test_3/sim_Landsat_t1.tif')
profile = product.profile
LandsatT0 = rasterio.open(r'D:\Parper01\starfm4py-master\Tests\Test_3/sim_Landsat_t1.tif').read(1)
MODISt0 = rasterio.open(r'D:\Parper01\starfm4py-master\Tests\Test_3/sim_MODIS_t1.tif').read(1)
MODISt1 = rasterio.open(r'D:\Parper01\starfm4py-master\Tests\Test_3/sim_MODIS_t4.tif').read(1)
# Set the path where to store the temporary results
path_fineRes_t0 = r'./Temporary/Tiles_fineRes_t0/'
path_coarseRes_t0 = r'./Temporary/Tiles_coarseRes_t0/'
path_coarseRes_t1 = r'./Temporary/Tiles_fcoarseRes_t1/'
# Flatten and store the moving window patches
fine_image_t0_par = stp.partition(LandsatT0, path_fineRes_t0)
coarse_image_t0_par = stp.partition(MODISt0, path_coarseRes_t0)
coarse_image_t1_par = stp.partition(MODISt1, path_coarseRes_t1)
print ("Done partitioning!")
# Stack the the moving window patches as dask arrays
S2_t0 = stp.da_stack(path_fineRes_t0, LandsatT0.shape)
S3_t0 = stp.da_stack(path_coarseRes_t0, MODISt0.shape)
S3_t1 = stp.da_stack(path_coarseRes_t1, MODISt1.shape)
shape = (sizeSlices, LandsatT0.shape[1])
print ("Done stacking!")
# Perform the prediction with STARFM
for i in range(0, LandsatT0.size-sizeSlices*shape[1]+1, sizeSlices*shape[1]):
fine_image_t0 = S2_t0[i:i+sizeSlices*shape[1],]
coarse_image_t0 = S3_t0[i:i+sizeSlices*shape[1],]
coarse_image_t1 = S3_t1[i:i+sizeSlices*shape[1],]
prediction = stp.starfm(fine_image_t0, coarse_image_t0, coarse_image_t1, profile, shape)
if i == 0:
predictions = prediction
else:
predictions = np.append(predictions, prediction, axis=0)
# Write the results to a .tif file
print ('Writing product...')
profile = product.profile
profile.update(dtype='float64', count=1) # number of bands
file_name = path + 'prediction.tif'
result = rasterio.open(file_name, 'w', **profile)
result.write(predictions, 1)
result.close()
end = time.time()
print ("Done in", (end - start)/60.0, "minutes!")
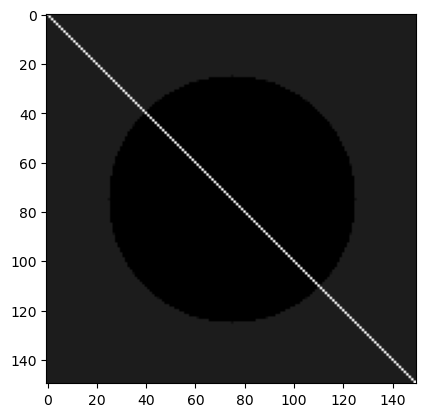
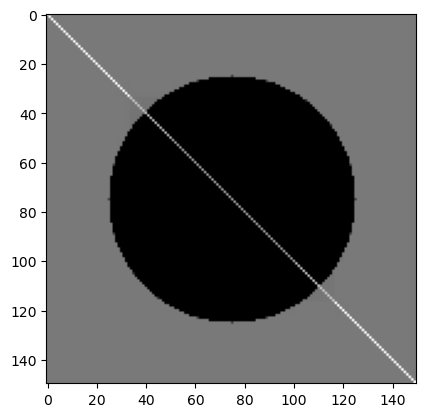
# Display input and output
plt.imshow(LandsatT0)
plt.gray()
plt.show()
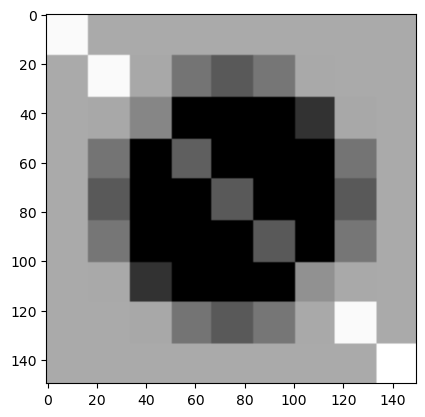
plt.imshow(MODISt0)
plt.gray()
plt.show()
plt.imshow(MODISt1)
plt.gray()
plt.show()
plt.imshow(predictions)
plt.gray()
plt.show()
7. 看最终结果。

8. 总结:
我个人感觉starfm的效果还行,但是不够好,胜在经典与开创性,所以我复现一下。如果大家有需要,可以参考下我个人的论文。
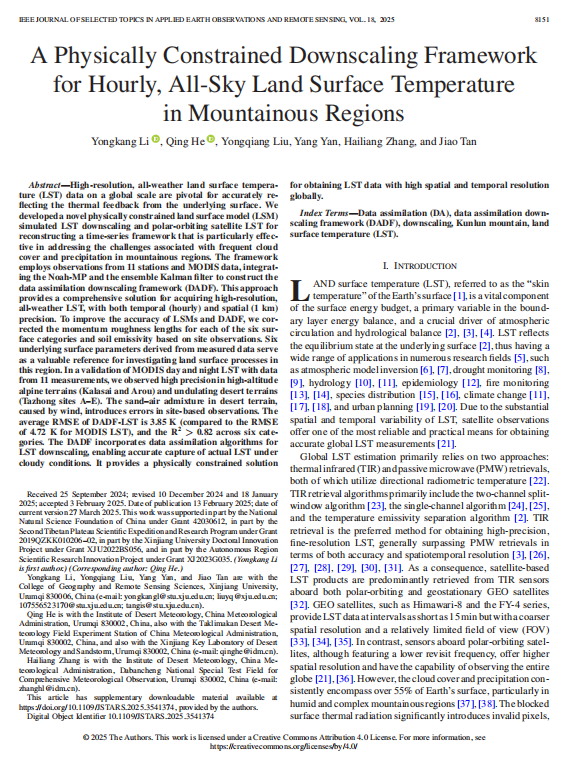
文章名称:A Physically Constrained Downscaling Framework for Hourly, All-Sky Land Surface Temperature in Mountainous Regions
链接:https://ieeexplore.ieee.org/document/10884019
DOI: 10.1109/JSTARS.2025.3541374


 1万+
1万+

 被折叠的 条评论
为什么被折叠?
被折叠的 条评论
为什么被折叠?
 到【灌水乐园】发言


