


 本文介绍了如何通过npm安装OpenLayer库,并在Vue项目中加载天地图。步骤包括注册天地图APIkey,引入地图组件,创建不同类型的图层(如卫星影像、矢量图层),以及根据需求切换图层和修改地图底色。此外,还展示了如何通过设置CSS类改变地图的视觉效果。
一、 首先安装openLayer
npm i -S ol
package.json文件中出现版本号即安装成功。
二、在地图页面中加载天地图
①需要先在天地图官网注册key值(导航栏中:开发资源>网页API,进入页面后选择右上角 控制台>创建新应用,根据要求填写完成后复制key值)
②在页面中引入天地图
<template>
    <div id="container"><!--地图--></div>
</template>
<style>
/*样式根据自己需要自定义*/
</style>
<script>
import 'ol/ol.css'
import Map from 'ol/Map'
import TileLayer from 'ol/layer/Tile'
import View from 'ol/View'
import XYZ from 'ol/source/XYZ'
//根据项目需要去定义图层类型
let tianditu_img_w=null;//天地图卫星影像
let tianditu_cia_w=null;//卫星影像注记图层
let tianditu_vec_w=null;//矢量图层
let tianditu_cva_w=null;//矢量注记图层
export default{
data() {
return {
mapTD:null;
basemap:1//1:标准图层 2:卫星图层
}
},
mounted() {
this.initMap()
},
methods: {
//加载天地图方式
//更改天地图
initMap(){
tianditu_img_w=new TileLayer({
title: '天地图卫星影像',
source: new XYZ({
visible: false,
wrapX: false,
url: 'http://t4.tianditu.com/DataServer?T=img_w&x={x}&y={y}&l={z}&tk=key值'
})
})
tianditu_cia_w=new TileLayer({
title: '天地图影像注记图层',
source: new XYZ({
visible:false,
wrapX: false,
url: 'http://t4.tianditu.com/DataServer?T=cia_w&x={x}&y={y}&l={z}&tk=key值'
})
})
tianditu_vec_w=new TileLayer({
title: '天地图矢量图层',
source: new XYZ({
visible: true,
wrapX: false,
url: 'http://t4.tianditu.com/DataServer?T=vec_w&x={x}&y={y}&l={z}&tk=key值'
})
tianditu_cva_w=new TileLayer({
title: '天地图矢量注记图层',
source: new XYZ({
visible: true,
wrapX: false,
url: 'http://t4.tianditu.com/DataServer?T=cva_w&x={x}&y={y}&l={z}&tk=key值'
})
})
this.mapTD = new Map({
target: 'container',//地图div名称
layers: [tianditu_img_w,tianditu_cia_w,tianditu_vec_w,tianditu_cva_w],
view: new View({
center: [102.709372,25.046432],//昆明
zoom: 10,
projection: 'EPSG:4326'
})
})
},
}
}
</script>③修改地图类型核心代码:
<div class="baseMap"><!--选择地图类型-->
            <el-radio-group v-model="basemap" @change="changeMapType">
              <div><el-radio :label="1">标准图层</el-radio></div>
              <div><el-radio :label="2">卫星图</el-radio></div>
            </el-radio-group>
</div>
export default{
data() {
return {
mapTD:null;
basemap:1//1:标准图层 2:卫星图层
}
}
methods: {
//切换天地图图层类型
changeMapType(){
if(this.basemap==1){//显示标准图层
tianditu_vec_w.setVisible(true);
tianditu_cva_w.setVisible(true);
tianditu_img_w.setVisible(false);
tianditu_cia_w.setVisible(false);
}else{//显示卫星图层
tianditu_vec_w.setVisible(false);
tianditu_cva_w.setVisible(false);
tianditu_img_w.setVisible(true);
tianditu_cia_w.setVisible(true);
}
},
}
}
</script>
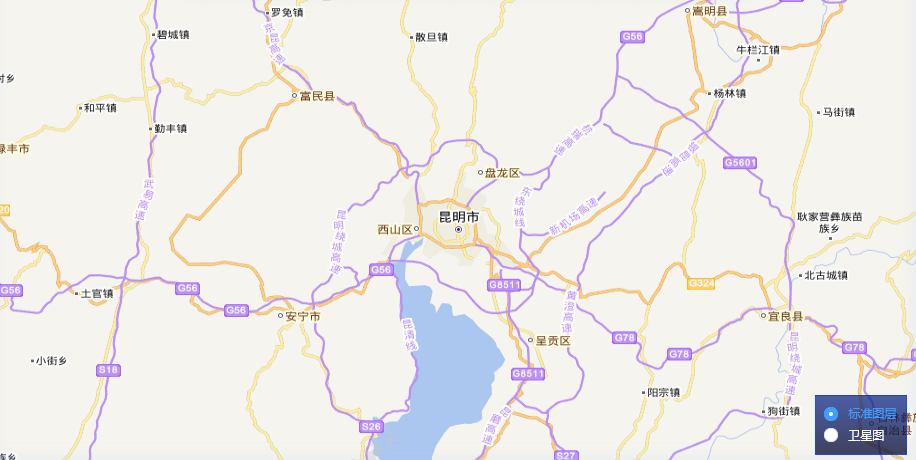
整体效果图:
④ 修改地图底色---在需要改色的图层定义中增加className属性,根据需求修改具体的数值(css类需要在App.vue文件的style中修改),关键代码如下:
initMap(){
   ....
    //修改该图层底色
      tianditu_vec_w=new TileLayer({
        title: '天地图矢量图层',
        className:'blueLayer',//增加className属性
        source: new XYZ({
          visible: true,
          wrapX: false,
          url: 'http://t4.tianditu.com/DataServer?T=vec_w&x={x}&y={y}&l={z}&tk=key值'
      })
      ...
}在App.vue中增加CSS类
.blueLayer{
    filter:grayscale(100%) sepia(51%) invert(100%) saturate(350%) ;
}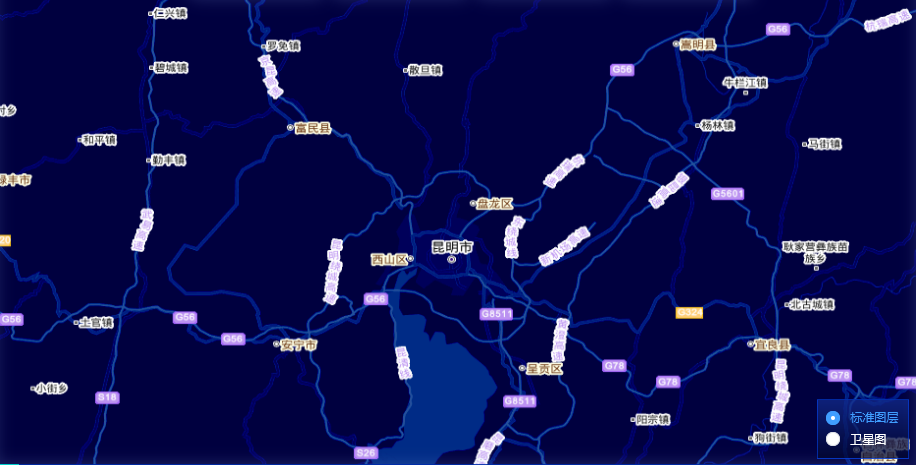


、更改地图色调(蓝色)等效果&spm=1001.2101.3001.5002&articleId=128535426&d=1&t=3&u=5e63cc4162a942328c65921578f05e68)

 被折叠的 条评论
为什么被折叠?
被折叠的 条评论
为什么被折叠?
 到【灌水乐园】发言


