


 Helm是Kubernetes的包管理器,类似Linux的yum、apt-get。它简化了Kubernetes应用的部署和管理,通过Charts进行应用编排。本文介绍了Helm的安装(二进制安装和脚本安装)、基本使用、Chart、Repository和Release的概念,以及自定义chart的部署、打包和发布。此外,还涵盖了Helm的升级和回滚操作。
Helm
前言
最近一直在研究kubernetes相关的技术,公司用到了Helm,之前了解的一直不深,本着探索的精神,今天把这个工具好好的学一下
什么是Helm
Helm是Kubernetes的包管理器,类似于Linux中的yum、apt-get等工具
为什么要用Helm
我们都知道,在kubernetes中部署应用是通过yaml文件来进行配置的,拿部署nginx举例,在k8s中部署需要以下文件
- deployment
- service
- ingress
- …
我们需要手动的配置好这些文件,并在其中配置好对应的关系。在应用多的情况下,管理这些yaml是十分困难的
使用Helm的好处
- 不必为每个应用手动编写单独的yaml文件,只需要创建helm图表,将应用程序部署到集群中即可
- 在k8s集群对容器编排的基础上,helm是对应用进行编排,主要用于管理k8s中复杂的应用
- helm可以管理k8s中的资源依赖,可以重用chart包,可以为不同集群定制不同的配置
- heml生态圈丰富、社区活跃
安装Helm
helm官方提供了好几种安装方式,自己选择适用的即可,我这里介绍两种
使用二进制安装
- 下载需要的版本
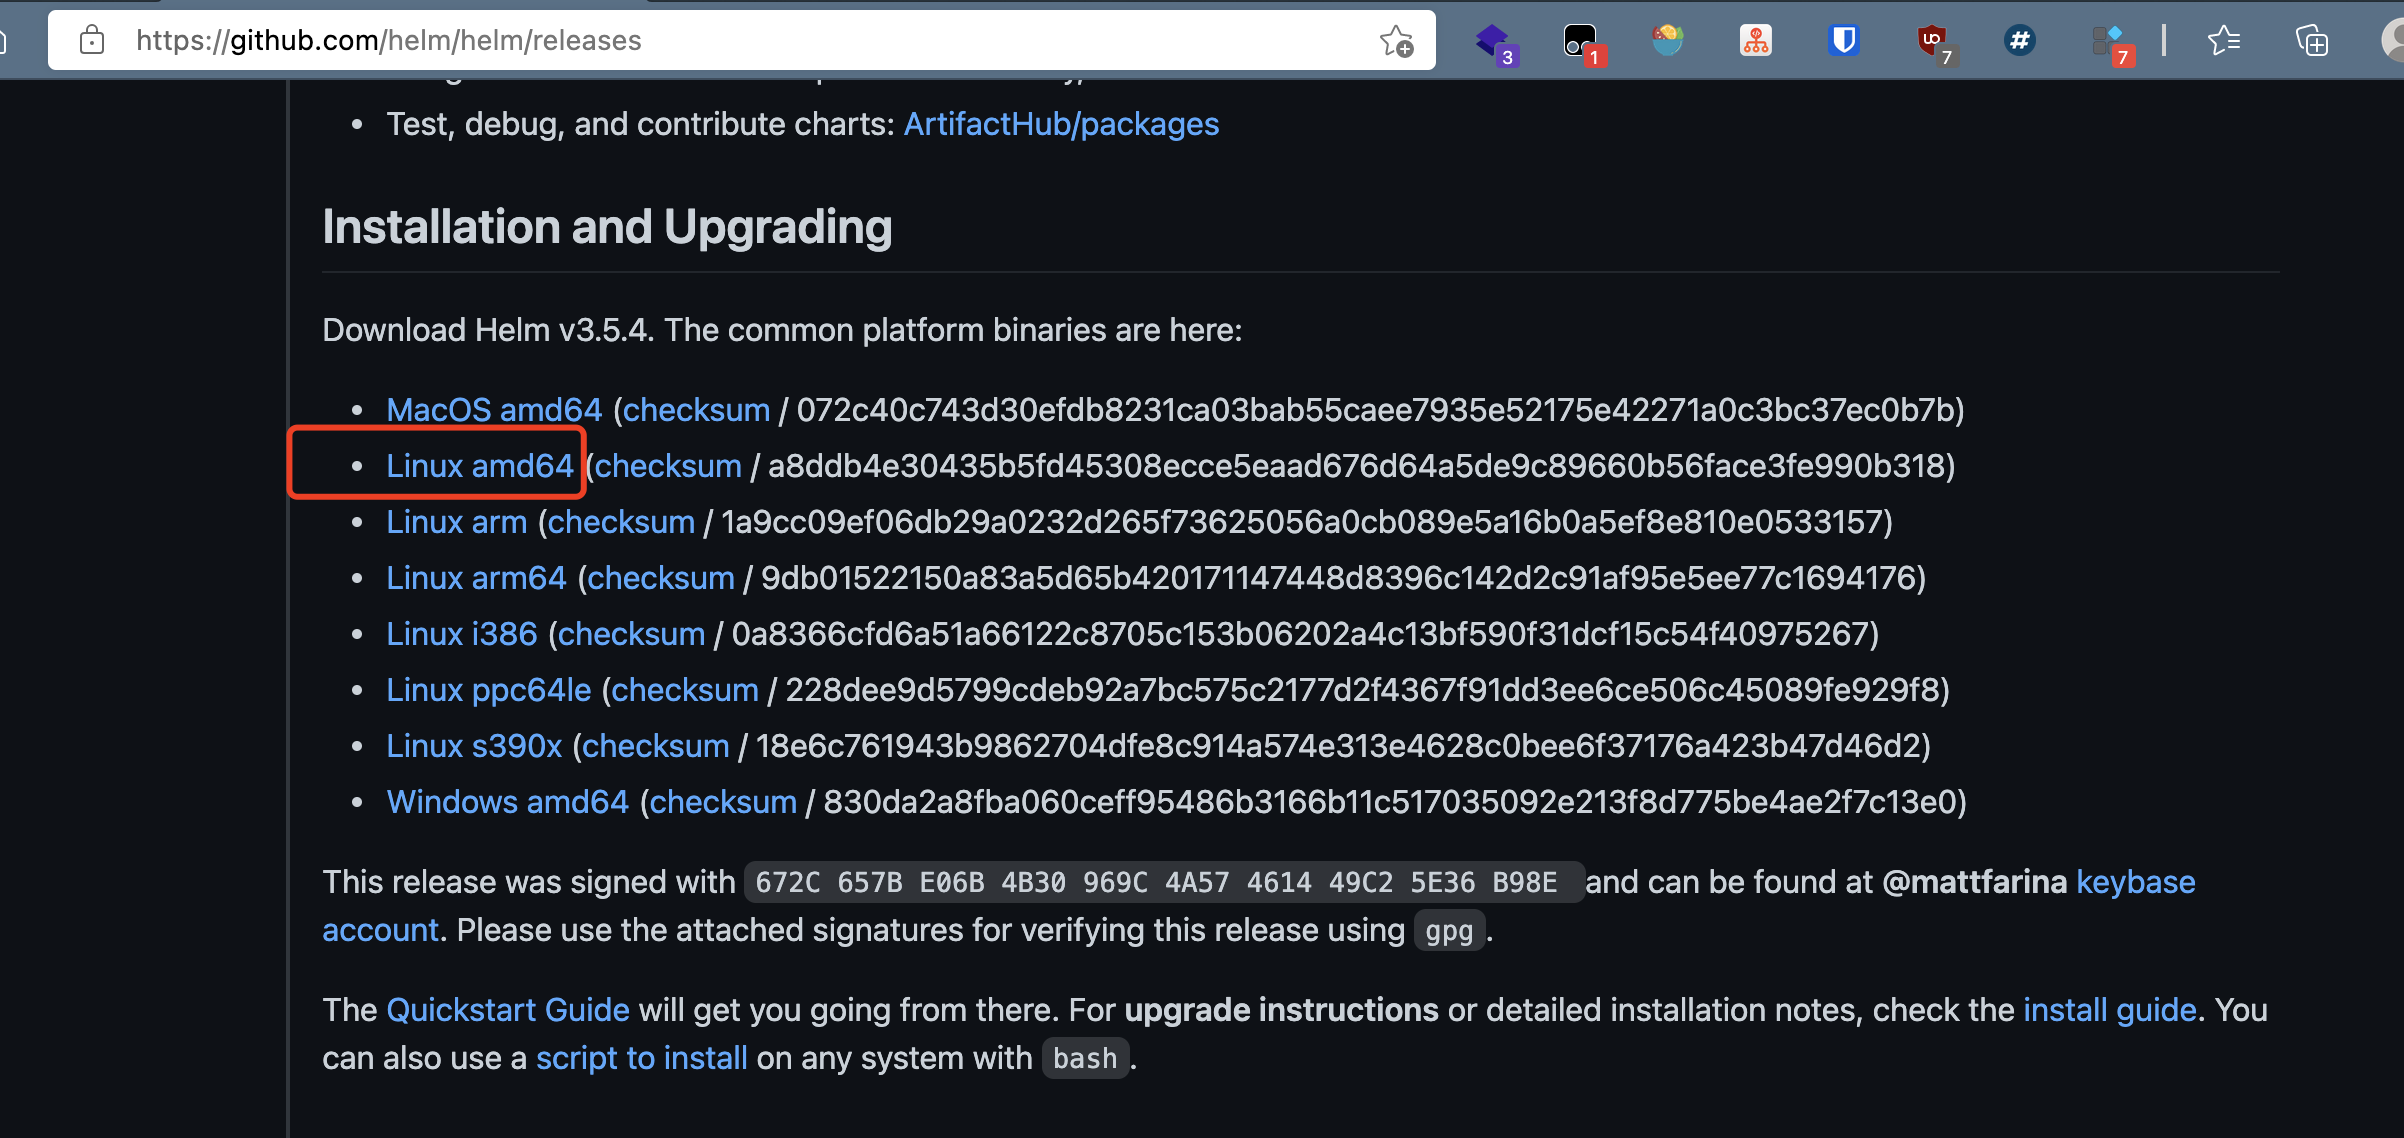
- 解压软件包
[root@master-201 ~]# tar -zxvf helm-v3.5.4-linux-amd64.tar.gz  -C /tmp/
linux-amd64/
linux-amd64/helm
linux-amd64/LICENSE
linux-amd64/README.md
- 在解压目录中找到
helm程序,将其移动到系统命令中即可
mv /tmp/linux-amd64/helm /usr/bin/
使用脚本安装
Helm官方还提供了一个安装脚本
$ curl -fsSL -o get_helm.sh https://raw.githubusercontent.com/helm/helm/master/scripts/get-helm-3
$ chmod 700 get_helm.sh
$ ./get_helm.sh
Helm 使用
在使用Helm之前,需要先了解下Helm中的三大概念
- Chart
- Repository
- Release
Chart: CHart表示的是一个Helm包。一个Chart包含了运行kubernetes集群中应用的所需要的工具、服务、资源定义等内容(类似Centos中的rpm包)
Repository: 存放Charts的仓库,类似于Centos中的yum源(软件包仓库)
Release: 运行在Kubernetes集群中的chart的实例。一个chart可以在一个集群中安装多次,每次安装会产生一个新的Release
简单使用
安装完helm之后,我们可以直接敲helm命令,来查看帮助文档。这里介绍几个常用的命令
helm search
使用helm search来查找charts
使用语法
- helm search hub 从官方的仓库中查找列出可用的helm charts
- helm search repo 从添加到本地的仓库中进行查找(使用 helm add repo “库名” 命令添加库到本地)
示例:
$ helm search hub
https://artifacthub.io/packages/helm/snyk/snyk-...  1.54.0                                                                      A Helm chart for the Snyk Monitor
https://artifacthub.io/packages/helm/isotoma/so...  0.1.5                           1.0                                         A Helm chart for socat-tunneller
https://artifacthub.io/packages/helm/softonic/s...  0.2.0                           1.0.0                                       A Helm chart for Kubernetes
https://artifacthub.io/packages/helm/preferred-...  3.2.0                           8.7.0                                       A helm chart to install Apache Solr: http://luc...
https://artifacthub.io/packages/helm/bitnami/solr   0.3.2                           8.8.2                                       Apache Solr is an open source enterprise search...
https://artifacthub.io/packages/helm/apache-sol...  0.3.0                           v0.3.0                                      The Solr Operator enables easy management of So...
......

$ helm search repo
bitnami/thanos                                      3.15.1          0.19.0          Thanos is a highly available metrics system tha...
bitnami/tomcat                                      9.1.0           10.0.5          Chart for Apache Tomcat
bitnami/wavefront                                   2.0.4           1.3.4           Chart for Wavefront Collector for Kubernetes
bitnami/wavefront-adapter-for-istio                 0.1.2           0.1.5           Wavefront Adapter for Istio is a lightweight Is...
bitnami/wavefront-prometheus-storage-adapter        0.2.1           1.0.3           Wavefront Storage Adapter is a Prometheus integ...
bitnami/wildfly                                     9.0.1           23.0.1          Chart for Wildfly
bitnami/wordpress                                   10.10.3         5.7.1           Web publishing platform for building blogs and ...
bitnami/zookeeper                                   6.7.0           3.7.0           A centralized service for maintaining configura...
ingress-nginx/ingress-nginx                         3.29.0          0.45.0          Ingress controller for Kubernetes using NGINX a...
prometheus-community/alertmanager                   0.8.0           v0.21.0         The Alertmanager handles alerts sent by client ...
prometheus-community/kube-prometheus-stack          14.9.0          0.46.0          kube-prometheus-stack collects Kubernetes manif...
prometheus-community/prometheus                     13.8.0          2.26.0          Prometheus is a monitoring system and time seri...
prometheus-community/prometheus-adapter             2.12.1          v0.8.3          A Helm chart for k8s prometheus adapter
prometheus-community/prometheus-blackbox-exporter   4.10.4          0.18.0          Prometheus Blackbox Exporter
prometheus-community/prometheus-cloudwatch-expo...  0.14.1          0.10.0          A Helm chart for prometheus cloudwatch-exporter
prometheus-community/prometheus-consul-exporter     0.4.0           0.4.0           A Helm chart for the Prometheus Consul Exporter
prometheus-community/prometheus-couchdb-exporter    0.2.0           1.0             A Helm chart to export the metrics from couchdb...
prometheus-community/prometheus-druid-exporter      0.9.0           v0.8.0          Druid exporter to monitor druid metrics with Pr...
prometheus-community/prometheus-elasticsearch-e...  4.4.0           1.1.0           Elasticsearch stats exporter for Prometheus
prometheus-community/prometheus-kafka-exporter      1.0.0           v1.2.0          A Helm chart to export the metrics from Kafka i...
......

$ helm repo add brigade https://brigadecore.github.io/charts


# helm repo
$ helm repo list   # 列出本地仓库中的charts
helm install
使用helm install来安装一个软件包
语法:helm install release名 chart名称
示例:
[root@master-201 ~]# helm install demo bitnami/wordpress
WARNING: Kubernetes configuration file is group-readable. This is insecure. Location: /root/.kube/config
WARNING: Kubernetes configuration file is world-readable. This is insecure. Location: /root/.kube/config
NAME: demo
LAST DEPLOYED: Tue May 11 10:52:54 2021
NAMESPACE: default
STATUS: deployed
REVISION: 1
NOTES:
** Please be patient while the chart is being deployed **

Your WordPress site can be accessed through the following DNS name from within your cluster:

    demo-wordpress.default.svc.cluster.local (port 80)

To access your WordPress site from outside the cluster follow the steps below:

1. Get the WordPress URL by running these commands:

  NOTE: It may take a few minutes for the LoadBalancer IP to be available.
        Watch the status with: 'kubectl get svc --namespace default -w demo-wordpress'

   export SERVICE_IP=$(kubectl get svc --namespace default demo-wordpress --template "{{ range (index .status.loadBalancer.ingress 0) }}{{.}}{{ end }}")
   echo "WordPress URL: http://$SERVICE_IP/"
   echo "WordPress Admin URL: http://$SERVICE_IP/admin"

2. Open a browser and access WordPress using the obtained URL.

3. Login with the following credentials below to see your blog:

  echo Username: user
  echo Password: $(kubectl get secret --namespace default demo-wordpress -o jsonpath="{.data.wordpress-password}" | base64 --decode)
helm在安装过程中会打印出一些信息,我们需要关注一下,有时需要根据信息进行额外的配置,例如上面的例子中,安装完应用后,需要利用打印出的信息来帮助我们登陆应用
ps: helm客户端不会等待所有资源都运行完才退出,这意味着有时候docker镜像过大时,需要很久才能安装到kubernetes集群中
安装自定义chart
在一些环境下,官方提供的chart无法满足我们的需求,这时就需要我们自定义chart
$ helm create demo # 创建一个名为demo的chart
chart目录结构
[root@master-201 ~]# tree demo
demo
├── charts  # 依赖的其他charts
├── Chart.yaml  # chart的描述信息(版本等)
├── templates  # 模板目录
│   ├── deployment.yaml
│   ├── _helpers.tpl   # 放置可以通过chart复用的模板辅助对象
│   ├── hpa.yaml
│   ├── ingress.yaml # kubernetes中的ingress
│   ├── NOTES.txt  # chart的注释信息(执行helm install时 会被打印)
│   ├── serviceaccount.yaml  # kubernetes中的serviceaccount
│   ├── service.yaml # kubernetes中的service
│   └── tests
│       └── test-connection.yaml
└── values.yaml  # 重点掌握  包含了chart的默认值

"""
补充: 有些软件的chart仓库中会有一个requirements.txt文件,我们可以在requirement.yaml中定义应用所依赖的chart
"""
templates目录
在templates目录下的模板文件遵循go语言 template的特性
# deployment.yaml
apiVersion: apps/v1
kind: Deployment
metadata:
  name: {{ include "demo.fullname" . }}
  labels:
    {{- include "demo.labels" . | nindent 4 }}
spec:
  {{- if not .Values.autoscaling.enabled }}
  replicas: {{ .Values.replicaCount }}
  {{- end }}
  selector:
    matchLabels:
      {{- include "demo.selectorLabels" . | nindent 6 }}
  template:
    metadata:
      {{- with .Values.podAnnotations }}
      annotations:
        {{- toYaml . | nindent 8 }}
      {{- end }}
      labels:
        {{- include "demo.selectorLabels" . | nindent 8 }}
    spec:
      {{- with .Values.imagePullSecrets }}
      imagePullSecrets:
        {{- toYaml . | nindent 8 }}
      {{- end }}
      serviceAccountName: {{ include "demo.serviceAccountName" . }}
      securityContext:
        {{- toYaml .Values.podSecurityContext | nindent 8 }}
      containers:
        - name: {{ .Chart.Name }}
          securityContext:
            {{- toYaml .Values.securityContext | nindent 12 }}
          image: "{{ .Values.image.repository }}:{{ .Values.image.tag | default .Chart.AppVersion }}"
          imagePullPolicy: {{ .Values.image.pullPolicy }}
          ports:
            - name: http
              containerPort: 80
              protocol: TCP
          livenessProbe:
            httpGet:
              path: /
              port: http
          readinessProbe:
"deployment.yaml" 61L, 1821C                                                                                               1,1           Top
        {{- toYaml . | nindent 8 }}
      {{- end }}
可以看到,在我们熟悉的deployment配置基础上,在关键的信息处通过{{变量}}的形式进行替换,这是template的语法,Values是在values.yaml中进行定义,在执行helm install时会进行渲染
"""
values.yaml
"""

# Default values for demo.
# This is a YAML-formatted file.
# Declare variables to be passed into your templates.

replicaCount: 1

image:
  repository: nginx
  pullPolicy: IfNotPresent
  # Overrides the image tag whose default is the chart appVersion.
  tag: ""

imagePullSecrets: []
nameOverride: ""
fullnameOverride: ""

serviceAccount:
  # Specifies whether a service account should be created
  create: true
  # Annotations to add to the service account
  annotations: {}
  # The name of the service account to use.
  # If not set and create is true, a name is generated using the fullname template
  name: ""

podAnnotations: {}

podSecurityContext: {}
  # fsGroup: 2000

securityContext: {}
  # capabilities:
  #   drop:
  #   - ALL
  # readOnlyRootFilesystem: true
  # runAsNonRoot: true
  # runAsUser: 1000

service:
  type: ClusterIP
  port: 80

ingress:
  enabled: false
  annotations: {}
    # kubernetes.io/ingress.class: nginx
    # kubernetes.io/tls-acme: "true"
  hosts:
    - host: chart-example.local
      paths: []
  tls: []
  #  - secretName: chart-example-tls
  #    hosts:
  #      - chart-example.local
......
具体values的配置会在以后的文章中介绍,本文只是简单了解helm的基础使用
检查模板语法是否正确
[root@master-201 demo]# helm lint .
WARNING: Kubernetes configuration file is group-readable. This is insecure. Location: /root/.kube/config
WARNING: Kubernetes configuration file is world-readable. This is insecure. Location: /root/.kube/config
==> Linting .
[INFO] Chart.yaml: icon is recommended

1 chart(s) linted, 0 chart(s) failed
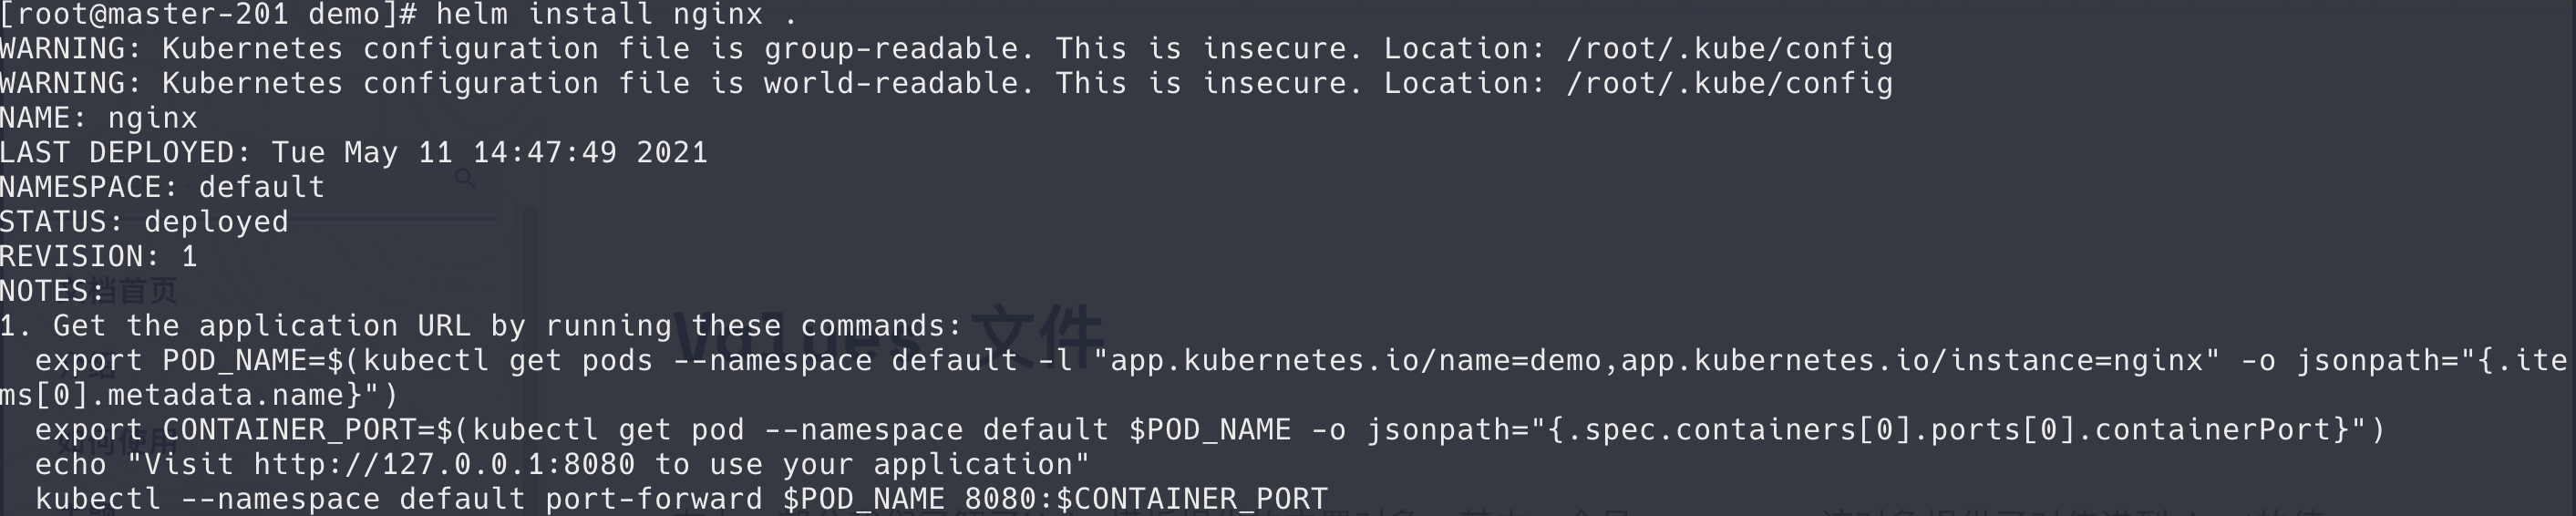
部署到kubernetes
配置好chart后,执行以下命令即可安装
$ helm install nginx .  # nginx为release的名,.代表当前chart

$ helm list # 查看部署的release
helm2中 直接使用 helm install . 即可安装 ,在helm3中 必须这一定release名
helm打包、发布
我们自定义了一个chart,并将其部署到了kubernetes中,现在我们来看下如何将应用打包发布
- 将chart打成一个压缩包
[root@master-201 demo]# helm package .
WARNING: Kubernetes configuration file is group-readable. This is insecure. Location: /root/.kube/config
WARNING: Kubernetes configuration file is world-readable. This is insecure. Location: /root/.kube/config
Successfully packaged chart and saved it to: /root/demo/demo-0.1.0.tgz
- 发布到repository中
helm2和helm3中 操作方式不同
helm2:
- 启动一个Repository Serve
- 将chart加入本地的仓库中
helm默认为我们提供了一个命令,用于启动本地Repository

$ helm serve &
该 Server 默认 $HOME/.helm/repository/local 目录作为 Chart 存储,并在 8879 端口上提供服务。

$ helm add local http://127.0.0.1 8879
helm3:
需要外部仓库软件的支持,我们可以使用harbor仓库
[root@master-201 helm]# helm repo add demo https://luvyw.com/chartrepo/charts
使用helm repo list进行查看
$ helm repo list
[root@master-201 helm]# helm repo list
NAME    URL
stable  http://mirror.azure.cn/kubernetes/charts/
demo    https://luvyw.com/chartrepo/charts
helm升级与回滚
使用helm upgrade进行升级
$ hepo upgrade
也可以在修改完chart.yaml文件后,将其重新打包,放入仓库,然后执行helm repo update进行升级
$ helm histort demo #查看历史版本

$ helm rollback demo 1 # 回滚操作
更多有关helm模板的知识点,请移步官方文档,根据自己的需求做针对性的学习
本文参考链接:


 527
527

 被折叠的 条评论
为什么被折叠?
被折叠的 条评论
为什么被折叠?
 到【灌水乐园】发言


